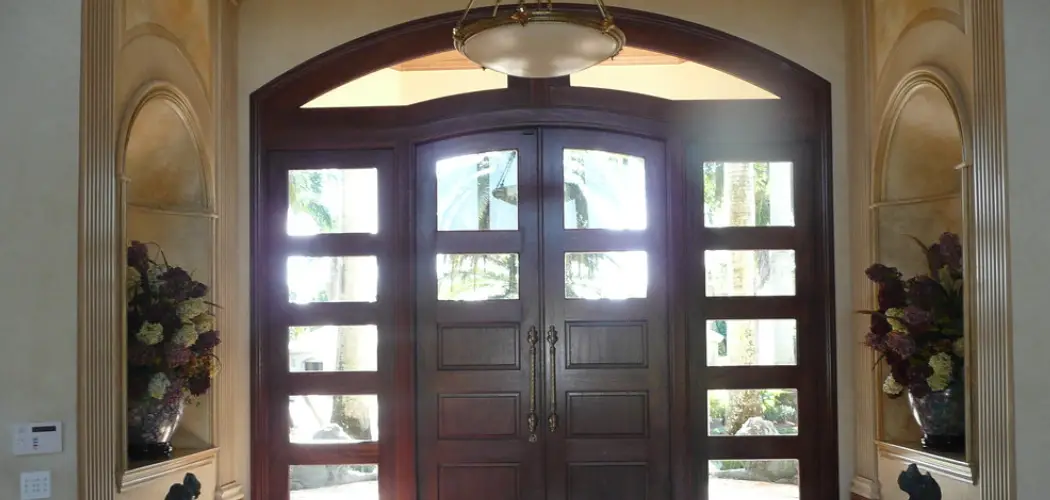
Exterior door sidelights are crucial in transforming the look and feel of a home’s entryway. These vertical windows on either side of an exterior door enhance the architectural appeal and usher in abundant natural light, creating a more inviting and bright entrance. By installing sidelights, homeowners can significantly boost their home’s curb appeal while improving the illumination of their entryway.
This addition heightens aesthetic allure and contributes to a welcoming ambiance for guests and residents alike. This article aims to offer a comprehensive guide on “how to install an exterior door sidelights.” Through our detailed, step-by-step instructions, even DIY enthusiasts can confidently take on this project, ensuring a successful installation that enhances both functionality and the visual appeal of their entryway.
Understanding Sidelights
What Are Sidelights?
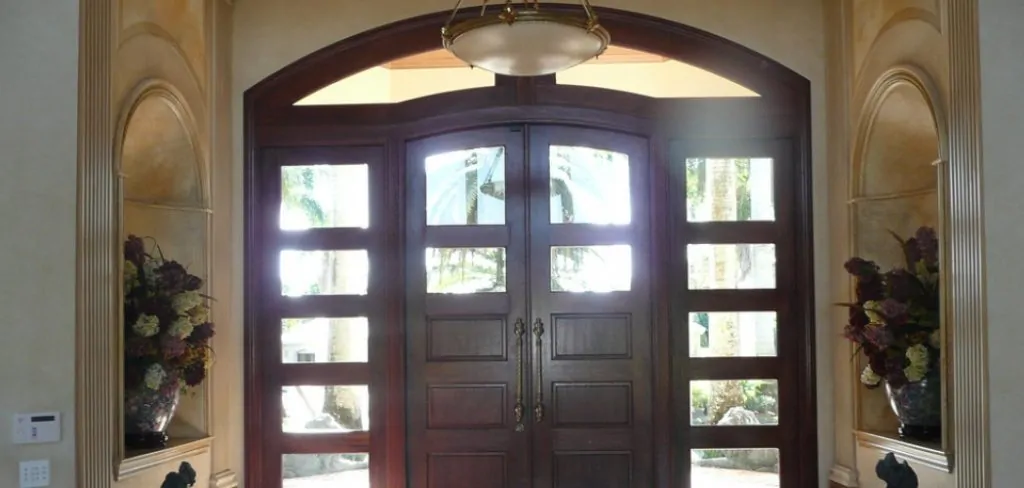
Sidelights are narrow vertical windows positioned alongside exterior doors, serving both functional and aesthetic purposes. Typically, they come in various sizes, tailored to complement the door’s height and width while enhancing the architectural design of the entryway. Standard sidelights may range from 12 inches to 18 inches in width, but custom options are available to suit different styles and preferences. They are crafted in diverse styles, including clear glass for unobstructed views, frosted glass for privacy, and decorative glass featuring intricate designs that elevate the entryway’s appeal.
Types of Sidelights
In the market, sidelights are generally categorized into two primary types: fixed and operable (venting) sidelights. Fixed sidelights are stationary and primarily serve to increase natural light and aesthetic value, whereas operable sidelights provide the added functionality of ventilation by allowing them to be opened partially.
Benefits of Sidelights
Incorporating sidelights into an entryway can significantly boost its aesthetic charm while enhancing its functionality. They welcome more natural light into a foyer, add a touch of elegance, and create a sense of openness. When selecting sidelights, homeowners should consider options with insulated glass, as these provide better energy efficiency by reducing heat transfer and enhancing indoor comfort levels, contributing to overall energy conservation.
Tools and Materials Needed
Essential Tools
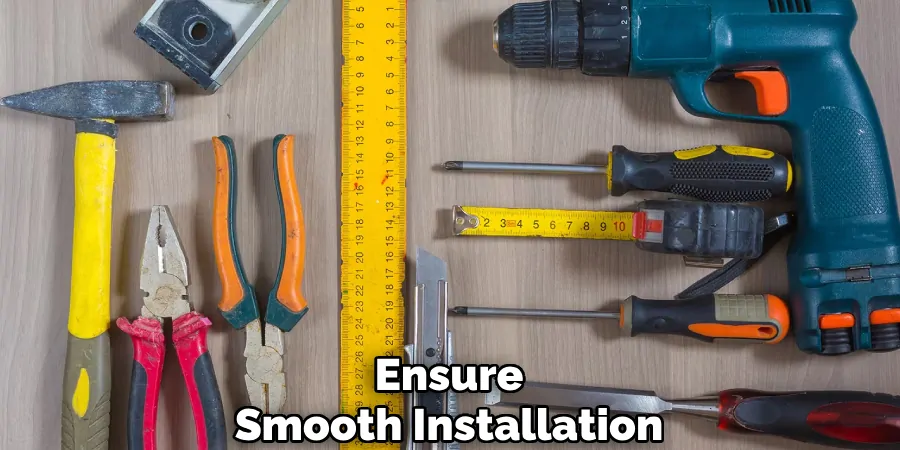
To ensure a smooth installation of exterior door sidelights, gather the following essential tools:
- Tape Measure: For accurate measurements and alignment
- Level: To ensure the sidelights are perfectly vertical
- Drill and Drill Bits: For creating holes and securing screws
- Screwdriver: To tighten screws and adjust hardware
- Caulk Gun: For applying sealant around the edges
- Safety Glasses and Gloves: To protect yourself during the installation
Materials Required
The success of your project also depends on having the necessary materials:
- Sidelight Units: Choose either pre-fabricated or custom-made to match your entryway
- Weather Stripping: For sealing the edges and keeping out drafts
- Wood Shims: Used for adjusting the sidelight frames to fit perfectly
- Wood Screws: To secure the sidelights and ensure stability
- Caulk or Sealant: Essential for weatherproofing the installation and preventing leaks
Preparing for Installation
Selecting the Right Sidelights
Consider several pivotal factors when choosing sidelights to complement the style of your entry door and home. Evaluate the architectural style of your house—whether it leans towards traditional, modern, or contemporary designs—and select sidelights that align harmoniously. Pay attention to both the door’s width and height to ensure the sidelights fit aesthetically and functionally. Balancing these elements will offer an enhanced visual appeal that seamlessly integrates with your existing décor.
Measuring and Planning
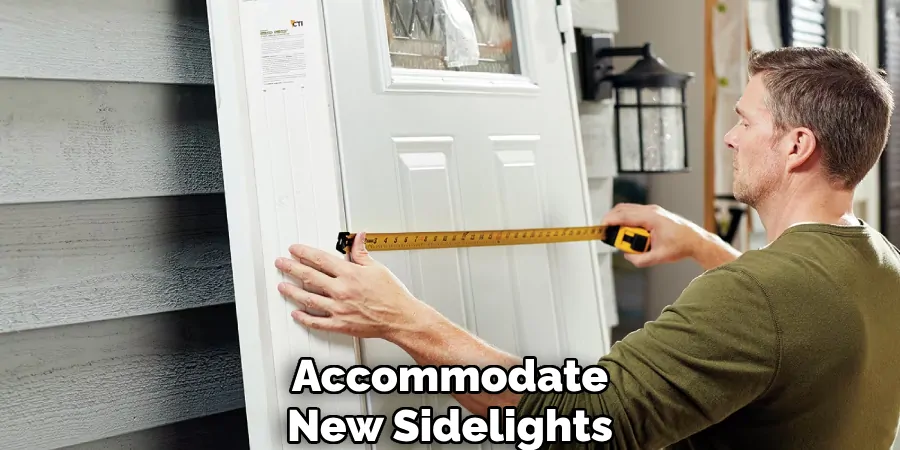
Accurate measurements are essential for a successful sidelight installation. Begin by meticulously measuring the height and width of your current door frame. These dimensions will guide the selection of sidelights that fit precisely within the available space. Consider the preferred placement and orientation of the sidelights—whether on one or both sides—and sketch a layout plan to visualize the overall effect. Careful planning at this stage ensures a seamless installation process.
Removing the Existing Door (if applicable)
Before installing new sidelights, it may be necessary to remove the existing door carefully. Start by detaching the door from its hinges and, if required, using temporary supports to prevent any accidental damage. During removal, inspect the door frame for signs of wear or damage, ensuring it is robust enough to accommodate the new sidelights. Address any structural issues prior to proceeding with the installation, securing a stable base for your enhancements.
How to Install an Exterior Door Sidelights: Installing the Sidelights
Creating Openings for the Sidelights
If you are not using pre-existing spaces for your sidelights, you’ll need to create openings in the door frame. Use a reciprocating saw for this task, as it allows for precise and controlled cuts. To achieve straight lines, carefully mark your cut lines with a straight edge, and check frequently for level and plumb during the cutting process. This alignment is critical to ensure the sidelights fit snugly and align aesthetically with the rest of the entryway.
Fitting the Sidelights
Once the openings are prepared, it’s time to fit the sidelights. Start by placing the sidelights into the openings and using wood shims to adjust them for a precise level and fit. Ensure the sidelights are perfectly aligned with the door frame and each other to maintain a seamless look. These meticulous adjustments will ensure the sidelights enhance the overall symmetry and appeal of your entryway.
Securing the Sidelights
To secure the sidelights in place, it’s recommended to pre-drill holes for screws. This step helps prevent splitting the frame during installation. Next, install screws through the sidelights’ frame into the door frame, ensuring stability and strength. The secure attachment of the sidelights is fundamental for durability and safety.
Sealing and Weatherproofing
The final step involves sealing the installation to protect against the elements. Apply weather stripping around the edges of the sidelights to keep out drafts and moisture. Use caulk to seal any gaps or seams between the sidelights and the door frame. Thorough weatherproofing enhances energy efficiency and provides an insulated, weather-resistant entryway.
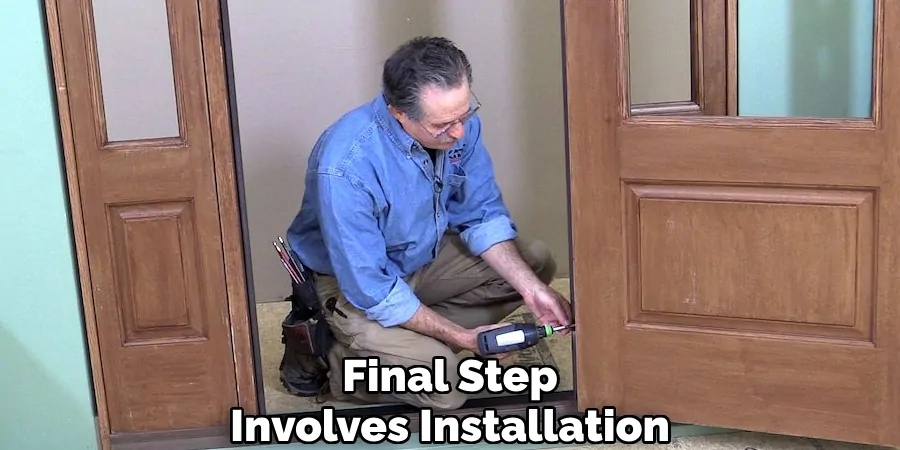
How to Install an Exterior Door Sidelights: Installing the Door
Hanging the Door
Begin the process of hanging the door by utilizing a helper to hold the door steadily while aligning it with the hinges on the frame. This approach ensures precision, making it easier to secure each hinge with screws while ensuring that the door is properly aligned. As you attach the door to the frame, test the swing to verify that it moves freely without obstruction, making necessary adjustments to the placement of hinges if needed.
Adjusting the Door Alignment
Proper door alignment is crucial for smooth operation and achieving a well-sealed entryway. Begin by inspecting for any gaps between the door and the newly installed sidelights. Should you notice discrepancies, adjust the hinges by loosening or tightening the screws to create a uniform alignment. This careful adjustment not only enhances functionality but also contributes to the overall aesthetic coherence of the entryway.
Finishing Touches
After ensuring the door is perfectly hung and aligned, consider applying a final coat of paint or stain to harmonize with the new sidelights. Select finishes that enhance the overall curb appeal of your home while providing added protection against environmental elements. Additionally, reinstall any necessary hardware, such as doorknobs and locks, ensuring each element is securely fastened and operational, finalizing your entryway’s transformation with style and substance.
Final Checks and Maintenance
Inspecting the Installation
Upon completing the installation, it’s vital to conduct a thorough inspection to ensure everything is in proper working order. Start by examining the sealing and alignment of the sidelights. Look for any gaps or misalignments between the sidelights and the door frame, as these can compromise energy efficiency and aesthetics.
Ensure the door operates smoothly, opening and closing without binding or resistance. This step confirms that the door aligns perfectly with the newly installed sidelights, maintaining the entryway’s operational and visual integrity.
Routine Maintenance Tips
Adhere to routine maintenance practices to preserve the longevity and functionality of your sidelights and door. Regularly clean glass panels with a non-abrasive cleaner to maintain clear visibility and enhance appearance. Periodically inspect the weather stripping around the door and sidelights for signs of wear or damage, replacing it as necessary to keep drafts and moisture at bay. Regular maintenance extends the installation’s life and maintains its aesthetic appeal.
Adjustments and Troubleshooting
Post-installation, you may encounter common issues such as gaps around the door or difficulty closing it. To troubleshoot these problems, carefully adjust the door hinges by loosening or tightening the screws to achieve uniform alignment. If the door remains difficult to close, check for obstructions or misalignment in the frame and make the necessary corrections. These adjustments will help maintain your entryway’s proper functionality and appearance over time.

Conclusion
Installing exterior door sidelights is a rewarding project that significantly enhances your home’s entryway’s aesthetic appeal and functionality. Through this guide on how to install an exterior door sidelights, we demonstrated the essential steps—from preparing the door frame to cutting precise openings and ensuring a snug fit with wood shims. By securing sidelights with pre-drilled holes and screws and employing thorough sealing techniques, homeowners can achieve a durable and weatherproof installation.
The sidelights not only introduce natural light into your entryway, transforming the ambiance but also augment the visual symmetry of the exterior. Finally, we encourage you to embrace this home improvement task to enhance your entryway’s curb appeal and make a lasting impression. With careful attention to detail and maintenance, sidelights serve as a functional and stylish addition to any home.

