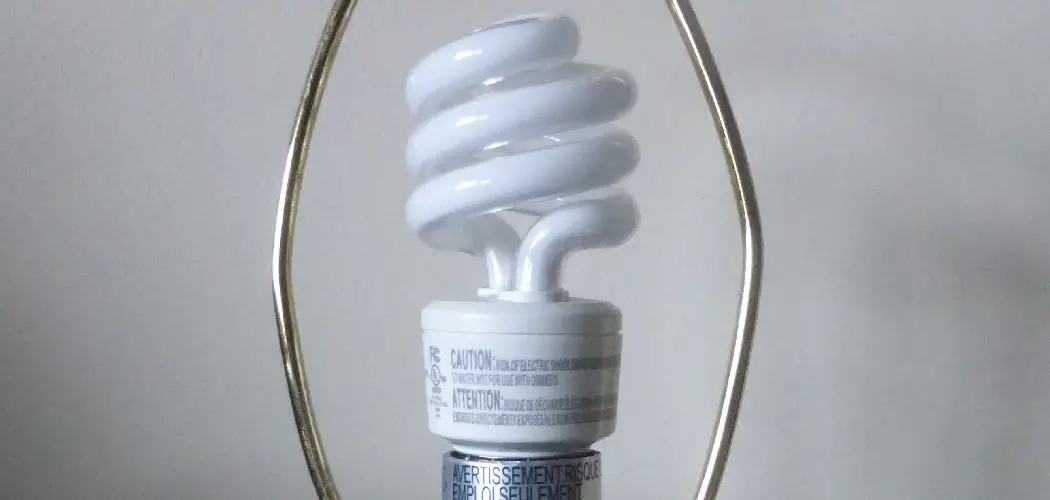
Installing a lamp harp is a straightforward process that can instantly enhance the functionality and aesthetic appeal of your lamp. A lamp harp supports your lamp shade, ensuring it stays securely in place while maintaining proper alignment.
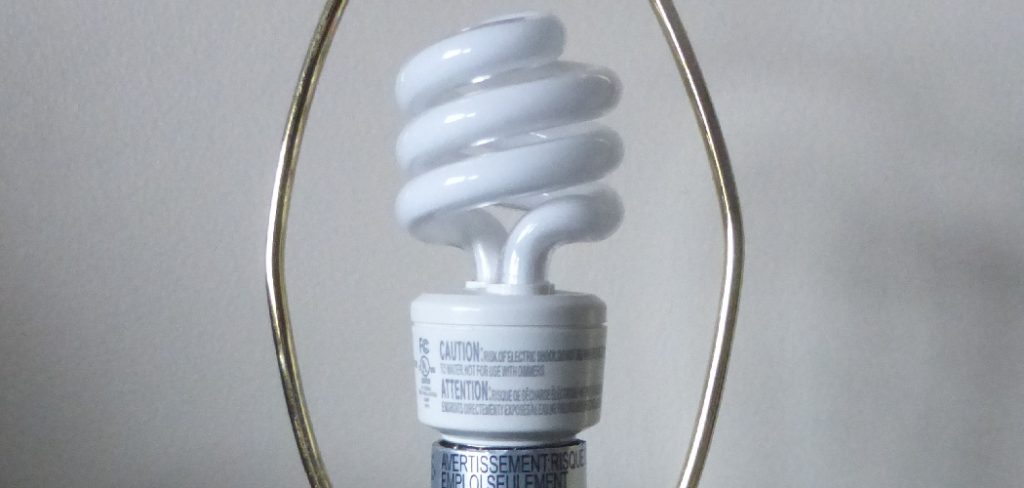
Whether you’re replacing an old lamp harp or setting one up for the first time, this guide will walk you through the steps on how to install a lamp harp to complete the installation with ease.
Why Install a Lamp Harp?
A lamp harp is an essential component of any lamp. It not only provides stability and support to the lampshade but also allows for easy customization. With a lamp harp, you can easily change your lamp shade to match different styles or moods without having to replace the entire lamp.
Moreover, installing a new lamp harp can help revive an old or outdated lamp, giving it a fresh look and feel. Additionally, it can improve the overall functionality of your lamp by keeping the shade in place and preventing it from slipping or tilting.
Needed Materials
To install a lamp harp, you will need the following materials:
- Lamp Harp (Usually Available in Various Sizes and Finishes)
- Lamp Finial (Optional Decorative Piece That Screws Onto the Top of the Lamp Harp)
- Pliers or Wire Cutters
- Lamp Shade With Spider or Washer Fitting (Type of Fitting That Attaches to the Lamp Harp)
It is important to note that not all lamps are compatible with a lamp harp. Make sure to check your lamp’s specifications and measurements before purchasing a new lamp harp.
8 Steps on How to Install a Lamp Harp
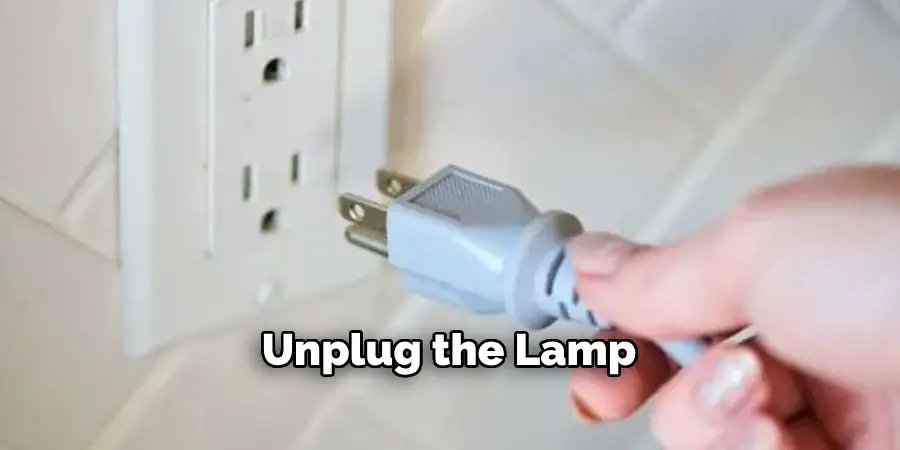
Step 1: Unplug the Lamp
Before starting the installation process, ensure that the lamp is unplugged from the electrical outlet. This step is crucial for your safety to avoid any risk of electrical shock while handling the lamp. Always prioritize safety when working with electrical fixtures.
It is also recommended to wear protective gear, such as gloves and safety glasses, while handling the lamp.
Step 2: Remove Old Harp (If Applicable)
If your lamp already has an existing harp, you will need to remove it before installing the new one. Start by gently squeezing the sides of the harp to release it from the harp base. Once the harp is detached, carefully lift it off, along with any attached finial.
Be sure to set aside the finial if you plan to reuse it with your new harp. Inspect the harp base for any dust or debris and clean it if necessary to ensure a smooth installation process.
Step 3: Attach New Harp
Take the new harp and align its base with the harp saddle on your lamp. Gently insert the ends of the harp into the slots on the saddle, ensuring they are securely seated. Once in place, squeeze the sides of the harp slightly to lock them into the saddle brackets.
Confirm that the harp is stable and firmly attached before proceeding. If your new harp comes with a protective sleeve, remove it before attaching the finial or lampshade.
Step 4: Secure with Finial
Once the harp is attached, place your lampshade onto the harp’s threaded tip. Ensure the shade is properly aligned and centered. Next, take the finial and screw it onto the top of the harp to secure the lampshade in place.
Tighten the finial gently but firmly, avoiding overtightening that could damage the threads or the lampshade. Verify that the lampshade is stable and does not wobble, ensuring a polished and secure finish to your lamp setup.
Step 5: Install New Light Bulb
With the lampshade securely in place, it’s time to install the new light bulb. Choose a bulb that is compatible with your lamp’s socket type and wattage requirements. Gently screw the bulb into the socket by turning it clockwise until it fits snugly. Be careful not to overtighten, as doing so could damage the bulb or socket.
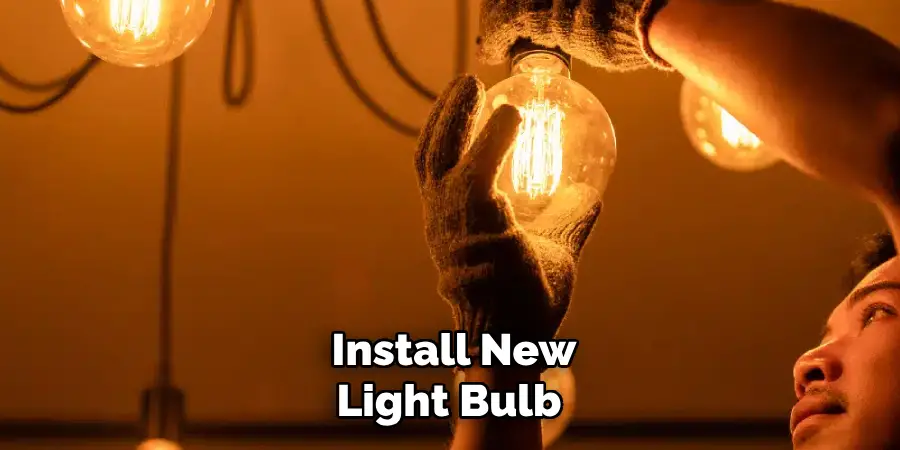
Once the bulb is installed, test your lamp by turning it on to ensure everything is functioning properly. If the light shines bright, you’ve successfully completed your lamp setup!
Step 6: Test and Adjust
With the lamp assembled and the new bulb installed, it’s time to give everything a final check. Turn on the lamp and observe the brightness and placement of the light. If the bulb is seated properly and the light is functioning as expected, you’re all set!
However, if the light appears dim, flickers, or doesn’t turn on, double-check the bulb’s compatibility and ensure it is securely fastened. Adjust the lamp’s angle or position as needed to provide optimal lighting for your space. Once satisfied, you can enjoy the warm glow of your perfectly adjusted lamp!
Step 7: Attach Lampshade
Once the bulb is properly installed and tested, it’s time to attach the lampshade. Carefully position the lampshade over the bulb and align it with the lamp’s frame or fixture. Depending on the lamp design, secure the lampshade using a finial, clips, or screws to ensure it stays firmly in place.
Make sure the lampshade sits evenly and does not obstruct the bulb, allowing the light to shine through as intended. This final touch not only completes the lamp setup but also adds to the aesthetic and functionality of your space.
Step 8: Enjoy Your Newly Revived Lamp!
Congratulations, you have successfully replaced your old, broken lamp harp with a new one and restored your lamp to its former glory! Now sit back, relax, and bask in the warm glow of your newly revived lamp.
Following these simple steps on how to install a lamp harp, you can easily fix a broken lamp harp and give your old lamp a new lease on life. Remember to always take safety precautions and handle any electrical parts with caution. With a little bit of effort and some basic tools, you can save money by fixing your own lamps instead of replacing them. Happy DIY-ing!
Do You Need to Hire a Professional?
While fixing a broken lamp harp is a relatively simple DIY project, there are situations where hiring a professional might be the safer or more practical choice. If your lamp has complex wiring issues or damaged electrical components, or if you are uncomfortable handling electrical repairs, it’s best to consult a licensed electrician or lamp repair specialist.
Professionals have the tools, expertise, and knowledge to address more intricate problems while ensuring safety. Additionally, if your lamp has sentimental or antique value, a specialist can help preserve its integrity during repairs. Always weigh the complexity of the repair against your skill level to make the best decision for your situation.
How Much Could It Cost?
Replacing a lamp harp is an affordable DIY project that can fit into almost any budget. Generally, a new lamp harp costs between $5 and $15, depending on the size, material, and style you choose. If you need additional materials, such as a finial or a replacement shade holder, these can add a few extra dollars to your total.
Compared to purchasing an entirely new lamp, which can range from $30 to several hundred dollars, repairing your existing lamp is a cost-effective and sustainable solution. Plus, the sense of accomplishment from fixing something yourself is priceless!
Additional Tips
- When purchasing a new lamp harp, make sure to measure the height of your old one so you can get the right size.
- Before starting any repairs, make sure to unplug your lamp and remove the light bulb.
- If you encounter any difficulties in removing the old harp or attaching the new one, don’t hesitate to seek guidance from a professional.
- Don’t be afraid to get creative with your replacement harp – consider using a different material or color for a unique and personalized look.
- Regularly dust and clean your lamps to prevent them from getting damaged or needing repairs in the future.
- If you have multiple broken lamps, consider hosting a DIY lamp repair party with friends or family where you can share tools and tips while also having some fun.
- For more complex repairs, it’s best to leave it to the professionals. Trying to fix something beyond your skill level could result in further damage or injury.
- Remember to always use caution when handling any electrical components and unplug the lamp before attempting any repairs.
Frequently Asked Questions
Q1: How Do I Know if My Lamp Needs Repair or Replacement?
A1: If your lamp is not turning on at all, or if there are any visible signs of damage such as cracks or exposed wires, it may be time for a replacement. However, if the issue seems to be with the bulb or switch, simple repairs may do the trick.
Q2: Can I Repair a Damaged Lampshade?
A2: It depends on the extent of the damage. If it’s just a small tear or rip, you can easily patch it up with some fabric glue or tape. However, if the shade is significantly damaged or torn beyond repair, it’s best to replace it altogether.
Q3: How Do I Replace a Light Bulb in My Lamp?
A3: Replacing a light bulb in a lamp is typically a simple process. First, make sure the lamp is unplugged and cooled down. Then, depending on the type of bulb, you may need to unscrew it or gently pull it out. Replace it with a new bulb of the same wattage and style, being careful not to touch the new bulb with your bare hands as oils from your skin can shorten its lifespan. Finally, plug the lamp back in and test if the new bulb works.
Conclusion
Proper maintenance and care of household items can make everyday tasks simpler and extend the life of your belongings. By following the steps outlined in this guide on how to install a lamp harp, you can handle common household issues with ease and confidence.
Always ensure safety measures are prioritized, and don’t hesitate to consult a professional if needed. A little knowledge and preparation go a long way in keeping your home running smoothly.

