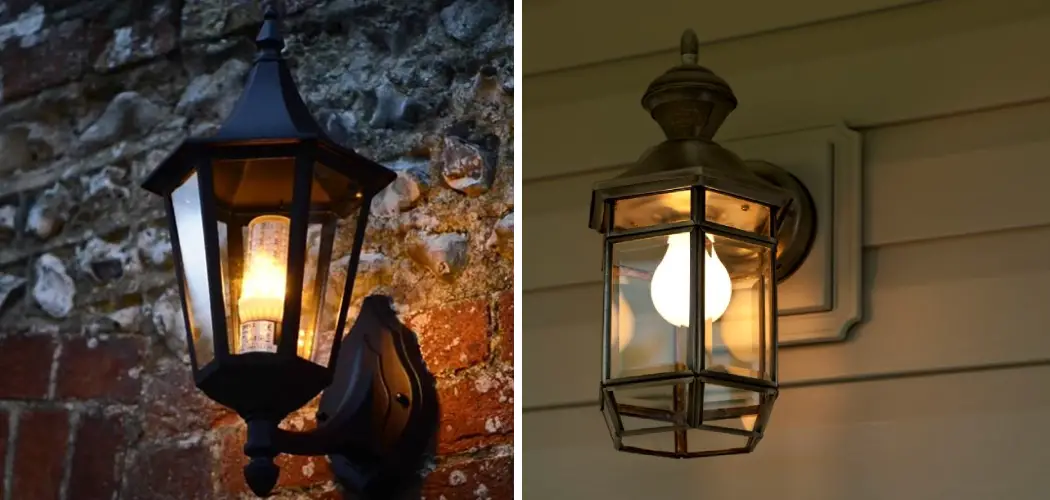
Are you looking for a way to upgrade the look of your outdoor space quickly? Installing a dusk-to-dawn light is one of the easiest and most cost effective ways to bring an extra layer of sophistication and safety to any area.
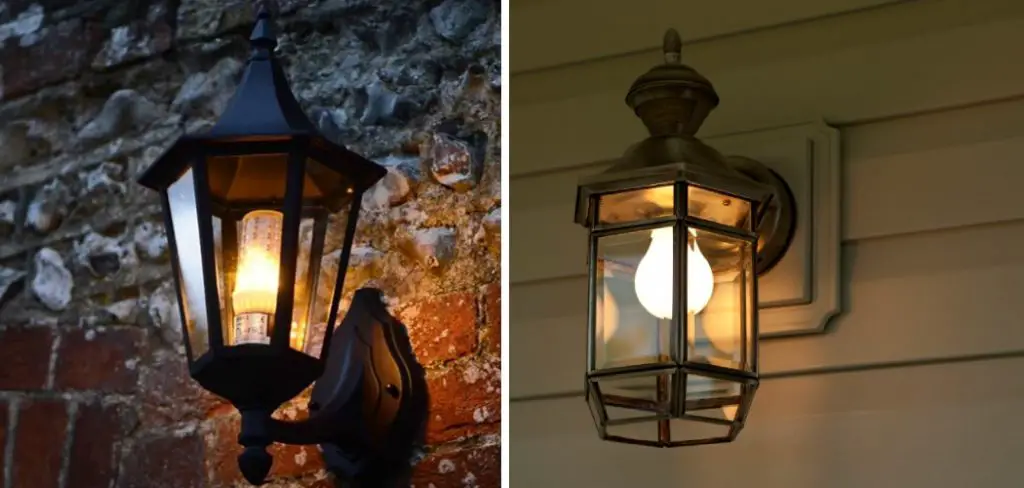
Dusk to dawn lights are an incredibly useful addition around the house – they turn on at night and off in the morning, providing a safe and welcoming atmosphere in the evening. Whether you’re using them as primary lighting sources or just to cover areas like walkways outside or decorative pieces in your living room, there’s no better way to ensure that everyone is safe when it gets dark out.
With this guide, we’ll provide step-by-step instructions on how to install a dusk to dawn light so that even beginners can easily install their own dusk-to-dawn light. Get ready for gorgeous evenings with no effort!
What are the Benefits of Dusk to Dawn Lights?
Before getting into the installation steps, let’s take a look at why you should consider investing in a dusk to dawn light.
Dusk-to-dawn lights provide convenience – no need to remember to switch them on or off. They also save money on energy costs since they will only turn on when it’s dark. And, of course, they keep your home and its surroundings safe by providing light in the evening hours.
Now that you know why you should install a dusk to dawn light, let’s get started!
What Will You Need?
The first step is to gather all the necessary materials. You’ll need a dusk-to-dawn light fixture, an appropriate wattage bulb, mounting hardware, and electrical wiring tools.
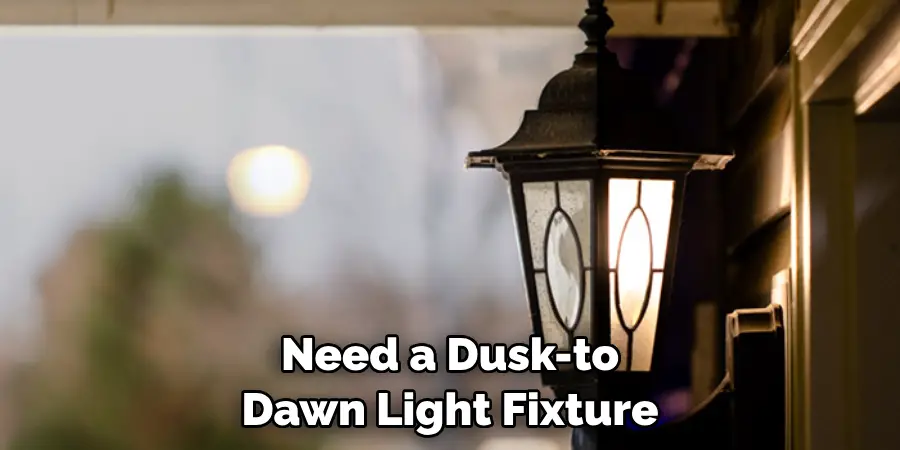
Although most hardware stores will have everything you need in one place, it’s always best to double check and make sure that you have all the parts you require before starting your installation process.
Once you have assembled all of your supplies, it’s time to start installing your new lighting fixture!
10 Easy Steps on How to Install a Dusk to Dawn Light
Installing your own dusk to dawn light is easy – here are the steps:
Step 1. Gather Your Materials:
Before starting the installation process, ensure you have all the materials you need: a screwdriver, screws/bolts, mounting bracket (if necessary), dusk-to-dawn light bulb(s), and wire nuts or other connectors for wiring up. It will ease the installation process if you have all your materials in one place before beginning. Also, if you are replacing an existing light fixture, turn off the power at the breaker box.
Step 2. Locate a Suitable Location:
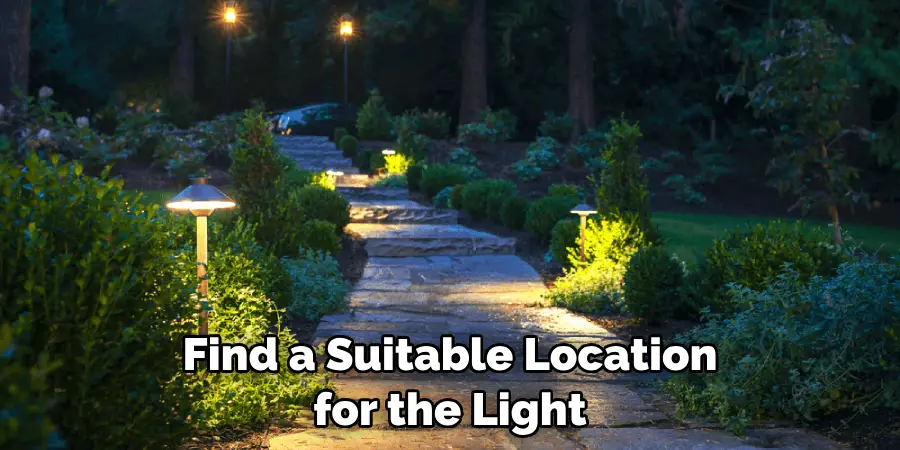
Find a suitable location for the light, making sure that any wiring is safely tucked away and that the fixture won’t be in direct rainfall. It should also be placed high enough to provide adequate lighting but not so high as to become inaccessible. If installing the fixture on an outside wall, ensure it is properly insulated from the elements.
Step 3. Mount the Fixture:
Securely attach the mounting bracket (if needed) onto your wall or ceiling using screws/bolts, and make sure it is level to avoid uneven lighting. Don’t forget to check that your light fixture is still in the position you want it when it’s mounted. As an added measure, securing the bracket with wall anchors is a good idea.
Step 4. Connect the Wiring:
Connect the electrical wires following safety protocols – you may need to use wire nuts or other connectors depending on the type of wiring used where you are installing your light fixture. Make sure all connections are secure before moving on. If you feel uncomfortable doing this yourself, this step should only be done by an experienced electrician.
Step 5. Install the Bulb:
Carefully insert the dusk-to-dawn bulb into the light fixture and make sure it is securely in place. Try not to touch the bulb with your bare hands, as this can reduce its lifespan. Because dusk to dawn bulbs typically come in different wattages, choosing the correct one for your fixture is important.
Step 6. Secure the Cover Plate:
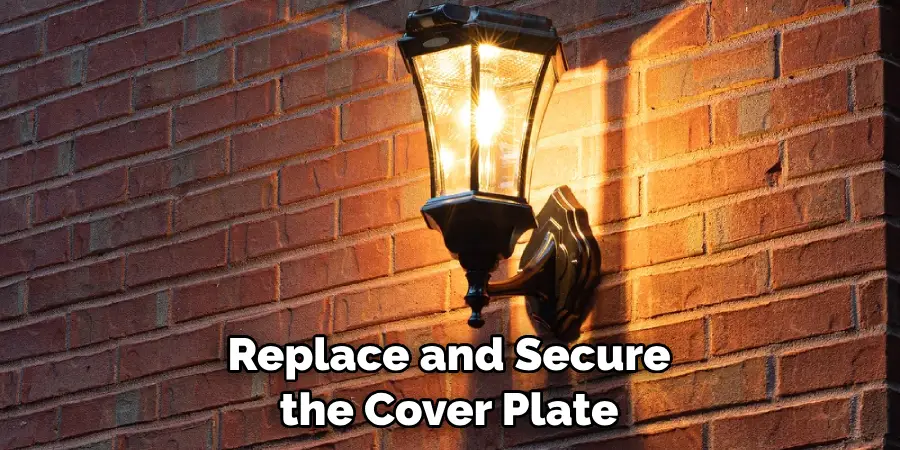
Replace and secure the cover plate using screws or bolts to keep your wiring safe from damage or tampering. You can also add a gasket around the cover plate for extra protection. It will also reduce the risk of water and dust entering your light fixture.
Step 7. Connect to Power Source:
Connect your light fixture to a power source, such as an existing switch or an outdoor outlet. Make sure all connections are secure before moving on! Otherwise, you may cause a fire hazard.
Step 8. Test It Out:
Once everything is connected, it’s time to test out your new lighting setup. Make sure that everything turns on when it gets dark and turns off when it gets light. Check for any flickering or buzzing sounds that may indicate a wiring problem.
Step 9. Make Final Adjustments:
If the light isn’t providing enough lighting, adjust the angle of your fixture and add additional bulbs if needed. Clean the fixture to ensure that it is free of dust and debris, as this can reduce its brightness. Additionally, ensure the fixture is securely mounted so it can’t be easily moved or tampered with.
Step 10. Enjoy!:
You’re all done! Enjoy your new lighting setup and the safety and convenience that comes with it! Remember, if you ever need to make repairs, adjustments, or changes, always turn off the power at the breaker box and consult a professional electrician.
Congratulations – you just installed a dusk to dawn light in no time at all! Investing in a dusk-to-dawn light was an excellent decision, and now that you know how to install one yourself, it’s even easier to enjoy all its benefits.
5 Additional Tips and Tricks
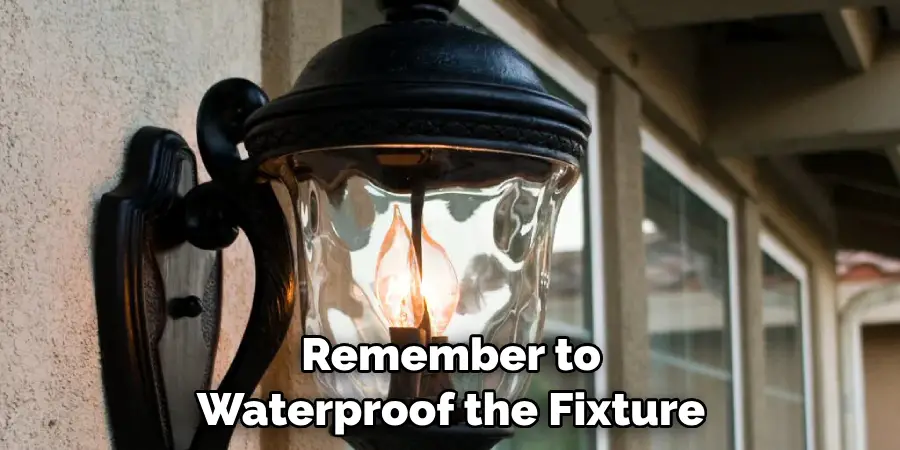
1. If you’re installing a dusk to dawn light in an outdoor area, remember to waterproof the fixture and seal any exposed wires before connecting them.
2. Make sure you securely tighten all connections to avoid potential moisture or electrical damage.
3. Check the manufacturer’s instructions for your specific dusk to dawn light model, as some may require additional steps or tools for installation.
4. After connecting the wires, use a voltage tester to make sure that everything is connected correctly and the circuit is properly grounded before turning on the breaker.
5. Consider installing a motion detector with your dusk to dawn light if you want extra security in your outdoor space. This will help keep unwanted visitors away while providing an added layer of protection for your home or business.
By following these tips and tricks, you can ensure that your new dusk to dawn light is safely and securely installed for years of use.
5 Things You Should Avoid
1. Never operate the dusk to dawn light without all of the connections securely tightened.
2. Do not attempt to install the fixture in wet or damp conditions, as this could cause an electrical shock or fire hazard.
3. Avoid running wires through walls and ceilings without first consulting an electrician for proper installation instructions.
4. Never connect the wires incorrectly; consult your product’s manual for assistance if you’re unsure which wire is positive and negative.
5. Avoid using any tools other than those recommended by the manufacturer when installing dusk to dawn light, as some tools may damage the fixture or wiring.
It’s important always to keep safety in mind when installing a dusk to dawn light so that you can ensure it is properly installed and won’t cause any harm. By avoiding these five tips, your installation will be safe and efficient.
Does a Dusk to Dawn Light Need a Switch?
No, a dusk to dawn light does not need a switch. This type of light is designed to turn on and off automatically based on the area’s available sunlight. Therefore, it does not require additional switches or electrical systems to work.
However, some dusk to dawn lights may come with an optional switch that allows you to manually control when the light turns on and off. In this case, you would need to install the switch according to the manufacturer’s instructions before connecting the wiring of your dusk to dawn light.
Installing a dusk to dawn light doesn’t have to be difficult if you follow these tips and tricks! By taking into account safety guidelines and following product instructions closely, you can ensure that your light is properly installed and secure. With the right preparation, you can easily enjoy the convenience of a dusk to dawn light in your home or business.
Conclusion
How to install a dusk to dawn light can be a daunting task. However, it can become much less intimidating when broken down into basic steps. This guide has taken you through every step of the process, from selecting the proper material and tools to having everything hooked up and ready to go.
Now that you have all the information, you can confidently start your next DIY project. Plus, if you’re ready for something more customized and elaborate, many other options are available.
There’s no need to settle for an average-looking light when you have all the knowledge necessary to create an amazing craft item that will make your house shine!

