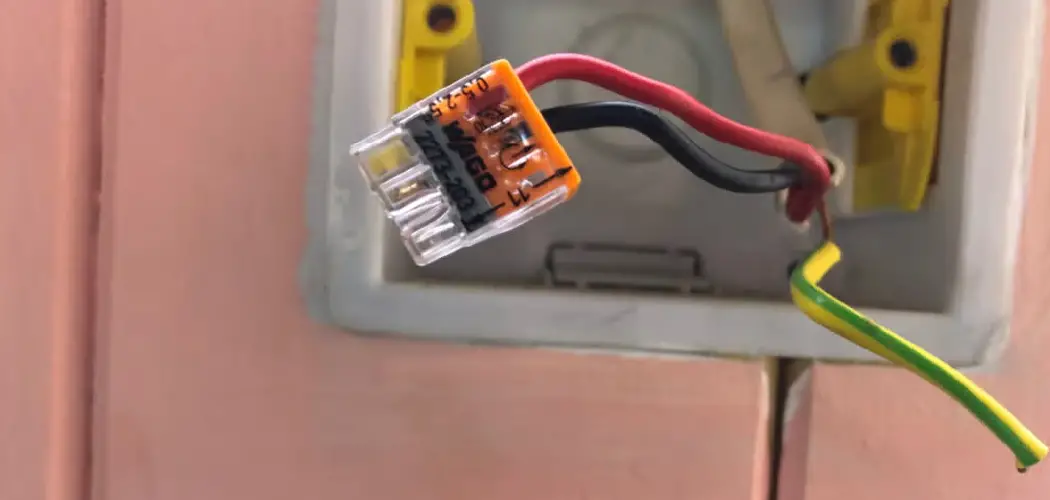
Are you tired of your bright, harsh lighting in your home? Installing a dimmer switch can create a more comfortable and customizable atmosphere for any room.
Installing a dimmer switch with 4 wires can be a straightforward and rewarding DIY project, allowing you to control the brightness of your lights and set the perfect ambiance in your home. Whether you’re upgrading an existing light switch or adding functionality to a new one, understanding the wiring process is crucial to ensure safety and proper operation.
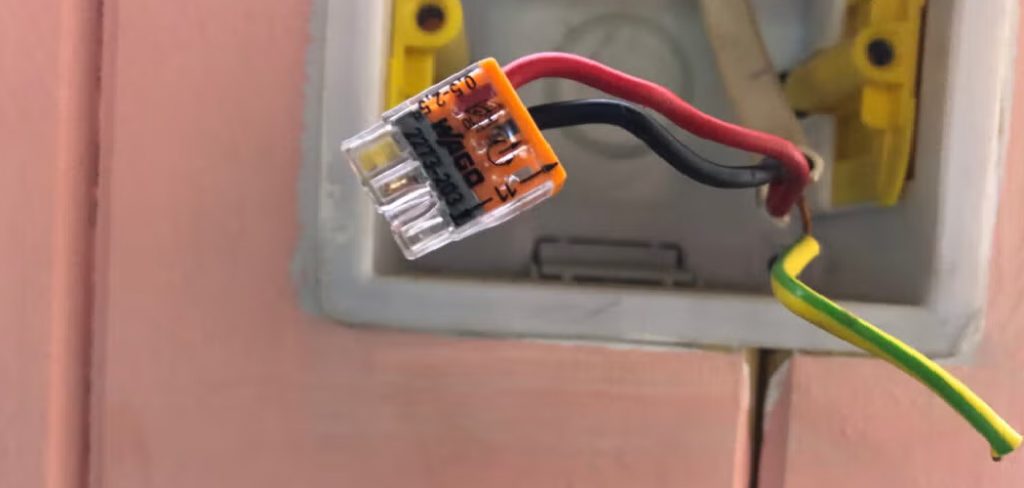
This guide on how to install a dimmer switch with 4 wires will walk you through the necessary tools, step-by-step instructions, and safety precautions to help you successfully install a 4-wire dimmer switch with confidence.
What Are the Benefits of a Dimmer Switch?
Dimmer switches provide various benefits for homeowners, making them a popular choice for lighting options. Here are some reasons why you might want to consider installing a dimmer switch:
- Energy Savings: With the ability to control the brightness of your lights, dimmer switches allow you to adjust the amount of electricity used, potentially saving you money on your energy bills.
- Extends Bulb Life: By reducing the power running through the bulb, dimmers can help extend its lifespan. This means fewer replacements and less waste.
- Set the Ambiance: Whether you’re looking for bright task lighting or a cozy atmosphere, dimmers give you the flexibility to set the perfect ambiance for any occasion.
- Remote Control: With the rise of smart home technology, many dimmers now come with remote control capabilities. This means you can adjust your lights from anywhere in the house or even while away from home.
- Multi-functional Use: Dimmer switches are not just limited to controlling overhead lights. They can also be used for lamps and other lighting fixtures, providing a seamless and convenient way to control all your lights.
- Easy Installation: Many dimmer switches are designed for easy installation, making it a simple DIY project for homeowners. However, if you’re not comfortable with electrical work, it’s always best to hire a professional electrician.
What Will You Need?
If you decide to install a dimmer switch yourself, here are some essential items you will need:
- Dimmer Switch: This is the main component of the installation process. Make sure to choose a dimmer switch that is compatible with your current light fixtures.
- Screwdriver: You will need this tool to loosen and tighten screws during installation.
- Wire Strippers: These are used to remove insulation from the ends of wires.
- Electrical Tape: This is used to secure loose wires and prevent electrical accidents.
- Voltage Tester: This device ensures that no power is running through the wires before starting the installation process.
9 Easy Steps on How to Install a Dimmer Switch With 4 Wires
Step 1. Turn Off the Power at the Circuit Breaker:
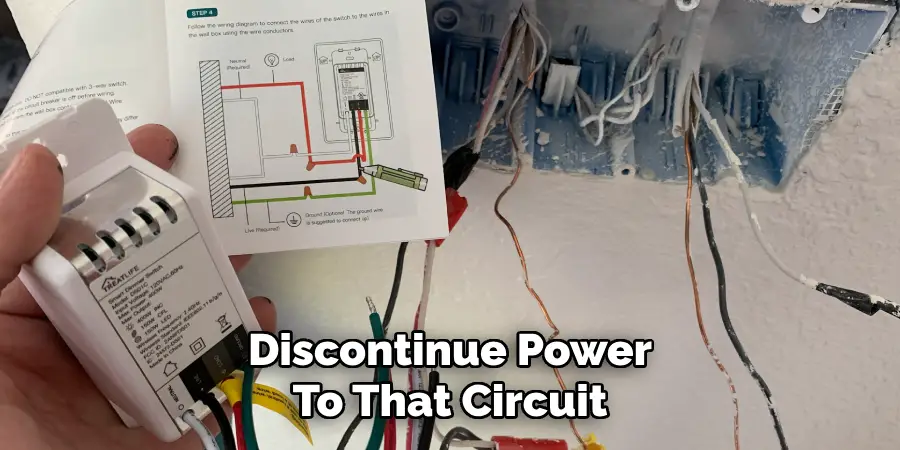
Before beginning any electrical work, it’s crucial to ensure your safety by turning off the power supply. Locate your circuit breaker panel and identify the breaker that controls the area where you plan to install the dimmer switch. Flip the breaker to the “off” position to discontinue power to that circuit.
Double-check by attempting to turn on the light or testing with a voltage tester to confirm no electricity is flowing. Taking this precaution is essential to avoid any risk of electric shock or damage to the system during the installation process.
Step 2. Remove the Existing Switch:
Carefully remove the cover plate of the existing switch by unscrewing the screws that secure it in place. Use a screwdriver to loosen them gently, taking care not to strip the screws or damage the plate. Once the cover plate is removed, set it aside in a safe location. Next, inspect the switch itself, which is typically held in place by mounting screws. Unscrew these mounting screws to release the switch from the electrical box.
Slowly pull the switch out, giving you access to the wiring behind it. Before proceeding further, take a moment to examine the wiring configuration and note the positions of the wires connected to the switch terminals. This will help ensure accurate reconnection later. If needed, take a photo of the connections for reference. Carefully disconnect the wires by loosening the terminal screws or unhooking them, depending on the type of switch.
Step 3. Inspect the Wiring:
Inspect the exposed wiring for any signs of damage, wear, or corrosion. Look closely for frayed insulation, burn marks, or loose connections, as these could indicate potential hazards or issues in the circuit. Ensure all wires are securely intact and free from cracks or breaks in their insulation, which could lead to electrical shorts or other complications.
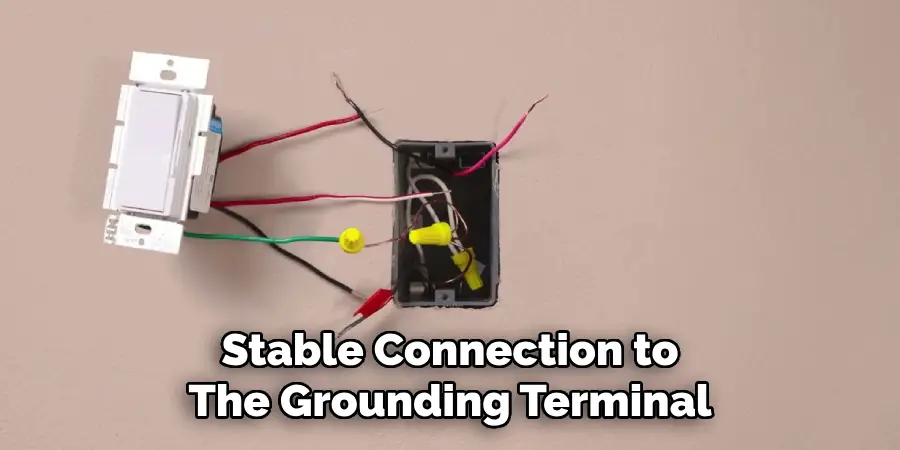
If you notice any damaged sections, it is crucial to address them promptly by replacing the affected wire or consulting a qualified electrician. Additionally, check that the grounding wire, typically green or bare copper, is in good condition and has a stable connection to the grounding terminal.
Step 4. Prepare the Wires:
To properly prepare the wires, start by carefully stripping the ends of each wire to expose a sufficient length of copper for secure connections. This can typically be achieved using a wire stripper, which allows you to remove the insulation without damaging the wire.
Aim to expose around half an inch of copper, but always refer to the specific electrical requirements or instructions for your project to confirm the needed length. Once stripped, inspect the exposed copper to ensure it is free of frays, oxidation, or other imperfections that might impede a solid electrical connection. If you find any damage, trim the wire further and re-strip it to reveal a clean section of copper.
Afterward, gently twist the exposed strands of wire together if they are stranded, creating a tight, uniform end that will be easier to insert into terminals or secure with wire connectors.
Step 5. Connect the Dimmer Switch Wires:
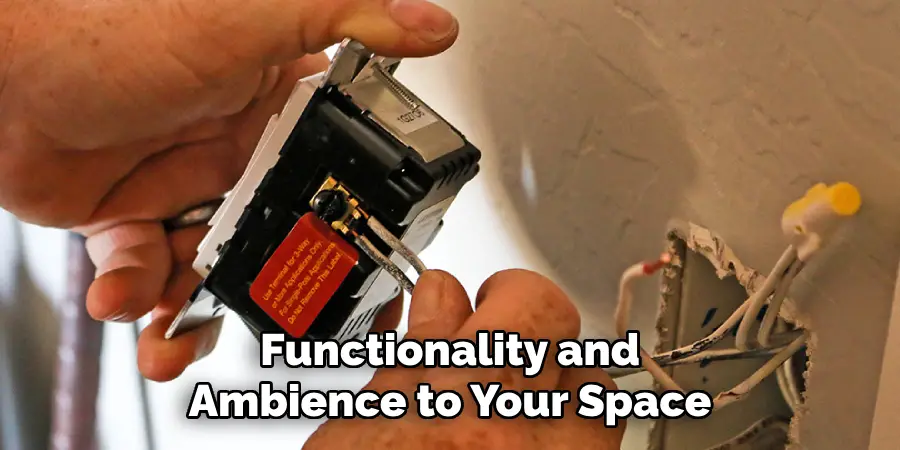
Begin by identifying the wires on the dimmer switch. Most standard dimmer switches will have three wires—the black (hot) wire, the green or bare copper wire (ground), and a red or second black wire intended for load or traveler connections, depending on the switch type. Carefully match these wires to their corresponding connections in the electrical box.
Step 6. Secure the Connections:
Once the wires are matched, use wire connectors (also known as wire nuts) to secure each connection tightly. Twist the connectors clockwise over the joined wires until they are firmly in place, ensuring no exposed wire is visible.
For added safety, you may wrap electrical tape around the base of the wire connectors to further secure the connections and prevent them from loosening over time. Double-check that the connections are strong by gently tugging on the wires—if they remain firmly in place, the connections are secure.
Step 7. Attach the Dimmer to the Wall Box:
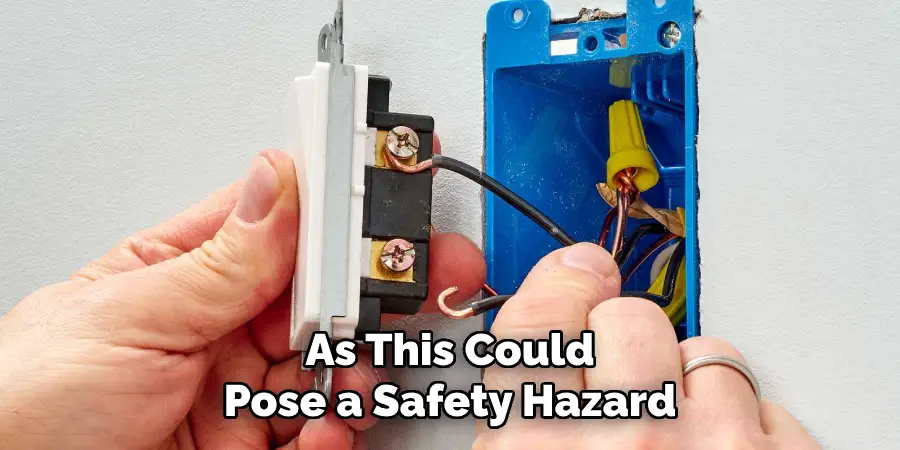
Carefully tuck the connected wires into the wall box, ensuring they are arranged neatly to avoid crimping or pinching. Align the dimmer switch with the mounting holes on the wall box, then use the screws provided to secure it in place. Tighten the screws evenly to ensure the switch sits flush against the wall.
Be cautious not to overtighten, as this could damage the dimmer or the wall box. Once the dimmer is mounted, gently test its stability by pressing on it to confirm it is securely attached. Take a moment to double-check that no wires are protruding from the sides, as this could pose a safety hazard.
Step 8. Install the Faceplate:
Carefully align the faceplate with the dimmer switch, ensuring that it fits snugly over the device without any force. Many modern faceplates are designed to snap into place, but if screws are required, use the ones provided in the packaging. When fastening the screws, tighten them just enough to hold the faceplate firmly without causing any warping or cracking. Once the faceplate is installed, take a closer look to ensure everything is aligned correctly and there are no gaps between the faceplate and the wall.
Step 9. Turn On Power:
After ensuring the faceplate is securely in place and all components are aligned, it’s time to restore power to the circuit. Head to the breaker box and locate the switch you turned off at the beginning of the process. Flip the breaker back to the “on” position carefully. Once the power is restored, return to the device to confirm proper functionality. Test the switch or outlet by turning it on or plugging in an electrical device to ensure everything is working as expected.
By following these steps, you can safely and efficiently install a dimmer switch, adding both functionality and ambience to your space.
Conclusion
Installing a dimmer switch with four wires can seem challenging at first, but with careful preparation and attention to detail, it’s a straightforward task.
By ensuring you have the correct tools, turning off the power, and following proper wiring techniques, you can complete the installation process successfully. Always double-check your connections and test the switch’s functionality before completing the project. With your new dimmer switch in place, you can enjoy customizable lighting that enhances the comfort and style of your home.
Hopefully, the article on how to install a dimmer switch with 4 wires has given you the knowledge and confidence to tackle this project on your own.

