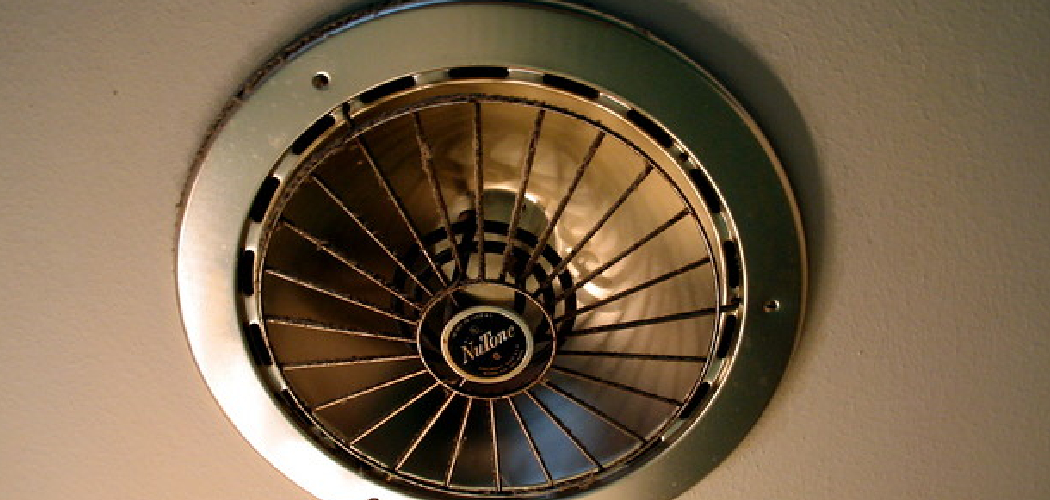
Transforming your bathroom into a warm and inviting space is easily achievable with the installation of a bathroom heat lamp. This addition not only enhances comfort but also addresses the need for efficient heating in colder seasons.
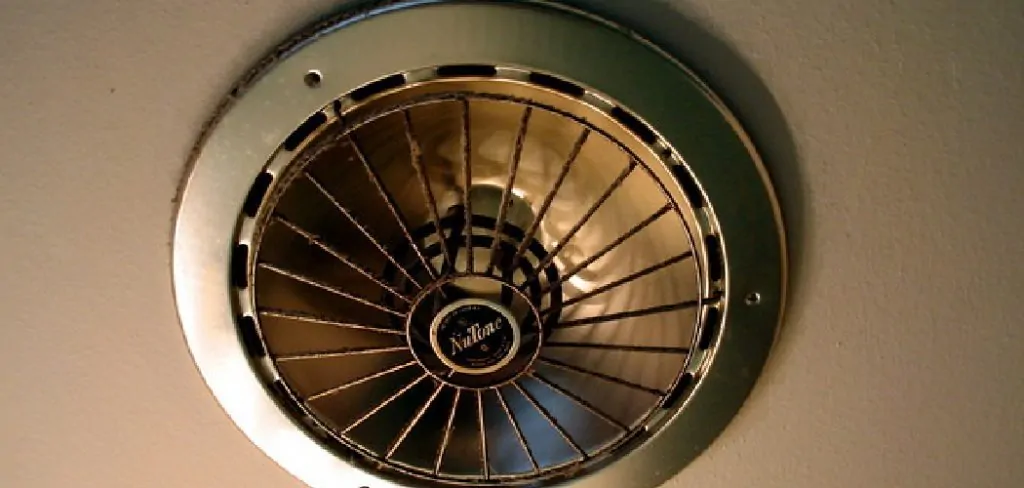
Installing a bathroom heat lamp may seem like a daunting task, but with the right guidance, it becomes a manageable and rewarding DIY project. This article provides a comprehensive guide on how to install a bathroom heat lamp, offering step-by-step instructions to ensure a safe and effective setup.
From selecting the appropriate location and wiring the lamp to understanding safety considerations, this guide equips homeowners with the knowledge to create a cozy and functional bathroom environment that goes beyond mere aesthetics. Say goodbye to chilly mornings and hello to the luxurious warmth of a well-installed bathroom heat lamp.
The Benefits of A Bathroom Heat Lamp
Bathroom heat lamps offer both comfort and practicality, especially in colder climates. They provide instant warmth, creating a cozy environment that can make morning routines more pleasant. Additionally, these lamps help in drying out the moisture in the air and on various surfaces, reducing the potential for mold growth and making cleaning easier.
Importance of Proper Installation for Safety and Efficiency
Proper installation of your bathroom heat lamp is paramount for both safety and efficiency. Incorrect installation can lead to a range of risks including electrical hazards, fires, and damage to ceiling and wall structures. Moreover, a heat lamp that is not installed correctly may not operate at its optimal efficiency, wasting energy and potentially leading to higher utility bills.
By following the proper procedures and adhering to building codes, you ensure the safe functioning of the lamp and maintain the integrity of your home’s infrastructure. This not only safeguards your investment but also guarantees that the bathroom heat lamp serves its purpose effectively, providing consistent warmth without compromising safety or energy conservation.
Assessing the Bathroom Space
Before commencing with the installation of a bathroom heat lamp, assessing your bathroom space is crucial. This involves measuring the dimensions of the room to determine the appropriate wattage needed for adequate heating. It’s important to take into consideration the height of the ceiling, the existence of ventilation, and the overall size of the area to be heated.
Additionally, you must identify an optimal location for the heat lamp that is away from water sources and potential contact with towels or other flammable materials. A well-considered assessment will not only impact the efficiency of the heat output but also contribute to the safety aspects of the installation process.
Determining the Ideal Location for the Heat Lamp
Choosing the right location for your bathroom heat lamp is a decision that impacts both functionality and safety. Ideally, the heat lamp should be positioned over the area where the warmth is most desired, such as over the shower area or centrally located to cover the main parts of the bathroom.
It should be at least three feet away from any water source to prevent steam contact. Keep in mind the placement of joists in your ceiling, as the heat lamp will need to be mounted securely. The area must also be clear of insulation and other potential fire hazards.
Furthermore, the positioning should facilitate even heat distribution without the risk of damage or discoloration to any fixtures and fittings due to prolonged exposure. Conducting a mindful placement of your heat lamp will ensure maximum comfort and safety in your bathroom space.
Identifying Nearby Electrical Outlets and Switches
Before proceeding with the installation, it is essential to locate nearby electrical outlets and switches to understand where the wiring for the heat lamp will originate. You will need to ensure that there is a power source close enough to connect to the heat lamp without extending wires over long distances, which can lead to potential hazards and a decrease in energy efficiency.
Moreover, the switch that controls the heat lamp should be easily accessible and located in a convenient spot, preferably outside of high moisture areas to minimize the risk of electrical shock. By carefully planning the electrical connections, you maintain the aesthetic appeal of your bathroom and ensure that the heat lamp functions seamlessly with your existing electrical system.
Checking for Proper Ventilation and Clearance Requirements
When installing a bathroom heat lamp, checking for proper ventilation is a critical step to prevent overheating and ensure air quality. The heat generated by the lamp should have a clear path to disperse, avoiding any build-up of excessive warmth that might damage the ceiling or create discomfort.
Ensure that existing bathroom vents are unobstructed and functioning correctly, and consider the installation of an additional ventilation fan if necessary, especially for bathrooms without windows. Additionally, clearance requirements are vital for safety. The heat lamp should be installed at a safe distance from all combustible materials, including built-in cabinets and drapes.
Adhering to local building codes can provide guidance on the specific clearances needed for your bathroom configuration. By taking into account ventilation and clearance, you will enhance the longevity of your heat lamp and maintain a safe and pleasant bathroom environment.
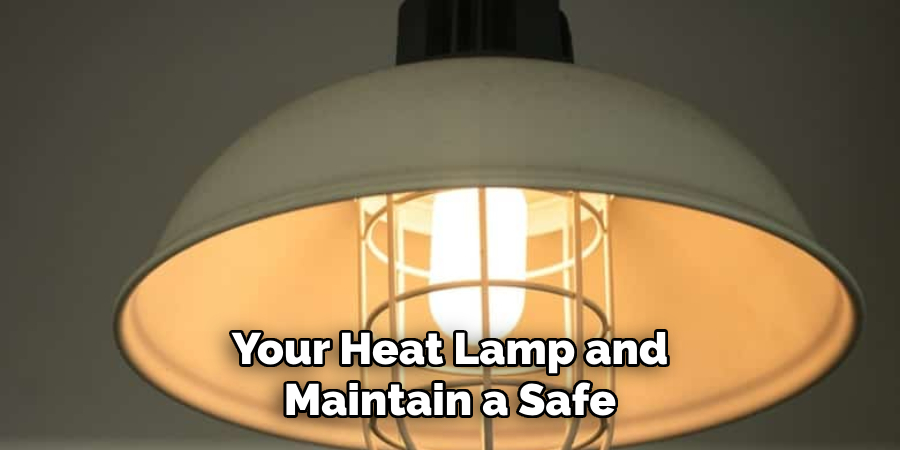
Gathering Necessary Tools and Materials
Before starting the installation process, it is important to gather all the necessary tools and materials to ensure the project proceeds smoothly. You will need a ladder, a drill with the appropriate drill bit, screws, electrical wire, wire connectors, a screwdriver, and the heat lamp unit itself.
Depending on the specifics of the heat lamp model and the setup of your bathroom, you may also require additional tools such as a stud finder, drywall saw, and electrical tape. It’s also prudent to have protective eyewear and gloves to safeguard against potential debris and electrical risks.
Accumulating these items in advance will help minimize interruptions during the installation, allowing for a more efficient and streamlined process.
10 Methods How to Install a Bathroom Heat Lamp
1. Select the Right Location:
Before beginning the installation, carefully choose the location for your bathroom heat lamp. Consider areas where you need additional warmth, such as near the shower or bathtub.
Ensure that the chosen spot complies with safety regulations, keeping the lamp away from water sources and at a suitable distance from combustible materials. Additionally, consider the size of your bathroom and select a location that will provide adequate coverage for the entire space.

When determining the specific spot for your heat lamp, also take into account any mounting requirements. Some lamps may need to be installed on a wall or ceiling, while others can be placed on a shelf or mounted to an existing light fixture. Make sure you have all necessary tools and hardware for the chosen location.
Furthermore, think about the wiring aspect of your heat lamp placement. If you are installing a new fixture, ensure that the wiring is accessible and can be easily connected to your home’s electrical system. If you are replacing an existing light fixture with a heat lamp, make sure to disconnect the power before beginning any work.
2. Choose the Appropriate Type of Bathroom Heat Lamp:
Bathroom heat lamps come in various types, including infrared and radiant heat lamps. Determine the most suitable type for your needs based on factors like the size of the bathroom and the desired level of warmth.
Infrared heat lamps are often favored for their efficient and focused heat distribution. Radiant heat lamps, on the other hand, provide a more gentle warmth and can be used for longer periods of time without causing discomfort.
When choosing a bathroom heat lamp, it’s important to consider the size of your bathroom. If you have a smaller bathroom, an infrared heat lamp may be more suitable as it provides targeted heat that is effective in small spaces. However, if you have a larger bathroom, a radiant heat lamp may be a better choice as it can cover a wider area and provide more evenly distributed warmth.
Additionally, consider the level of warmth that you desire. If you prefer a higher temperature in your bathroom, an infrared heat lamp may be a good fit as it produces intense and focused heat. However, if you want more subtle warmth, a radiant heat lamp would be a better option as it emits lower levels of heat that can be used for longer periods of time without causing discomfort.
3. Check Electrical Wiring and Capacity:
Assess the existing electrical wiring in your bathroom to ensure it can support the additional load of a heat lamp. Check the electrical capacity of your circuit and, if necessary, consult an electrician to upgrade the wiring or install a dedicated circuit for the heat lamp.
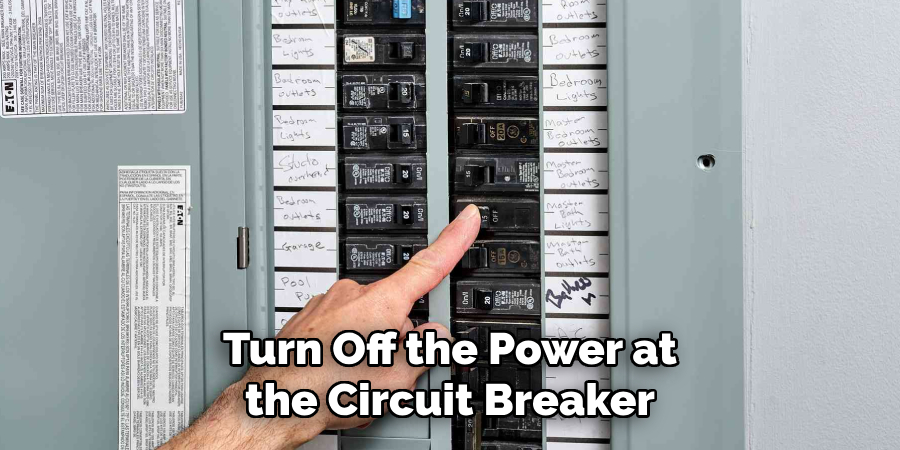
Safety is paramount when working with electricity. Make sure to turn off the power at the circuit breaker before performing any electrical work. However, if you are not comfortable working with electrical systems, it is best to hire a licensed electrician for the job.
4. Turn Off Power:
Before starting any electrical work, turn off the power to the bathroom at the circuit breaker. Use a voltage tester to confirm that the power is indeed off. This precautionary step is crucial to prevent accidents or electrical shocks during the installation process.
Once the power is turned off, remove the light fixture and disconnect any wires. Take note of which wire goes where, as you will need to reconnect them later when installing the new fixture. To be extra safe, you can also put a piece of electrical tape over the exposed wires to prevent any accidental contact.
5. Install a Suitable Fixture:
If your bathroom doesn’t already have a suitable fixture for the heat lamp, install a ceiling-mounted or wall-mounted electrical box. Ensure that the fixture is securely mounted to provide proper support for the heat lamp. Follow the manufacturer’s instructions for installing the fixture.
Once you have installed the electrical box, you can proceed with installing the heat lamp. Make sure to choose a heat lamp that is appropriate for your bathroom size and energy needs.
Before starting the installation process, double check that all electricity has been turned off in order to avoid any accidents. It’s also important to ensure that there is enough clearance around the fixture as specified by the manufacturer.
If you are installing a ceiling-mounted heat lamp, use a stepladder to access the ceiling. Carefully remove the cover of the electrical box and thread any necessary wires through it. Then, attach the fixture base to the electrical box using screws or other hardware provided by the manufacturer.
6. Mount the Bathroom Heat Lamp:
Once the fixture is in place, mount the bathroom heat lamp according to the manufacturer’s guidelines. Secure the lamp to the fixture, making sure it is level and stable. Some models may have specific mounting requirements, so refer to the provided instructions for accurate installation.
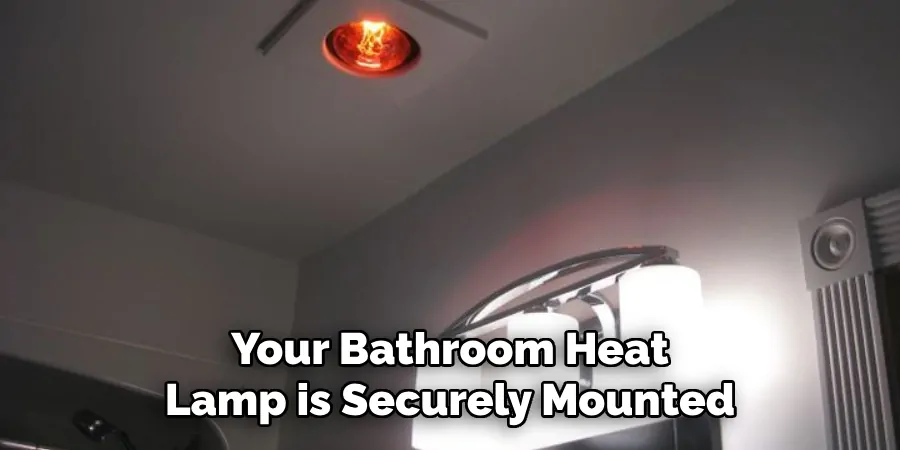
Now that your bathroom heat lamp is securely mounted, it’s time to test it out. Before turning on the power, make sure all connections are properly secured and insulated to avoid any potential hazards. Once everything is checked, turn on the power and switch on the heat lamp.
After a few minutes, you should feel the warmth radiating from the lamp. Adjusting the angle of the lamp can help direct the heat to the desired area, providing added comfort.
It’s important to note that bathroom heat lamps are not meant to replace traditional heating methods in your home. They are designed for targeted heating in small spaces and should not be relied on solely for keeping a room warm.
7. Connect Wiring:
Carefully connect the wiring of the heat lamp to the electrical system following the provided instructions. Typically, this involves connecting the hot, neutral, and ground wires. Use wire nuts to secure the connections and ensure there are no exposed wires. Double-check your work to guarantee a safe and reliable electrical connection.
However, if you are not familiar with electrical wiring and connections, it is always best to seek the help of a professional electrician. Additionally, make sure to turn off the power supply before starting any wiring connections and follow all safety precautions.
It is important to carefully read and follow the instructions provided with the heat lamp. This will ensure that you are connecting the wiring correctly and avoiding any potential hazards. The hot wire is typically black or red in color, while the neutral wire is white.
The ground wire is usually green or bare copper and is important for protecting against electrical shocks. If you are unsure about the color coding of your wires, make sure to consult an electrician or refer to a wiring guide.
8. Install a Timer or Switch:
Consider installing a timer or switch to control the bathroom heat lamp. This provides convenience and helps manage energy consumption. Follow the manufacturer’s instructions for installing and wiring the timer or switch. A timer can be set to automatically turn off the heat lamp after a specified duration, contributing to energy efficiency.

A switch is another option to control the bathroom heat lamp. It allows for manual control of the heat lamp, so it can be turned off when not needed. Some switches also have a built-in timer function that can be programmed to turn off the heat lamp after a set amount of time.
9. Check for Proper Ventilation:
Adequate ventilation is crucial when installing a bathroom heat lamp. Ensure that the bathroom has proper ventilation to dissipate heat and prevent moisture buildup. If your bathroom lacks ventilation, consider installing an exhaust fan to maintain air circulation and prevent potential damage to the heat lamp or surrounding materials.
Additionally, a lack of proper ventilation can lead to mold growth and create an unpleasant environment in your bathroom. However, if you already have an exhaust fan in place, make sure it is clean and functioning properly.
10. Test the Bathroom Heat Lamp:
After completing the installation, turn the power back on and test the bathroom heat lamp. Confirm that it functions as expected and provides the desired level of warmth. Check for any unusual sounds or issues during operation. If the lamp comes with multiple heat settings, test each setting to ensure versatility and functionality.
Additionally, observe the heat distribution in the bathroom to ensure that it is evenly distributed and not concentrated in one specific area.
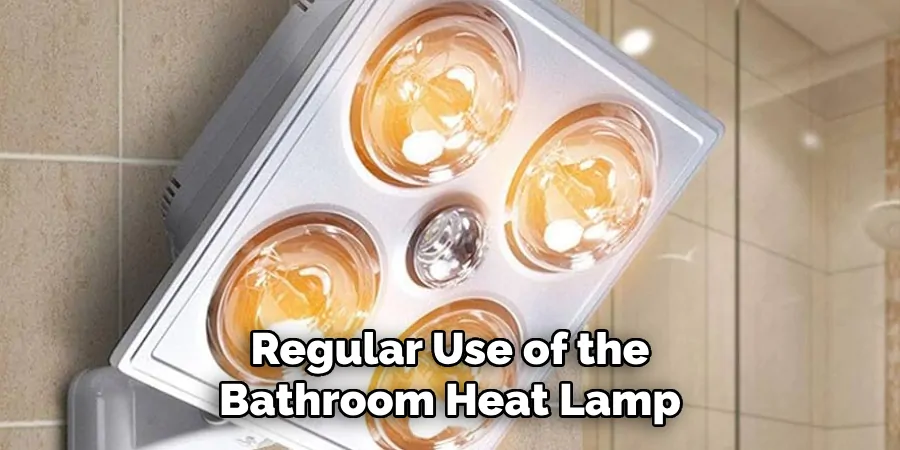
If any issues arise during testing, refer to the manufacturer’s manual for troubleshooting steps or contact a professional electrician for assistance. It is important to resolve any issues before regular use of the bathroom heat lamp to ensure safety and optimal performance.
Conclusion
In conclusion, installing a bathroom heat lamp adds comfort and functionality to any bathroom space while also enhancing overall safety and convenience. By following the comprehensive steps outlined in the installation process, homeowners can confidently integrate this valuable addition to their bathroom environment.
The careful assessment of space, selection of appropriate tools and materials, and adherence to safety protocols ensure a successful installation that meets both aesthetic and functional requirements.
Additionally, the emphasis on proper wiring, positioning, and testing underscores the importance of meticulous attention to detail throughout the installation process. Thanks for reading, and we hope this has given you some inspiration on how to install a bathroom heat lamp!

