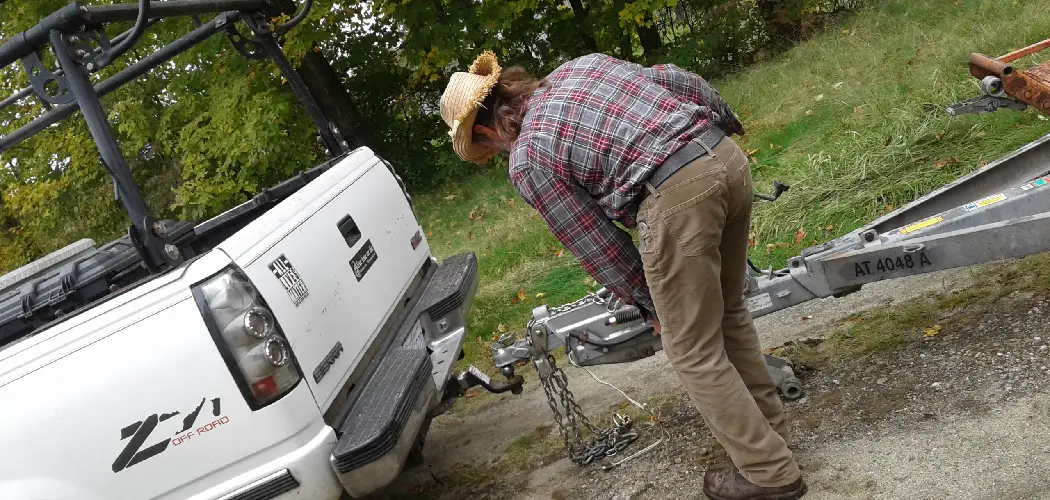
Hooking up trailer lights to your truck is an essential skill for ensuring safety and compliance on the road.
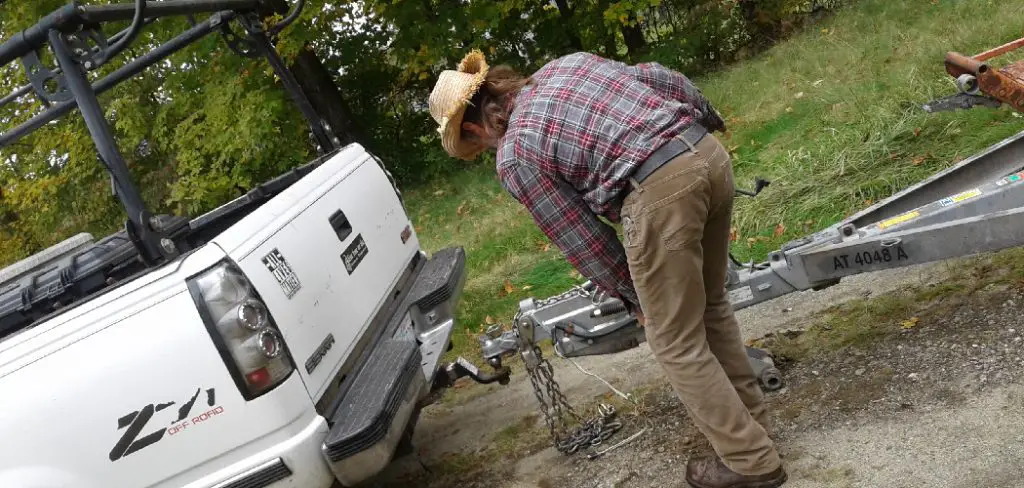
Properly functioning trailer lights help communicate your intentions to other drivers, reducing the risk of accidents.
This guide on how to hook up trailer lights to trucks will walk you through the process step-by-step, making the task straightforward and efficient. Whether you’re a seasoned driver or new to towing, understanding how to connect your trailer lights correctly is crucial for any towing setup.
What is a Trailer Light?
A trailer light is a group of lights attached to the back of a vehicle that are used when towing. These lights consist of brake lights, turn signals, and tail lights, which mimic those on a typical car or truck.
They work in sync with your vehicle’s lights and provide crucial information to other drivers about your movements while towing.
It’s important to note that in some states, it is illegal to tow a trailer without functioning lights. Failure to comply with these laws can result in fines and jeopardize the safety of yourself and other drivers on the road.
The Benefits of Using a Trailer Light Kit
Now that you have an understanding of what trailer lights are, let’s dive into why it’s essential to use a trailer light kit when connecting your trailer to your truck.
Safety:
As mentioned earlier, properly functioning trailer lights help communicate your intentions to other drivers on the road. This ensures that everyone is aware of your movements while towing, reducing the risk of accidents.
Compliance:
Using a trailer light kit ensures that you are compliant with state laws and regulations. This not only avoids any potential fines but also promotes safe driving practices for yourself and others on the road.
Convenience:
A trailer light kit comes with all the necessary components to connect your trailer lights to your truck, making the process quick and easy. It eliminates the need to purchase individual parts and ensures that you have everything you need in one package.
What You’ll Need
Before you start connecting your trailer lights, make sure you have all the necessary tools and materials within reach. Here’s what you’ll need:
- Trailer Light Kit (Includes Lights, Wiring Harness, and Connectors)
- Wrench
- Screwdriver
- Wire Strippers
- Electrical Tape
- Zip Ties
- Safety Glasses
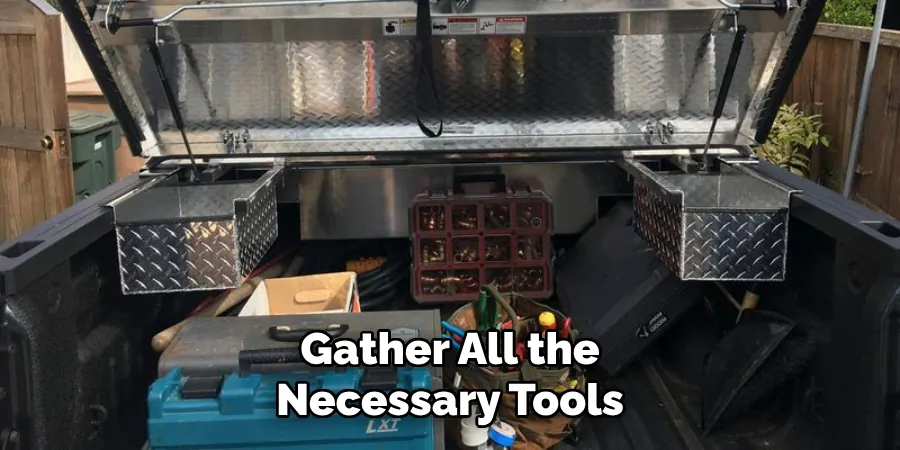
8 Simple Step-by-step Guidelines on How to Hook Up Trailer Lights to Truck
Step 1: Familiarize Yourself with the Trailer Light Kit
Before you begin the installation process, it’s crucial to become acquainted with the components of your trailer light kit. Open the kit and identify each part, including the lights themselves, the wiring harness, and the connectors.
Take a moment to review any instructions or diagrams included by the manufacturer, as they might provide specific insights tailored to your particular kit.
Ensure that all components are complete and undamaged, and understand the purpose and placement of each part. This knowledge will streamline the installation process and help prevent errors when connecting the lights to your truck.
Step 2: Prepare Your Truck
Start by parking your truck on a level surface with enough room to safely work around it. Make sure the engine is turned off and the parking brake is engaged.
If your truck has an existing trailer wiring harness, remove any old wires or connectors before proceeding. Use a wrench if necessary to loosen any bolts holding the old harness in place.
The first step when preparing your truck is to locate the wiring harness connector. This is usually found near the hitch, bumper, or rear frame of your vehicle. If you can’t find it, consult your truck’s owner manual for guidance.
Step 3: Install the Trailer Light Wiring Harness
Once you have located the wiring harness connector on your truck, attach the trailer light wiring harness by plugging it into the corresponding connection point. Ensure a snug fit by pushing in and twisting clockwise until secure.
If your truck does not have a pre-installed trailer light wiring harness, you’ll need to install one before proceeding with this step. Consult a certified mechanic or refer to your truck’s manual for specific instructions on installing a wiring harness.
Step 4: Connect the Ground Wire
The white wire included in your trailer light kit is the ground wire and should be connected to a suitable grounding point on your truck. This could be a bare metal surface or an existing grounding bolt.
Use a screwdriver to loosen any bolts if necessary, then wrap the end of the ground wire around the bolt and tighten it securely with a wrench.
It’s crucial to ensure a proper ground connection as it will help prevent electrical shorts and provide a solid base for your trailer lights to function correctly.
Step 5: Connect the Brake Lights
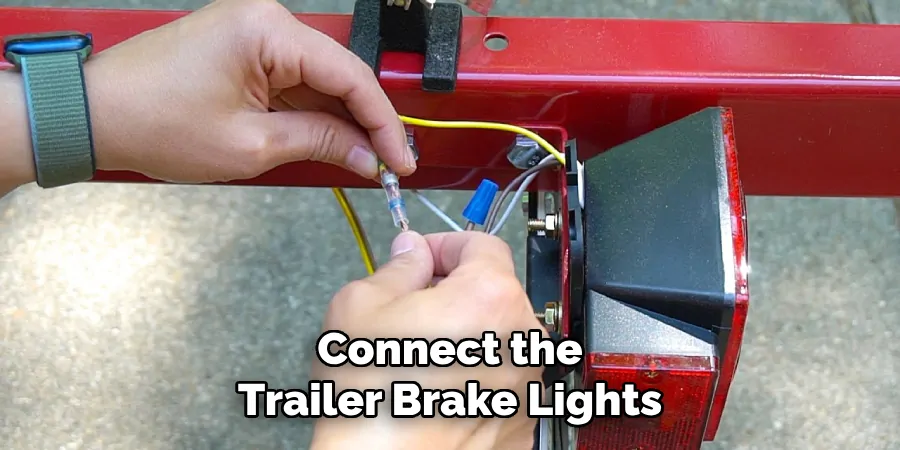
To connect the brake lights, identify the brake light wire in your trailer light kit, which is typically colored green. This wire needs to be connected to the corresponding brake light circuit in your trailer wiring harness.
Begin by stripping a small portion of the insulation from the end of the brake light wire and the corresponding wire in your harness using wire strippers.
Next, use a connector to fasten the brake light wire to its matching circuit. Slide the stripped ends of both wires into opposite ends of the connector. Secure the connection by crimping the connector with a pair of pliers.
It’s essential to ensure a tight and secure connection to avoid any malfunction while towing. Once connected, wrap the connected area with electrical tape to protect it from moisture and prevent any potential shorts.
Make sure all connections are well-insulated to maintain the integrity of the brake lights’ operation.
Step 6: Connect the Turn Signals
The remaining wires in your trailer light kit are for the turn signals, with one being colored yellow and the other brown. These wires should be connected to their corresponding circuits in your truck’s wiring harness, which are usually labeled “Left” and “Right.”
Follow the same process used for connecting the brake lights – strip a small portion of insulation from both wire ends, connect them using a connector, crimp it securely, and wrap it with electrical tape.
The turn signals are essential for communicating your intentions to other drivers while towing, so ensure their functionality and proper connection before moving on to the next step.
Step 7: Connect the Tail Lights
The final wire in your trailer light kit is typically colored brown and is used for the tail lights. These lights provide visibility to other drivers behind you while towing at night or in low-light conditions.
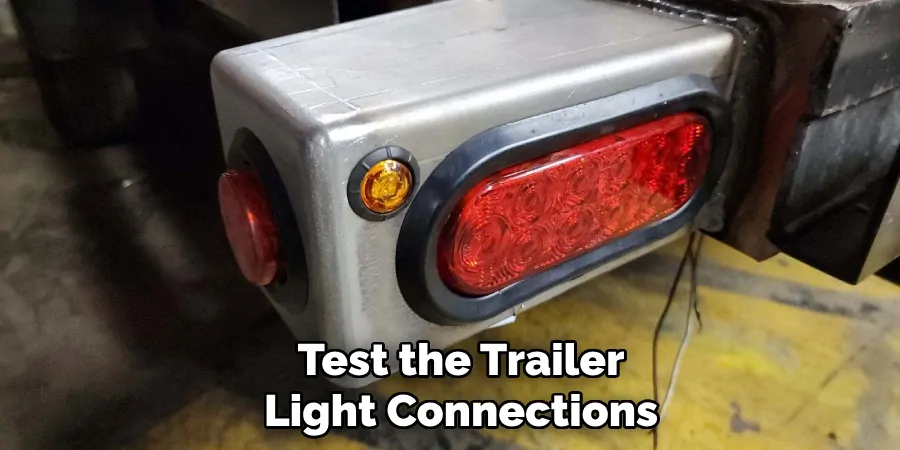
To connect the tail lights, locate the matching circuit in your truck’s wiring harness and follow the same process as connecting the brake lights and turn signals – strip a small portion of insulation, connect with a connector, crimp securely, and wrap with electrical tape.
Step 8: Test the Lights
Before you hit the road, it’s essential to test all of your trailer lights to ensure they are functioning correctly. Have an assistant stand outside your truck while you operate each light – tail lights, brake lights, turn signals – one by one.
Make sure they are bright and responsive, indicating proper functionality. If any issues arise during testing, double-check your connections and consult the manufacturer’s instructions if needed.
Following these steps on how to hook up trailer lights to truck will help you successfully install a trailer light kit on your truck, providing crucial visibility and safety while towing.
Remember to follow all safety precautions and consult professional guidance if needed. Now, you’re ready to hit the road with confidence, knowing that your trailer lights are properly installed and functioning as they should be. Happy towing!
Frequently Asked Questions
Q1: Do I Need Any Special Tools to Install Trailer Lights on My Truck?
A: No, you do not need any special tools. However, it may be helpful to have a wire crimping tool, electrical tape, and wire strippers for a more secure installation. The specific tools needed may vary depending on your truck’s make and model, so consult the manufacturer’s instructions for any additional requirements.
Q2: Can I Install Trailer Lights Myself?
A: Yes, with the right tools and following these steps, you can install trailer lights on your truck yourself. However, if you are not comfortable or experienced in electrical work, it is always recommended to seek professional help to ensure proper installation and safety.
Q3: Do All Trucks Come with a Pre-Installed Trailer Light Wiring Harness?
A: No, not all trucks come with a pre-installed wiring harness for trailer lights. Some models may have this feature included as standard, while others may require you to install one before connecting trailer lights.
It is essential to consult your truck’s manual or a certified mechanic for specific instructions on installing a wiring harness if necessary
Conclusion
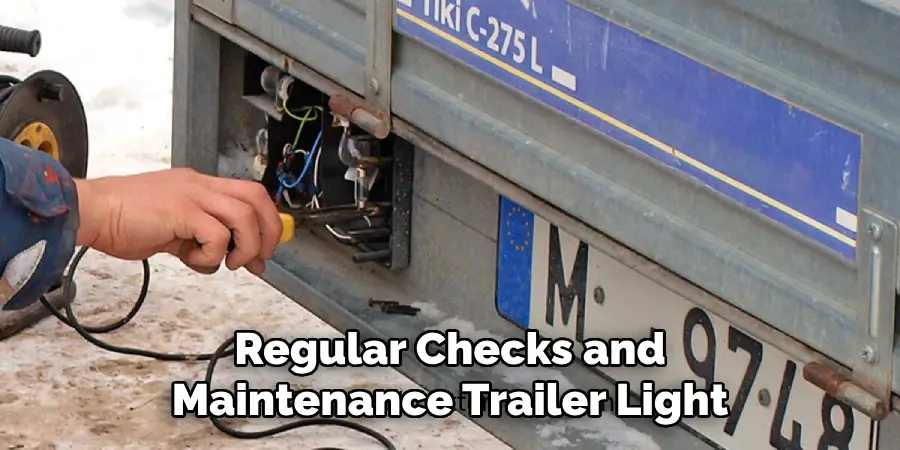
Properly installing and maintaining trailer lights is crucial for safe towing experiences. It ensures that your vehicle is visible to other drivers, thereby reducing the risk of accidents on the road.
By following the detailed steps on how to hook up trailer lights to truck outlined above, you can confidently install a trailer light kit on your truck, enhancing both functionality and safety.
Remember, regular checks and maintenance of these lights are important to ensure ongoing reliability. Should you encounter any issues or lack confidence in performing the installation yourself, always consult a professional for assistance. Safe and happy towing!

