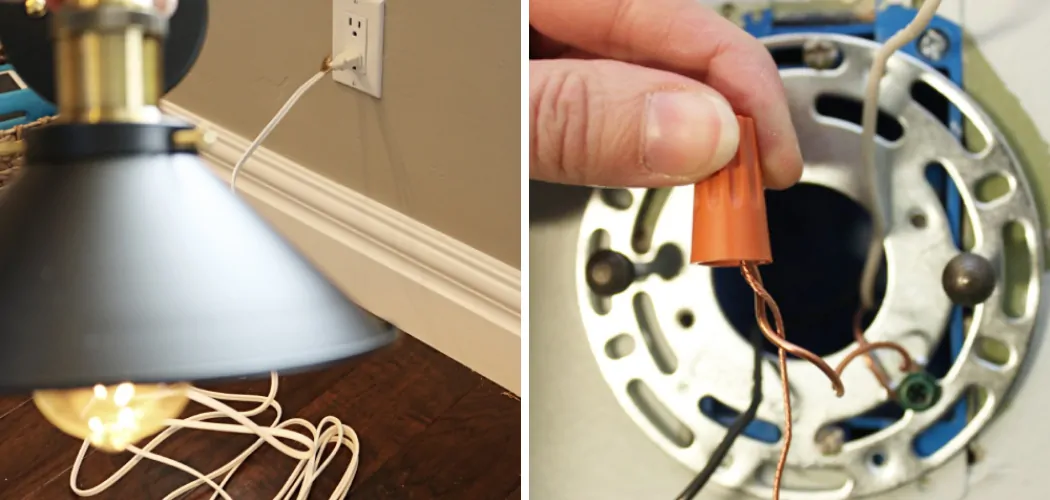
Are you tired of having to constantly replace light bulbs? You may want a more permanent lighting solution for your home. Hardwiring a lamp is the perfect solution! It allows for a cleaner and more seamless look while also providing a long-lasting light source.
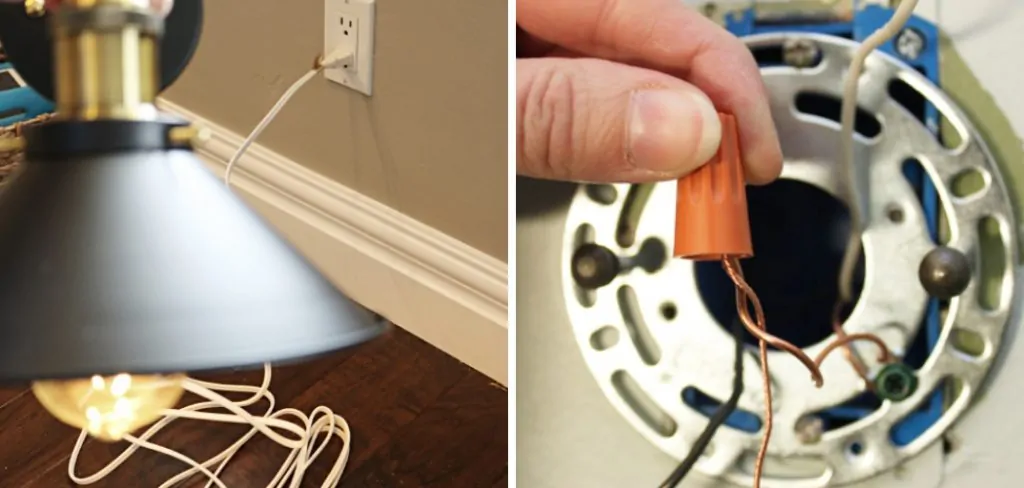
Hardwiring a lamp might seem like a daunting task reserved for professional electricians, but with the right tools and a basic understanding of electrical principles, it’s a project that a motivated DIY enthusiast can safely undertake.
Whether you’re looking to add a custom lighting fixture to your home without the clutter of cords or aiming to upgrade your living space’s aesthetic and functional appeal, learning to hardwire a lamp will empower you to achieve your vision. In this guide, we’ll walk you through the essential steps on how to hardwire a lamp.
What is the Importance of Hardwiring a Lamp?
- Permanent Lighting Solution: One of the main reasons to hardwire a lamp is to have a permanent lighting solution in your home. Unlike plug-in lamps, which can easily be unplugged or moved around, hardwired lamps are connected directly to your electrical system and cannot be easily removed.
- Improved Safety: Hardwiring eliminates the risk of tripping over cords or accidentally unplugging the lamp. It also reduces the chances of electrical fires caused by damaged cords or faulty outlets.
- Sleek and Clean Aesthetic: Hardwiring a lamp eliminates the clutter of visible cords, creating a more streamlined and visually appealing look in your home.
- Increased Functionality: With hardwired lamps, you have the option to add a dimmer switch for adjustable lighting or even install multiple lamps on one circuit for more versatile lighting options.
- Long-lasting Solution: Hardwired lamps typically have a longer lifespan than plug-in lamps, making them a cost-effective choice in the long run.
What Will You Need?
Before you begin hardwiring your lamp, it’s important to gather all the necessary tools and materials. Here’s a list of what you’ll need:
- Lamp kit: This includes all the necessary electrical components, such as wires, sockets, switches, and plugs.
- Wire Cutters/strippers: These will be used to cut and strip the wires for proper connection.
- Screwdriver: Depending on your lamp kit, you may need either a flathead or a Phillips head screwdriver.
- Electrical Tape: This will be used to secure the wires and connections.
- Wire Connectors: These are small plastic caps that help connect and insulate the wires.
- Lamp Base: This is the structure of your lamp, which can range from simple to decorative designs.
- Light Bulb: Choose a light bulb with the appropriate wattage for your lamp.
- Electrical Box: This is where the wires will be connected and housed to ensure safety and proper functioning.
- Power Drill and Bits: A power drill can come in handy if you need to create holes in your lamp base.
Once you have all your tools and materials ready, it’s time to start the hardwiring process.
10 Easy Steps on How to Hardwire a Lamp
Step 1: Prepare the Lamp
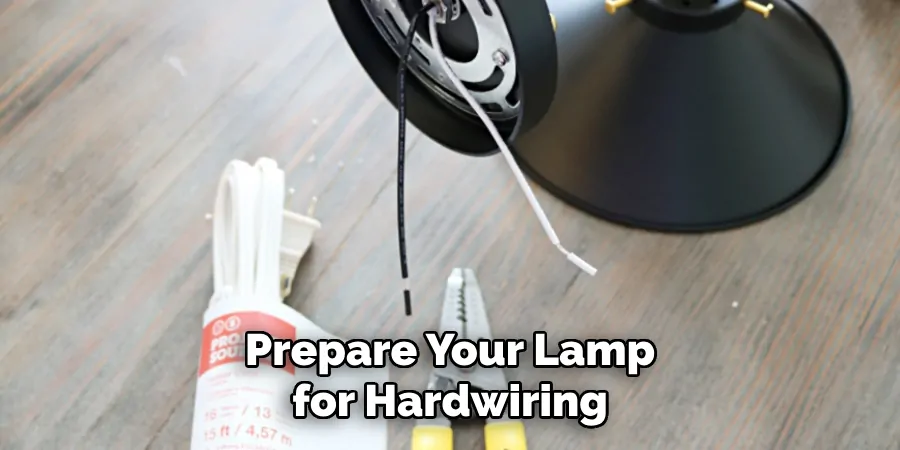
The first step is to prepare your lamp for hardwiring. If you already have a lamp with a cord and plug, you’ll need to remove these components before proceeding. Start by unplugging the lamp and removing the light bulb. Then, carefully remove the socket from the lamp base by unscrewing it from the bottom.
Step 2: Drill a Hole for the Wires
Next, you’ll need to create an entry point for the wires. Using a power drill and an appropriate bit size, drill a hole at the base of the lamp. The size of the hole should be large enough to accommodate the wires, but avoid making it too large to maintain the lamp’s integrity.
Be sure to drill carefully to prevent any damage to the lamp base. After drilling, remove any debris or sharp edges around the hole to ensure a smooth passage for the wires. This step is crucial for the safety and aesthetics of the final product, so take your time to do it right.
Step 3: Thread the Wires Through the Lamp Base
Once you have drilled the hole, the next step is to thread the electrical wires through the lamp base. Begin by feeding the end of the wire through the hole at the base up to the top, where the socket will be located.
Make sure there’s enough wire at the top to make the necessary connections to the socket. It’s important to ensure that the wire doesn’t get twisted or pinched during this process, as this could affect your lamp’s electrical connectivity and safety.
Step 4: Connect the Wires to the Socket
With the wires successfully threaded through the lamp base, it’s time to connect them to the socket. First, strip approximately half an inch of insulation from the ends of the wires using your wire cutters or strippers.
This will expose the copper wire inside, which is essential for establishing a secure electrical connection. Next, attach the wires to the corresponding terminals on the socket. Typically, one wire is the “hot” wire (often colored black or red) and needs to be connected to the brass screw, while the other is the “neutral” wire (usually white or gray) and should be attached to the silver screw.
Secure the wires tightly under the screws to ensure a good connection. After the wires are connected, carefully reassemble the socket and attach it back to the lamp base.
Step 5: Secure the Lamp Components
After reconnecting the socket to the lamp base, the next step is to secure all components firmly in place. Ensure that the socket is snugly fit and that no loose parts might cause instability or safety issues.
If your lamp has any other detachable parts or decorative elements, now is the time to reattach and secure them as well. This step is crucial not only for the aesthetics of your lamp but also for its functional longevity and safety.
Step 6: Attach Wire Connectors
Once all the internal components of the lamp are connected and secured, you will need to attach wire connectors to the ends of the electrical wires. This step is important for ensuring a secure and safe connection when you integrate the lamp into your home’s electrical system.
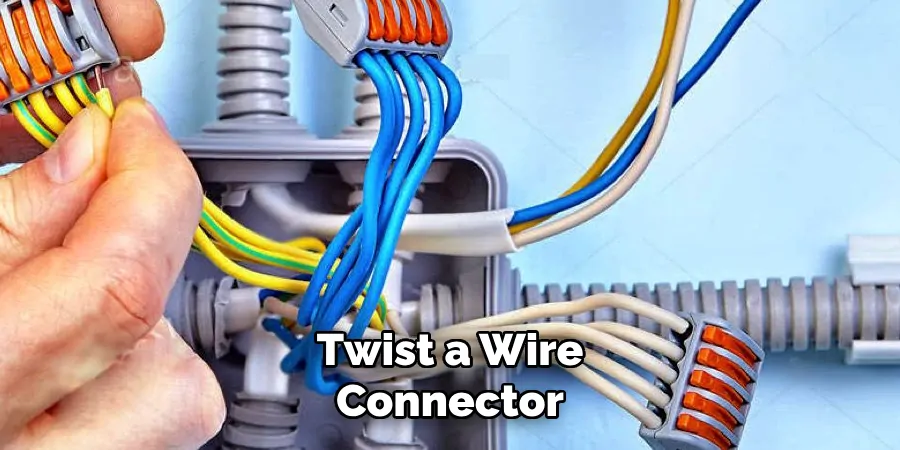
Start by twisting each exposed wire end into a clockwise coil. Then, twist a wire connector onto each coiled wire until it is tight, covering the bare wire completely. These connectors not only keep the wires together but also provide insulation to prevent electrical shorts.
Step 7: Install the Electrical Box
Preparing the electrical box is a critical step for safely housing your lamp’s electrical connections. Choose a suitable location for the electrical box that is close to your lamp and within reach of the existing electrical circuit. Use the power drill to secure the electrical box to the wall or ceiling.
Ensure it’s firmly attached and level for a seamless installation. Before proceeding to the next step, make sure the power to the circuit you’ll be tapping into is turned off at the breaker to ensure a safe working environment.
Step 8: Connect the Lamp to the Electrical Circuit
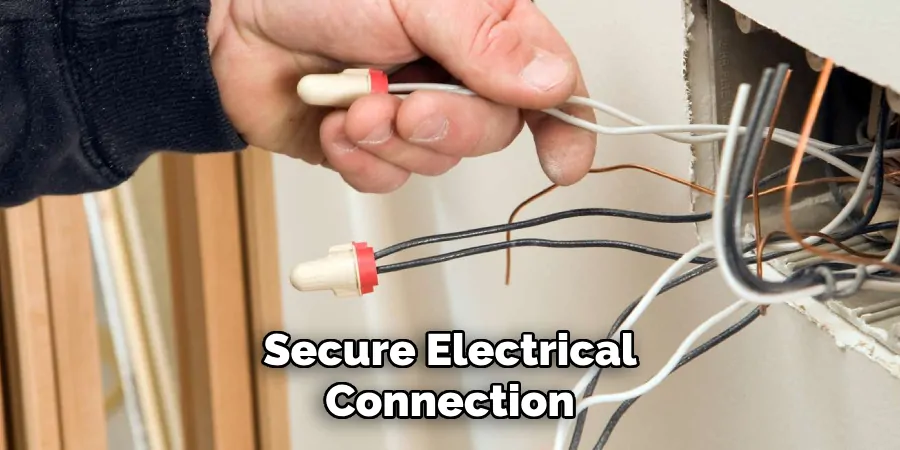
Now that your electrical box is installed, it’s time to connect the lamp to your home’s electrical circuit. Start by carefully feeding the lamp’s wires through the opening of the electrical box. Then, use wire nuts to connect the lamp’s “hot” wire (usually black or red) to the black wire from the electrical circuit and the lamp’s “neutral” wire (usually white or gray) to the white wire from the circuit.
If your lamp or home’s wiring includes a grounding wire (typically green), connect these wires together as well. Ensure all connections are secure by gently pulling on the wires to check for any loose connections. Once all wires are connected and secure, neatly tuck them into the electrical box.
Step 9: Secure the Electrical Box Cover
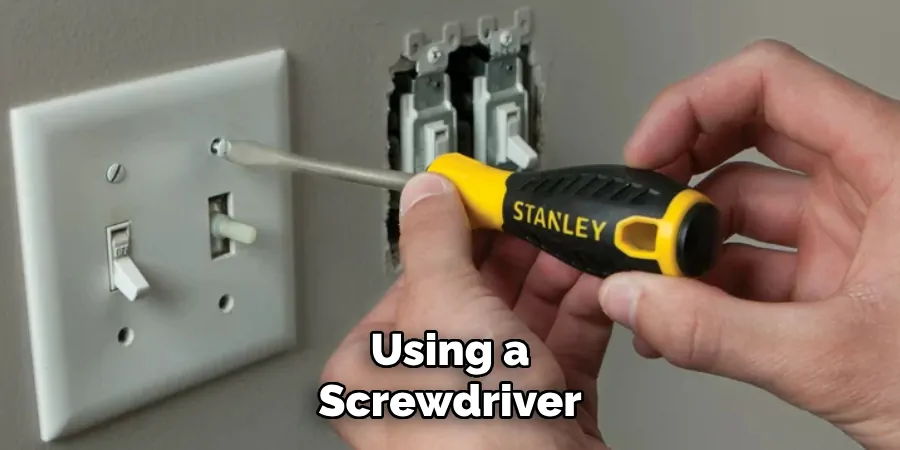
The next step is to secure the electrical box cover after the lamp and the electrical circuit wires are properly connected within the electrical box. Place the cover over the electrical box, aligning it with the screw holes. Using a screwdriver, attach the cover with the provided screws.
Make sure the cover is firmly attached, and there are no gaps that might allow dust or moisture to enter. This step is essential to protect the electrical connections and ensure the safety of your hardwired lamp installation.
Step 10: Test Your Lamp
Finally, securely in place with the electrical box cover, it’s time to test your lamp. Turn the power back on at the breaker and switch on your lamp. Observe if it lights up smoothly without flickering or unusual noises, indicating a successful installation.
If the lamp does not work as expected, turn off the power at the breaker before inspecting your connections for any issues. Once your lamp works correctly, you can enjoy the satisfaction of safely and effectively adding a custom lighting solution to your home.
By following these steps, you can confidently install a hardwired lamp in your home and enjoy the perfect ambiance for any room. Remember to prioritize safety and take your time during each of the installation steps to ensure a successful final product.
5 Additional Tips and Tricks
- Ensure Compatibility: Before starting the hardwiring process, make sure that the lamp’s voltage and the power source are compatible. Using a lamp designed for a different voltage can lead to malfunctions or even pose a fire hazard.
- Use a Junction Box: If you’re hardwiring a lamp to an existing power line within a wall, it’s crucial to use a junction box. This not only keeps the wiring secure but also complies with electrical codes, ensuring safety.
- Opt for Quality Wire Strippers: Investing in a good pair of wire strippers makes the job smoother and reduces the risk of damaging the wires. Quality tools lead to better precision and safety in your electrical projects.
- Test Before Finalizing: Always test the lamp before securing everything in place. This step ensures that all connections are proper and that the lamp functions as expected, preventing any need for rework after installation.
- Follow Safety Protocols: Disconnect the power supply before starting the installation to avoid electric shocks. Wearing protective gear, such as gloves and safety glasses, can prevent accidental injuries during the process.
With these additional tips and tricks, you can confidently hardwire a lamp in your home without any worries.
5 Things You Should Avoid
- Neglecting Wire Polarity: Ignoring the polarity of wires can lead to faulty connections and potential safety hazards. Always connect the live wire (usually colored) to the corresponding terminal and the neutral wire (usually white or black) to its counterpart.
- Skipping a Ground Connection: Forgetting to connect the ground wire or assuming it’s unnecessary is a critical mistake. A proper ground connection is vital for safety, preventing the risk of electric shock or fire.
- Overloading Circuits: Connecting a lamp to an already overloaded circuit can lead to frequent tripping of circuit breakers or even more severe consequences like electrical fires. Be mindful of the power load on the circuit to which you’re connecting the lamp.
- Using Mismatched Wires: Employing wires of different gauges or types can compromise the integrity of your electrical connections and overall safety. Ensure all wiring is consistent and suitable for the load demands of your lamp.
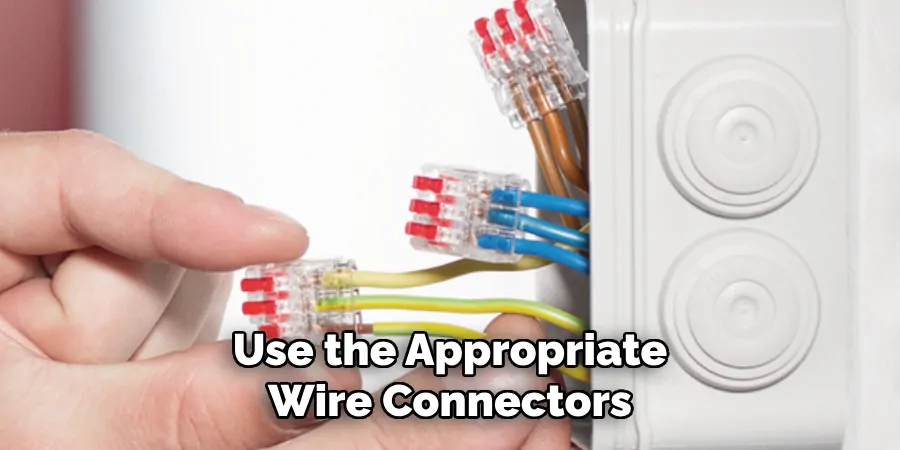
- Improper Insulation: Failing to adequately insulate exposed wires can result in short circuits, which pose a fire risk or damage to your lamp. Always use the appropriate wire connectors and electrical tape to secure and insulate all connections properly.
By avoiding these common mistakes, you can ensure a safe and successful hardwiring process for your lamp. Remember to always prioritize safety and consult a professional if needed.
What is the Difference Between Hardwired and Plug-in Lights?
Hardwired lights are directly connected to the home’s electrical wiring, while plug-in lights use a cord with a plug that can be inserted into an outlet.
Hardwired lights offer a more permanent and clean installation as there are no visible cords or plugs. They also do not take up any outlet space and can be controlled by a wall switch. On the other hand, plug-in lights offer more flexibility in terms of placement and can be easily moved or relocated. They also do not require any electrical knowledge for installation, making them a popular choice for renters.
Ultimately, the decision between hardwired and plug-in lights depends on personal preference and the specific needs of the space. Both options provide functional lighting solutions to suit different situations and preferences. So, choose the option that best fits your needs and enjoy a well-lit home!
Can a Plug in Lamp Be Hardwired?
Yes, converting a plug-in lamp into a hardwired one is possible. This can be done by removing the plug and cord then connecting the wires directly to an electrical box.
However, it’s important to note that this process should only be carried out by someone with experience in electrical work or under the guidance of a professional. Improperly converting a plug-in lamp can lead to safety hazards and damage to your home’s electrical system. It’s always best to consult a professional if you’re unsure how to convert a lamp into a hardwired one.

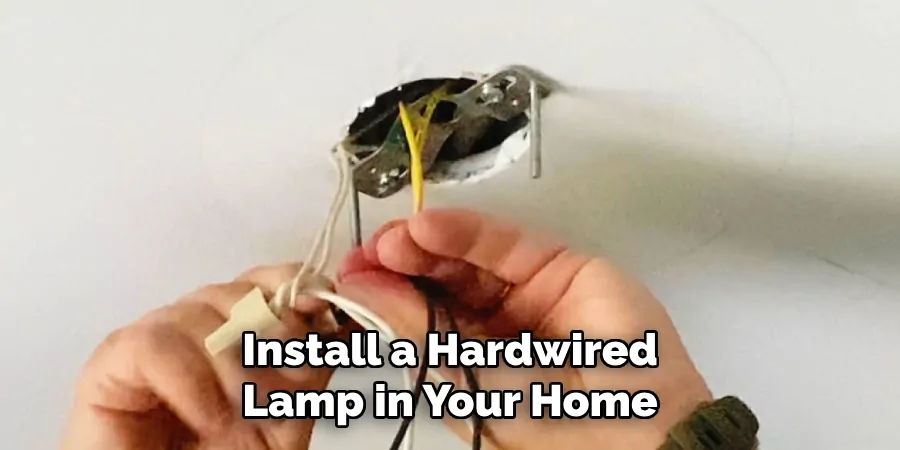
Installing a hardwired lamp in your home is a simple and rewarding task with the right tools, knowledge, and safety precautions. It adds a custom touch to your lighting solutions and can elevate the ambiance of any room.
Remember to take your time, follow safety protocols, and enjoy the end result of a beautifully installed hardwired lamp.
Can String Lights Be Hardwired?
Yes, string lights can be hardwired for a more permanent and seamless installation. This is especially useful for outdoor spaces, as it allows for year-round use without the hassle of constantly plugging and unplugging the lights.
To hardwire string lights, you will need to follow steps similar to installing a hardwired lamp, starting with ensuring compatibility and using a junction box. However, it’s important to note that string lights are designed for low-voltage use, so be sure to use a transformer to reduce the voltage from your home’s electrical system.
Just like with any hardwired installation, make sure to follow safety protocols and consult a professional if you need clarification on any steps in the process. With careful planning and proper execution, you can enjoy beautifully lit outdoor spaces with hardwired string lights.
Conclusion
How to hardwire a lamp may initially seem daunting, but by adhering to the provided tips and steering clear of the outlined pitfalls, the process becomes manageable and fruitful.
Ensuring compatibility, using a junction box, selecting quality tools, testing before finalizing, and following safety protocols are critical steps toward achieving a safe and efficient hardwired lamp.
Conversely, vigilance against neglecting wire polarity, skipping ground connections, overloading circuits, using mismatched wires, and improperly insulating connections can prevent undesired outcomes. Whether you’re a seasoned DIY enthusiast or a novice, understanding and applying these principles can lead to successful and satisfying results in your lighting projects.
Remember, when in doubt, consulting with a professional electrician can provide additional peace of mind and ensure that your project complies with all safety standards.

