Do you want to light your workshop, but don’t know how? Have you been struggling to find the right setup that will provide optimal lighting without taking up too much space or requiring complicated installation methods? If so, we have some good news for you: hanging workshop lights is easier than you think!

In this blog post, we’ll walk you through the simple steps of how to hang workshop lights while minimizing distraction. Read on for an easy-to-follow guide on getting your workshop lit up without stressing yourself out.
Why May You Want to Hang Workshop Lights?
1 . To Improve Visibility
If you’re working in a workshop, proper lighting is crucial. It’s not only important for your safety but also to increase your productivity and work quality. Proper lighting ensures that you can see what you’re doing clearly, reducing the chances of accidents or errors in your work.
2 . To Create a Safe Working Environment
In addition to improving visibility, hanging workshop lights can also help create a safe working environment. Adequate lighting will make it easier to spot any potential hazards or dangers in your workspace, such as sharp tools or toxic materials.
3 . To Save Space
Hanging workshop lights, such as fluorescent fixtures or LED strips, can save valuable space in your workshop. Instead of taking up precious floor or table space, you can install the lights on the ceiling or walls. This frees up your workspace and makes it more efficient.
4 . To Create a Professional Look
Having workshop lights properly hung can also give your workshop a professional look and feel. Whether you’re using your workshop for personal projects or for business purposes, good lighting adds a visual appeal that creates a positive impression on anyone who steps into your workspace.
5 . To Create a Comfortable Working Environment
Aside from functionality and aesthetics, hanging workshop lights can also create a comfortable working environment. Adequate lighting can help reduce eye strain and fatigue, making it easier for you to work for extended periods without feeling uncomfortable.

How to Hang Workshop Lights in 5 Easy Steps
Step 1: Plan Out Your Lighting Placement
Before you start hanging any workshop lights, it’s important to have a plan in place. Take some time to think about the layout of your workshop and where you will need the most lighting. Consider the positioning of windows, doors, and work areas. This will help you determine how many lights you’ll need and where they should be placed.
Step 2: Gather Your Supplies
To hang workshop lights, you will need the following supplies:
- Workshop Lights: Choose the type of lighting that best suits your needs and budget. This could be fluorescent, LED, or incandescent lights.
- Screw-in Hooks: These will be used to attach the lights to the ceiling.
- Ladder or Step Stool: Depending on the height of your workshop ceiling, you may need a ladder or step stool to reach it.
- Measuring Tape: This will come in handy when determining the spacing between lights.
- Pencil or Marker: Use this to mark where the screw-in hooks should be placed on the ceiling.
Step 3: Install Screw-In Hooks
With your supplies gathered, it’s time to start installing the lights. Use your measuring tape and pencil or marker to mark where each screw-in hook should be placed on the ceiling. Make sure they are evenly spaced and in line with your lighting plan. Once marked, use a drill to create pilot holes for each hook. Then, screw in the hooks by hand until they are secured in place.
Step 4: Hang the Lights
With all of the screw-in hooks installed, it’s time to hang your workshop lights. Depending on the type of lighting you have chosen, you may need assistance with this step. Carefully hang each light on the designated hooks, making sure they are evenly spaced and securely attached.

Step 5: Test Your Lights
Once all of the lights are hung, it’s important to test them to make sure they are working properly. Turn on the lights and check that they are providing enough illumination for your workshop. If necessary, adjust the positioning or add more lights until you are satisfied with the level of lighting.
By following these 5 easy steps, you can effectively hang workshop lights in your workspace. Remember to always prioritize safety when working with electricity and use caution when using ladders or step stools.
Some Extra Tips to Hang Workshop Lights
1 . Do Not Overlook the Power Source
When hanging workshop lights, make sure that you have access to a power source. Often, workshops are located in garages or basements where it might be difficult to find an electrical outlet nearby. Before starting the installation process, take a moment to locate the nearest outlet and ensure that there is enough room for your lights’ cords to reach.
2 . Consider the Height of the Ceiling
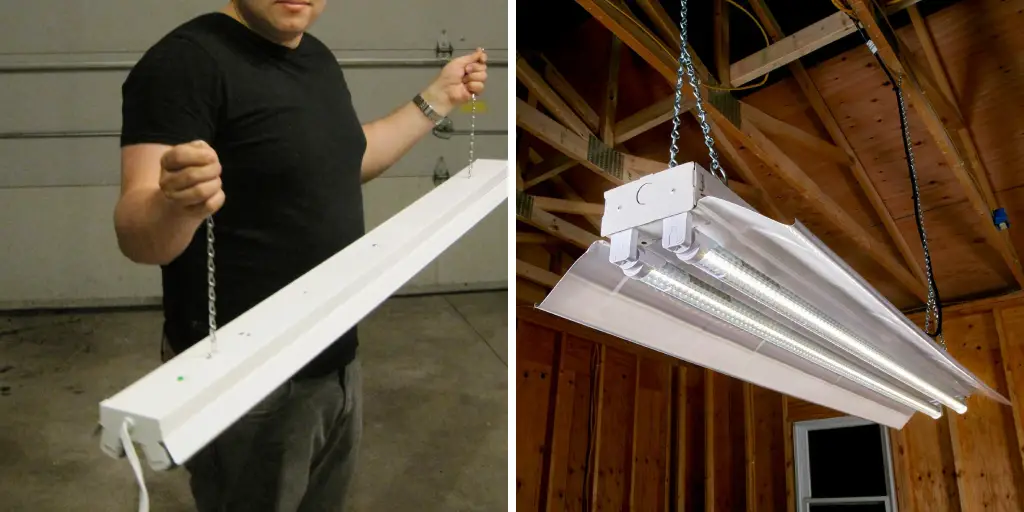
The height of your workshop ceiling is another important factor to consider when hanging lights. If you have high ceilings, choose a lighting system with adjustable cords or chains so that you can lower them as needed. For low ceilings, opt for flush-mount or track lighting to save space.
3 . Use Hooks and Chains
To securely hang your workshop lights, it’s recommended to use hooks and chains. Hooks can be screwed into the ceiling or attached to a wall, while chains allow you to adjust the height of your lights as needed. Be sure to use sturdy hooks and chains that can support the weight of your lights.
4 . Make Sure They are Level
Having crooked or unevenly hanging lights can not only be unattractive, but it can also affect the lighting in your workshop. Use a level to ensure that all of your lights are straight and even. This will not only improve the overall look of your workshop, but will also create an optimal working environment.
5 . Choose LED Lights for Energy Efficiency
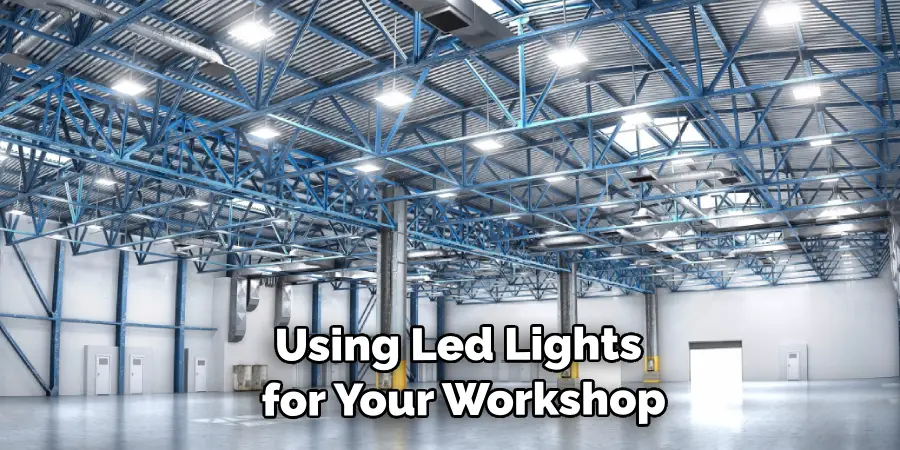
If you’re looking to save money on your electricity bill and reduce your environmental impact, consider using LED lights for your workshop. They not only last longer than traditional fluorescent or incandescent bulbs, but they also use significantly less energy.

6 . Have a Plan
Before hanging any lights in your workshop, it’s important to have a plan in place. Consider the layout of your workspace and where you will need the most lighting. This will help you determine the number of lights needed and where they should be placed for optimal illumination.
7 . Don’t Be Afraid to Experiment
The great thing about workshop lighting is that it’s customizable to your specific needs. Don’t be afraid to experiment with different types of lights, placements, and heights until you find what works best for you. After all, a well-lit workshop can greatly enhance your productivity and enjoyment of the space. So don’t be afraid to get creative with your lighting setup!
Frequently Asked Question
What Precautions Should I Take Before Hanging Workshop Lights?
When hanging workshop lights, it is important to prioritize safety. Here are some precautions you should take before doing so:
- Make sure there are no electrical hazards in the area where you plan to hang your workshop lights.
- Wear appropriate personal protective equipment (PPE) such as gloves and safety goggles.
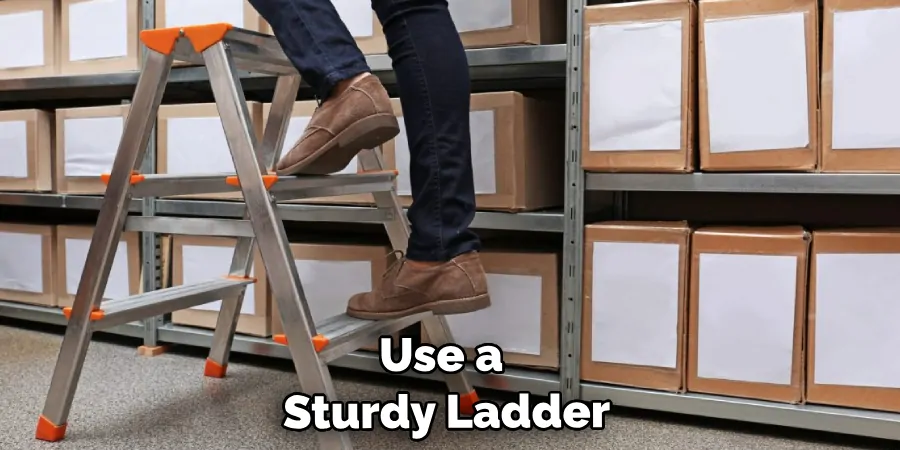
- Use a sturdy ladder or scaffolding and make sure it is on a stable surface.
- Turn off the power supply to the area where you will be hanging your lights.
- Have a partner or someone else present to assist you in case of an emergency.

How Do I Choose the Right Type of Lights for My Workshop?
When choosing workshop lights, consider the following factors:
- The size of your workshop and the amount of light you need.
- The type of work you will be doing in your workshop. For detailed tasks, choose lights with a high color rendering index (CRI).
- The energy efficiency of the lights. LED lights are the most efficient option for workshops.
Can I Hang Lights from the Ceiling in My Workshop?
Yes, you can hang lights from the ceiling in your workshop. However, it is important to make sure that the ceiling can support the weight of the lights and any additional equipment you may be using. Consult a professional if you are unsure about the structural integrity of your ceiling.
Conclusion
To wrap up, hanging workshop lights can be a challenging task, but it is definitely doable. With the right supplies and approach in place, it’s possible to create a safe and effective lighting solution perfect for your workshop environment. Even if you are new to the process, any diy-er can tackle this project with ease. Start by measuring the workspace, designing the layout of your lights according to best practices, securely mounting them to ensure safety, and connecting them using an electrical circuit or power source.
Now you know how to hang workshop lights! Taking these steps will not only make sure that your chosen lights fit perfectly in your space but will also keep you and others safe while using the workshop. It’s now time for you to take action on this project – gather all of the necessary supplies and get ready to light up your space like never before!
You Can Check It Out to Hang Led Strip Lights Without Damaging

