Decorating your home with Christmas lights is a wonderful way to bring the festive spirit indoors. Whether you’re aiming for a cozy ambiance or a dazzling display, hanging up Christmas lights inside adds warmth and cheer to your living space.
With a little planning and the right tools, you can create a variety of lighting designs that suit your style—without causing damage to your walls or furniture. This guide on how to hang up christmas lights indoors will walk you through the essentials of hanging Christmas lights indoors, ensuring a safe and beautiful result.
Why Hang Up Christmas Lights Indoors?
There are many reasons why you may choose to hang up Christmas lights indoors. For some, it’s a tradition that adds to the holiday atmosphere and creates a sense of nostalgia. For others, it’s a way to brighten up their home during the dark winter months.
Whatever your reason may be, hanging up Christmas lights indoors is a fun and creative activity that can bring joy to both you and your loved ones.
Materials You Will Need
Before getting started, gather all the necessary materials. Here’s what you’ll need:
String or Fairy Lights:
These come in various lengths and colors, so choose ones that suit your preferences. LED lights are energy-efficient and last longer, making them a popular choice.
Hooks or Clips:
To hang up your lights without causing damage to your walls, you’ll need adhesive hooks or clips specifically designed for hanging lights. These come in different sizes and can be easily removed after the holiday season.
Extension Cords:
If your lights don’t reach an outlet, make sure to have extension cords on hand.
Measuring Tape:
Having this tool handy will help ensure that your lights are hung evenly and neatly.
9 Steps on How to Hang Up Christmas Lights Indoors
Step 1: Plan Your Design
Before you start hanging your Christmas lights, take some time to plan the overall design. Decide which areas of the room you want to decorate, such as windows, walls, doorways, or mantels. Consider the shape and size of your space to determine how many lights you will need and where they will look best.
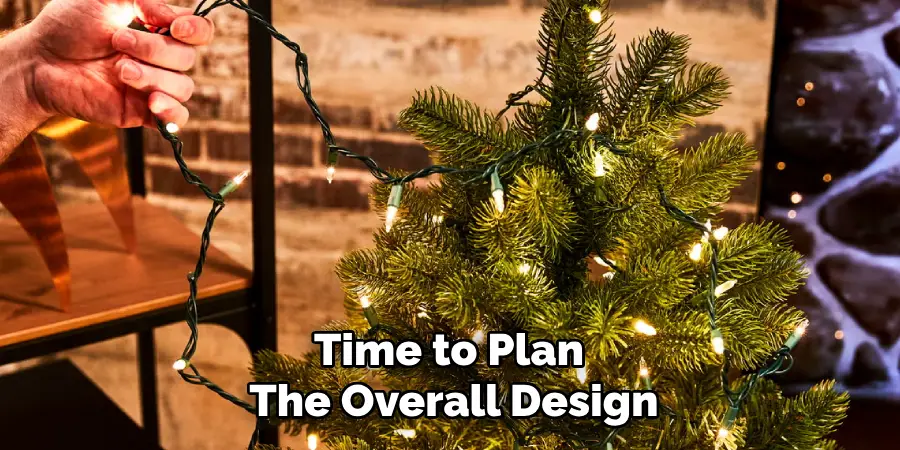
Sketching out a rough layout can help you visualize the design and avoid any last-minute adjustments. Planning ahead ensures a cohesive and organized look while making the process smoother and more enjoyable.
Step 2: Test the Lights
Before you begin hanging your Christmas lights, it’s essential to test them to ensure they are working properly. Plug in each string of lights to check for any burned-out bulbs, flickering, or damage to the wires. Replace any broken or missing bulbs and ensure the connections are secure. This step will save you the hassle of taking down and re-hanging lights later if issues arise.
Testing the lights beforehand also helps you identify any sections that may need additional troubleshooting, ensuring a flawless display once they’re up.
Step 3: Clean the Area
Before hanging your Christmas lights, take a moment to clean the areas where you plan to attach the hooks or clips. Dust, dirt, or grease can prevent adhesive hooks or clips from sticking securely to surfaces like walls, ceilings, or windows. Use a damp cloth or a gentle cleaning solution to wipe down these areas and allow them to dry completely before attaching anything.
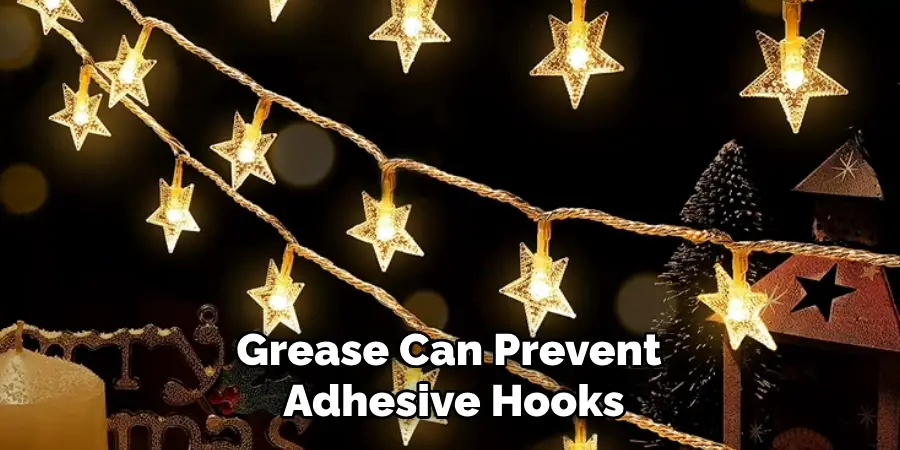
A clean surface helps ensure that the lights stay in place and reduces the risk of them falling or causing damage. This small step sets the foundation for a safe and sturdy lighting display.
Step 4: Measure and Mark
Using your measuring tape, carefully measure the length of each area where you plan to hang lights. Use a pencil or marker to lightly mark the spots where you want to place the hooks or clips. This step will help you achieve an even and symmetrical display.
Pro tip: If using multiple strings of lights, make sure they are the same length for a consistent look. Trim any excess wire if necessary.
Step 5: Attach Hooks or Clips
Once your designated areas are marked, attach the adhesive hooks or clips accordingly. Follow the manufacturer’s instructions for proper placement and weight limits, as these may vary depending on the type of hook or clip you have.
Ensure that the hooks or clips are firmly pressed against the surface and hold them in place for a few seconds. Allow the adhesive to set completely before hanging any lights.
Step 6: Hang the Lights
Now that the hooks or clips are securely in place, it’s time to hang your Christmas lights. Starting at the end nearest to the power source, carefully drape the lights over the hooks or clips according to your planned design. Work slowly and adjust the lights as needed to keep them even and untangled.
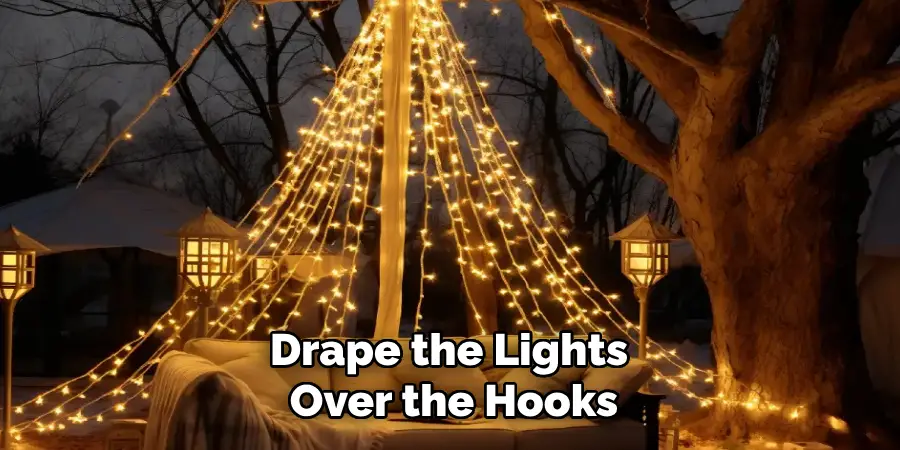
Ensure the lights are not too taut, as this could place unnecessary strain on the wires or the adhesive hooks. If you’re wrapping lights around objects like a mantel or staircase railing, allow for a little slack to create a natural and visually appealing effect. Once the lights are in place, step back and check for any uneven sections, making adjustments as needed to perfect the display.
Step 7: Hide Excess Wires
To keep your display looking neat and tidy, tuck any excess wires behind furniture or use cable ties to secure them against the wall. This step is especially important if you have pets or small children who may be tempted to play with the wires.
A clean and clutter-free look also makes it easier to take down the lights when the holiday season is over.
Step 8: Add Finishing Touches
Now that your Christmas lights are hung up add some finishing touches to enhance the overall look. You can incorporate other decorations like garlands, ornaments, or bows onto the light display for a festive touch. Be creative and have fun with it!
It’s also a good idea to turn off your lights when you are not at home or overnight to conserve energy and prevent any potential hazards.

Step 9: Safety First
As with any electrical equipment, safety is crucial when hanging Christmas lights. Make sure all strands of lights are plugged into a surge protector to prevent an overload or fire hazard. Never use damaged or frayed wires and always turn off the lights before going to bed or leaving the house.
With these simple steps on how to hang up christmas lights indoors, you can easily hang up Christmas lights indoors and bring holiday cheer into your home. Remember to take your time, plan ahead, and have fun with the process. Happy decorating!
Additional Tips
- Consider using LED lights for energy efficiency and a longer lifespan.
- Use command hooks for an easy and damage-free way to hang lights on surfaces like windows or walls.
- If using outdoor lights indoors, ensure they are rated for indoor use and follow all safety precautions.
- Experiment with different light colors and styles for a unique and personalized display.
- Don’t be afraid to mix in other types of decorative lighting, such as string lights or lanterns, for added dimension and warmth.
- Remember to unplug the lights before making any adjustments or changes to the display. Safety first!
- Keep an eye on your electricity bill and conserve energy by limiting the number of lights you use or setting a timer.
- Take down your Christmas lights promptly after the holiday season to avoid potential fire hazards.
- Consider using timers or smart outlets to schedule when your lights turn on and off automatically.
- Get creative with placement – try hanging lights inside mason jars, creating shapes or patterns on walls, or using them as a backdrop for holiday photos.
- Don’t forget to take a step back and appreciate your beautiful display once it’s complete. Happy holidays!
Frequently Asked Questions
Q: Can I Use Tacks or Nails Instead of Hooks or Clips?
A: It’s not recommended as these can cause damage to your walls and may not hold the lights securely in place. Adhesive hooks or clips are a safer and more convenient option.
Q: How Many Lights Should I Use for My Space?
A: This depends on personal preference and the size of your space. As a general rule, aim for 100 lights per every foot of tree or space to create a visually appealing display.
Q: Can I Leave My Christmas Lights On All Night?
A: It’s not recommended as this can be a fire hazard and increase your electricity bill. It’s best to turn off the lights when you are not at home or before going to bed.
Conclusion
Decorating your home with Christmas lights is a wonderful way to bring warmth, joy, and festive cheer to your space during the holiday season. By following the outlined steps and tips in this guide on how to hang up christmas lights indoors, you can create a beautiful, safe, and personalized lighting display that enhances your holiday atmosphere.
Remember to prioritize safety, plan your design carefully, and enjoy the creative process. With a little effort and imagination, your indoor Christmas lights will become a cherished centerpiece of your holiday celebrations. Happy holidays!

