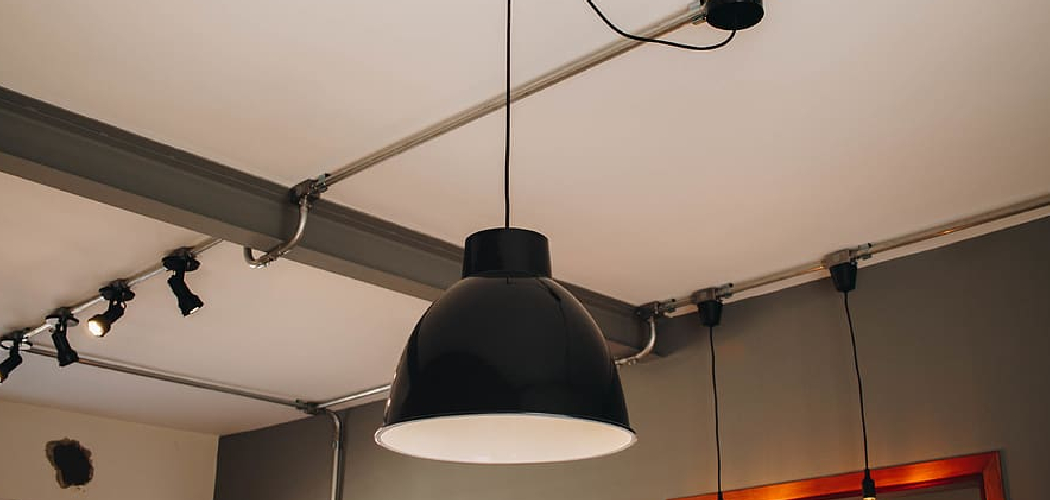
Illuminating a space effectively often involves strategic placement of lighting fixtures, and track lighting offers a versatile solution for achieving precisely that. When it comes to installing track lighting on a drop ceiling, the process may seem daunting, but with the right guidance, it becomes a manageable and rewarding task.
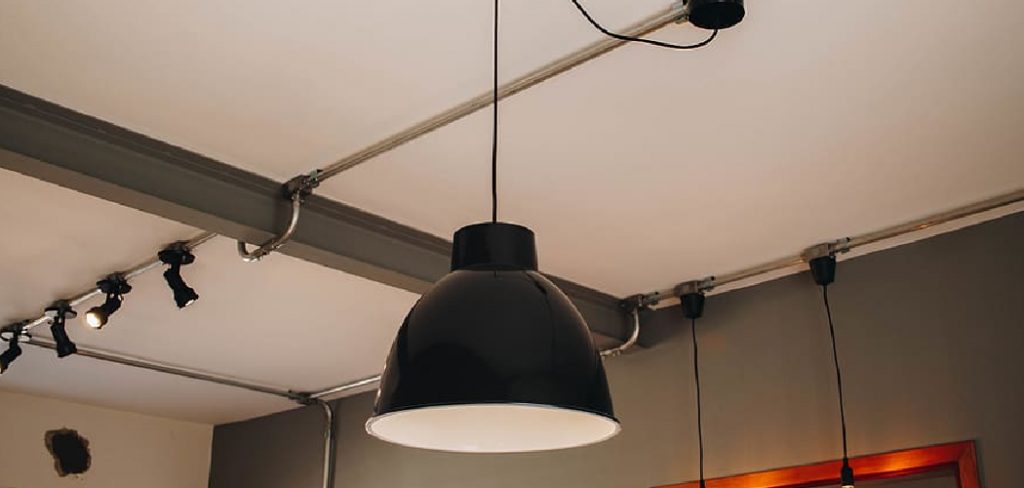
This article delves into how to hang track lighting on drop ceiling, providing a step-by-step approach that caters to both the aesthetics and functionality of the installation.
Whether you’re looking to enhance the ambiance of a room or create a well-lit workspace, understanding the nuances of securing track lighting to a drop ceiling grid is essential. From selecting the appropriate fixtures to ensuring proper support, this guide will empower you to illuminate your space with confidence, transforming a potentially complex installation into a straightforward and visually appealing lighting solution.
Importance of Proper Installation
Proper installation of track lighting on a drop ceiling is not only crucial for aesthetic alignment but also imperative for safety and durability. Incorrectly mounted track lighting can lead to uneven lighting distribution, a heightened risk of electrical maladies, and even the potential collapse of the lighting system, putting property and individuals at risk.
Furthermore, a well-executed installation preserves the integrity of the drop ceiling tiles and framework, ensuring that the addition of lighting enhances rather than compromises the ceiling’s structure. Therefore, dedicating time and attention to the correct installation process is essential for both immediate satisfaction and long-term functionality.
Assessing the Drop Ceiling
Before commencing with the installation of track lighting, it is imperative to conduct a thorough assessment of the drop ceiling structure. This evaluation includes determining the load capacity of the ceiling grid to ensure that it can safely support the weight of the track lighting fixtures.
Additionally, inspect the condition of the ceiling tiles and support wires for any signs of damage or wear that could affect the installation process. It’s also crucial to identify the precise location where the tracks will be mounted, ensuring there is adequate access to electrical connections and that the placement aligns with the desired lighting scheme and room aesthetics.
Careful planning at this stage will not only facilitate a smoother installation but will also prevent potential issues related to ceiling integrity and lighting performance.
Determining Ceiling Material and Structure
Before you can start hanging the track lighting, it’s essential to pinpoint the type of material and structure of your drop ceiling. Drop ceilings are typically composed of a metal grid and lightweight tiles or panels, but it’s important to note any variations or customizations that may be unique to your setup. Identifying the type of tiles—be it mineral fiber, fiberglass, or another material—will impact how you handle them during the installation process.
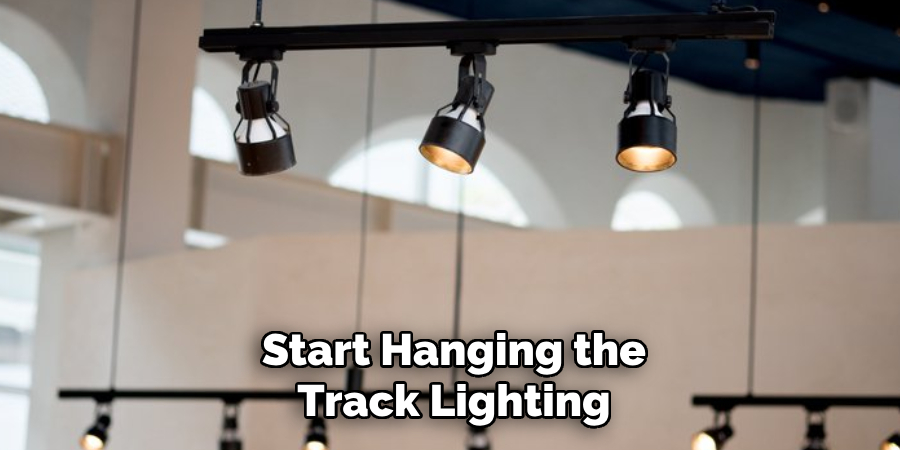
Additionally, understanding the layout of the grid system and taking note of the main tees, cross tees, and edge molding will guide you in planning the exact positioning for your track lighting fixtures. Careful examination of the grid will also highlight the strongest points for anchoring your lighting, helping to prevent damage and ensure a secure installation.
Understanding Weight-Bearing Capacity
One of the most critical factors to consider before installing track lighting on a drop ceiling is the weight-bearing capacity of the ceiling’s support system. The grid is typically designed to sustain the weight of ceiling tiles and light fixtures, but the cumulative load of added track lighting must be carefully accounted for.
It’s advisable to consult the manufacturer’s specifications or a professional to determine the maximum weight your particular grid can handle. In the event that the lighting adds significant weight, it may be necessary to reinforce the grid or employ additional support mechanisms.
This will not only prevent sagging or damage to the tiles but also ensures that the installation is up to code and safe for both the immediate and long-term usage.
10 Methods How to Hang Track Lighting on Drop Ceiling
1. Determine Track Layout:
Before starting the installation, carefully plan the layout of the track lighting on the drop ceiling. Consider the room’s dimensions, the location of key features, and the desired lighting coverage.
Sketching a layout on paper or using a digital design tool can help visualize the placement of track heads. Although track lighting is flexible and can be adjusted after installation, having a plan beforehand will make the process smoother. To ensure proper balance and symmetry, the track should be centered in the room or over the desired area.
2. Select Suitable Track Lighting Fixtures:
Choose track lighting fixtures that align with your aesthetic preferences and lighting needs. Ensure that the fixtures are compatible with the track system you’ve selected. LED track lights are energy-efficient and versatile, offering various color temperatures and styles.
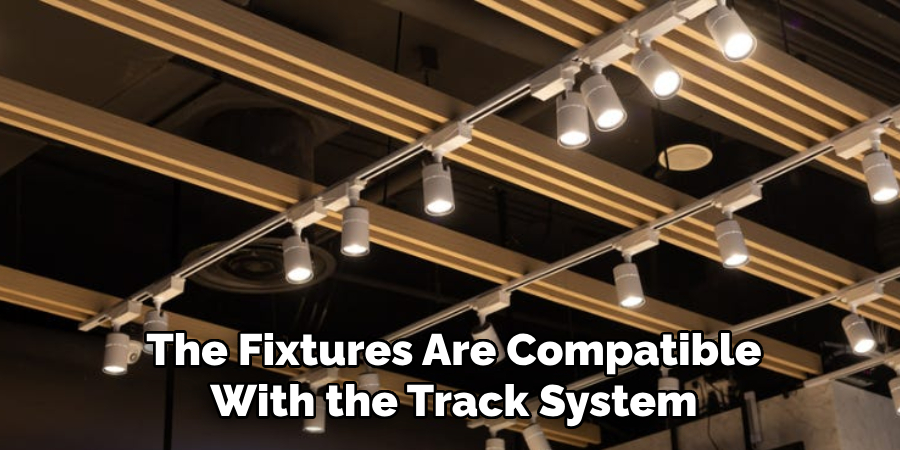
Measure the length of the track to match the intended space. However, if you’re not sure which track lighting fixtures to choose, here are a few tips to help you select the right ones for your home.
3. Locate Ceiling Joists:
Identify the ceiling joists above the drop ceiling tiles using a stud finder. This step is crucial for securing the track securely. Once the joists are located, mark their positions on the drop ceiling. Aligning the track with the joists provides essential support and stability.
After marking the positions of the ceiling joists, you can now begin installing the track for your drop ceiling. Make sure to use appropriate screws and anchors to secure the track into place. It is important to follow any manufacturer’s instructions for installation carefully.
Once the track is securely in place, you can begin inserting the ceiling tiles into position. Make sure to properly align them with the track and secure them in place. It is recommended to start at one corner of the room and work your way towards the opposite corner, ensuring a clean and even installation.
4. Install Support Brackets:
Attach support brackets to the ceiling joists at regular intervals along the planned track layout. These brackets will bear the weight of the track and fixtures. Use screws and a power drill to secure the brackets firmly to the joists. Ensure the brackets are level and evenly spaced for a balanced installation.
After attaching the support brackets, measure and cut the track to the desired length using a hacksaw or a pipe cutter. Make sure to wear protective gear when cutting metal tracks. Use a file to smooth out any rough edges.
Next, attach hanging clips onto one end of the track by sliding them into the pre-drilled holes. These clips will be used to hang the track from the support brackets.

Once all the hanging clips are attached, enlist the help of a friend to hold one end of the track while you attach the other end to the support brackets. Use screws and a power drill to secure the track to the brackets. Make sure the track is level and straight before securing it in place.
5. Cut Suspension Wires to Length:
Measure and cut suspension wires to the desired length for each section of the track. Suspension wires hang from the support brackets and connect to the track. Allow for some adjustment in length to fine-tune the height of the track. Use wire cutters to achieve clean and precise cuts.
Once you have measured and cut the suspension wires to the desired length, it’s important to make sure that they are all uniform in size. This will ensure that the track hangs evenly and maintains its stability.
Next, attach one end of each suspension wire to the track using suspension clips or hooks. These attachments should be secure but also allow for some flexibility in adjusting the height of the track.
Before attaching the other end of the suspension wires to the support brackets, make sure to thread them through any necessary accessories such as lighting fixtures or junction boxes. This will prevent having to take apart and reassemble the track once it is installed.
6. Attach Suspension Wires to Track:
Connect the cut suspension wires to the designated points on the track. Most track systems have pre-drilled holes or slots for this purpose. Secure the wires using the provided connectors or screws, ensuring a stable attachment. Double-check that the track is level before tightening the wires.
After attaching the suspension wires to the track, it is important to check for any potential safety hazards. Make sure that the wires are not loose or hanging down in a way that could cause harm. Also, ensure that all hardware and connectors are securely fastened and not at risk of coming loose.

Once the suspension wires are attached and secure, you can begin installing your track system onto the ceiling or wall. Consult the manufacturer’s instructions for the recommended method of installation.
7. Suspend Track from Support Brackets:
Lift the track with attached suspension wires and hang it from the support brackets. Adjust the height as needed, ensuring the track is parallel to the floor. Use a level to confirm the alignment. Once satisfied with the position, secure the suspension wires tightly to prevent any sagging.
After suspending the track from the support brackets, it is important to double-check its alignment. A properly aligned track ensures smooth and efficient operation of your system. Use a level to confirm that the track is parallel to the floor in both horizontal and vertical directions. Making adjustments at this stage will save you time and effort later on.
If you notice any discrepancies in alignment, use the adjustment screws on the support brackets to make necessary corrections. If your track has multiple sections, make sure each section is aligned properly and connected securely with coupling nuts.
8. Connect Electrical Wiring:
Follow the manufacturer’s instructions to connect the electrical wiring. Typically, this involves attaching the live, neutral, and ground wires from the track to the corresponding wires in the ceiling. Exercise caution and, if uncertain, consult a qualified electrician. Turn off the power at the circuit breaker before making any electrical connections.
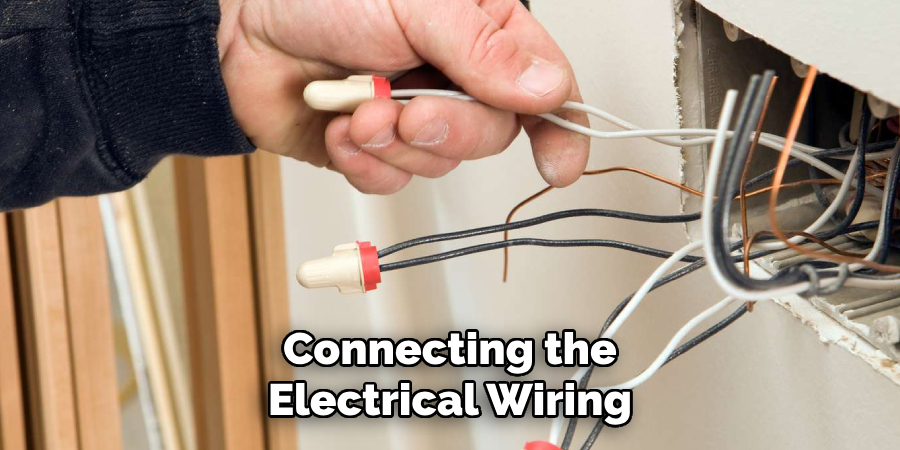
Before connecting the electrical wiring, it is important to properly plan and layout the track and lighting system. This includes mapping out where each light fixture will be placed and determining the best route for the wiring to run through.
Once you have a clear plan in place, gather all necessary tools and equipment such as wire cutters, wire strippers, electrical tape, and wire connectors.
9. Secure Drop Ceiling Tiles Around Track:
If your drop ceiling has removable tiles, carefully cut and secure tiles around the installed track. Ensure that the tiles provide access to the track for maintenance and adjustments. Use a utility knife to make precise cuts and maintain the aesthetic integrity of the ceiling.
You can also use adhesive or caulk to secure the tiles around the track, but make sure that it is a strong and durable product. This will prevent the tiles from shifting or falling out of place over time.
One important consideration when securing drop ceiling tiles around track is fire safety. It is crucial to choose materials that are fire-resistant and meet building codes. Look for tiles with a fire rating and make sure to properly seal any gaps between the track and tiles to prevent the spread of fire.
10. Test and Adjust Lighting Direction:
Turn on the track lighting and verify that all fixtures illuminate as intended. Adjust the direction of each track head to achieve the desired lighting coverage. Fine-tune the height and angle of individual fixtures to optimize the overall lighting effect in the space. Consider using dimmer switches or different wattage bulbs to further adjust the lighting intensity.

If you are using natural light, such as from windows, consider adjusting curtains or blinds to control the amount of light entering the room. This can also help prevent glare on screens or shiny surfaces.
Another important aspect to consider when testing and adjusting lighting direction is color temperature. Make sure all light sources have the same color temperature to avoid a mismatched or unbalanced lighting effect. You can use color temperature meters or consult with a professional to achieve optimal results.
Adjusting the Direction and Angle of Light
The manipulation of light’s direction and angle can drastically alter the aesthetics and functionality of a space. By adjusting light sources, one can highlight specific areas, create mood, or improve the visibility of tasks being performed.
Proper light positioning is essential for photographers and cinematographers who rely on it to sculpt subjects and set the desired atmosphere in their visual narratives.
Safety Considerations
When dealing with any form of electrical installation, safety must be at the forefront of the process. Always ensure that the electricity is completely shut off at the circuit breaker before starting any work. Wear appropriate safety gear such as insulated gloves and protective eyewear. Verify that all electrical components and tools are properly rated for the voltages they will encounter.
It is also critical to be aware of the load capacity of the circuit to which the track lighting is being added. Overloading a circuit can result in a fire hazard. Refer to the National Electrical Code (NEC) to understand the limitations and requirements or consult with a licensed electrician.
In addition, be mindful of the physical placement of ladders and tools during the installation process. Secure all rungs and ensure that the ladder is on a stable surface to prevent falls. Keep the workspace clean and free of obstruction to avoid tripping hazards.
Lastly, when securing drop ceiling tiles and adjustment of lighting fixtures, take care not to compromise the structural integrity of the ceiling. Avoid cutting into or damaging any load-bearing elements. It is paramount that the installation follows all local building codes and regulations to ensure not only the proper operation of the lighting system but also the safety and well-being of all who use the space.

Using Appropriate Ladder or Scaffolding
When installing track lighting or performing any overhead work, it’s essential to use appropriate ladders or scaffolding to ensure safety and ease of access. Properly secure the ladder at the right angle and ensure it is on a stable surface before climbing. For higher ceilings or more extensive projects, scaffolding may provide a more stable and safer platform.
Always adhere to the manufacturer’s guidelines for setting up and using ladders or scaffolding, and never exceed the recommended weight limit. Safety must always be the primary consideration to prevent accidents and ensure a successful installation.
Conclusion
In conclusion, installing track lighting on a drop ceiling requires careful planning, precise execution, and adherence to safety guidelines. By assessing the ceiling structure, selecting appropriate tools, and preparing the area for installation, individuals can ensure a smooth process.
The step-by-step guide provided offers clarity on attaching and aligning the track lighting while also emphasizing the importance of electrical safety measures. Customization options allow for tailored lighting solutions to suit specific needs and preferences.
Moreover, troubleshooting tips empower individuals to address challenges effectively and seek professional assistance when necessary. Thanks for reading, and we hope this has given you some inspiration on how to hang track lighting on drop ceiling!

