Hanging sconces next to a mirror is a surefire way to add both style and function to any room in your home. Whether you’re looking for warmth or just an extra decorative touch, installing wall-mounted lights next to your vanity mirror can make all the difference.
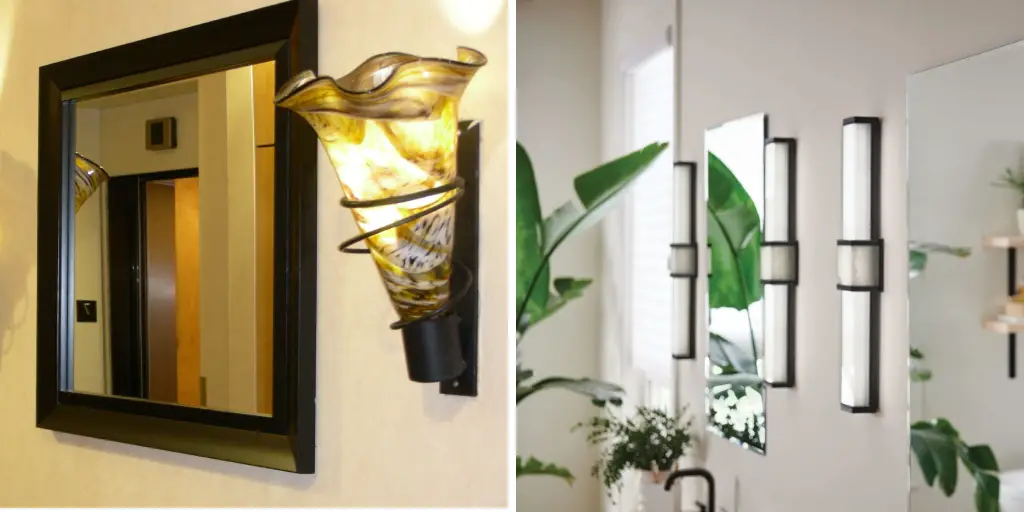
With its easy installation and attractive results, it’s no wonder why this design addition has become so popular. In this post, we will discuss exactly how to hang sconces next to a mirror successfully so you can create the perfect look that fits your space!
What are Sconces?
Sconces are light fixtures that are mounted on a wall, rather than being placed on a table or ceiling. They often feature decorative elements such as shades and can be used to provide both ambient and task lighting. When hung next to a mirror, they can also serve as great sources of functional lighting for tasks such as applying makeup or brushing your teeth.
Choosing the Right Sconces for Your Space
Before we dive into how to hang sconces next to a mirror, it’s important to choose the right sconces for your space. Here are a few things to consider:
- Style: Sconces come in a variety of styles, from traditional to modern. Choose one that complements the overall aesthetic of your room.
- Size: Make sure to measure the space where you plan on installing the sconces. You don’t want them to be too large or small for the area.
- Functionality: Consider if you want your sconces to provide task lighting, ambient lighting, or both. This will help determine the type and placement of the sconces.
- Wiring: If you’re installing new sconces, make sure to hire a professional for proper wiring and installation. If you’re using existing wiring, choose sconces that are compatible with your current setup.
Tools You’ll Need
To successfully hang sconces next to a mirror, you will need the following tools:
- Measuring Tape
- Pencil
- Wall Anchors
- Screws
- Drill or Screwdriver
11 Step-by-step Guidelines on How to Hang Sconces Next to a Mirror
Step 1: Measure the Space
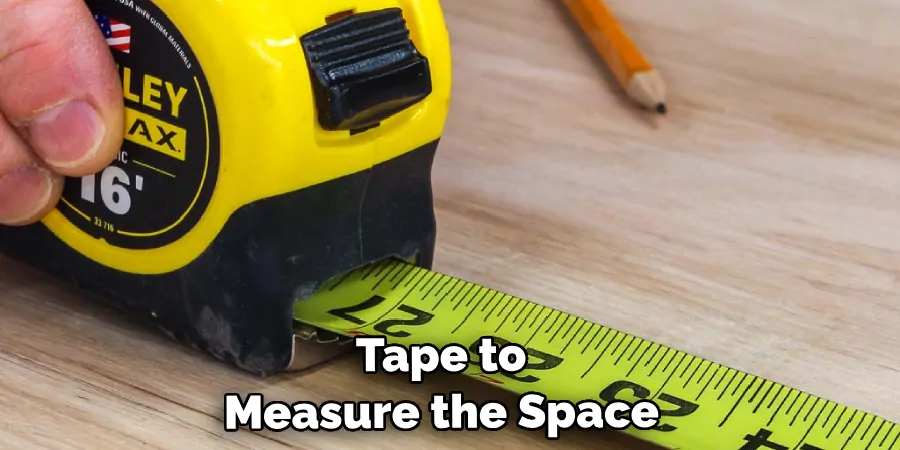
Use a measuring tape to measure the space where you plan on hanging the sconces. This will help determine the correct placement and size of your sconces. It’s important to also consider the height of your mirror and any other furniture or fixtures in the area. But as a general rule, the bottom of the sconces should be at eye level. This will provide optimal lighting for daily tasks. You may also want to consider the height of any outlets or wiring, if applicable.
Step 2: Mark Your Spots
Using a pencil, mark the spots on the wall where you plan on hanging your sconces. This will serve as a guide for proper placement and will also help with leveling.
It’s important to make sure the marks are level with each other and at the desired height. But don’t worry if they’re not perfect, as you can adjust the sconces later on. If you’re using existing wiring, make sure the sconces are placed near an outlet or junction box.
Step 3: Prepare Your Wall Anchors
If you’re not drilling directly into studs, you will need to use wall anchors for extra support. Begin by pre-drilling holes where your marks are located. Then, gently tap in the wall anchors until they’re flush with the wall. This will provide a sturdy base for your sconces. At this point, you can also spray paint the anchors to match your wall color for a more seamless look. You can skip this step if you’re drilling into studs.
Step 4: Attach the Mounting Plate
If your sconces come with a mounting plate, attach it to the wall using the provided screws. Be sure to use a level when attaching the plate to make sure it’s straight. You can also use a template or the sconces themselves to mark the placement of the holes for the screws.
But if you’re not using a mounting plate, you can skip this step and attach the sconces directly to the wall. It’s always a good idea to have someone help hold the sconces in place while you attach them.
Step 5: Test Out Wiring
If you’re using new wiring, it’s important to test it out before attaching the sconces. If everything works correctly, then you can proceed with installation. But if there are any issues, be sure to consult a professional electrician. Although, if you’re using existing wiring, you can skip this step. Either way, it’s always important to prioritize safety when working with electrical wiring.

Step 6: Attach the Sconces
Using the provided screws, attach the sconces to the wall or mounting plate. Make sure they’re securely in place and level with each other. If you’re using a shade for your sconces, be sure to attach it now as well. Look for any gaps or unevenness and adjust as needed. It’s also a good idea to double-check the height and placement of the sconces before moving on. But don’t worry if they’re not perfect, as you can always adjust them later on.
Step 7: Secure Wiring
If your sconces have wiring, make sure to securely attach them to the wall using clips or staples. This will prevent any dangling wires and provide a neat appearance. Make sure the wiring is not pulling on the sconces and that they’re secure in place. Otherwise, it could affect their placement and overall stability. This is also a good time to double-check that the wiring is properly connected and there are no loose connections. It’s always better to be safe than sorry.
Step 8: Test the Lighting
With the sconces securely in place, test out the lighting by turning them on. Make sure they’re providing the desired amount and type of light. If you’re using dimmable bulbs, adjust them to your liking. This is also a good opportunity to make any final adjustments to the sconces’ placement. If everything looks good, then you’re ready to move on to the next step. You can also have a friend or family member help you with this step for an extra set of eyes.
Step 9: Test Out the Mirror
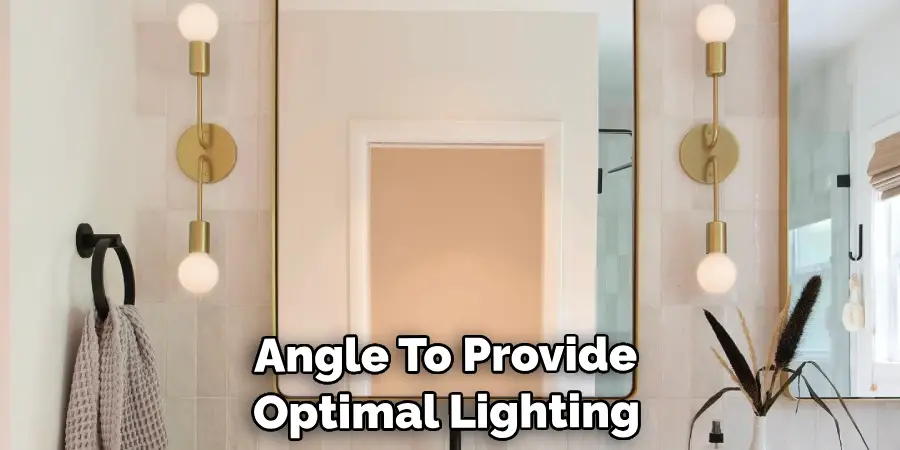
Now that your sconces are in place, test out the mirror by standing in front of it and using it as you normally would. This will give you a good idea of how the lighting looks and if there are any shadows or glare. Make any necessary adjustments to the sconces’ placement or angle to provide optimal lighting. You may also want to consider adding a dimmer switch for more control over the lighting in the room. It’s important to make sure the lighting complements the mirror and doesn’t overpower it.
Step 10: Add Finishing Touches
With the sconces securely installed and your mirror properly lit, it’s time to add some finishing touches. You can add decorative elements around the sconces, such as framed photos or artwork, to enhance the overall look and feel of the space.
You can also consider adding a small shelf or ledge below the sconces for additional storage or display. However, be mindful of the sconces’ placement when adding any extra elements to avoid any potential hazards. It’s all about finding the perfect balance and creating a functional yet stylish space.
Step 11: Enjoy Your New Lighting Setup!
Congratulations, you have successfully hung sconces next to a mirror! Now it’s time to sit back, relax, and enjoy your newly lit space. Whether you’re using the sconces for daily tasks or as ambient lighting, they will provide both functionality and style to your room. And with the proper placement and installation, you can enjoy your sconces for years to come. So go ahead and take a step back to admire your work – well done!
Following these steps will ensure a successful and visually appealing sconce set up next to your mirror. Remember, proper placement and installation are key to achieving the perfect lighting for your space. So don’t be afraid to take your time and make any necessary adjustments along the way. With some patience and attention to detail, you’ll have a beautifully lit room in no time. Happy decorating!
Additional Tips for Hanging Sconces Next to a Mirror
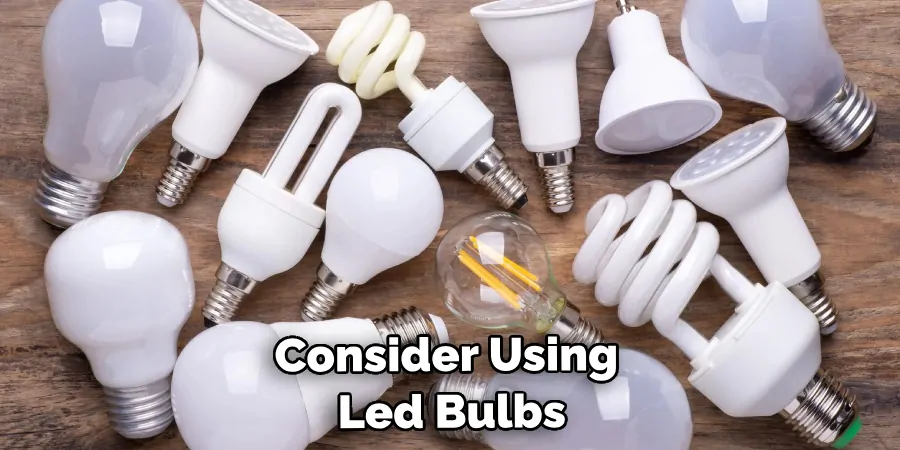
- Consider using LED bulbs for energy efficiency and longer-lasting lighting.
- If you’re worried about drilling into your wall, consider using adhesive strips or hooks specifically designed for hanging objects.
- If you’re unsure about the placement of your sconces, try using a paper template to visualize their position on the wall before drilling any holes.
- Don’t be afraid to mix and match different styles of sconces and mirrors for a unique and personalized look.
- Always turn off the power before attempting any electrical work, and if you’re not confident in your skills, hire a professional for installation. Safety should always be a top priority when working with electricity.
- Regularly clean and dust your sconces and mirrors to maintain their appearance and functionality.
By following these tips on how to hang sconces next to a mirror, you can create a beautiful and functional lighting setup using sconces next to a mirror. Not only will it enhance the aesthetic of your room, but it will also provide practical lighting for everyday use. So why not give it a try and see how this simple addition can transform your space?

Frequently Asked Questions
Q1: Can I Hang Sconces Next to My Mirror if It Already Has Existing Wiring?
A1: Yes, you can hang sconces next to a mirror whether the wiring is new or existing. Just be sure to properly secure and connect all wiring before proceeding with installation.
Q2: Can I Hang Sconces Next to a Mirrored Medicine Cabinet?
A2: Yes, you can hang sconces next to a mirrored medicine cabinet. Just be sure to properly measure and adjust the placement of the sconces to avoid any potential obstructions or reflections.
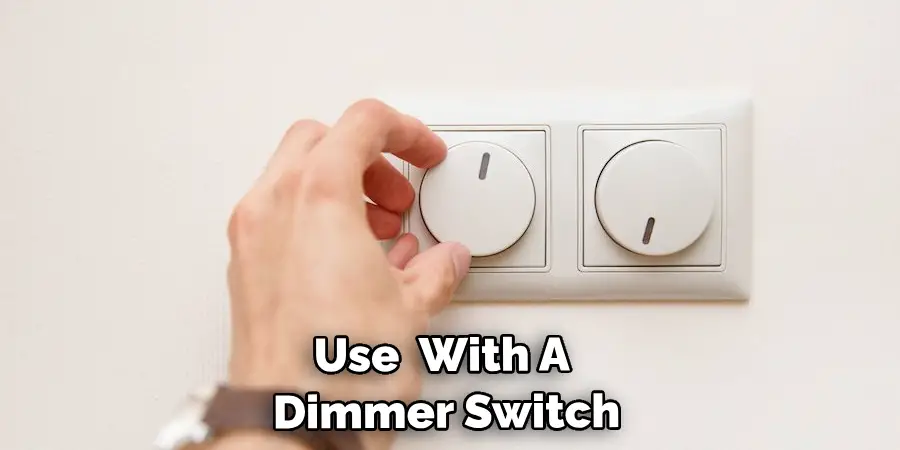
Q3: Can I Use Sconces with a Dimmer Switch?
A3: Yes, as long as the sconces are compatible with dimmable bulbs, you can use them with a dimmer switch for added control over your lighting. Just be sure to properly install the dimmer switch according to manufacturer instructions. If you’re unsure, consult a professional for assistance.
Q4: How Do I Determine the Proper Size of Sconces for My Space?
A4: The size of your sconces should be proportional to the size of your mirror and the overall space. As a general rule, sconces should be about one-third to half the width of the mirror, but ultimately it depends on personal preference and the design of your room.
Consider using a paper template or mock-up to help determine the best size for your sconces before installation. Overall, it’s important to choose fixtures that fit within the scale and style of your space to achieve a cohesive look.
Conclusion
In conclusion, hanging a wall sconce next to a mirror is a great way to boost the look of any space. If chosen carefully, a wall sconce can serve as the perfect complement for your mirror, creating a stylish and chic effect. By following the steps outlined in this tutorial, you should have no problem creating an excellent designer look that enhances the entire room. Don’t forget to update your sconces regularly, either!
Try experimenting with different designs each season to keep up with current trends and make sure that your wall sconces stand out from the crowd. Now it’s time for you to put these tips on how to hang sconces next to a mirror into practice and beautify your space with impressive results. So what are you waiting for? Get creative and start shopping for wall sconces now!

