Hanging lights on your house can instantly elevate its charm and create a warm, inviting atmosphere, especially during the holiday season. This guide on how to hang lights on your house will take you through the basics of safely and effectively decorating your home with lights, ensuring that your display shines brightly while minimizing any risks.
Whether you’re aiming for a simple, elegant outline or a more elaborate setup, proper planning and execution are key to a successful lighting project. With the right tools and techniques, you can make your house a dazzling beacon in the neighborhood.
Why Hang Lights on Your House?
Aside from the obvious festive cheer and decorative appeal, there are many reasons why people choose to hang lights on their houses. Some do it as a personal tradition or to celebrate a specific holiday or event, while others see it as an opportunity for creative expression and self-expression.
Moreover, hanging lights on your house can also bring communities together, creating a sense of unity and camaraderie during the holiday season. It can also be a great way to spread joy and cheer to those passing by or visiting your home.
Safety First
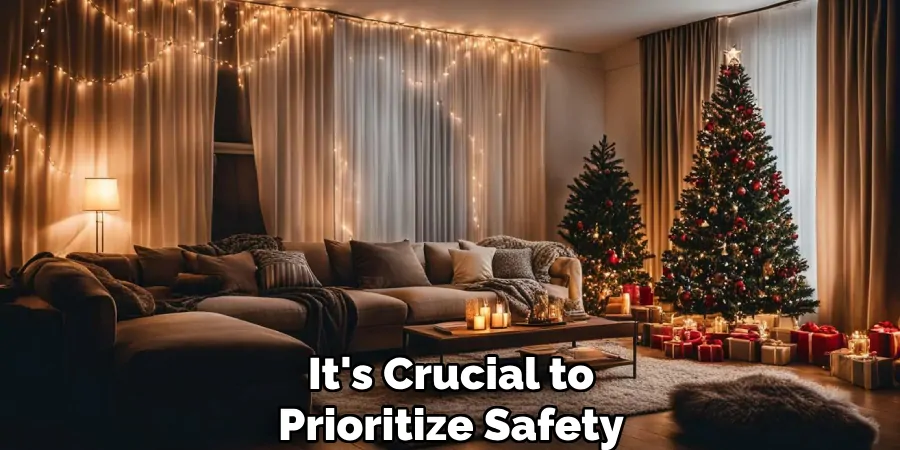
Before you dive into decorating your house with lights, it’s crucial to prioritize safety. Here are some tips to keep in mind:
Use Outdoor Rated Lights:
Make sure to always use lights and extension cords specifically designed for outdoor use, as they are weather-resistant and less likely to cause electrical hazards.
Check for Damaged or Frayed Wires:
Before plugging in your lights, thoroughly inspect the wires for any signs of damage or fraying. If you notice any, it’s best to replace the lights rather than risk an electrical fire.
Don’t Overload Outlets:
Avoid overloading outlets by plugging in too many lights or extension cords. It’s recommended to only have three standard-sized light strings per outlet and to use a surge protector as an additional precaution.
8 Simple Step-by-step Guidelines on How to Hang Lights on Your House
Step 1: Gather Your Materials
Before you start, make sure to have all your supplies on hand. These may include:
- Outdoor Rated Lights
- Extension Cords
- Ladder
- Clips or Hooks For Hanging Lights
- Timer (Optional)
Step 2: Plan Your Design
Before climbing the ladder, take a moment to plan your light display design. Consider the architecture of your house and decide which areas you want to emphasize, such as the roofline, windows, or doorways. Sketching a rough outline of your design can be helpful in visualizing the layout and estimating the number of lights you’ll need.
Additionally, factor in any power sources and ensure that you have access to enough outlets to accommodate your design. Planning ahead will not only make the installation process easier but also help prevent any on-the-spot modifications that might compromise safety or aesthetics.

Step 3: Test Your Lights
Before you hang your lights, it’s essential to test them to ensure they function properly and look as expected. Plug each string of lights into an outlet to check for any bulbs that are burnt out or wires that might be damaged. Inspect each light string for consistency in color and brightness. If you find any defects, replace the bulbs or the entire string if necessary.
This step can save you time and hassle by preventing the need to take down and fix faulty lights once they are already in place. Additionally, testing your lights ensures that your display will glow beautifully from the moment you switch it on.
Step 4: Secure Your Ladder
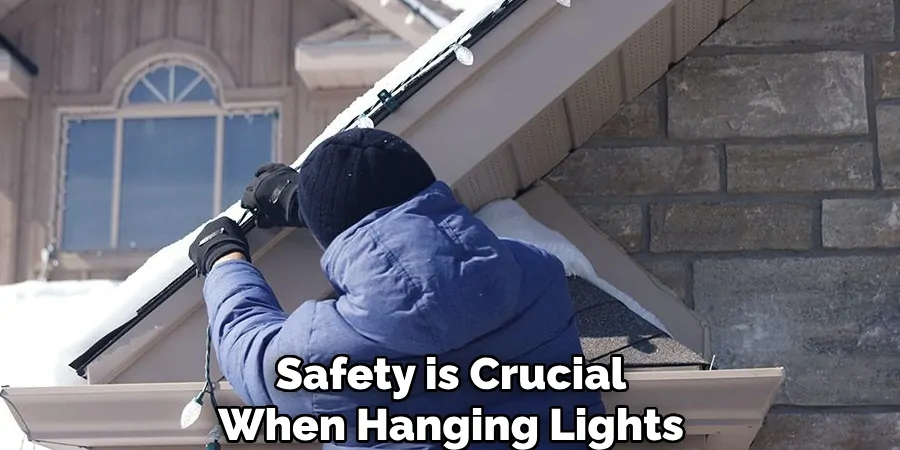
Ensuring ladder safety is crucial when hanging lights on your house. Before climbing, place your ladder on a stable, even surface to prevent any wobbling or tipping. It should be set at a safe angle, with the base one foot away from the wall for every four feet of height. If possible, have someone to hold the ladder steady as you climb.
Use a ladder that extends at least three feet beyond the edge of your roof for comfortable access. Additionally, never overreach while you’re on the ladder; always climb down and reposition it instead. Adhering to these precautions will help minimize the risk of accidents during your lighting project.
Step 5: Install Clips or Hooks
Hanging lights on your house becomes much more manageable with the right tools. For a clean, professional look, use clips or hooks specifically designed for outdoor lights.
These can easily be attached to gutters, shingles, or eaves without causing any damage to your home’s exterior. If needed, you can also use adhesive light hooks for surfaces that don’t have gutters or shingles.
Step 6: Hang Your Lights
Start by hanging lights along the roofline of your house, following your planned design. If using clips or hooks, simply slide them onto the light strings and snap them onto the designated area. For adhesive hooks, peel off the backing and firmly press them onto the desired surface before attaching the lights.
Work your way around the house, securing each string of lights as you go. If needed, use extension cords to reach areas that are further away from power sources. When hanging lights around windows or doorways, consider using different colored lights or shapes to create a more eye-catching display.
Step 7: Connect and Hide Cords
Once all your lights are in place, it’s time to connect them and hide any visible cords. Use extension cords only when necessary and make sure all connections are secure. To keep your display tidy, use outdoor-rated tape or clips to secure the cords along the roofline or edges of your house.
If you have any excess cord length, carefully coil and tuck it behind decorations or around bushes to keep it out of sight. Avoid running cords through door frames or windows, as this can damage the cords and cause electrical hazards.
Step 8: Set Up a Timer (Optional)
To save energy and ensure your lights turn on and off automatically, consider setting up a timer. This way, you won’t have to remember to switch the lights on and off every day. Timers can also help prolong the lifespan of your lights by preventing them from being left on for extended periods.
Following these guidelines on how to hang lights on your house and safety precautions will help ensure a successful and safe holiday light display on your house. Remember to always prioritize safety, plan ahead, test your lights and use the right materials for outdoor use. With a little effort and creativity, you can transform your house into a festive and welcoming sight for all to enjoy. Happy decorating!
Frequently Asked Questions
Q: Can I Use Indoor Lights for Outdoor Decorations?
A: No, it’s important to only use lights specifically labeled for outdoor use. Indoor lights are not designed to withstand the elements and can pose a safety hazard if used outside. It’s always best to use lights that are UL-listed for outdoor use.
Q: How Many Lights Do I Need for My House?
A: The number of lights needed will depend on the size and design of your house, as well as personal preference. A general rule is to estimate 100 lights per foot of roofline, but this can vary depending on how many other areas you plan to decorate. It’s always better to have more lights than you think you’ll need so you can cover any unexpected gaps in your display.
Q: Are LED Lights Better Than Incandescent Lights?
A: Yes, LED lights are a popular choice for outdoor decorations due to their energy efficiency, durability, and brighter color options. They also have a longer lifespan compared to incandescent lights, making them a more cost-effective option in the long run. However, some people still prefer the traditional look of incandescent lights for their holiday displays.
Q: How Do I Safely Remove Lights After the Holidays?
A: When it’s time to take down your holiday lights, be sure to follow similar safety precautions as when installing them. Always use a stable ladder and wear appropriate gear such as gloves and eye protection. Carefully remove any clips or hooks without pulling on the light strings too hard. Check each string for damaged or burnt-out bulbs and replace them as needed before storing them away for next year. Remember to never leave lights up for extended periods as they can become damaged by the weather and may pose a safety hazard. With proper care and storage, your lights can be enjoyed for many holiday seasons to come.
Conclusion
Decorating your home with festive lights can be a rewarding and enjoyable task that brings cheer to your neighborhood and creates a warm, inviting atmosphere. By following the step-by-step guidelines on how to hang lights on your house, you can safely and effectively hang lights, ensuring both the beauty and security of your display.
Remember to plan your design carefully, use the appropriate materials, and prioritize safety throughout the process. With your creativity and attention to detail, your home will be the centerpiece of the holiday spirit, delighting family, friends, and neighbors alike. Happy holidays and happy decorating!

