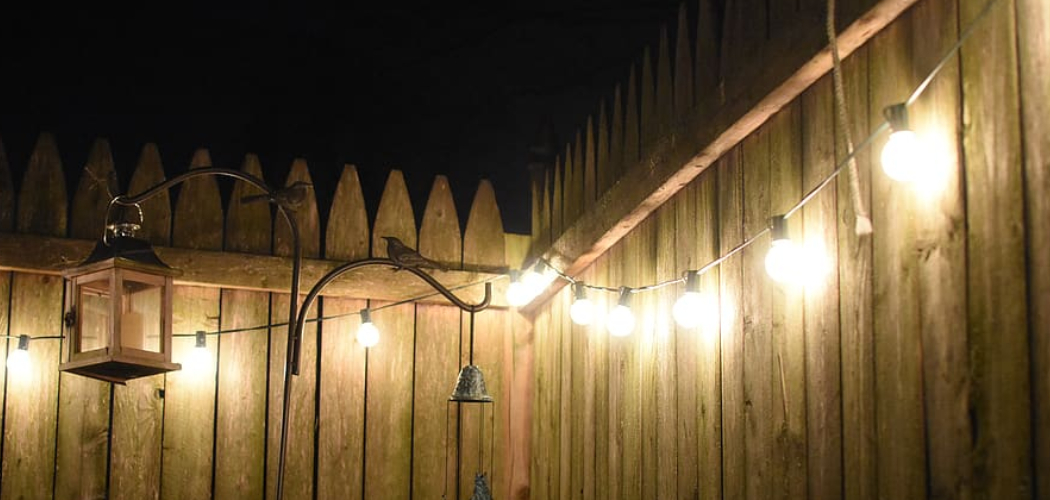
Adding lights to your vinyl fence can be one of the simplest and most attractive ways to upgrade the look of your property. Whether you’re looking for an extra bit of curb appeal or want to illuminate a specific section, stringing up lights is both easy and affordable with just a few tools and some basic knowledge.
In this blog post, we’ll provide step-by-step instructions on how to hang lights on vinyl fence without damaging it. We’ve also recommended our favorite products that cover up holes once you take them off so you don’t have any leftover blemishes after the decoration season ends.
Finally, don’t forget about the creative uses for these decorations – from flagpoles to mailbox posts, they’re not just limited to fences!
So let’s get started with the basics and show you how simple it is to hang Christmas (or party!) Lights gracefully along a vinyl fence!
What Will You Need?
Before you begin, you’ll need a few things:
- Lights and Cords: Pick up the lights and cords of your choice. If your fence is long, using more than one string of lights and multiple extension cords is best.
- Extension Cord Reels: These will give you extra length while keeping everything organized.
- Cable Ties/Zip Ties: Use these to attach the light strings to the fence without damaging it.
- Ladder or Step Stool: To reach those hard to get places!
Now that you have all of the necessary tools let’s move on to the installation process.
10 Easy Steps on How to Hang Lights on Vinyl Fence
Step 1. Layout the Lights and Cords:
Before you begin, lay out the lights and cords where you’d like them to hang. This will help you determine how many cable ties/zip ties you’ll need. If you plan to hang the lights in a pattern, drawing out your design beforehand is best.
Step 2. Attach Lights to Fence:
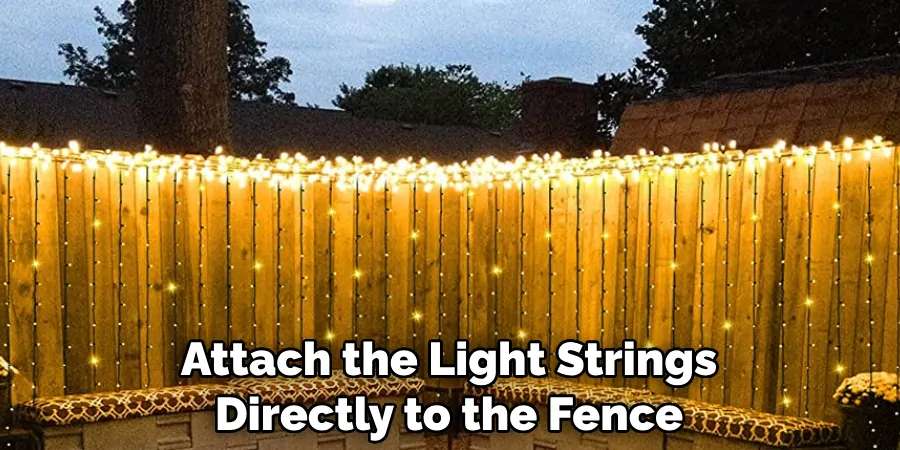
Use the cable ties/zip ties to attach the light strings directly to the fence. Ensure they are securely attached so your lights won’t get lost in windy conditions! You can also use small hooks to hang the lights without damaging the vinyl fence.
Step 3. Plug in Extension Cords:
Now plug your extension cords into the outlets on your house or a power strip and then into each of the light strings. Try to keep them out of the way, but ensure they are still accessible if you need to unplug them. Don’t forget to use the right extension cord reels if you plan on hanging lights in a large area.
Step 4. Secure Extension Cords:
Once plugged in, secure your extension cords with cable ties/zip ties at regular intervals along the length of the fence. This will keep them from becoming tangled or blowing away in the wind. As an added precaution, you can also use electrical tape to cover any exposed wires.
Step 5. Test Lights:
Before you finish, test your lights to ensure they are working correctly and all connections are secure. If not, adjust accordingly before continuing on! Be careful when climbing up and down your ladder or step stool.
Step 6. Hide Extension Cords:
Once everything is working properly, you can hide the extension cords by using cable ties/zip ties to attach them to the legs of chairs or tables near the fence or even behind planters if possible. Ensure the cords are not visible and are securely attached. This will give your lights a more polished, finished look.
Step 7. Attach a Timer:
If you’re looking for convenience, consider attaching an outdoor timer to your lights so that they automatically turn on and off at predetermined times each day. Try to find one with a photocell so that your lights will come on at dusk and turn off at dawn. Keep in mind that some timers may require professional installation.
Step 8. Clean Up the Area:
Clean up any tools or debris that you might have left behind before moving on to the next step. Use a broom or vacuum to remove any dirt and debris that might have been left behind while working. It will make the area look much more presentable.
Step 9. Remove Lights:
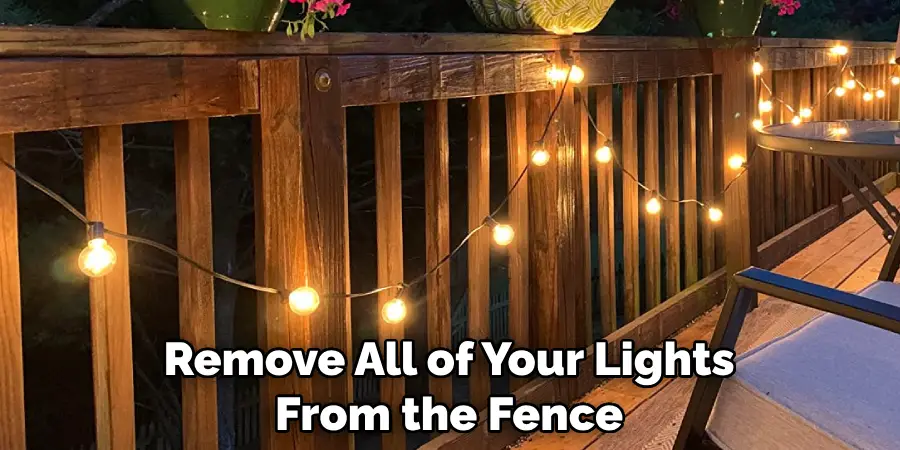
When the holiday or party season is over, remove all of your lights from the fence and store them away until next year. If you used cable ties/zip ties to attach the strings, be sure to use a screwdriver to remove any leftover holes in the vinyl fence. Check out our recommended products for easy hole cover-ups once you’re done!
Step 10. Cover Up Remaining Holes:
Finally, cover up any remaining holes in the vinyl fence with a clear silicone caulk or similar product. This will keep any moisture out and give your fence a clean look for years! Remember, if you use cable ties/zip ties, be sure to use a screwdriver to remove any leftover holes.
And there you have it—10 easy steps on how to hang lights on the vinyl fence without damaging it! With these tips, you’ll be able to light up your yard, driveway, or pathway in no time. Have fun with it, and get creative!
5 Additional Tips and Tricks
1. If you’re using string lights to hang on your vinyl fence, consider attaching them with zip ties or thin wire instead of hooks. This will ensure that the lights are firmly secured and won’t be easily damaged by the wind.
2. If you want a more permanent solution for hanging lights, try drilling small holes in the vinyl fence and inserting hooks through them. This will provide a secure hold for your lights, so you won’t have to worry about them coming down due to wind or rain.
3. cover any exposed wiring with waterproof sealant before hanging your lights on the fence to protect your lights from inclement weather further.
4. If you are using heavier outdoor-grade lights that require support, consider attaching them in clusters along a wire or cable connected between two vinyl fence posts. This will ensure that the weight of the lights is evenly spread out and not too heavy for one single point of attachment.
5. Finally, make sure to use weatherproof electrical connectors when connecting any power cords to your lights. This will ensure that the power stays on and your lights remain bright even in harsh weather conditions.
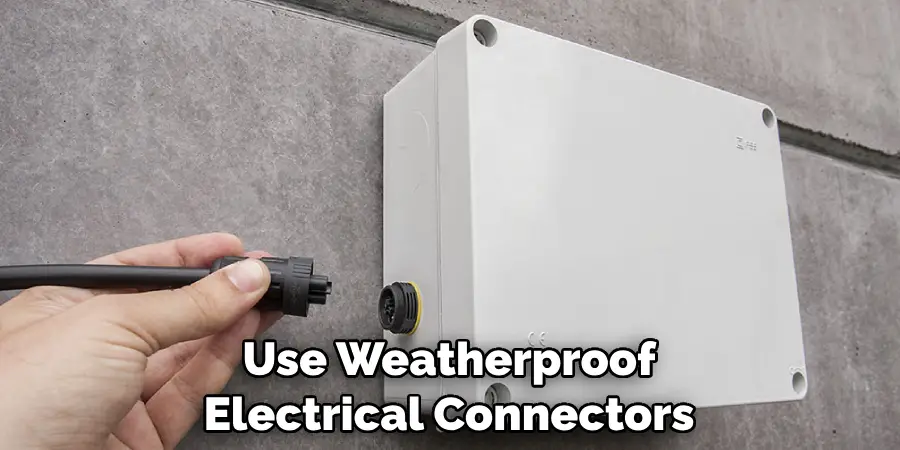
With these tips, you should be able to hang your lights safely and securely on your vinyl fence. Good luck!!
5 Things You Should Avoid
- Do not use staples or screws to hang lights, as these can easily damage the vinyl fence.
- Avoid hanging too many lights in one spot, as this could cause excess strain on the material and cause it to become weak over time.
- Don’t hang your lights too close to the top of the fence; this could prevent proper airflow and increase the temperature around your lights.
- Don’t connect more than three sets of string lights in a single line, as this could overload your power source and create a fire hazard.
- Finally, don’t forget to turn off your outdoor lighting before going inside for the night—this will help save energy and keep you and your family safe.
By following these tips, you should be able to hang lights on your vinyl fence without any major issues!
Can You Use Nails on a Fence?
No, you should not use nails on a vinyl fence. Due to its thin and lightweight material, it’s more vulnerable to damage from tools like nails. If you must attach something to your vinyl fence, try using zip ties or hooks instead. This will ensure that the material stays intact and won’t be easily damaged by weathering or strong winds.
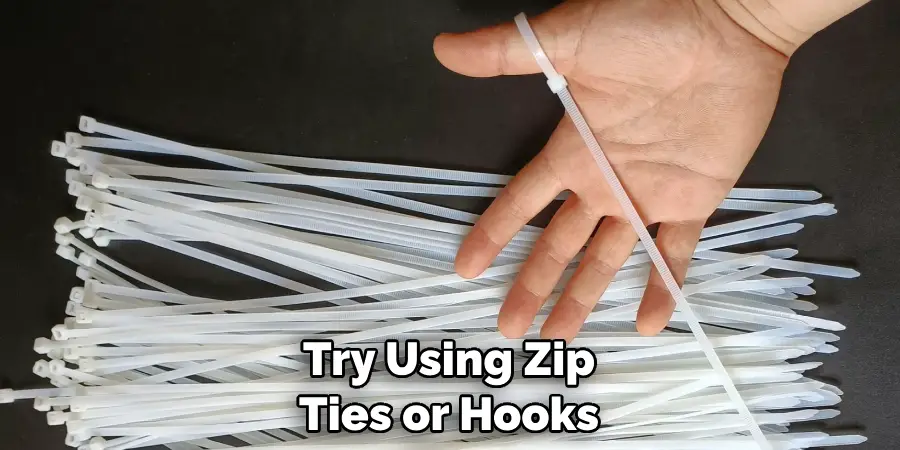
Additionally, make sure to place any heavier items in clusters along wires or cables attached between two posts of the fence so as to distribute the weight evenly.
With these tips, you can enjoy hanging lights on your vinyl fence without having to worry about damaging the structure! Good luck!
Conclusion
To wrap up, hanging lights on a vinyl fence is an easy and tasteful way to add some flair to your outdoor space. With this method, you have the freedom to choose the color, design, and direction of your installation. And depending on your space needs, you can also select a more permanent option that will look just as good as when it was first installed.
Use boards with at least two vinyl lugs for stability and tightly secure all wires. With the right tools and supplies, you’ll be able to hang lights and other decorations in no time. Finally, don’t forget that a regular checkup is essential for maintaining quality results and a great looking fence line.
Now that you know how to hang lights on vinyl fence safely and effectively, why not put this knowledge into action by creating an incredible craft item? It’s sure to make you proud while enhancing your backyard retreat!

