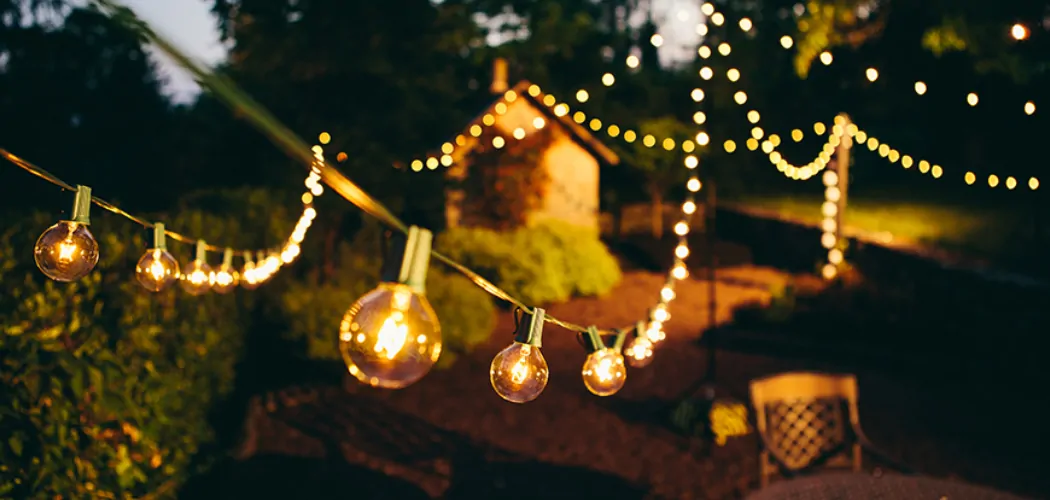
Decorating outdoor trees with lights can transform your garden or yard into a magical landscape, perfect for festive occasions or simply adding warmth and charm to your outdoor space. Whether you’re preparing for a holiday season or celebrating a special event, knowing how to properly hang lights ensures both safety and aesthetic appeal.
This guide on how to hang lights on an outdoor tree will provide you with essential tips and techniques to illuminate your trees beautifully and efficiently, creating an enchanting atmosphere for all to enjoy.
Benefits of Hanging Lights on Outdoor Trees
Hanging lights on outdoor trees can bring numerous benefits to your space, including:
- Creating a festive and welcoming atmosphere for visitors and guests.
- Adding charm and character to your outdoor space, making it more visually appealing.
- Highlighting the beauty of your trees and landscape during nighttime.
- Providing additional lighting for outdoor activities or gatherings.
- Increasing safety by illuminating dark areas in your yard or garden.
Materials Needed
Before you start hanging lights on your outdoor tree, gather all the necessary materials to make the process smoother and safer. Here are some essential items you will need:
Outdoor Lights:
Choose weather-resistant lights designed specifically for outdoor use. LED lights are a popular choice due to their energy efficiency and durability. Make sure to check the label indicating if they are safe for outdoor use.
Extension Cords and Power Outlet:
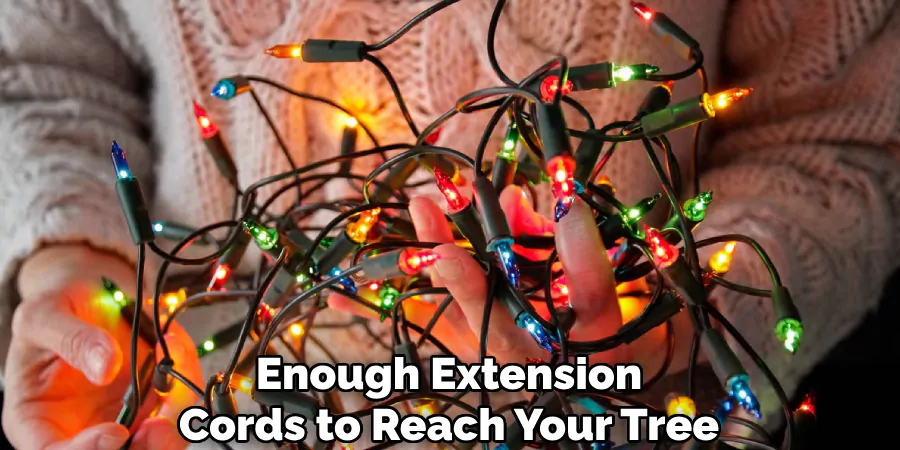
Ensure you have enough extension cords to reach your tree. It’s best to use heavy-duty, outdoor-rated extension cords with a three-prong plug for safety purposes. Also, make sure there is an accessible power outlet near the tree.
Ladder or Step Stool:
To safely hang lights on taller trees, you will need a sturdy ladder or step stool to reach higher branches. Avoid using chairs or other unstable items as they can lead to accidents.
Clips or Hooks:
Invest in plastic clips or hooks specifically designed for hanging lights on trees. They provide a secure way to attach lights to the tree branches without damaging them.
8 Steps on How to Hang Lights on an Outdoor Tree
Step 1: Plan Your Design and Measure
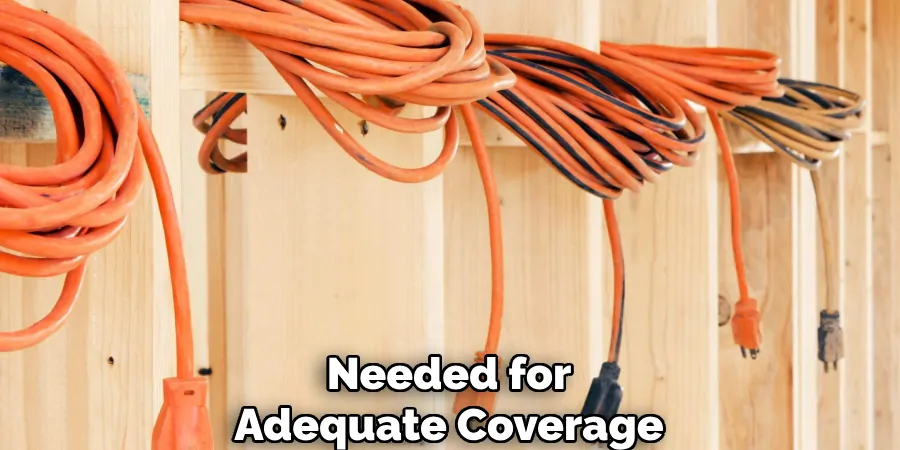
Before hanging your lights, take a moment to plan the design you wish to achieve. Consider factors like the height and width of your tree, the number of lights you have, and the effect you want—whether it’s a simple spiral pattern or a more intricate design. Once your design is settled, use a measuring tape to gauge the amount of light string needed for adequate coverage.
Start by measuring the circumference of the tree trunk and main branches that will hold lights. This planning step is crucial to ensure you have enough lights for your desired design and avoid running out of lights midway through the project.
Step 2: Check the Lights
Before proceeding to hang your lights, it’s important to test them to ensure they are functioning correctly. Plug in each strand of lights and inspect for any bulbs that are burned out, missing, or flickering. Replace any faulty bulbs with those specifically designed for your light set to maintain uniformity and avoid electrical issues. Additionally, check the light strings for frayed wires, cracks, or damage, as these could pose safety risks.
Confirm that all connections are secure and that the lights are suitable for outdoor use. Taking the time to perform these checks will prevent potential hazards and ensure a beautiful and seamless illumination once the lights are up.
Step 3: Prepare Your Extension Cords
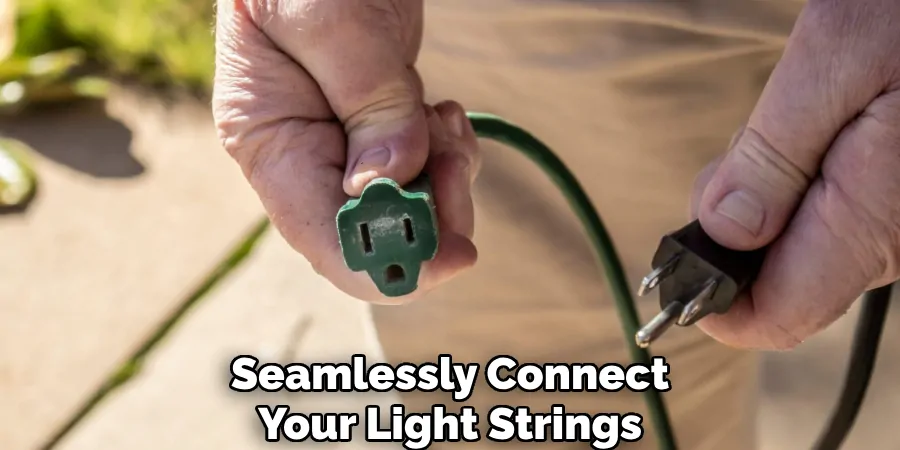
Next, it’s time to prepare your extension cords to ensure they seamlessly connect your light strings to the power source. Start by determining the distance from the tree to the nearest outdoor power outlet, and select an extension cord that is long enough to reach without stretching or causing a tripping hazard. Use heavy-duty, outdoor-rated extension cords that are weatherproof and can handle the electrical load of your light display.
Before placing the cords, inspect them for any signs of wear and damage, such as exposed wires or cracked insulation, to avoid electrical malfunctions. Lay the extension cords along the ground in a safe, inconspicuous manner, ideally along borders or flower beds, to keep them out of the way. Lastly, ensure that each connection is secure and protected from the elements, using electrical tape or weatherproof covers if necessary to maintain a safe and reliable power flow to your lights.
Step 4: Set Up the Ladder or Step Stool
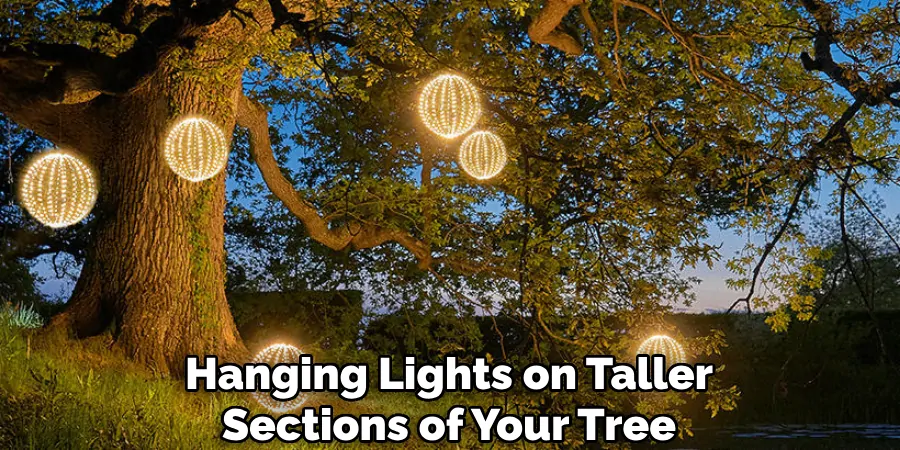
Positioning your ladder or step stool correctly is crucial for both safety and ease of access when hanging lights on taller sections of your tree. Begin by choosing a stable, level spot to place your ladder, ensuring that it is situated on firm ground to prevent wobbling or slipping. If you’re using a step stool, make sure it is sturdy and capable of supporting your weight as you reach different tree branches.
For higher branches, use an extendable ladder that can be securely locked in place at the desired height. Remember to maintain a three-point contact with the ladder—either two hands and one foot or two feet and one hand—at all times to preserve balance and stability. It may be helpful to have an assistant hold the ladder for added security as you work. Prioritizing safety by correctly setting up your ladder or step stool will make the light-hanging process smoother and more enjoyable.
Step 5: Begin Hanging the Lights
Start by securing one end of a light string to the tree trunk or base using a plastic clip or hook. Then, wrap the lights around the trunk in a spiral pattern, moving upwards towards the branches. As you reach each branch, use additional clips to attach the light string firmly to the branch for added support and stability. Continue this process until all your desired branches and sections are covered with lights, keeping an eye out for any loose connections or potential hazards along the way.
The key to achieving a beautiful and evenly lit tree is to avoid overcrowding or leaving gaps between the lights. Aim for spacing them about 6 inches apart to ensure they are distributed evenly and provide maximum coverage.
Step 6: Use Zip Ties for Extra Support
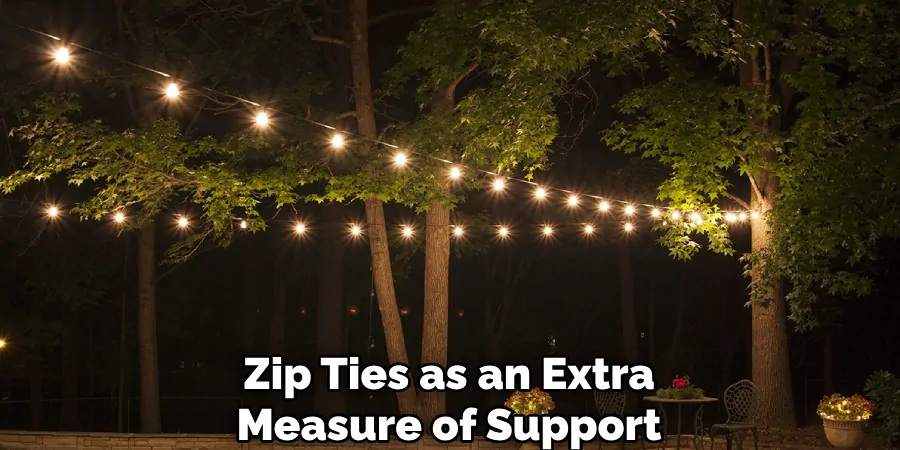
For larger trees or heavier light displays, consider using zip ties as an extra measure of support. These small, plastic ties can securely hold light strings in place and prevent them from sagging or falling off branches. Simply wrap the zip tie around the branch and light string, pulling it snugly to keep everything in place. Use zip ties sparingly to avoid damaging the tree’s branches and ensure a neat appearance.
It may be helpful to have a few extra zip ties on hand in case of any faulty connections or when securing longer light strings.
Step 7: Make Final Adjustments
Once all your lights are securely in place, it’s time to make any final adjustments to enhance the overall appearance of your decorated tree. Begin by stepping back and viewing your tree from a distance to identify any areas that may need more or less lighting for a balanced look. Adjust the placement of lights to fill in any visible gaps and ensure even distribution across the branches. If certain sections appear too concentrated, gently redistribute the lights for a more uniform effect.
Take this opportunity to check each light string for secure attachment and address any loose clips or zip ties that may have shifted during the arrangement process. Also, ensure that all connections are watertight to withstand outdoor conditions. These last-minute adjustments will perfect your light display, ensuring a dazzling and cohesive appearance that highlights the beauty of your outdoor tree.
Step 8: Enjoy Your Beautifully Lit Tree
With all the preparations and considerations in place, your outdoor tree is now ready to light up your neighborhood with festive cheer. Take a moment to step back and admire your handiwork, knowing that you have created a stunning display that will delight family, friends, and passersby alike. Remember to turn off the lights before going to bed or when leaving the house, not only for safety reasons but also to conserve energy. With proper maintenance and care, your beautifully lit tree will continue to shine bright throughout the holiday season for all to enjoy.
Following these steps on how to hang lights on an outdoor tree and taking the necessary precautions will ensure a safe, successful, and visually pleasing outdoor tree lighting experience. So go ahead and make your home stand out this holiday season with a beautifully lit tree that is sure to spread warmth and joy. Happy decorating!
Frequently Asked Questions:
Q1: What Types of Lights Are Best for Outdoor Trees?
A1: When choosing lights for an outdoor tree, it is important to select ones that are specifically designed for outdoor use. Look for heavy-duty, weatherproof lights with a UL rating and energy-efficient LED bulbs. These types of lights are more durable, safer, and longer-lasting compared to traditional incandescent lights. Additionally, consider the size and color of the bulbs to achieve your desired look and effect.
Q2: How Many Lights Do I Need for My Tree?
A2: The number of lights needed for an outdoor tree depends on its size and personal preference. As a general rule, plan on using 100-200 lights per foot of tree height. For example, a 6-foot-tall tree would require approximately 600-1200 lights. However, this can vary depending on the density of branches and how closely you space the lights.
Q3: Can I Hang Lights on a Wet Tree?
A3: It is not recommended to hang lights on a wet tree as it can increase the risk of electrical hazards and damage to the tree. Wait until the tree is completely dry before hanging lights. If necessary, use a cloth or towel to wipe down any damp areas before starting the light installation process.
Conclusion
Hanging lights on an outdoor tree is a fun and rewarding project that can bring festive cheer to your home during the holiday season. By following these simple steps on how to hang lights on an outdoor tree, you can ensure a safe, efficient, and visually appealing display that will impress your family, friends, and neighbors.
Remember to always prioritize safety by checking your lights and cords before installation, using proper ladder positioning techniques, and making any necessary adjustments for a successful light-hanging experience. Happy decorating! So go ahead and get creative with your lighting design while keeping in mind these helpful tips.

