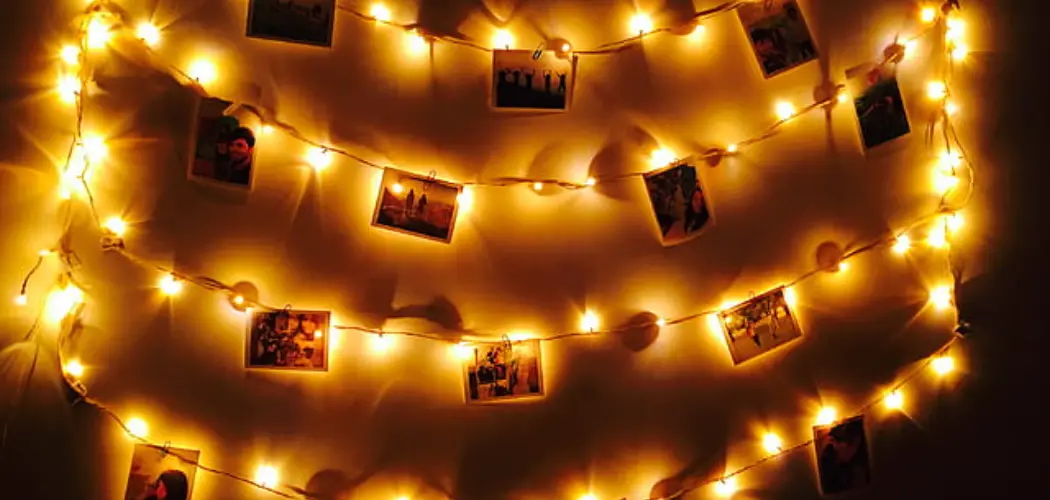
Decorating your dorm room can make a significant impact on transforming the space into a cozy and inviting sanctuary. One of the most effective ways to achieve this is by hanging lights. Not only do they provide a warm and soothing ambiance, but they also add a personal touch to your living area. Whether you prefer twinkling fairy lights or bold LED strips, there are numerous creative and practical ways to incorporate lighting into your dorm decor.
In this guide on how to hang lights in a dorm room, we’ll explore some tips and tricks to help you hang lights safely and stylishly without damaging your walls or violating dorm rules.
Why Hang Lights in a Dorm Room?
Before we dive into the “how-to” part, let’s quickly discuss why hanging lights in a dorm room is beneficial. Here are some reasons:
Personalization:
As mentioned earlier, hanging lights can add a personal touch to your living space. It allows you to express your unique personality and style, making the room feel more like home. Plus, you can choose from a wide variety of light options to suit your preferences.
Mood Enhancer:
Lights have the power to transform the mood and atmosphere of a room. By hanging lights in your dorm room, you can create a warm and inviting ambiance that is perfect for studying, relaxing, or even hosting small gatherings with friends.
Functional Lighting:
Apart from aesthetics, hanging lights also serve as functional lighting sources. They provide additional brightness to your room, making it easier to read or work on tasks that require good visibility.
7 Simple Step-by-step Guidelines on How to Hang Lights in a Dorm Room
Step 1: Gather Supplies
In addition to the lights, you’ll need some essential supplies to hang them. These may include:
- Adhesive Hooks or Clips (if Allowed)
- Command Hooks (if Allowed)
- Clothespins
- Zip Ties
- Removable Adhesive Putty
You may not end up using all these supplies depending on your
Step 2: Check Dorm Rules
Before embarking on your dorm room lighting project, it’s crucial to familiarize yourself with your dorm’s rules regarding decorations. Most dorms have specific guidelines about what is allowed to be hung on the walls or ceilings, including restrictions on the use of nails, tape, or other mounting materials. Reviewing these rules will ensure that you’re not inadvertently violating any regulations, which could potentially result in damage charges or the need to remove your decorations.
Contact your housing office or review your housing handbook for detailed information on these regulations. Once you’re clear on what is permissible, you can safely plan your lighting setup without any concerns.
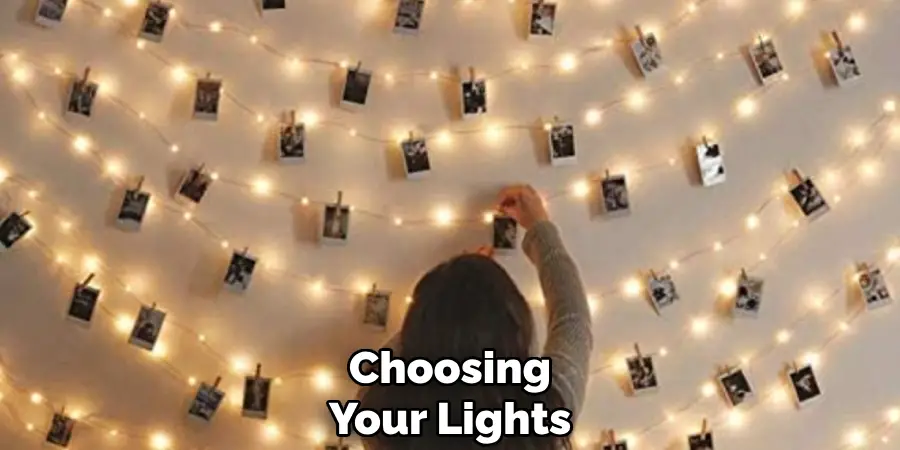
Step 3: Choose your Lights
Now comes the fun part – choosing your lights. There are endless options available, from string lights to lanterns, LED strips, and more. Consider the style and theme of your dorm room when selecting lights to ensure they complement each other. You can also mix and match different types of lights for a creative effect.
It’s important to note that not all lights are suitable for hanging in a dorm room, especially if you’re using adhesive hooks or command strips. Avoid using heavy or high wattage lights as they can potentially damage your walls and may not be allowed under dorm rules.
Step 4: Plan the Layout
Before you start hanging your lights, it’s crucial to plan the layout carefully. Consider the areas in your dorm room where you want the lights to be most prominent. Popular choices include around the bed, outlining a window, or above a study desk to enhance the ambiance while studying. Use a tape measure to determine the length of the space where the lights will be hung to ensure you have enough lights to cover the area.
Think about whether you want the lights to drape, hang in a straight line, or take on a more creative shape, such as zigzags or spirals. It’s also helpful to sketch a rough design of your layout before you begin, as this will serve as a guide and help prevent damage to the walls from excessive repositioning. Planning the layout carefully ensures that the final look is cohesive and visually pleasing while adhering to any dorm restrictions.
Step 5: Hang the Lights
Now, it’s time to put your plan into action and hang the lights. If you’re using adhesive hooks or clips, be sure to follow the manufacturer’s instructions for proper application. Avoid overloading the hooks with too many lights, as this can cause them to fall off and damage your walls.
Alternatively, if you’re using command strips, ensure that they are rated for hanging lights and carefully follow the weight limit recommendations. Clothespins and zip ties are also practical options for securing lights in place without causing wall damage.

Step 6: Hide Cords
Cords from hanging lights can be an eyesore, but there are simple ways to hide them. If your dorm’s rules permit, you can use cord covers or cable ties to neatly bundle and conceal the cords along the walls or ceilings. Alternatively, you can also opt for battery-operated lights that do not require a power outlet.
It’s important to note that you should never run cords under carpets or rugs, as this poses a fire hazard.
Step 7: Test and Enjoy!
Once you’ve hung all your lights, it’s time to turn them on and see how they look! Take a step back and make any necessary adjustments to ensure the lights are evenly spaced and secure. Then sit back, relax, and enjoy your beautifully lit dorm room!
Following these simple steps on how to hang lights in a dorm room will help you hang lights in your dorm room safely and stylishly. Remember to always follow your dorm’s regulations and use caution when working with any adhesive or hanging materials. Happy decorating!
Do You Need to Get Help With Any Other Aspects of Dorm Room Decor?
Decorating a dorm room can be both exciting and overwhelming, as it often involves making the most out of limited space while reflecting your personal style. If you’re unsure where to start or feel stuck with certain aspects of your decor, consider seeking additional help or inspiration. Here are a few resources and ideas:
Online Communities and Forums:
Websites like Pinterest, Reddit, and various design forums are treasure troves of ideas where you can get advice from people who have tackled similar decorating projects.
Remember, your dorm room is a personal sanctuary. Take your time to experiment and create an environment that feels comforting and true to your personality. Don’t hesitate to ask for help or seek inspiration to ensure your space meets both your aesthetic preferences and functional needs. Happy decorating!
Dorm Room Decor Workshops:
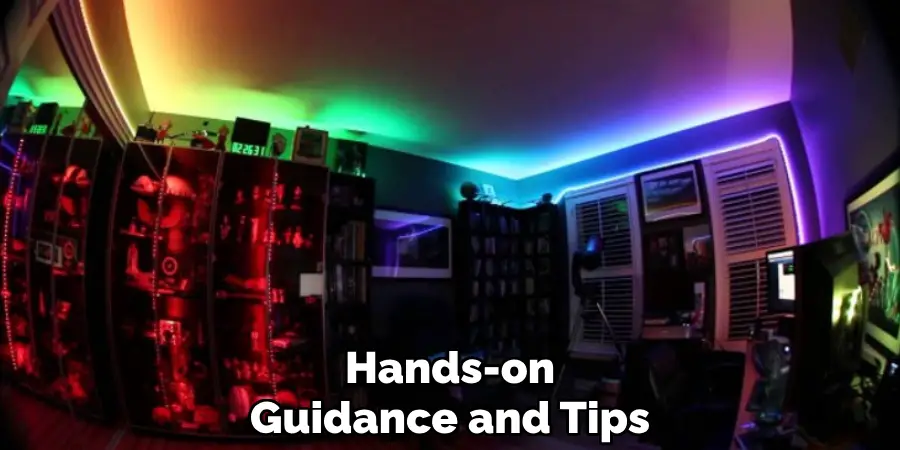
Some colleges and universities offer workshops or events specifically focused on dorm room decor. These can provide hands-on guidance and tips from experienced decorators, as well as opportunities to connect with other students who are in the same boat.
DIY Projects:
If you’re feeling crafty, consider making some DIY decor for your dorm room. This not only adds a personal touch but can also be cost-effective. Websites like YouTube and Pinterest have a plethora of tutorials and inspiration for easy DIY projects that will make your space stand out.
No matter what approach you take, remember that your dorm room is an extension of yourself – so have fun and get creative!
Additional Tips
- Consider using energy-efficient bulbs to save on electricity costs.
- Avoid hanging lights near fire hazards such as curtains or fabrics.
- If using string lights, be sure to check the packaging for the recommended maximum number of strands that can be connected together. Overloading can cause a fire hazard.
- Don’t forget to unplug your lights when leaving your dorm room or going to bed for safety purposes.
- Get creative and experiment with different light colors or styles to add a personal touch to your dorm room.
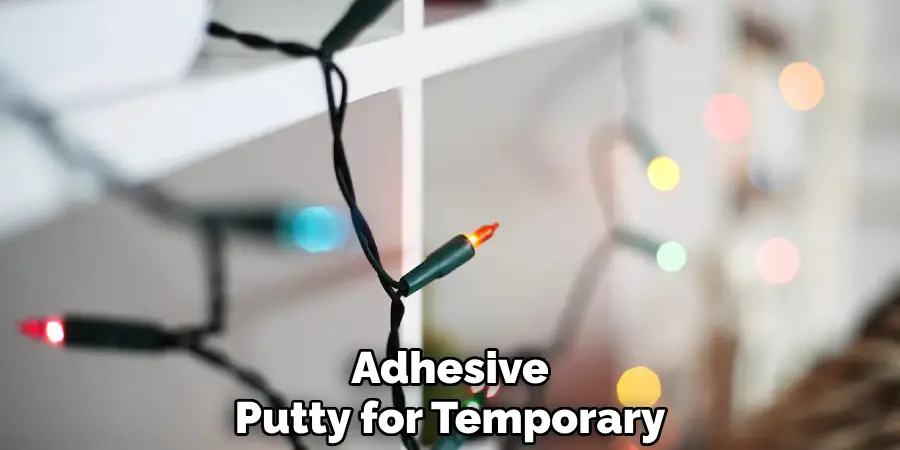
- Use removable adhesive putty for temporary hanging of lights, especially if you like to frequently change up your room decor. Overall, have fun and let your imagination guide you in creating the perfect lighting setup for your dorm room!
Good luck on your decorating journey!
Frequently Asked Questions
Q: Can I Use Nails or Tape to Hang Lights in My Dorm Room?
A: It’s best to check with your dorm’s rules before using nails or tape to hang lights, as many dorms restrict these materials. If allowed, be sure to use them carefully and only in designated areas.
Q: Can I Hang Lights on My Bed Frame?
A: It is not recommended to hang lights directly on your bed frame as it could potentially pose a safety hazard. Instead, consider hanging the lights above or around your bed to enhance the ambiance.
Q: Can I Cut String Lights to Fit My Layout?
A: Cutting string lights can be done with caution, but it’s important to note that once they are cut, they cannot be reattached. Consider measuring and planning your layout beforehand to avoid unnecessary cutting.
Q: Can I Leave My Dorm Lights on All Night?
A: It’s best to turn off your lights when leaving your dorm room or going to bed for safety and energy conservation purposes. If you wish to leave them on, make sure they are properly secured and not near any flammable materials. Remember to always follow your dorm’s regulations regarding lighting usage. Happy decorating!
Conclusion
Hanging lights in a dorm room can transform a boring space into a cozy and inviting one. By following these simple steps on how to hang lights in a dorm room, you can safely and stylishly decorate your dorm with lights. Remember to always follow your dorm’s regulations and use caution when handling any materials. Have fun and get creative with your lighting setup!
Even if you have already completed the content, it’s always good to include some additional tips or frequently asked questions that may be helpful for readers. This shows your knowledge and understanding of the topic while also providing more value to the reader. Additionally, you can also suggest other related topics or provide links for further reading on decorating a dorm room. Happy decorating!

