Hanging lights around your outside windows is a simple way to add charm and ambiance to your home, especially for holidays or special occasions. With the right tools and techniques, you can create a visually appealing display that enhances the exterior of your house.
This guide on how to hang lights around outside windows will provide step-by-step instructions to ensure your lights are securely and effectively installed, achieving a professional and polished look.
What is Needed
To hang lights around outside windows, you will need the following tools and materials:
Outdoor Lights:
Choose lights that are suitable for outdoor use and can withstand different weather conditions. LED lights are a popular choice as they are energy-efficient and have a longer lifespan compared to traditional incandescent bulbs.
Extension Cords:
You will need extension cords to reach your power source. Make sure to get outdoor-rated cords that are designed to be used in wet conditions.
Clips or Hooks:
There are various types of clips or hooks available specifically for hanging lights, such as gutter clips, adhesive clips, or magnetic hooks. Choose the ones that best suit your window type and surface.
Ladder:
A stable ladder is essential for reaching higher windows safely.
8 Step-by-step Guidelines on How to Hang Lights Around Outside Windows
Step 1: Measure the Windows
Before you begin hanging the lights, measure the perimeter of your windows to determine how many lights you will need. Use a measuring tape to get the exact dimensions of each window you plan to decorate.
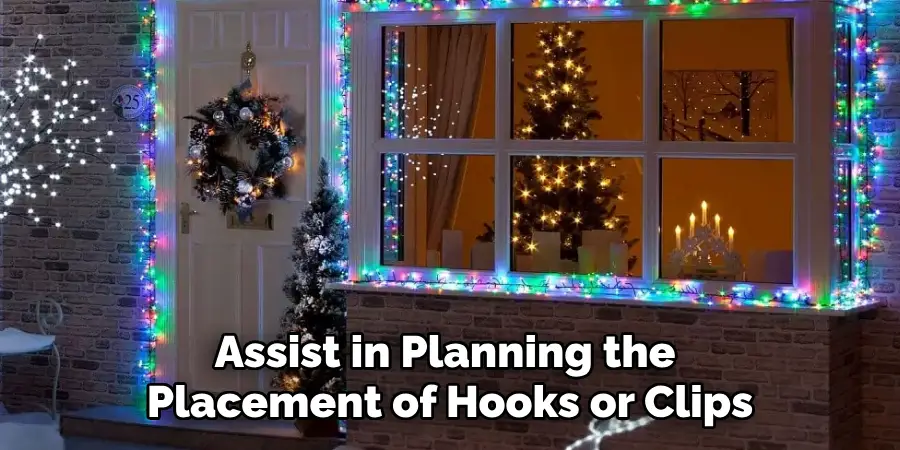
This will help you ensure you have enough lights to cover the entire area without any gaps, and it will also assist in planning the placement of hooks or clips. Make a note of the measurements and double-check them to avoid errors during installation.
Step 2: Test Your Lights
Before installing the lights, plug them in to ensure they are functioning properly. Inspect the entire strand for any damaged or broken bulbs, as well as any frayed or exposed wires that may pose a safety hazard. Replace any faulty bulbs or damaged sections to avoid interruptions once the lights are in place.
Testing the lights beforehand will save you time and effort by preventing the need to fix issues after installation. Additionally, confirm that the lights are evenly lit and match the desired brightness for your outdoor display.
Step 3: Plan Your Design
Now that you have measured your windows and tested the lights, it’s time to plan the design for your outdoor window display. Consider different lighting patterns such as outlining the window frame, zigzagging across the window, or draping the lights vertically.
You can also mix and match different colored lights for a unique and playful look. Use your measurements to determine where to strategically place clips or hooks for a neat and symmetrical display.
Step 4: Start from One End of the Window
Begin hanging the lights from one corner of the window to ensure a smooth and organized process. Attach the first light to a clip or hook at your starting point, ensuring it is securely fastened. Gradually work your way along the perimeter of the window, attaching the lights to the clips or hooks as you go.
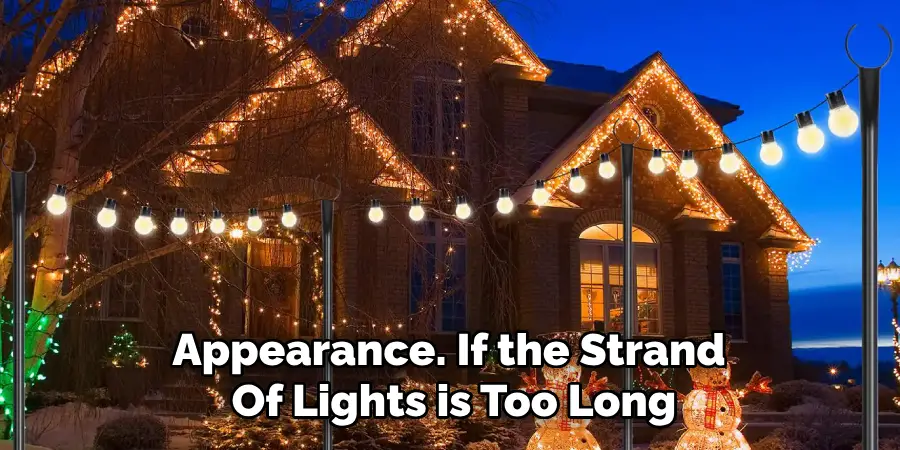
Take care to keep the lights evenly spaced for a clean and professional appearance. If the strand of lights is too long, tuck the excess neatly at the end or loop it back in a way that fits your design. Avoid letting any part of the strand hang loosely, as this could cause the display to look untidy or risk the lights falling.
Step 5: Use Clips or Hooks with Care
When using clips or hooks to hang the lights, be cautious not to damage your windows or siding. If you are attaching them to gutters, make sure they are not too tight and can be easily removed without causing any harm.
For adhesive clips, ensure that the surface is clean and dry before applying them for maximum effectiveness. Magnetic hooks can also be used on metal surfaces without causing any damage.
Step 6: Secure Extension Cords
After hanging the lights, secure the extension cords to ensure they are safe and out of the way. Begin by identifying the closest outdoor power source and connecting your lights using outdoor-rated extension cords. Run the cords along the edges of your house, securing them with cable clips or adhesive hooks to prevent them from dangling or becoming a tripping hazard.
Keep the extension cords tucked neatly against walls or concealed within landscaping to maintain a tidy appearance. Ensure the connections are tight and protected with waterproof covers or electrical tape to guard against moisture. Always avoid overloading the outlet by checking the power requirements of your lights and using multiple outlets if necessary. Properly securing the extension cords not only enhances safety but also ensures that your display remains intact during inclement weather.
Step 7: Add Finishing Touches
Once all the lights are securely hung and powered, take a moment to step back and assess your display. Make any necessary adjustments to ensure that the lights look even and well-placed. You can also add additional decorations such as wreaths or bows, to complete the overall look of your outdoor window display.
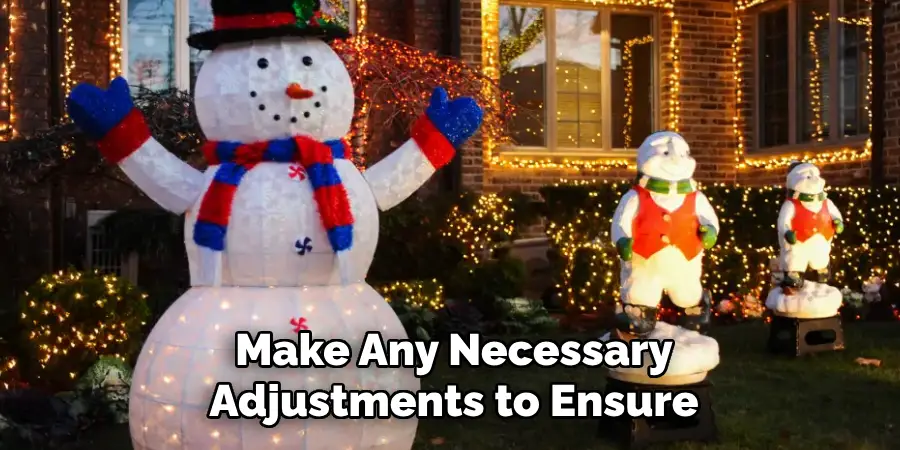
You may also want to set a timer or use smart plugs to automate your lights, making it easier to turn them on and off during specific hours. This is especially helpful if you plan to leave the lights up for an extended period.
Step 8: Safety First
During installation, always prioritize safety for yourself and others around you. Use a sturdy ladder that can support your weight and never overreach when hanging the lights. Avoid working in wet conditions or during inclement weather, and exercise caution when using electrical equipment. If possible, have a friend or family member assist you in making the process easier and safer.
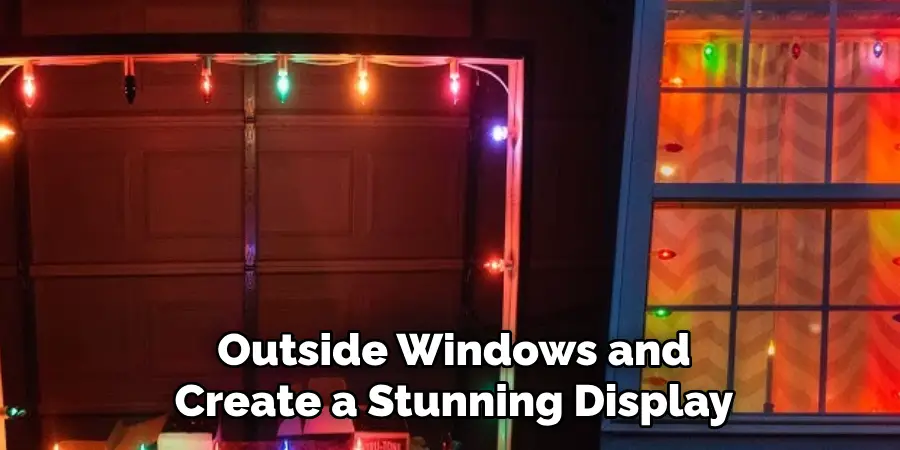
With these simple guidelines on how to hang lights around outside windows, you can easily hang lights around outside windows and create a stunning display for all to enjoy during the holiday season. Remember to take your time and double-check measurements and connections for a successful installation. Happy decorating!
Safety and Weatherproofing Tips
When setting up your outdoor light display, safety and weatherproofing are critical to ensuring a successful and long-lasting installation. Follow these tips to protect your decorations, property, and personal well-being:
Use Outdoor-Rated Lights and Equipment:
Always choose lights, extension cords, and fixtures that are specifically rated for outdoor use. These products are designed to withstand exposure to moisture, cold temperatures, and UV rays, ensuring they remain safe and functional throughout the holiday season.
Invest in Ground Fault Circuit Interrupters (GFCIs):
To prevent electrical shock, use GFCIs for all outdoor outlets and circuits. These devices monitor the flow of electricity and shut off power if they detect a ground fault or surge, keeping you and your property safe.
Protect Your Connections:
Use waterproof covers, electrical tape, or silicone sealant to protect connections from moisture. You can also elevate your connections off the ground using bricks or stands to prevent them from getting submerged in water or covered in snow.
Avoid Overloading Outlets:
Check the wattage ratings on your lights and extension cords before plugging them into an outlet. Avoid using too many lights or power-heavy decorations on a single circuit to prevent overloading the outlet and causing a fire.
Take Down Lights Promptly After the Holidays:
Once the holiday season is over, take down your outdoor light display as soon as possible to avoid potential hazards such as damaged lights, overloaded outlets, or tripping hazards. Store your lights and equipment in a dry and secure location for future use.
Frequently Asked Questions
Q1: How Can I Determine the Number of Lights Needed for My Outdoor Window Display?
A1: Measure the perimeter of your windows and calculate the total length. Then, divide that number by the average spacing between bulbs on your light strand to determine how many strands you will need. It is always a good idea to have extra strands on hand in case of any unexpected issues or for future use.
Q2: Can I Use Indoor Lights for My Outdoor Window Display?
A2: No, it is not recommended to use indoor lights for outdoor displays. Indoor lights are not designed to withstand exposure to the elements and could pose a safety hazard if used outdoors. Always use lights specifically labeled as “outdoor” or “indoor/outdoor” for outside displays.
Q3: How Do I Store My Lights After the Holiday Season?
A3: To ensure your lights stay in good condition for next year, gently remove them from their hooks or clips and wrap them around a reel or piece of cardboard to prevent tangling. Store them in a cool, dry place away from direct sunlight. You can also use storage containers designed specifically for lights to keep them organized and protected.
Conclusion
Creating a stunning outdoor window display is a rewarding way to celebrate the holiday season and add warmth and charm to your home. By following the steps on how to hang lights around outside windows outlined above, from planning your design to carefully securing and arranging your lights, you can achieve a professional and festive look with minimal hassle. Remember, safety and attention to detail are key to ensuring a successful installation and an eye-catching display.
Take your time, enjoy the process, and don’t hesitate to add personal touches or creative elements to make your display uniquely yours. With proper care and preparation, your outdoor window decorations will bring joy to you, your neighbors, and passersby throughout the season. Happy holidays!

