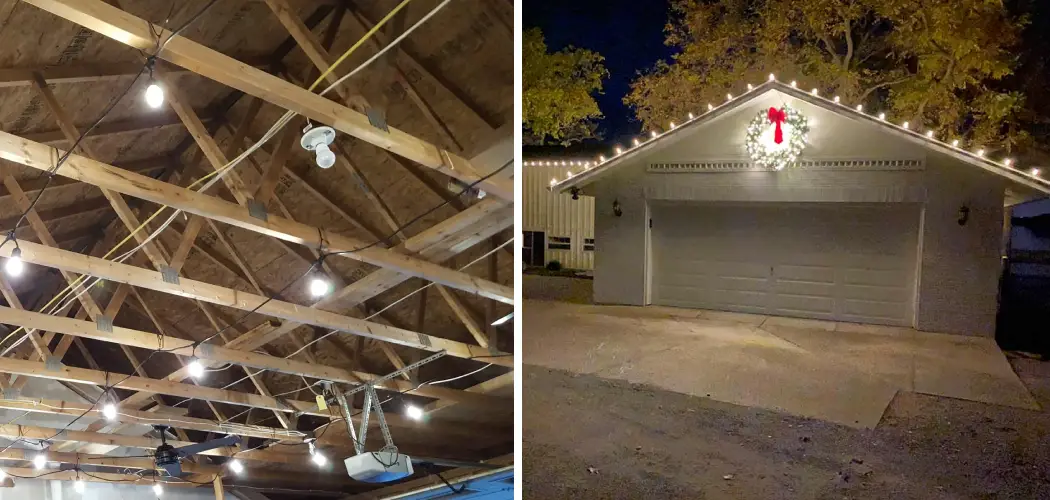
Adding festive lights around your garage is a wonderful way to infuse a touch of seasonal charm and warmth to your outdoor space. Whether it’s for the holidays, a special celebration, or simply to enhance your home’s aesthetics, the art of hanging lights around your garage requires a creative approach and a few practical considerations.
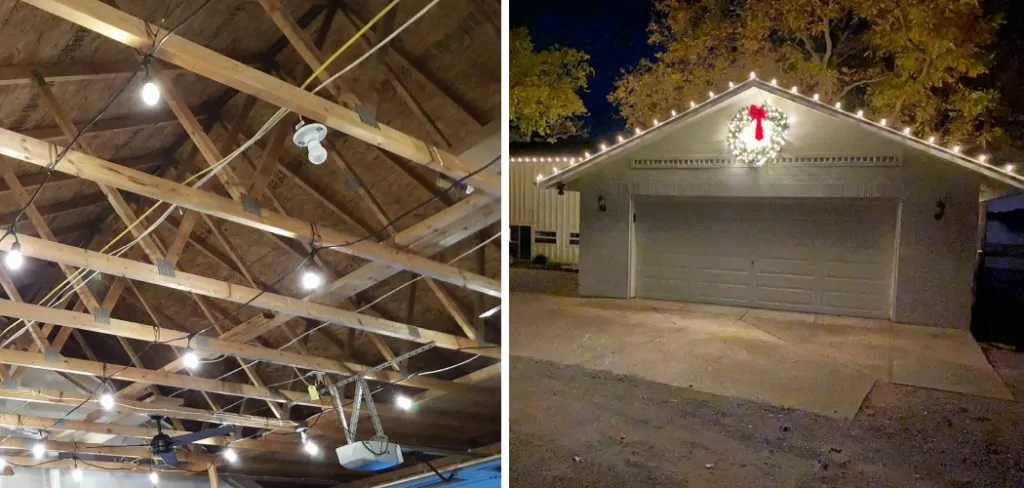
From selecting the right type of lights to determining the most suitable hanging methods, this article explores a step-by-step guide on how to hang lights around garage. By following these insightful tips and techniques, you’ll be able to create an inviting and enchanting ambiance that transforms your garage area into a captivating focal point, captivating the eyes and hearts of all who pass by.
The Appeal of Decorating Garages with Lights for Aesthetics and Festivities
Garages can be a great area to spruce up for the holidays or parties. Hanging lights around your garage will give it an extra sparkle and make it look more festive in no time! With some basic tools and lighting techniques, you can take your garage from drab to fab with ease. Although there are several different types of lights you can hang around your garage, string lights are one of the most popular choices for decoration.
String lights come in a variety of colors and styles, so they’re an excellent way to customize your decor to fit any occasion. Whether you’re decorating for Christmas or throwing a summer party, string lights will lend a bright and cheerful atmosphere to your garage. Furthermore, adding string lights can be surprisingly easy with the right supplies.
To start off, you’ll need some basic tools like an extension cord and a ladder. Additionally, it’s important to have wire cutters and pliers on hand in case you need to adjust or remove any lights or wires. Once you have the necessary tools, it’s time to get started on the fun part of decorating!
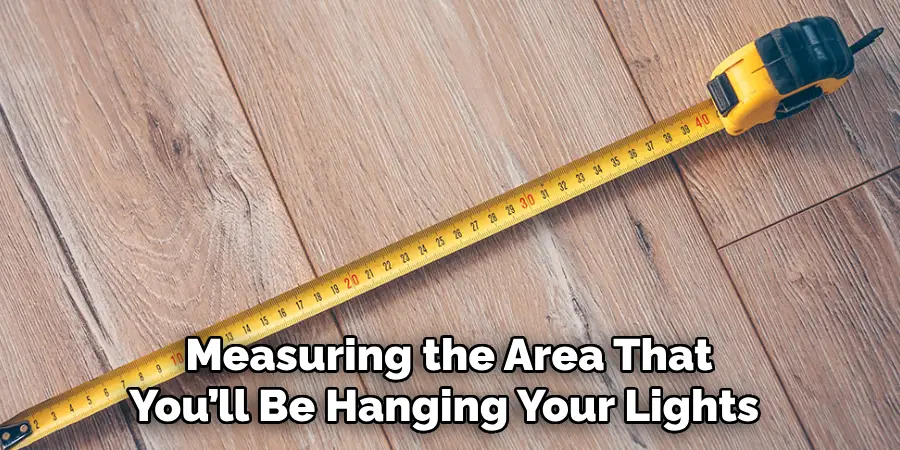
Begin by measuring the area that you’ll be hanging your lights in order to determine how much string light you will need. Depending on your individual needs, you may also want to plan out where each strand of lights will go and make any necessary adjustments with the wire cutters and pliers. Once you’ve finalized your plan, it’s time to hang up the lights!
Prioritizing Safety during the Installation Process
When hanging lights around your garage, safety should always be your top priority. Before starting any work, make sure to switch off the power supply and inspect the wires to ensure they are properly insulated.
Additionally, use ladders or other equipment designed specifically for such tasks and follow all manufacturer instructions carefully. When installing large fixtures, enlisting help from a friend or family member is a good idea. This will ensure that the lights are properly secured and can last for years to come.
After installation, also check the fixtures regularly to make sure they remain in good condition. Clean them with a damp cloth occasionally to remove any dust or dirt buildup. Moreover, inspect the wiring periodically for any sign of wear and tear, and replace faulty parts as soon as possible. Finally, if you notice any problems with the lights or switches, it’s important to contact a qualified electrician who can help you troubleshoot and resolve the issue.
By following these simple steps, you can ensure that your garage lighting remains safe and in excellent condition for years to come. With proper installation and regular maintenance, you will have a beautiful and efficient lighting system that you can enjoy for years to come.
11 Steps How to Hang Lights Around Garage
Step 1: Choose the Right Lighting Type for Your Vision

Begin by contemplating the ambiance you wish to create. Opt for classic string lights for a timeless elegance or embrace the contemporary charm of fairy lights or LED rope lights. The choice of warm or cool tones will significantly impact the mood you’re aiming to evoke.
Step 2: Develop a Thoughtful Design Plan
Before plunging into the installation process, take the time to conceptualize your design. Factor in the layout of your garage, architectural highlights you intend to emphasize, and the overarching theme or occasion you’re celebrating. Sketching your design aids in visualizing the end result and planning your approach.
Step 3: Assemble the Essential Tools and Materials
Gather the tools and materials that will streamline your lighting masterpiece. Be sure to have your chosen lights, extension cords, hooks, clips, adhesive strips, a secure ladder, a measuring tape, and possibly a timer to automate your lighting display’s schedule.
Step 4: Precise Measurements for Optimal Effect
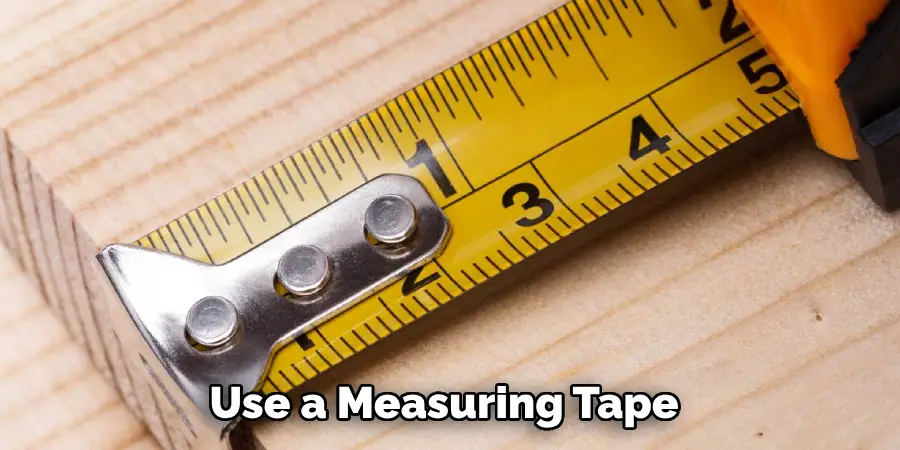
Accurate measurements are key to achieving a balanced and visually pleasing lighting arrangement. Use a measuring tape to gauge the length of the area where you intend to hang the lights. This step is critical for estimating the number of lights needed and ensuring an even distribution.
Step 5: Identify Accessible Power Sources
Identify nearby power sources and outlets that will facilitate the lighting setup. If the garage is distant from a power supply, strategize the use of outdoor-friendly extension cords and power strips to guarantee a consistent energy flow for your lights.
Step 6: Select the Appropriate Hanging Methods
The structural aspects of your garage will dictate the most suitable hanging methods. Adhesive hooks or clips are effective for wooden or concrete walls, while gutter clips or light clips can secure lights to eaves and overhangs. Always ensure that your chosen method can accommodate the weight of the lights safely.
Step 7: Pre-Installation Light Testing
Before commencing the installation, conduct a thorough testing of all your lights to verify their functionality. Replacing any burnt-out bulbs now will save you the inconvenience of addressing this issue after installation.
Step 8: Begin the Installation Process
Embark on the installation process according to your meticulously crafted design. As you work with ladders, prioritize safety and stability. For string lights, utilize clips or hooks to fasten them securely along walls or eaves. For fairy lights or LED rope lights, artfully weave them around posts or delicately wrap them around railings.
Step 9: Strive for Symmetry and Balance
Maintain a symmetrical and harmonious display by evenly spacing the lights and adhering to your design sketch. Regularly step back to assess your progress, ensuring the arrangement remains true to your envisioned outcome.
Step 10: Harness Timers for Effortless Management
Enhance both energy efficiency and convenience by incorporating timers or smart plugs into your lighting display. These devices grant you the ability to establish a pre-set schedule for when your garage lights will illuminate and dim, adding an element of automation to your mesmerizing arrangement.
Step 11: Vigilant Maintenance and Periodic Inspection
Throughout the duration of your lighting exhibition, dedicate time to periodic inspections. Promptly replace any burnt-out bulbs, secure any loosened connections, and ensure the entirety of your installation maintains its integrity and safety.
Things to Consider When Hanging Lights around Garage
Are you looking to spruce up your garage space? Hanging lights around the area can add a touch of character and style to your home. It’s important to consider several key factors before embarking on this task, such as choosing the right type of lighting, ensuring proper installation, and considering safety measures.
Take a look at our pointers below for hanging lights around your garage. However, if you are not confident to do this yourself, it is always best to seek the advice and help of a qualified electrician.
Choose the Right Type of Lighting: When choosing lighting for your garage space, think about how much light you need and what kind of atmosphere you want to create. From incandescent bulbs to LED lights and more, the market is full of options. Make sure to select a light bulb that fits into the existing fixture and won’t require you to make any changes to your wiring.
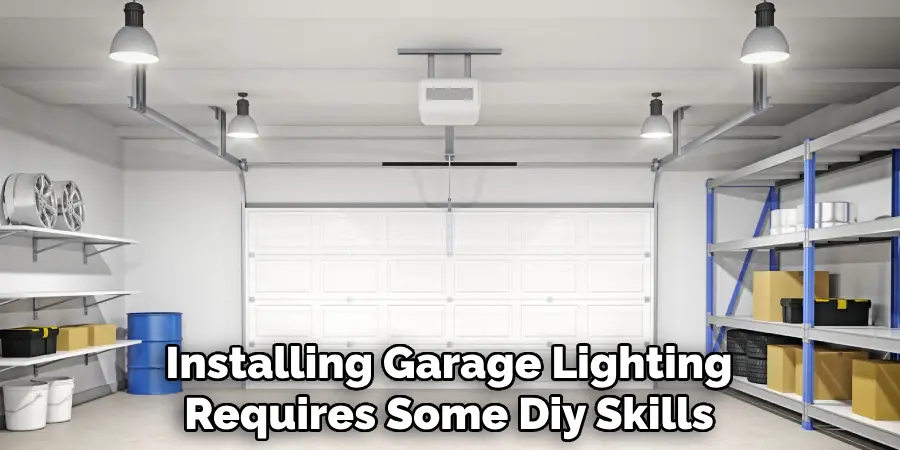
Ensure Proper Installation: Installing garage lighting requires some DIY skills, such as knowing how to properly mount the lights and making sure they are securely attached. If you are unsure about doing this on your own, it is best to seek professional help. Additionally, make sure that all the electrical wires are properly connected and have no visible signs of damage.
Consider Safety Measures: Before installing any lights around your garage, check the surrounding area for wet spots or other hazards that may pose a potential risk. Wet areas can create an electrical hazard if not properly handled. Make sure to switch off the mains when working with electrical wiring. Additionally, use a ground fault circuit interrupter (GFCI) for added safety.
Conclusion
There are many ways to hang lights around your garage. Depending on what kind of lights you want, and the look you’re going for, one of these methods could be your ideal solution! Whether you prefer to DIY or hire professionals, it is possible to create wonderful lighting features that can make a statement in this area of the home. You can also set up a system that allows the lights to be dimmed and turned on or off with one switch.
The key is knowing how exactly to set up the wiring correctly to support your lighting plan. As long as you have the proper tools and instructions from an electrician, it’s not hard to install outdoor lighting around your garage. Follow these simple instructions outlined in this blog post about how to hang lights around garage, and you’ll be able to get the job done with ease.

