Decorating your home with Christmas lights is a wonderful way to celebrate the holiday season and spread festive cheer. Using clips to hang your lights is a simple and effective method that helps ensure they stay secure and properly aligned. Whether you’re outlining your roof, windows, or other areas of your home, clips make the process safe and efficient.
This guide on how to hang christmas lights with clips will walk you through the steps to hang Christmas lights like a pro, transforming your house into a dazzling holiday display.
Why Use Clips to Hang Christmas Lights?
Clips are an essential tool for hanging Christmas lights because they provide a secure and damage-free way to attach the lights to your home. Unlike traditional methods like nails, tape, or staples, clips do not cause any permanent damage to your walls or roof shingles. They also make it easier to remove the lights after the holiday season without leaving behind any residue or marks.
Another advantage of using clips is that they help keep your lights in place, preventing them from sagging or falling off during windy or snowy weather. This ensures your lights always look neat and tidy, enhancing the overall appearance of your holiday decorations.
Needed Materials
Before you begin, make sure you have the following materials on hand:
Christmas Lights:
Choose high-quality lights that are suitable for outdoor use and have the appropriate length to cover the area you want to decorate.
Clips:
Invest in sturdy clips specifically designed for hanging Christmas lights. They come in various sizes and types, including adhesive clips, gutter clips, or shingle tabs. Make sure to read the package instructions and choose the right type of clip for your specific needs.
Extension Cord:
If needed, purchase an extension cord that is long enough to reach from your power source to where you plan on hanging the lights.
8 Steps on How to Hang Christmas Lights With Clips
Step 1: Plan Your Design
Before you start hanging your Christmas lights, take some time to plan your design. Decide which areas of your home you want to decorate, such as the roofline, windows, doors, or trees. Sketch out a rough layout of your lighting design to ensure you have enough lights and clips for the entire project.
Consider the spacing between each light bulb and think about how the lights will connect to an electrical outlet. Planning your design in advance will save you time and ensure a seamless decorating process.
Step 2: Check Your Clips
Before you start attaching lights, inspect your clips to ensure they are in good condition and appropriate for the surfaces you will be decorating. Different types of clips suit various applications, such as gutter clips for securing lights along rooflines or adhesive clips for attaching lights to windows or walls.
Check that the clips are clean, free of damage, and capable of holding the weight of your lights securely. Organize your clips and ensure you have enough to cover the entire area based on your design plan. Having all your clips ready ahead of time will help streamline the installation process.
Step 3: Test Your Lights
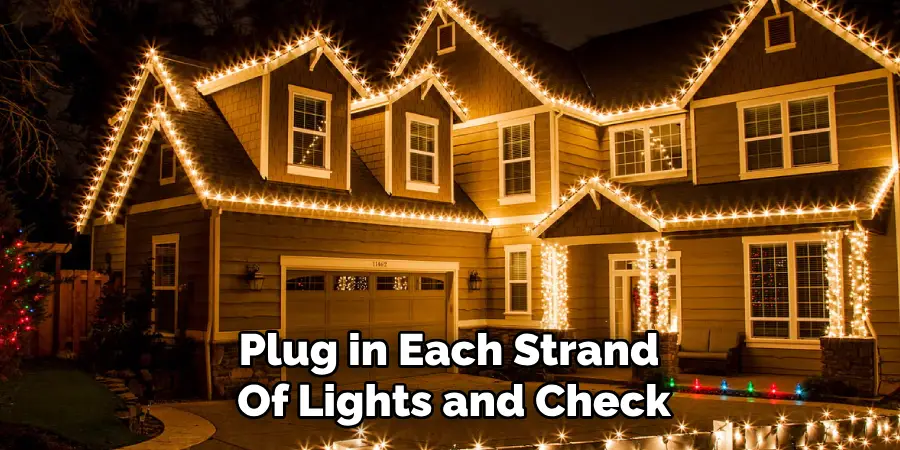
Before you begin hanging your lights, it’s important to test them to ensure they are working properly. Plug in each strand of lights and check for any burned-out bulbs or damaged wires. Replace any faulty bulbs and ensure that all connections are secure. Testing your lights beforehand will save you the hassle of discovering issues after they are already installed.
If you’re using multiple strands of lights, check that they can connect to one another seamlessly and verify that the total wattage is compatible with your power source. This step can prevent potential electrical issues and ensure your holiday decorations shine brightly throughout the season.
Step 4: Start with the Power Source
Begin by locating your power source, such as an outdoor outlet or extension cord. Make sure it is accessible and can reach all the areas you plan on decorating. If using an extension cord, ensure it is rated for outdoor use and has enough outlets to connect your lights and other electrical decorations.
You may want to consider using an outdoor timer for your lights so they turn on and off automatically, saving energy and providing convenience.
Step 5: Hang Your Lights
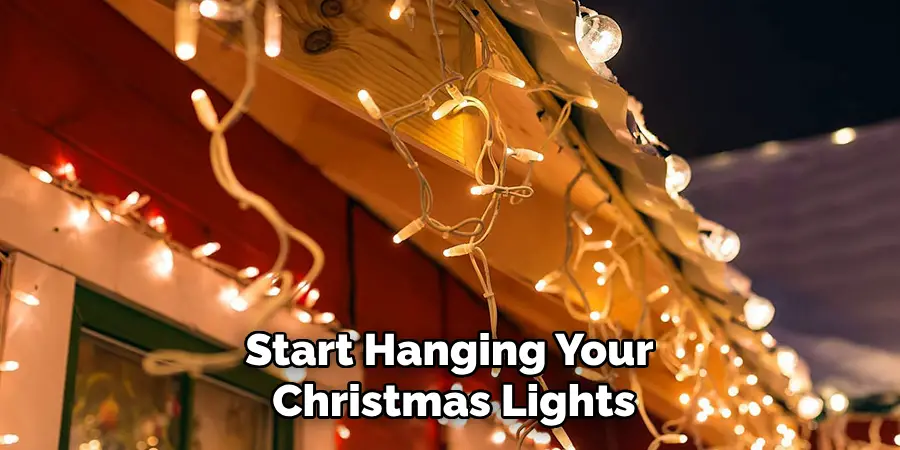
Once you have tested your lights and organized your clips, it’s time to start hanging them. Begin at the power source and work your way outwards, attaching clips to the appropriate surfaces as needed. Make sure each clip is secure and holds the light strand in place without causing any damage.
For best results, attach the clip directly under the light socket or close to it to ensure proper alignment of the lights. If using gutter clips or shingle tabs, follow the instructions provided with the specific type of clip for proper installation.
Step 6: Straighten and Adjust
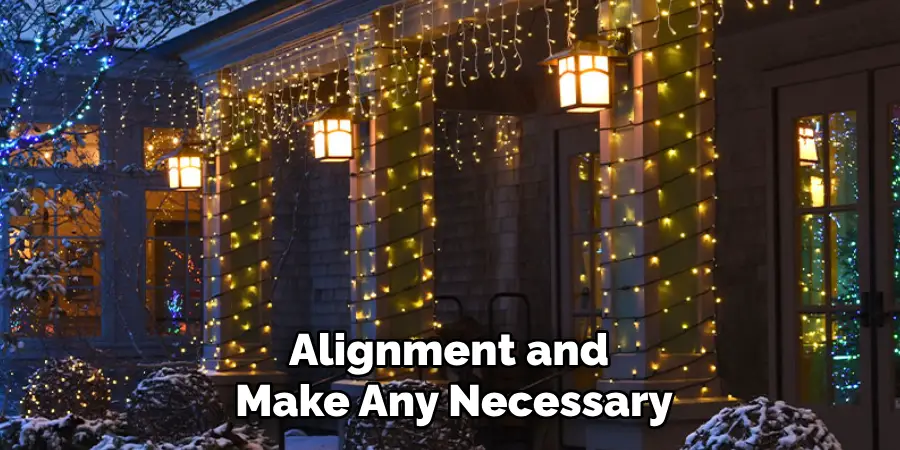
As you hang your lights, take a step back frequently to assess their alignment and make any necessary adjustments. Use the clips to straighten out any sagging or twisted strands to ensure a neat appearance. Take care not to pull on the lights too hard, as this can damage the wires or bulbs.
It’s helpful to have a partner assist you during this step, as they can provide an outside perspective and help ensure the lights are evenly spaced and straight.
Step 7: Add Finishing Touches
Once all your lights are hung, take some time to add any finishing touches to your holiday decorations. This could include adding bows or ribbons, attaching decorations like wreaths or garlands, or adding other festive elements. These small details can make a big impact on the overall look of your holiday display.
The clips will also come in handy for securing these finishing touches and keeping everything in place.
Step 8: Safety First
As with any electrical project, safety should be a top priority when hanging Christmas lights with clips. Make sure to use sturdy ladders or scaffolding when working at heights and take precautions to avoid slipping or falling.
Ensure all power sources are turned off before handling lights and never overload outlets or extension cords. It’s also essential to keep your lights away from any flammable materials and always unplug them when not in use or overnight.
By following these steps on how to hang Christmas lights with clips, you can enjoy a beautiful holiday display without causing damage to your home or compromising safety. Remember to take your time, plan ahead, and use the appropriate clips for each application. Happy decorating!
Do You Need to Get Help From a Professional?
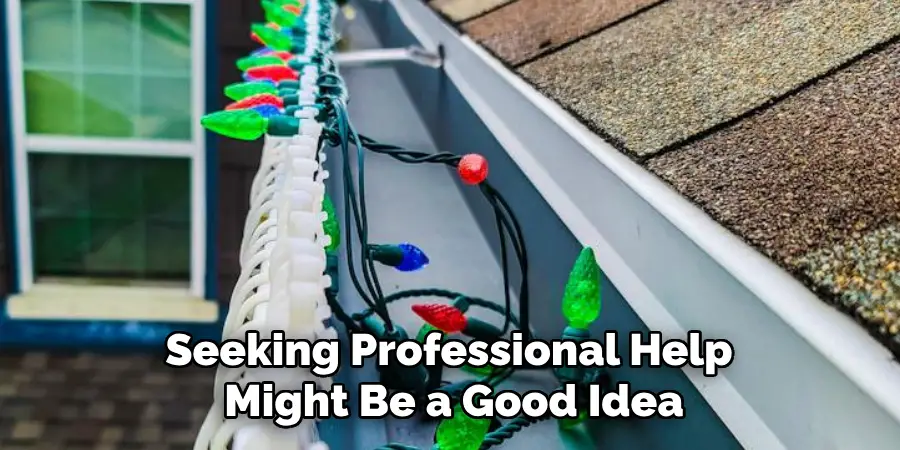
Hanging Christmas lights can be a fun and rewarding DIY project, but there are situations where seeking professional help might be a good idea. If your home has a complex roofline, tall trees, or hard-to-reach areas, professional installers have the tools, safety equipment, and expertise to handle the job efficiently and safely.
Additionally, if you’re working with advanced lighting designs, such as syncing lights to music or installing complex displays, professionals can provide the technical skills to bring your vision to life. Hiring a professional can also save time, particularly during the busy holiday season, and ensure a polished and professional-looking result.
Whether you tackle the project yourself or enlist professional help, the goal is to create a festive and safe holiday display that you can enjoy throughout the season.
Frequently Asked Questions
Q: Can You Reuse Clips When Hanging Christmas Lights?
A: Yes, as long as they are in good condition and suitable for the surfaces you will be attaching them to. Be sure to inspect your clips before each use to ensure they are still in proper working condition.
Q: How Do I Remove Clips Without Damaging My Lights?
A: To remove clips without damaging your lights, gently twist and pull the clip away from the surface. Avoid pulling on the light strand itself, as this can damage the wires or bulbs.
Q: Can I Use Adhesive Hooks Instead of Clips?
A: Yes, adhesive hooks can be a convenient alternative to clips for hanging Christmas lights. However, make sure they are rated for outdoor use and have enough weight capacity to hold your chosen light strands. Follow the instructions provided with the hooks for proper installation and removal to avoid any damage to your home.
Conclusion
Hanging Christmas lights with clips is a simple and effective way to add festive decorations to your home during the holidays. By following these steps on how to hang christmas lights with clips, you can ensure a secure and visually appealing display while also prioritizing safety and avoiding damage to your property.
Don’t forget to have fun with your design plan and add those finishing touches for a truly magical holiday season! So go ahead, gather your supplies, test your lights, and start hanging them with confidence using clips. Happy decorating!

