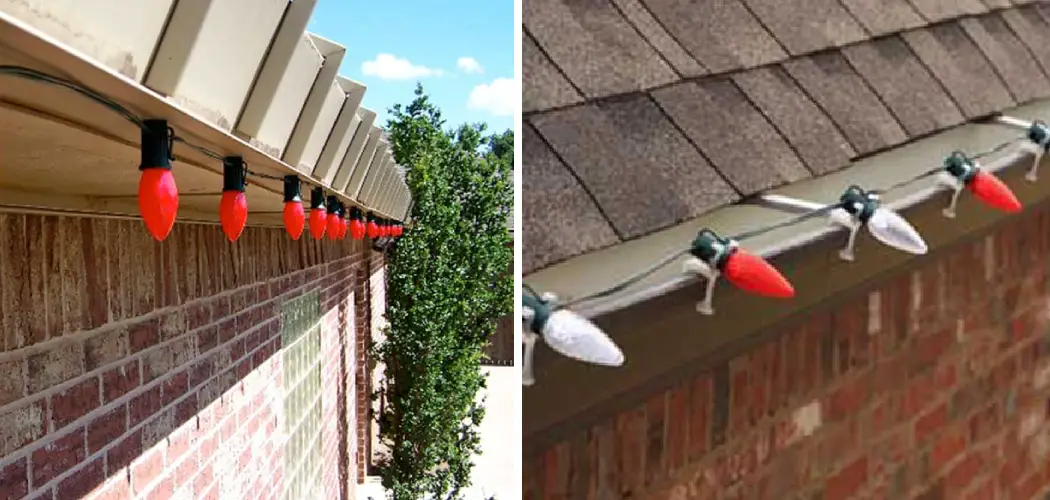
Bringing festive cheer to a metal-roofed abode is a delightful endeavor, but the prospect of hanging Christmas lights on such a surface might raise questions about feasibility and safety. This article serves as your guiding star, illuminating the process of adorning a metal roof with twinkling lights.
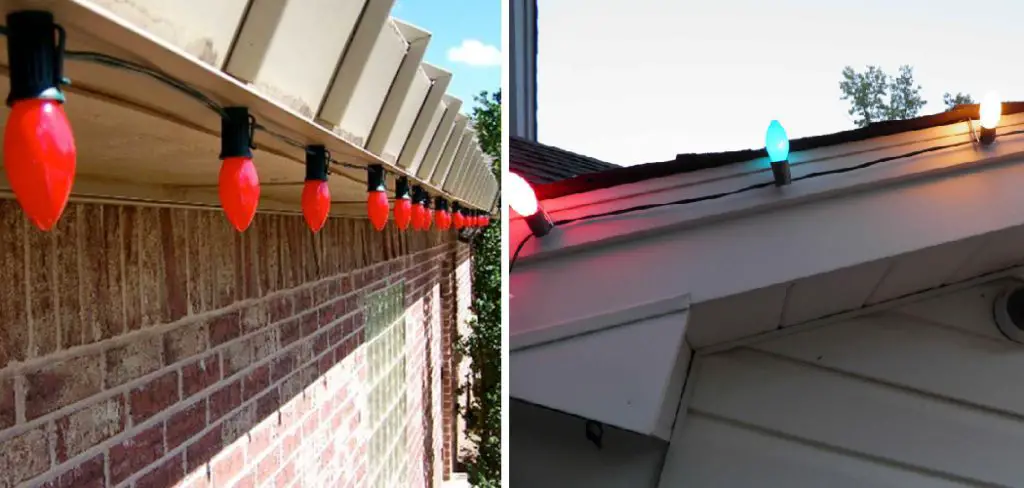
With a focus on meticulous planning, secure attachment methods, and safety precautions, this comprehensive guide unveils how to hang christmas lights on a metal roof. From selecting the right attachment hardware to determining suitable pathways for the light strings, each step is thoughtfully explored.
Whether you’re transforming your home into a winter wonderland or adding a touch of holiday spirit, these insights empower you to harmoniously combine the festive glow of Christmas lights with the sleekness of a metal roof, creating a stunning visual display that ushers in the joyous season.
Importance of Safety and Proper Installation Techniques
Hanging Christmas lights on a metal roof is an excellent way to make your home stand out during the holiday season, but it’s important to ensure you are doing it safely and properly. With the right tools and techniques, you can easily hang your holiday decorations without damaging the integrity of the roof or putting yourself in harm’s way.
To get started, always wear protective safety gear when working on a roof. This includes non-slip gloves, eye protection, and shoes with rubber soles. Be sure to secure yourself with a harness or rope if you’re working from an elevated surface like a ladder.
When it comes to installation techniques, use clips specifically designed for hanging decorations on metal roofs. These clips typically have a plastic or rubberized surface that won’t scratch the metal. Make sure to avoid using staples, nails, or any other objects that might create holes in the metal roof.
Also consider how you’re going to hang your lights. If possible, try to follow the existing lines and angles of the roof when positioning your strings of lights. This will create a more cohesive look and minimize the risk of your decorations getting in the way.
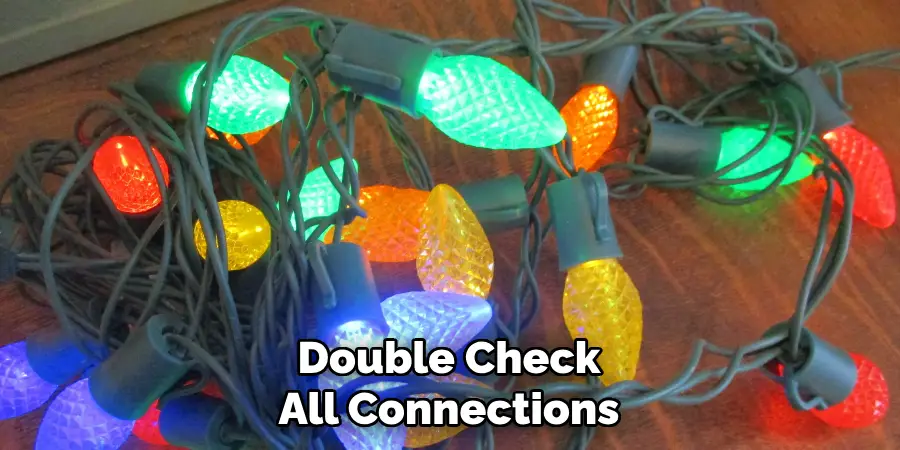
Finally, always be aware of your power source. Hang lights away from any vents or other openings in the roof to prevent overheating or fire hazards. Also make sure to double check all connections and outlets before plugging in your lights.
11 Steps How to Hang Christmas Lights on a Metal Roof
Step 1: Measure and Plan Your Vision
Embark on your Christmas light project by measuring the length and width of the areas where the lights will grace your metal roof. Transcribe your vision onto paper, creating a rough sketch or plan that outlines the placement of lights. This initial planning stage not only helps you estimate the quantity of lights needed but also provides a visual blueprint for your installation process.
Step 2: Opt for the Ideal Lights
Elevate your light display by selecting energy-efficient LED lights, known for their long life and vibrant glow. To determine the number of light strings required, measure the length of your roof edges that you wish to illuminate, ensuring an ample supply of lights to create your desired effect.
Step 3: Gather the Essential Materials
Before you ascend your ladder to commence your Christmas light project, assemble the necessary materials. Procure LED Christmas lights in your preferred color scheme, extension cords designed for outdoor use, gutter clips or adhesive hooks (depending on your roof’s design), cable clips, a stable ladder, and, most importantly, a safety-minded mindset.
Step 4: Inspect Your Roof and Gutters
Prior to attaching any lights, conduct a thorough inspection of your metal roof and gutters. Ensure that your roof is in optimal condition, free from rust or corrosion. Additionally, assess the gutters’ stability and capacity to support the weight of lights and potential snow accumulation.
Step 5: Select Attachment Hardware
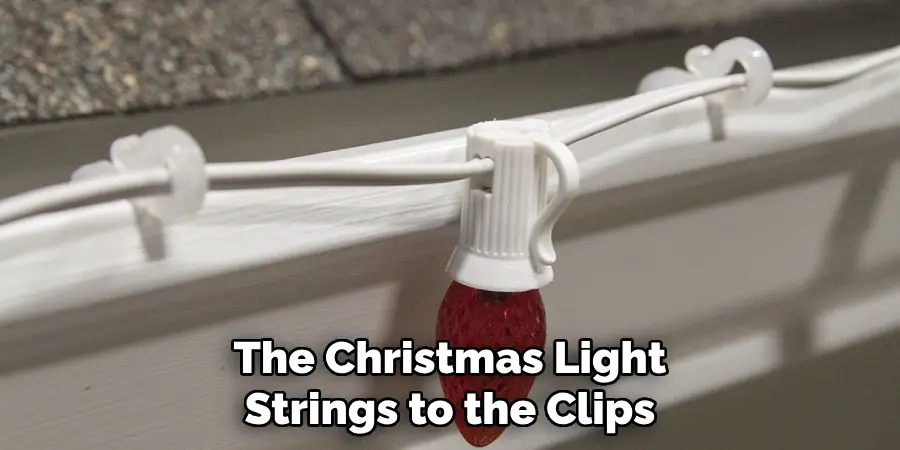
The choice of attachment hardware is a pivotal one. For metal roofs with gutters, consider using specialized gutter clips that securely embrace the edges of the gutters. If your roof lacks gutters, adhesive hooks that adhere to the roof’s surface without causing damage are a viable alternative.
Step 6: Installing Gutter Clips with Precision
For roofs adorned with gutters, gutter clips provide a secure attachment option. Gently slide these clips onto the edges of the gutters, ensuring an even distribution. Next, affix the Christmas light strings to the clips, securing them in place with ease.
Step 7: Embrace the Power of Adhesive Hooks
For roofs that lack gutters, adhesive hooks offer a dependable solution. Before applying these hooks, clean the intended attachment areas with rubbing alcohol to facilitate optimal adhesion. Press the hooks firmly onto the roof’s surface, providing a stable anchor for your light strings.
Step 8: Weaving the Magic with Cable Clips
Cable clips emerge as a versatile choice for securing light strings along the seams or ridges of the metal roof. Strategically place these clips at regular intervals, guiding your light strings along designated pathways that accentuate the roof’s architecture.
Step 9: Handling Extension Cords with Care
While linking lights to extension cords, ensure the connections are elevated off the ground to thwart water infiltration. Safeguard these connections by enveloping them in waterproof electrical tape, an additional layer of protection against the elements.
Step 10: Revel in Your Illuminated Creation
Before finalizing your installation, perform a preliminary test to ensure the lights are functioning flawlessly. As twilight ushers in the evening, observe your handiwork as it bathes your metal-roofed abode in a gentle luminance. Adjustments can be made at this stage to achieve your desired effect.
Step 11: Embrace Safety and Savor the Moment
Throughout the holiday season, periodically inspect the lights and attachment hardware to ensure their integrity. Regularly clear any accumulated debris or snow from the lights to prevent unnecessary strain on your metal roof. Once the festivities draw to a close, exercise caution when removing the lights and attachment hardware to prevent any inadvertent damage.
Challenges and Considerations of Decorating a Metal Roof
Hanging Christmas lights on a metal roof can be tricky, but it doesn’t have to be. It’s important to consider certain factors when decorating your home for the holidays, such as weight and potential damages that could occur from heavy decorations. If you are planning on decorating your metal roof with Christmas lights, there are a few challenges and considerations to keep in mind.
For starters, make sure that your roof can handle the weight of the lights and decorations. Metal roofs are strong and durable, but they may not be able to hold additional items like Christmas lights. Be sure to check with a professional before installing any heavy decorations on your metal roof.
Additionally, it’s important to consider the type of clips or fasteners you use to hang lights on a metal roof. Some clips are not designed for metal roofs and can cause damage over time. Make sure to purchase the right type of clips or fasteners that will securely hold your decorations in place.
When it comes to decorating your roof, it’s important to keep safety in mind. Be sure to take all necessary steps to reduce the risk of falls or accidents. Make sure that ladders, stools, and other tools are in good condition and correctly secured when working on a metal roof.
Finally, be sure to check all lights and decorations regularly to ensure they stay securely in place. With the right precautions and considerations taken ahead of time, you can safely hang Christmas lights on your metal roof and make sure your holiday decorations stay up for the whole season.
Safety Precautions for Hanging Christmas Lights on a Metal Roof
When hanging Christmas lights on a metal roof, you need to take a few safety precautions. Make sure your ladder is in good condition and the rungs are secure before climbing up it, and make sure that someone is around to help hold it for you while you work. Additionally, wear rubber-soled shoes or working gloves to protect yourself from slipping or getting injured while hanging your lights.
You should also take the time to inspect the roof for loose or damaged shingles before starting, as this can help avoid any potential safety issues while you’re up there. Finally, never hang Christmas lights on a metal roof in inclement weather, such as when it’s raining or windy.
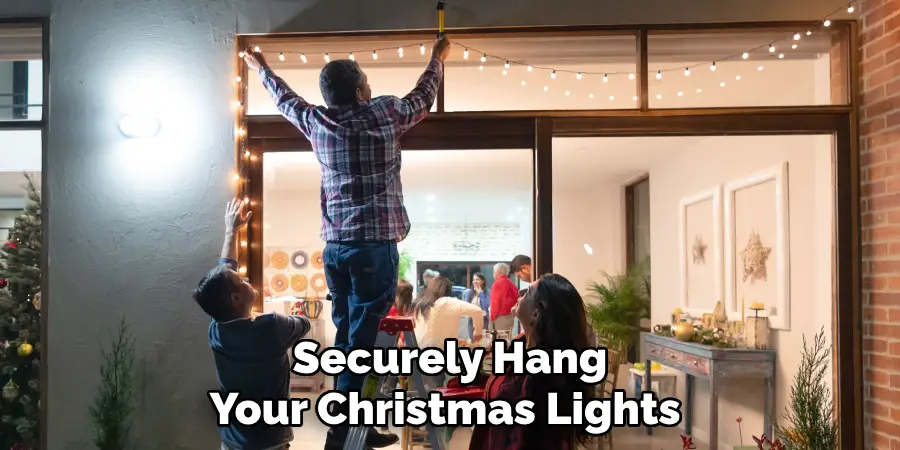
This could create a dangerous situation and put you at risk of electrocution or other injuries. By following these safety precautions, you’ll be able to safely and securely hang your Christmas lights on a metal roof.
Conclusion
After reading this blog post, you have all that you need to know on how to hang Christmas lights on a metal roof. Don’t be intimidated by the metal, as roofing clips, magnets, gutter hooks and plastic roof hooks can all attach securely in different ways. Metal roofs are actually sturdy enough to hold your decorations, so it’s no problem at all! In addition to being secure, garland or wreaths can also be hung with magnets for an added festive touch.
You can customize the look of your holiday display according to the type of roofing material you have in place. With fasteners that are readily available and affordable, it is entirely possible to enjoy decorating one of the most special places – your home – during the most wonderful time of the year!

