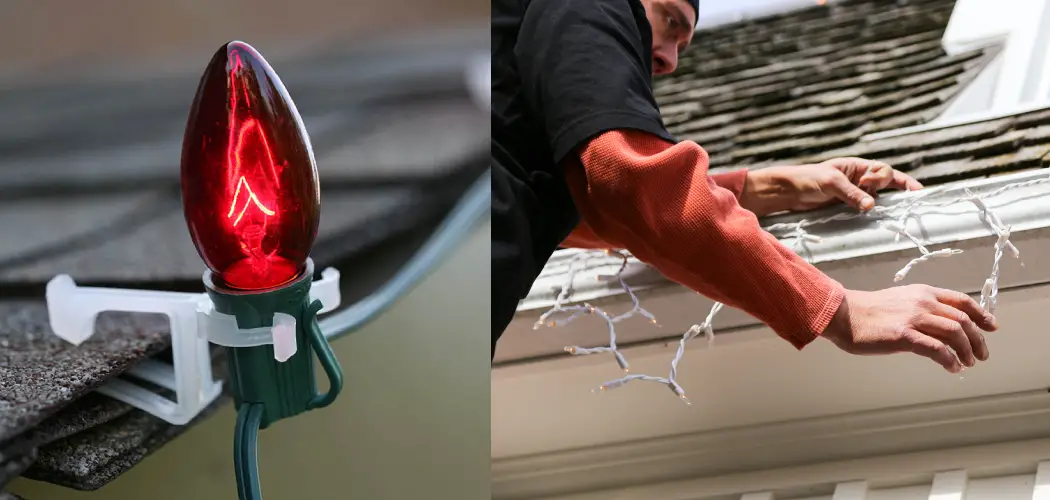
Decorating your home with Christmas lights is a cherished holiday tradition that adds warmth and charm to the festive season. Hanging lights from your shingles can enhance the exterior of your house with a dazzling display. However, it’s important to ensure the process is done safely and effectively, keeping your home damage-free. This guide will walk you through how to hang christmas lights from shingles safely and securely, transforming your home into a winter wonderland without compromising its structure.
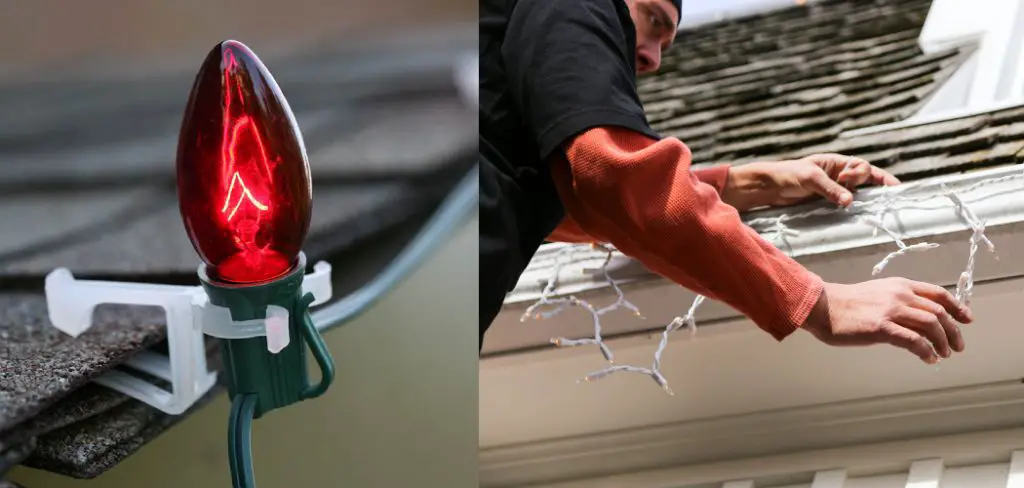
Importance of Safely Hanging Christmas Lights from Shingles
Safety is paramount when it comes to hanging Christmas lights from shingles. Improper installation can lead to electrical hazards, roof damage, and even personal injury. By taking necessary precautions, you not only protect your home but also ensure that your holiday decorations stay secure throughout the season.
Ensuring lights are properly secured helps prevent common issues like dangling or falling lights, which can pose tripping hazards or lead to costly repairs if they pull on your shingles. Using the right tools and equipment minimizes the risk of damaging your roof, preserving the integrity of your shingles and preventing leaks or other structural damage. Ultimately, safe practices in hanging Christmas lights contribute to a worry-free and enjoyable holiday season.
Tools and Materials Needed
Before you start hanging Christmas lights from your shingles, it’s essential to gather all the necessary tools and materials to ensure a smooth installation process. Here’s a list of items you’ll need:
- Outdoor Christmas Lights: Choose weather-resistant lights that are specifically designed for outdoor use. Consider LED options for energy efficiency and durability.
- Light Clips: Use specialized clips designed for shingles and gutters to securely attach the lights without causing any damage to the roof.
- Extension Cords: Heavy-duty outdoor extension cords are crucial for reaching power sources without overloading outlets.
- Ladder: A sturdy, extendable ladder will help you safely reach the roofline. Ensure it’s set up on level ground and that someone is available to hold it steady.
- Measuring Tape: Accurately measure distances along the roof to ensure even spacing and a professional-looking setup.
- Electrical Tape: This helps secure connections and plugs, keeping moisture out and ensuring safe electrical connections.
- Work Gloves: Protect your hands when handling lights and clips, which can have sharp edges.
By having these tools and materials ready, you’ll be well-prepared to hang your Christmas lights efficiently and safely.
10 Methods How to Hang Christmas Lights from Shingles
1. Choose the Right Type of Christmas Lights
Before hanging lights on your shingles, you need to select the appropriate type of lights. LED lights are a popular choice due to their energy efficiency, long lifespan, and brightness. They also stay cool to the touch, which is safer for use near roofing materials. Consider whether you want classic string lights, icicle lights, or even net lights for a different effect. Choose lights that are rated for outdoor use, ensuring they can withstand the elements and won’t short out due to exposure to rain, snow, or wind.
2. Use Shingle Clips Instead of Nails or Staples
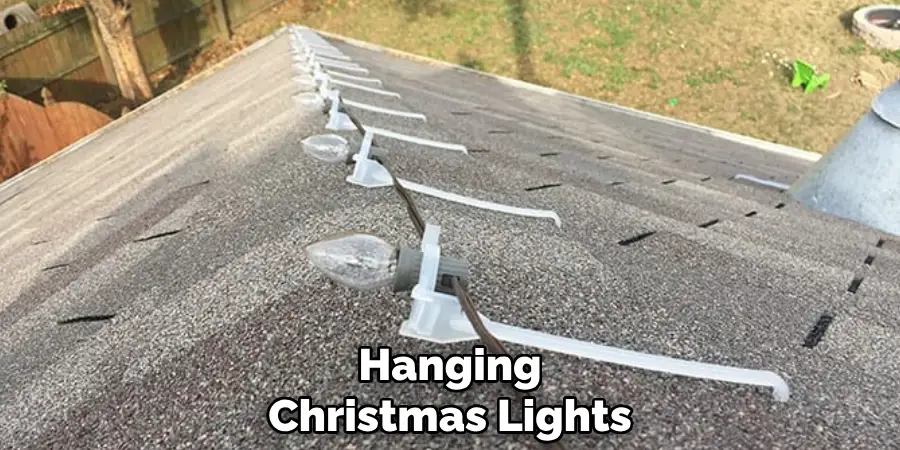
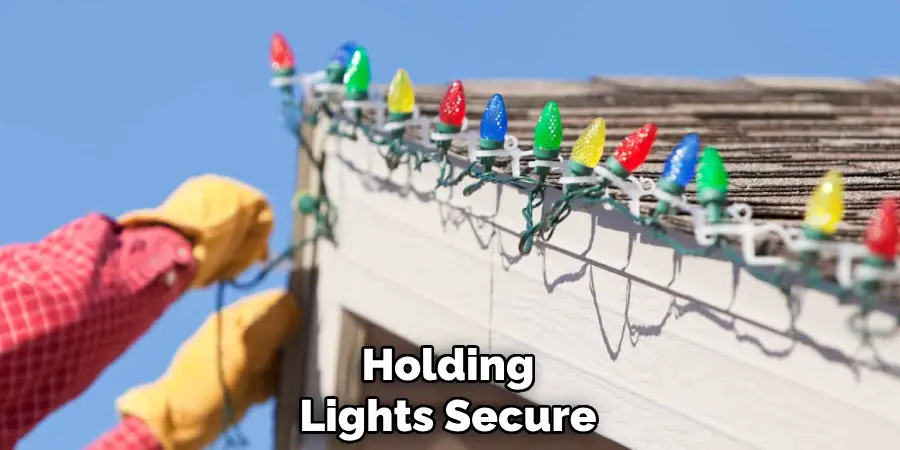
One of the most important considerations when hanging Christmas lights from shingles is to avoid damaging the roof. Never use nails, screws, or staples, as these can puncture the shingles and compromise the integrity of your roof. Instead, opt for plastic shingle clips, which are specifically designed to hold lights without causing damage. Shingle clips slide easily under the edge of the shingles, holding the lights in place securely. They are also removable, making it easy to take down the lights after the holiday season without leaving any marks.
3. Plan Your Layout
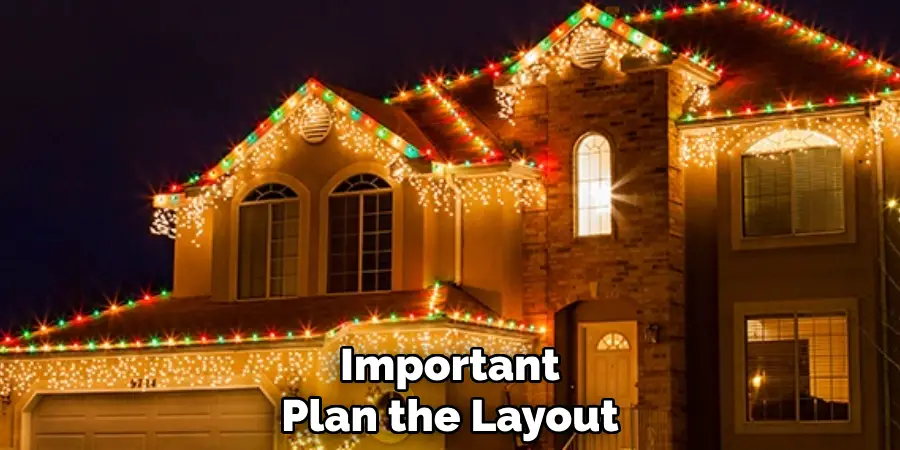
Before you start hanging the lights, it’s important to plan the layout. Measure the length of the roofline where you want to hang the lights and compare it to the length of your light strands. Decide where you want to plug the lights in and whether you’ll need extension cords to reach an outdoor outlet. Planning ahead ensures that you have enough lights to cover the entire area and helps you avoid the frustration of running out of lights halfway through. It also ensures that the lights are evenly spaced and follow a neat, continuous pattern.
4. Test the Lights Before Hanging
It’s always a good idea to test your Christmas lights before hanging them on the shingles. Plug in each strand to ensure that all the bulbs are working properly and that there are no damaged sections. If any bulbs are out, replace them or, if needed, repair the strand. This step saves time and hassle later, as it’s much easier to fix a strand of lights while it’s still on the ground than after it’s been hung on the roof. Testing your lights in advance also ensures that the final display will be bright and evenly lit.
5. Use the Right Tools
To hang lights from shingles safely and efficiently, gather the necessary tools beforehand. You’ll need a sturdy ladder, shingle clips, and possibly an outdoor extension cord. A ladder stabilizer can be helpful to keep the ladder steady and prevent it from damaging your gutters. You may also want to wear gloves to protect your hands while handling the clips and lights. Having the right tools on hand ensures a smoother installation process and reduces the risk of accidents or damage to your home.
6. Install Clips at Regular Intervals
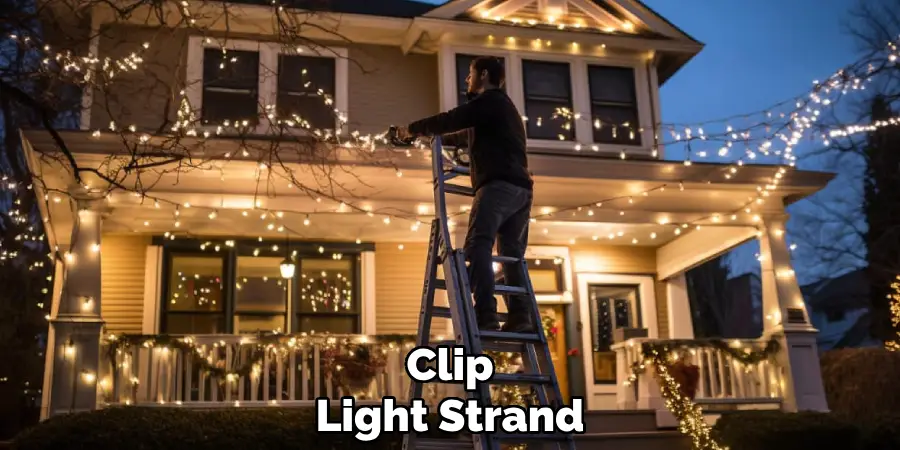
When using shingle clips, it’s essential to space them evenly along the roofline for a clean, uniform look. Attach the clips about 12 inches apart, which will ensure that the lights are held securely in place without sagging. Start by sliding the clip under the shingle and then insert the wire or bulb of the light strand into the clip. Be careful not to lift or bend the shingles too much, as this could damage them or cause leaks. Installing the clips at regular intervals helps maintain an organized and professional-looking display.
7. Secure the Extension Cord Properly
If your light display requires an extension cord to reach the power source, it’s important to secure the cord properly to avoid creating a tripping hazard or damaging the shingles. Use outdoor-rated extension cords, which are designed to withstand the elements. Run the cord along the edge of the roof and attach it with shingle clips to keep it in place. Avoid leaving any loose cords dangling, as they can be caught by wind or snow, potentially pulling down the lights or damaging the shingles.
8. Work with a Partner for Safety
Hanging Christmas lights from shingles, especially if you’re working on a ladder, can be risky if done alone. To improve safety, it’s best to have a partner assist you. Your partner can hold the ladder steady, pass you tools or lights, and ensure that the process runs smoothly. Working with a partner also makes the job quicker and easier, and having someone to spot you reduces the risk of accidents. Safety should always be a top priority when working on elevated surfaces like roofs.
9. Check for Proper Power Supply and Outdoor Outlet Safety
Before plugging in your lights, check the power supply to ensure it’s appropriate for outdoor use. The outlet should be a ground-fault circuit interrupter (GFCI), which provides protection against electrical shock by shutting off the power if it detects a fault in the circuit. If you don’t have a GFCI outlet outside, consider using a portable GFCI adapter. Ensure that all connections are weatherproof by using outdoor-rated plugs and protect the outlet with a cover to keep it dry. Proper power supply ensures that your lights remain safe and functional throughout the holiday season.
10. Make Final Adjustments and Perform a Safety Check
Once all the lights are hung, step back and assess your work. Look for any areas where the lights might be sagging or unevenly spaced and make adjustments as needed. Check that all the shingle clips are holding the lights securely, and ensure that there are no loose or exposed wires that could pose a safety hazard. Perform a final test by plugging in the lights and checking for any flickering or dimming. Doing a thorough safety check ensures that your display will last throughout the season without any issues.
Conclusion
Decorating your home with lights for the holiday season can transform your space into a festive wonderland, but it’s essential to do so safely and effectively. By following these guidelines—choosing the right tools, using shingle clips, planning your layout, checking the power supply, and working with a partner—you can ensure a hassle-free installation process while keeping your roof intact.
Taking the time to test your lights beforehand and performing a thorough safety check once they’re hung will help guarantee that your light display remains brilliant and secure throughout the holiday season. Thanks for reading, and we hope this has given you some inspiration on how to hang christmas lights from shingles!

