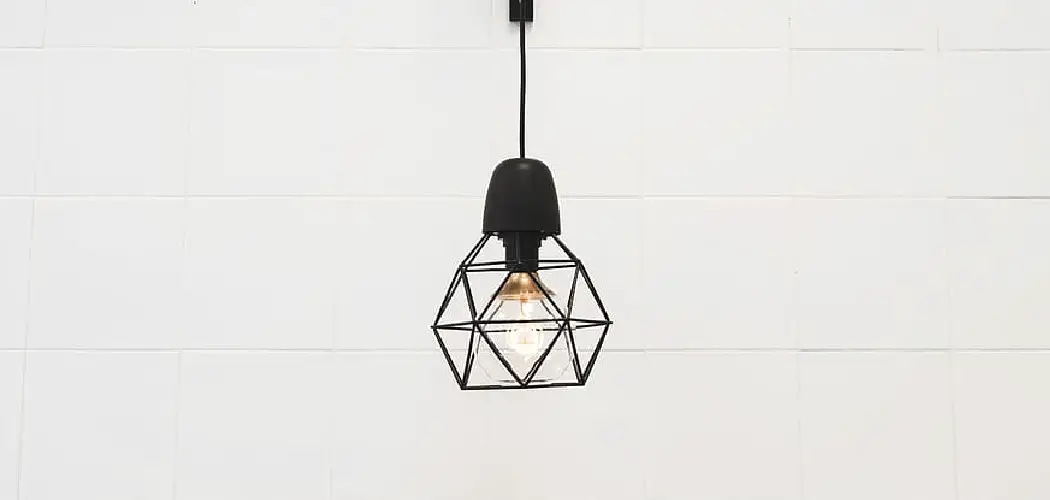
Plug-in pendant lamps are a stylish and versatile lighting solution that can instantly elevate the look and feel of any room. Unlike traditional fixtures, these lamps do not require hardwiring, making them an ideal option for renters or anyone seeking a hassle-free installation.
Their ease of use, affordability, and ability to add ambient or task lighting make them popular for modern interiors. Whether you’re looking to create a cozy reading nook, brighten up a workspace, or enhance the ambiance of a dining area, plug-in pendant lamps offer endless possibilities. This article will provide a comprehensive step-by-step guide on how to hang a plug in pendant lamp safely and effectively in any space, ensuring a convenient and renter-friendly lighting upgrade.
Choosing the Right Plug-In Pendant Lamp
Selecting the perfect plug-in pendant lamp involves balancing style, function, and practicality to ensure it complements your space while meeting your lighting needs.
Consider the Style and Function
Begin by matching the lamp’s design to your décor style. Whether you prefer modern minimalism, vintage charm, industrial flair, or boho aesthetics, a plug-in pendant lamp suits every taste. Additionally, think about the purpose of the lamp. Choose a design with a direct downward light for focused task lighting, such as over a desk or in a reading nook. On the other hand, if you aim to create ambient lighting in a living room or dining area, pick a model with softer, diffused illumination.
Check the Cord Length and Plug Type
Practicality is key when selecting a plug-in pendant lamp. Ensure that the cord is sufficiently long to hang the lamp from your desired spot while reaching the nearest electrical outlet. For hassle-free installation, opt for a model with a standard plug type compatible with the outlets in your home.
Weight and Safety Considerations
Finally, the lamp’s weight and the mounting hardware are assessed. Ensure that the fixture is sturdy enough to support the lamp safely. Lightweight options are often more manageable to hang, especially if you’re tackling the installation alone.
Tools and Materials Needed
To successfully install your plug-in pendant lamp, you will need the following tools and materials:
- Plug-in pendant lamp
- Swag hooks or ceiling hooks (with anchors if needed)
- Power drill or screwdriver
- Measuring tape
- Pencil for marking hook locations
- Level (optional, for precise alignment)
- Extension cord (if the outlet is far away)
- Cord cover (optional, for a neater look)
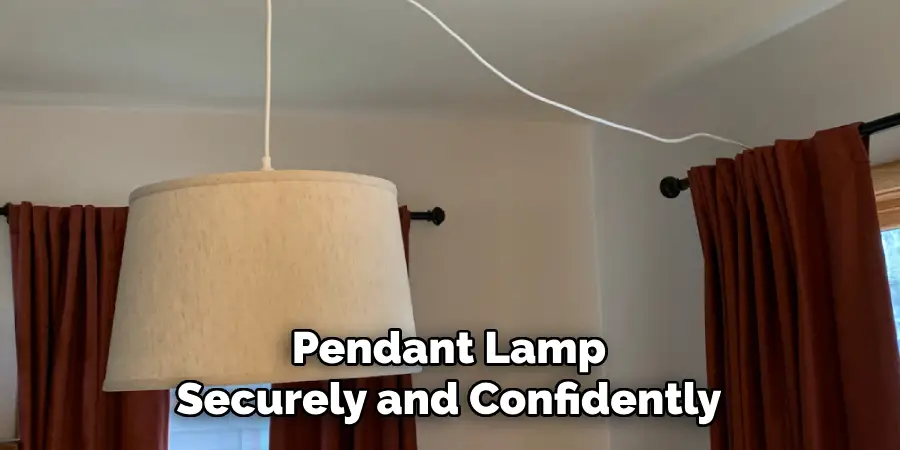
Having these tools and materials ready before starting will make the installation process smooth and efficient. Be sure to check the weight of the lamp to ensure the hooks and anchors you select can provide adequate support. Additionally, using a cord cover can help maintain an organized and polished appearance by hiding visible cords. With these items on hand, you’ll be well-prepared to install your pendant lamp securely and confidently.
Planning Lamp Placement and Routing the Cord
Identify Where You Want the Lamp to Hang
Before you begin, determine the ideal spot for your pendant lamp. Consider placing it over a table, reading nook, or workspace where functional and aesthetic lighting is needed. Ensure that the selected area allows the lamp to enhance the ambiance while providing adequate light for activities. Additionally, take note of the proximity to a power outlet to ensure the cord can be routed cleanly and efficiently without creating unnecessary clutter.
Measure and Mark Hook Locations
Next, decide how far the cord will swing from the ceiling to the lamp. Use a measuring tape to determine the appropriate placement of swag hooks to hold the cord in place and maintain the desired visual appeal. With a pencil, mark the locations on the ceiling where the hooks will be installed to keep the cord well aligned and secure. This step is critical for creating a balanced and polished look.
Check Height and Clearance
Lastly, ensure the lamp hangs at the correct height. Check that it is neither too high, making it ineffective, nor too low, becoming a potential obstruction. For dining tables or desks, maintain a clearance of at least 30-36 inches from the surface to the bottom of the lamp. Proper planning will ensure the perfect positioning and functionality of your pendant lamp.
How to Hang a Plug in Pendant Lamp: Installing Ceiling or Wall Hooks
Choosing Hook Type
Selecting the right hook is crucial for a safe and sturdy installation. Screw-in swag hooks are used for drywall applications as they are easy to install and reliable for lightweight fixtures. For heavier lamps or plaster ceilings, opt for hooks with anchors or toggle bolts to provide additional support and prevent the hook from pulling out over time.
Installing the Hooks
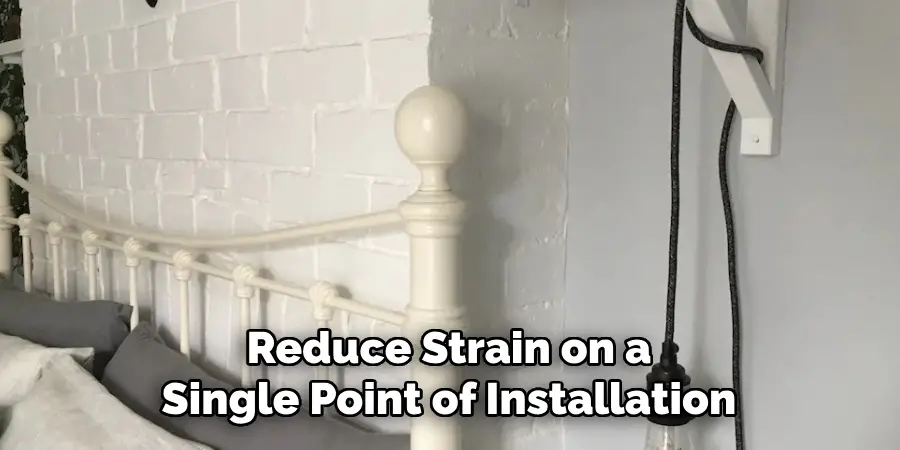
Begin by marking the desired locations for the hooks, ensuring appropriate spacing to match the length and weight distribution of the lamp cord. Drill pilot holes if necessary to guide the hooks into the surface more easily. For drywall, screw the swag hooks directly into the pilot holes. For plaster ceilings or heavier cords, attach the hooks securely using anchors. If the cord is particularly long or heavy, consider using multiple hooks along its length to distribute the weight evenly and reduce strain on a single point of installation.
Safety Tip
Always ensure the hooks are tightened securely and capable of bearing the weight of the pendant lamp or fixture. Double-check the fixture’s weight limits and ensure the hooks and anchors exceed that capacity, providing a safe and durable installation.
Hanging the Lamp and Arranging the Cord
Attach the Cord to Hooks
Begin by draping the cord through the installed swag hooks. Position the cord carefully to guide it toward the outlet while maintaining a sleek, organized appearance. Leave enough slack in the cord to prevent any tension that might damage it or strain the hooks over time. Ensure the cord is not pulled too tightly and check that it hangs evenly between the hooks.
Adjust the Hanging Height
Use cord stops or adjust the swag placement along the cord to achieve the desired height for your lamp or fixture. Raise or lower the fixture until it is at the perfect height for your space and functional needs. Take time to test the positioning by stepping back and assessing how it fits within the room’s layout and lighting requirements. Make final adjustments as needed before securing.
Plug It In
Plug the cord into the nearest outlet once the lamp is properly hung and positioned. If the outlet is far away, you can use an extension cord, ensuring it is secure and blends well with your room’s aesthetics. After plugging it in, check that the light turns on properly and that everything is safely installed.
Tidying Up the Cord
Use Cord Covers
Hide the cord along the wall using adhesive cord covers to maintain a clean and seamless look. These covers are an excellent option for keeping the cord out of sight and preventing it from becoming a tripping hazard. Many cord covers are paintable, allowing you to match them to your wall color for a discreet appearance that integrates perfectly with your room’s design.
Securing to the Wall
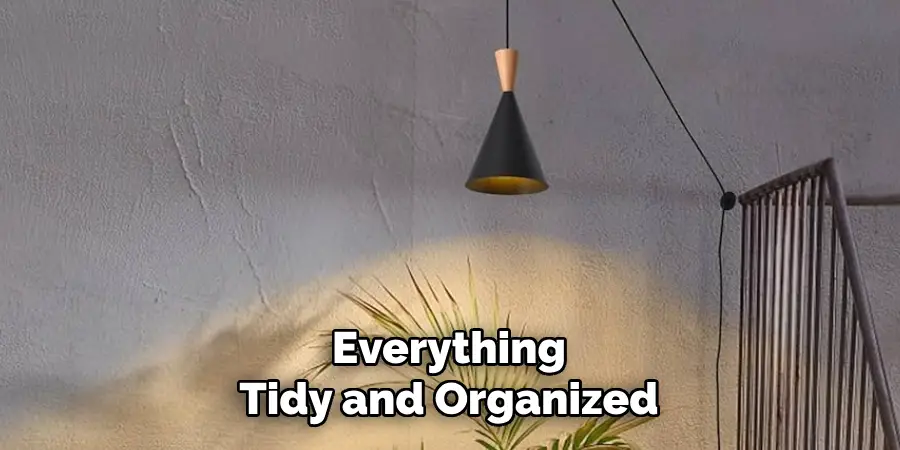
When routing the cord along the wall, use cable clips or adhesive hooks to guide it neatly along corners or baseboards. These solutions hold the cord securely in place and prevent it from sagging or pulling loose over time. Properly securing the cord improves the overall aesthetics and enhances safety by keeping everything tidy and organized.
Hide Excess Cord
If the cord is too long, bundle the extra length near the outlet using a Velcro strap or a cable organizer. This method keeps the excess neatly contained and prevents it from tangling or creating unnecessary clutter. With these simple steps, the cord will appear neat and inconspicuous, complementing the space without drawing attention.
Testing and Styling the Finished Look
Test the Lamp
Before finalizing, ensure the lamp functions properly. Plug it in and test the on/off mechanism to confirm smooth operation. Check for potential issues like flickering, loose plugs, or inconsistent brightness, as these may indicate a need for adjustment or replacement parts. Taking these steps ensures that the lamp is safe and reliable.
Style the Space Around the Lamp
Enhance the lamp’s impact by carefully styling the surrounding space. Add complementary furniture pieces, such as a side table, or choose decorative items like books, vases, or framed art to create a cohesive look. Depending on your design preference, the lamp can serve as a bold statement piece or a subtle accent that blends seamlessly into the décor.
Adjust Lighting
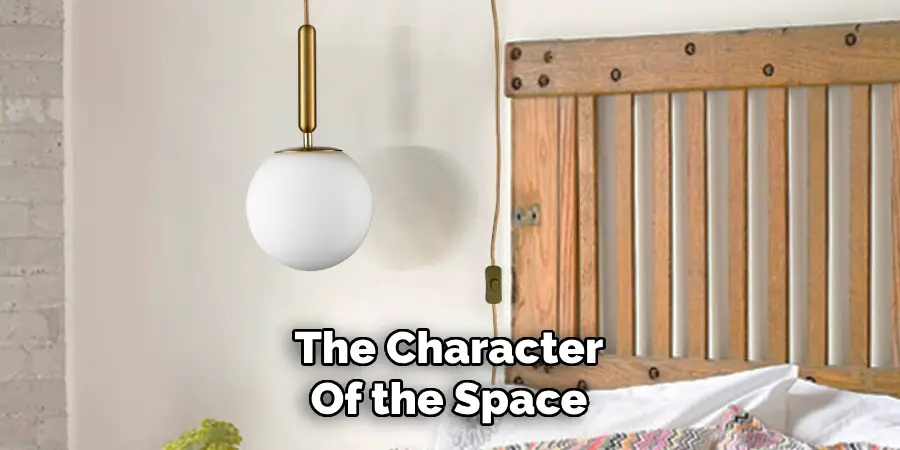
Experiment with different bulb types to achieve the desired ambiance. Warm light creates a cozy atmosphere, daylight bulbs offer better focus, and dimmable options allow for versatile mood setting. These adjustments ensure that the lamp not only illuminates but also enhances the character of the space.
Conclusion
Learning how to hang a plug in pendant lamp is a simple and renter-friendly DIY project that can transform your space with minimal effort. Start by selecting a lamp that complements your décor, plan the placement route for optimal functionality, and securely install hooks to support the lamp. Carefully hang the pendant, adjust its height if needed, and neatly tidy up the cord for a polished look. Always follow safety instructions and manufacturer guidelines to ensure a safe and successful installation. Enjoy your newly lit and stylish space with this quick and effective lighting solution!

