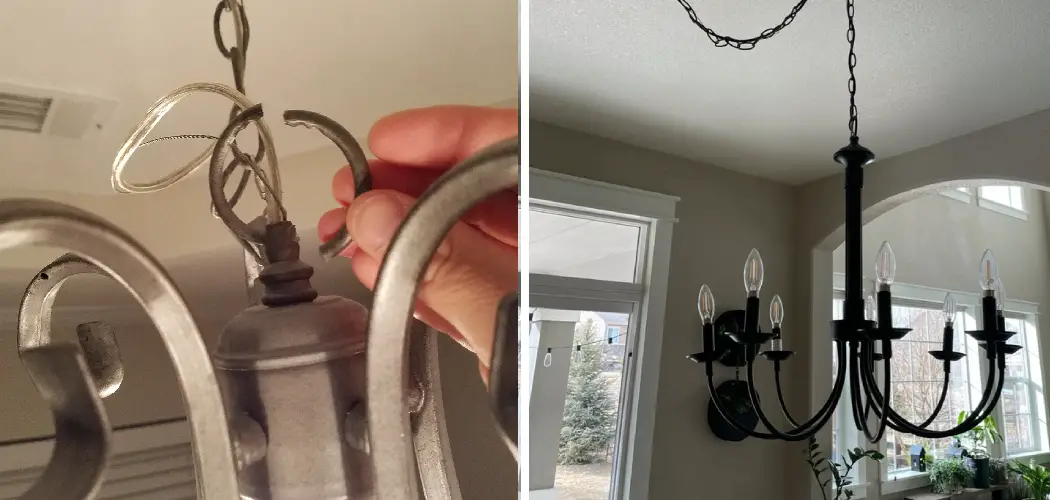
Are you looking to add some extra lighting to your space? Hanging a light fixture with a chain is a great way to do so. Not only does it provide additional lighting, but it also adds an element of style and personality to any room.
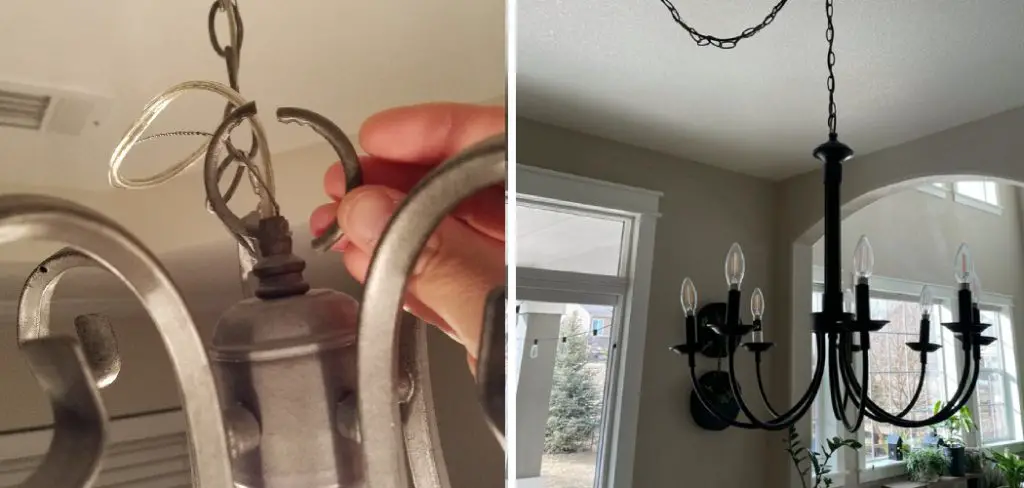
How to hang a light fixture with a chain can enhance the ambiance and style of any room, offering both functionality and aesthetic appeal. This type of fixture is remarkably versatile, as the chain allows you to adjust the height to suit your space perfectly. While the process may initially seem daunting, with the right tools, some basic knowledge, and a focus on safety, it can be a manageable and rewarding DIY project.
This guide will walk you through the steps to hang a light fixture with a chain successfully, ensuring a secure installation and a professional-looking result.
What Are the Benefits of Hanging a Light Fixture with a Chain?
Hanging a light fixture with a chain offers several advantages over other types of installations. Some key benefits include:
- Versatility: As mentioned, using a chain allows you to adjust the height of your light fixture, making it suitable for any space or room.
- Easy to Install: Compared to other methods, hanging a light fixture with a chain is relatively easy and can be done by most homeowners without professional help.
- Safe and Secure: When properly installed, using a chain provides safe and sturdy support for your light fixture, reducing the risk of accidents or damage.
- Aesthetically Pleasing: The use of chains in light fixtures adds character and charm to any room, creating a unique and stylish look.
What Will You Need?
To hang a light fixture with a chain, you will need the following tools and materials:
- Light fixture
- Chain (usually included with the light fixture or can be purchased separately)
- Wire cutters
- Pliers
- Electrical tape
- Screws and screwdriver
- Ladder or step stool (if necessary)
It’s important to have all these items on hand before starting the installation process. Additionally, make sure to turn off the power supply to the room where you will be working to ensure safety.
10 Easy Steps on How to Hang a Light Fixture With a Chain
Step 1. Turn Off the Power
Before doing anything, it’s essential to turn off the power supply to the room where you’ll be working. Locate your home’s circuit breaker panel and switch off the breaker corresponding to the room or area where the light fixture will be installed.
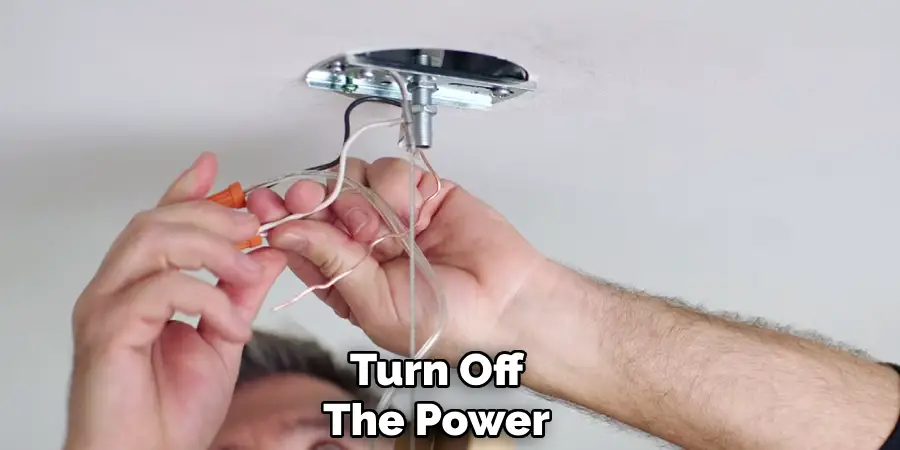
Double-check that the power is off by flipping the light switch in the room to confirm that no current is flowing to the light. For added safety, use a voltage tester on the existing wires to ensure there is no electricity running through them. Working with live wires can be extremely dangerous, so this step should never be skipped. Always prioritize safety before starting any electrical project.
Step 2. Prepare the Work Area
Start by clearing the area around the light fixture to ensure you have enough space to work comfortably and safely. Remove any furniture, decor, or items that may obstruct your movement or present tripping hazards. Lay down a drop cloth or tarp beneath the area where you will be working to catch any debris or dust that may fall during the installation process.
Ensure you have all necessary tools and materials within easy reach, such as screwdrivers, wire cutters, a ladder, and the new light fixture. Proper lighting is also crucial, so if the room is dark because the electricity is off, consider using a portable work light or a flashlight to illuminate the space effectively.
Step 3. Remove the Old Fixture
Before removing the old fixture, ensure that the electricity to it is turned off at the circuit breaker to prevent the risk of electrical shock. Double-check this by flipping the light switch to confirm that no power is being supplied. Use a voltage tester, if available, to verify that the wires are not live.
Once you are certain it is safe, begin by unscrewing any decorative covers or caps that may be attached to the fixture. Carefully set these components aside in a safe location to avoid losing or damaging them. Next, loosen the screws or mounting hardware securing the fixture to the ceiling or wall. Support the fixture with one hand as you detach it to prevent it from falling.
Step 4. Attach the Chain to the New Fixture
Ensure that the chain you are using is the correct length before attaching it to the new fixture. Measure the distance from the ceiling to the desired height of the fixture, taking into account any adjustments needed to accommodate the room’s layout or design.

If the chain is too long, use a pair of pliers to remove any excess links. Once the chain is the appropriate length, securely attach one end to the mounting bracket or canopy provided with the fixture. Use the included connectors or hooks, ensuring they are tightly fastened to avoid any risk of the fixture detaching.
Step 5. Cut the Chain to Length
When cutting the chain to length, it’s essential to measure carefully to ensure the fixture hangs at the desired height. Start by holding the chain up to the ceiling mounting point, allowing the fixture to hang in its preferred position. Mark the link where the chain needs to be shortened using a piece of tape or a marker for precision.
Use heavy-duty pliers or a bolt cutter to separate the link at the marked point carefully. When cutting, ensure you’re working in a space clear of fragile objects, as the action may require applying significant force and could cause the chain links to fall or scatter. After cutting, check the stability of the remaining links to ensure their integrity.
Step 6. Install the Mounting Bracket
Properly installing the mounting bracket is essential to ensure the chain functions securely and effectively in its designated setup. Begin by identifying the precise location where the bracket will be placed.
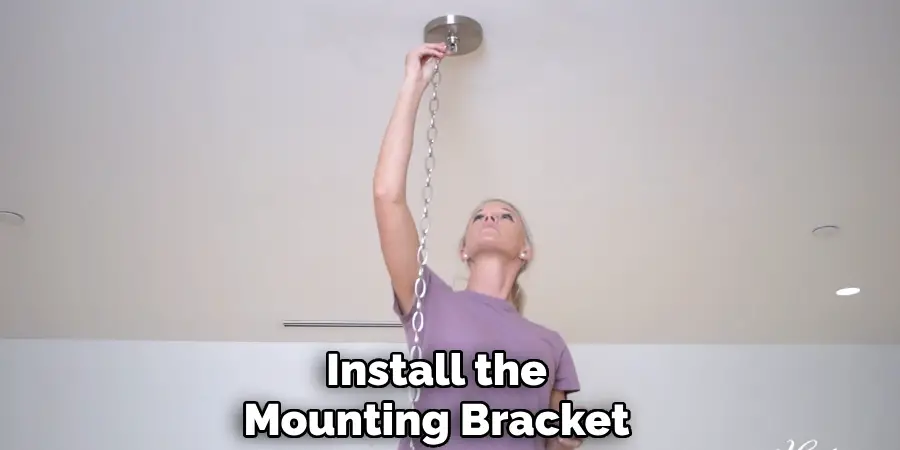
Use a measuring tape and level to ensure the bracket is aligned correctly, as improper alignment can cause unnecessary strain on the chain or impair its performance. Once the location is determined, mark the screw holes with a pencil to serve as a guide.
Step 7. Hang the Fixture
After the mounting bracket has been securely installed and properly aligned, it’s time to hang the fixture. Carefully lift the fixture and position it so that it aligns with the bracket. Depending on the type of fixture and its design, you may need to attach hooks, chains, or screws to ensure it is firmly secured to the mounting bracket.
Ensure the weight of the fixture is evenly distributed and that all connections are tightened securely to prevent shifting or instability. Double-check the alignment to ensure it matches the desired orientation and does not tilt or hang unevenly.
Step 8. Connect the Wires
To connect the wires, first ensure that the power supply is turned off at the breaker to eliminate the risk of electrical shock. Carefully examine the wires on both the fixture and the electrical box, identifying the live wire (black or red), the neutral wire (white), and the ground wire (green or copper).
Begin by connecting the ground wire from the electrical box to the ground wire on the fixture using a wire connector or by fastening it to the grounding screw, depending on the design of your fixture. Next, join the neutral wires by aligning their ends and securing them together with a wire nut.
Step 9. Secure the Canopy
Once the wires are connected and safely secured, gently push them into the electrical box, ensuring they are tucked away neatly to avoid crowding or strain. Align the canopy with the mounting bracket and attach it using the screws provided with your fixture.
Tighten the screws evenly to ensure the canopy sits flush against the ceiling without any gaps or wobbling. This step not only secures the structure but also enhances the installation’s appearance by providing a clean and polished look. Be mindful not to overtighten the screws, as this might damage the fixture or the ceiling surface.

Step 10. Restore the Power and Test
After securely attaching the canopy, it’s time to restore the power and test your installation. Begin by returning to the breaker panel and switching the circuit back on. Once the power is restored, go to the light fixture and operate the switch to check its functionality.
Observe the fixture closely to ensure that it illuminates as expected and check for any flickering or irregularities. If the light does not turn on, double-check the bulb, wiring connections, and circuit breaker to rule out any issues. Testing the fixture not only verifies proper installation but also ensures safety.
By following these steps, you can successfully hang a light fixture with a chain, enhancing the aesthetics and functionality of your space.
Conclusion
How to hang a light fixture with a chain can initially seem like a challenging task, but by breaking it down into manageable steps, it becomes a straightforward process.
From gathering the right tools and preparing the workspace to securely installing and testing the fixture, each stage is crucial for a successful result. With careful attention to detail and safety precautions, you can achieve a professionally-installed look that enhances the beauty and functionality of your room.
Hopefully, this guide has provided you with the necessary information and confidence to tackle your light fixture installation project.

