A properly grounded trailer light connection is essential for safe and efficient operation. It ensures the lights are connected to a solid, reliable ground source that won’t cause issues such as corrosion or electrical shorting. In addition, grounding helps protect your vehicle from potential damage caused by surge voltage or an overload of current.

The biggest advantage of grounding your trailer lights is directly connecting with the vehicle’s chassis. This is especially beneficial if your trailer encounters surges or overloads in electricity, as it will help prevent any damage to the electrical systems in your car. Having the lights grounded also helps reduce the risk of corrosion and shorting and can simplify troubleshooting electrical problems. In this blog post, You will learn how to ground trailer lights in detail.
Step-by-step Instructions for How to Ground Trailer Lights
Step 1: Inspect the Trailer
Before you begin, it is important to ensure that the trailer frame and any other components needed for grounding are in good condition. Check for corrosion or any other rust that may be present, and make sure all connections are secure.
Step 2: Choose a Ground Point
Once you’ve inspected the trailer for safety, you must choose a location to attach the trailer lights. Select a point on the trailer frame free of rust and corrosion, as this is where you will be attaching the ground wire.
Step 3: Attach Ground Wire
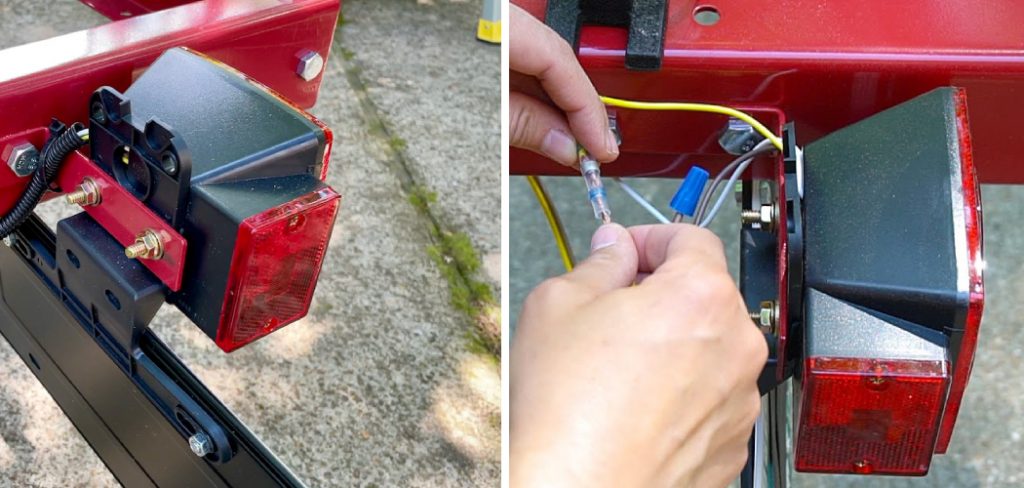
Attach the ground wire securely to the point chosen in Step 2 with a self-tapping screw or an appropriate connector. Ensure the connection is secure and tight to ensure the trailer lights are properly grounded. Now, check all connections to ensure they are in good condition and securely tightened.
Step 4: Test Trailer Lights
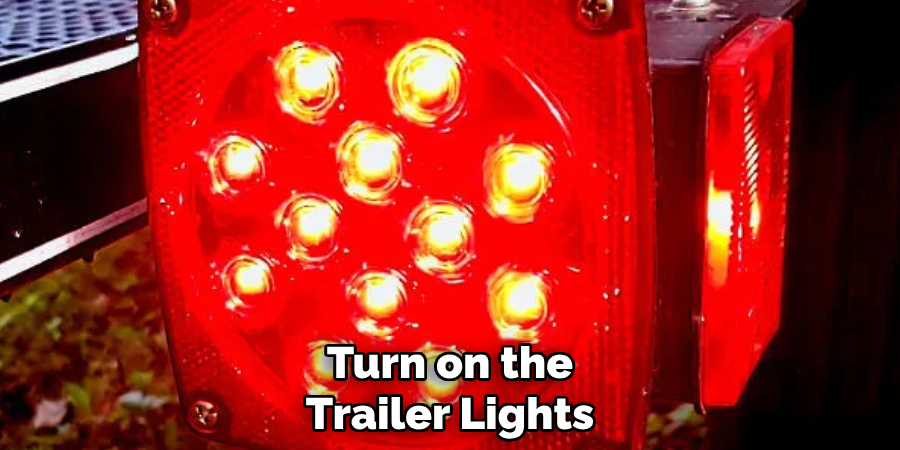
Once you’ve ensured that all connections are secure, it is important to test the trailer lights. With all connections properly made, turn on the trailer lights and check that they work correctly. Once you have established that all of the wiring is in order, connect the ground wire from the trailer lights to the negative battery terminal of your vehicle. Make sure to use the appropriate size wire for the connection.

Step 5: Securely Attach Ground Wire to Battery Terminal
After connecting the ground wire to the battery terminal, ensure it is securely attached. Check that the connection is tight and free of corrosion or rust. With all connections securely in place, testing the trailer lights again is important. Ensure that they are working properly and all connections have been made correctly.
Step 6: Disconnect the Battery Negative Terminal from the Ground Wire
Once you have confirmed that all of the wirings are in order and the trailer lights are working correctly, disconnect the ground wire from the battery negative terminal.
Finally, inspect all of the connections to ensure that they are tight and secure. If you encounter any problems, troubleshoot and repair them as necessary. Be sure to follow all safety protocols when working with electrical components.
Precautions for How to Ground Trailer Lights
- Wear safety glasses while performing electrical work on the trailer lights.
- Ensure that all terminals are free of dirt, rust, or corrosion before attaching them to the ground wire, as this may create an unreliable connection and lead to premature failure of the lights.
- Check for compatibility between circuit boards and LEDs used with the trailer lights. If the current and voltage ratings are not compatible, this may cause an electrical short circuit or other damage to the trailer lights.
- Inspect any existing wiring on the trailer for signs of wear or damage, including fraying, cuts in insulation, or broken terminals; replace them as needed before attaching a separate ground wire.
- Connect the ground wire from the trailer lights securely to a clean, corrosion-free metal part of the frame or other suitable ground.
- Test all connections with a voltage meter and make any adjustments necessary for proper functionality before use.
By taking these simple precautions, you can ensure the safety and longevity of your trailer lights and keep everyone safe on the road.
What Type of Grounding is Necessary for Trailer Lights?
The most common form of grounding for trailer lights is a bare wire attached to the trailer’s frame. This is known as a “direct ground” and requires that the metal frame or chassis of the trailer be in direct contact with either the earth, another grounded object, or an appropriate-sized ground rod.
In some cases, it may also be necessary to use a “floating ground,” an insulated wire that runs from the trailer lights directly to the battery or other grounded source. This type of grounding is often used when the metal frame of a trailer isn’t in direct contact with any other ground.
It’s important to check your local regulations regarding proper grounding for trailer lights to ensure your wiring meets the safety requirements. Finally, if you’re unsure about a particular installation or need help with the wiring of your trailer lights, it’s always best to call an experienced electrician for assistance. They have the knowledge and experience to ground your trailer lights and safely ensure proper functioning.
Is It Important to Make Sure the Wiring on Your Trailer is Properly Insulated and Waterproofed?
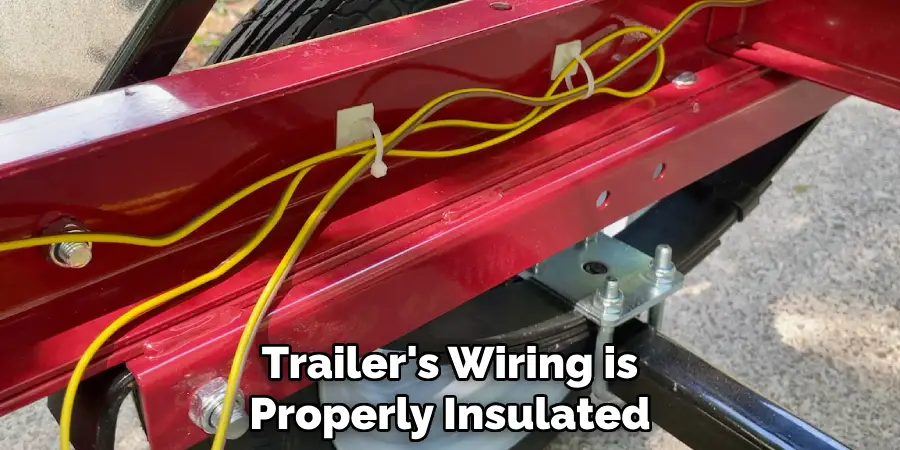
Yes, it is important to ensure your trailer’s wiring is properly insulated and waterproofed. If the wiring is not protected from moisture, dirt, or other elements, it can lead to electrical shorts or a fire. This makes proper insulation necessary to operate your trailer’s lights safely.

In addition to proper insulation, grounding your trailer lights is essential for their proper functioning. Grounding provides a safe drain for any excess electricity produced when the lights operate.
Without proper grounding, there is always the risk of electric shock or even a fire if too much current is present in the system. Fortunately, it’s not difficult to ground trailer lights and prevent accidents from occurring. You’ll need to find the common ground point on your trailer. This is typically located near the battery or frame and can be found with a continuity tester or voltage meter.
How Long Does It Take to Properly Ground Trailer Lights?
The amount of time it takes to ground trailer lights properly will depend on the size and complexity of your trailer’s wiring system. For smaller trailers with a few lights, grounding can usually be done in just a few minutes. However, it may take up to an hour or two to complete the process for larger trailers with multiple lighting systems or complex wiring.
Once you’ve located the common ground point on your trailer, it’s important to ensure all the grounding wires connect securely. This can be done with a screwdriver, electrical tape, or connector clips.
When all connections are secure, the grounding process is complete, and your trailer lights should be ready for use. It’s also a good idea to check the connections periodically to ensure they remain tight and secure. This helps ensure your trailer’s wiring system is up-to-date and safe on the road.

What Are the Most Common Mistakes People Make When Grounding Trailer Lights?
One of the most common mistakes people make when grounding trailer lights is not connecting the wires properly. It’s important to ensure that each wire is connected securely and that no bare metal is exposed. Additionally, connect all the appropriate grounding points correctly, or else it could lead to shorts or other issues with your trailer’s electrical system.
Another mistake people must correct when grounding trailer lights is not testing the connections after they’ve been made. It’s important to test all the connections with a continuity tester or voltage meter once you’re done wiring to ensure everything is functioning properly. If there are any issues, it’s much easier to fix them now rather than wait until you are out on the road and dealing with an electrical emergency.
Is There Any Potential Danger With Improperly Grounding Trailer Lights?
Yes, there is a potential danger with improperly grounding trailer lights. If the wiring connections are not secure or if too much current is present in the system, it can lead to electric shock or even a fire. This makes proper grounding essential for safely operating your trailer’s lighting system.

Additionally, improper wiring installation can lead to electrical shorts or other issues. This is why it is important to hire a professional technician if you need help grounding trailer lights properly.
They will ensure the job is done correctly and safely so you can have peace of mind while on the road. Properly grounding your trailer’s lights is essential for safe operation and should always be noticed. It’s important to ensure all connections are secure and that any excess current is properly drained. You can ensure your trailer lighting system is up-to-date and functioning safely with the right precautions.
Conclusion
In conclusion, grounding trailer lights is important to ensure they work correctly when you’re out on the road. There are several different ways to do this, and it’s important to take your time to ensure everything goes smoothly. Using these tips, you can ensure that your trailer lights stay working properly for years to come.
Whether you’re just starting or have been RVing for years, grounding trailer lights is important to ensure a safe journey. I hope this article has been beneficial for learning how to ground trailer lights. Make Sure the preventive measures are followed chronologically.

