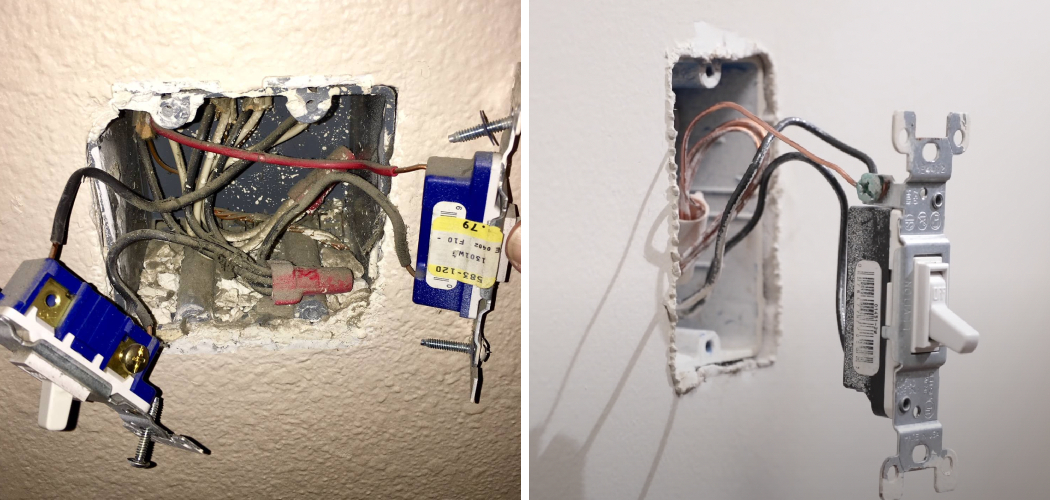
Are you looking for an easy way to ground a light switch? If so, you’ve come to the right place! Installing or replacing a grounded light switch can be a challenge if you don’t know what you’re doing. In this blog post, we’ll walk through the steps needed to properly and safely ground your light switch like a pro; no electrician is required!
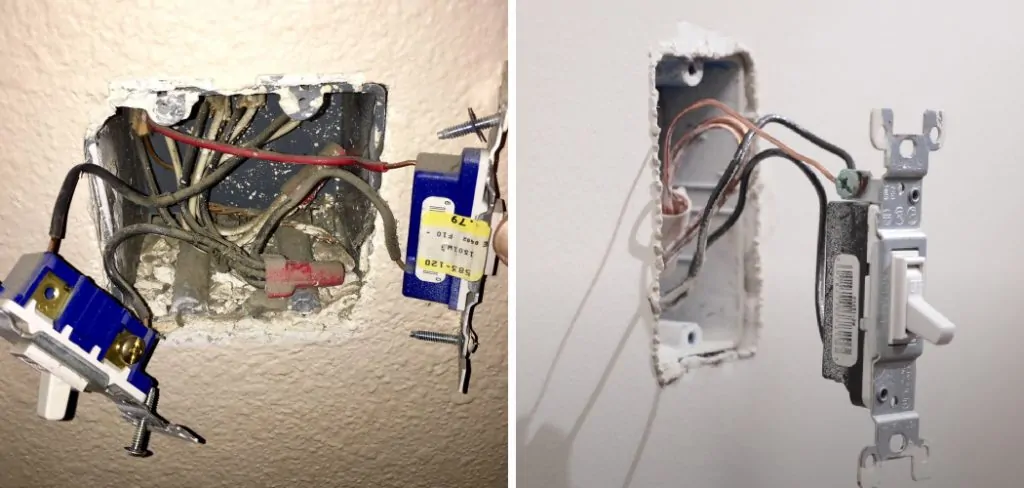
We’ll provide detailed instructions and helpful tips on how to ground a light switch for materials, tools, safety precautions — everything necessary for grounding your light switch in no time. So let’s get started!
Things to Consider Before Grounding a Light Switch
Before you begin grounding your light switch, make sure to check the following to avoid any accidents or issues:
- Make Sure You Turn Off the Power to the Switch at the Circuit Breaker.
- Check That There is No Voltage Present on the Wires With a Voltage Tester.
- Ensure That All Wires Are Free From Damage and Clean of Debris.
- Wear Safety Glasses, Gloves, and Other Protective Gear.
12 Step-by-step Guidelines on How to Ground a Light Switch
Step 1: Gather the Tools and Materials
Gather the tools and materials that are needed:
- Wire Cutters/strippers
- Electrical Tape
- Cross Head Screwdriver
- Grounded Light Switch
- Circuit Tester
- Grounding Screws or Clamps
Step 2: Remove Old Light Switch
Turn off the power to the switch at the circuit breaker, and unscrew the light switch from its mounting box in order to remove it. If necessary, use a voltage tester to ensure there is no voltage present on any of the wires. It is important to take caution when removing the light switch as wires can be sharp and cause injury. This process can also be hazardous if the voltage is not completely off.
Step 3: Connect Ground Wire
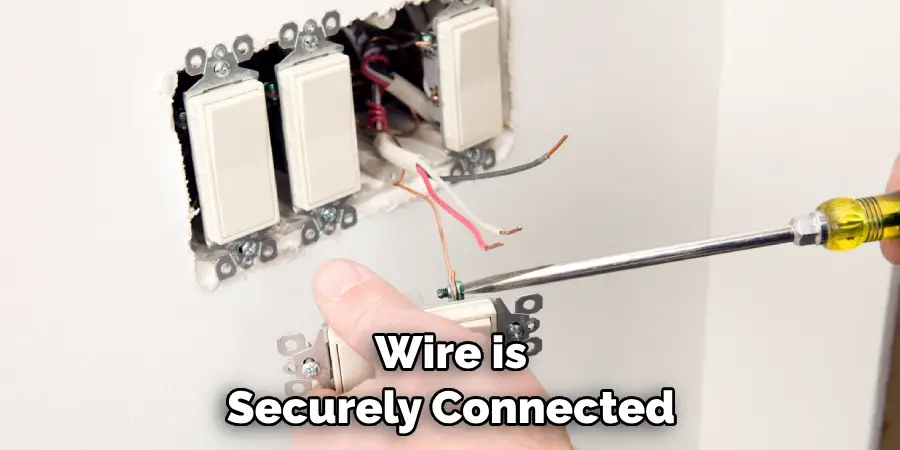
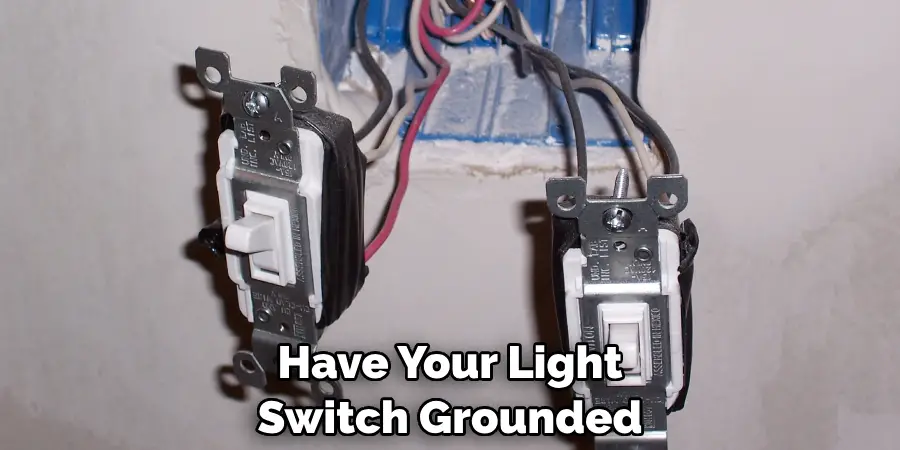
Connect the ground wire to the grounding screw on the light switch. The grounding screw is usually located at the top of most switches and has a green/yellow colored head.
Make sure that the wire is securely connected to the switch. You may need to strip the insulation off the wire first. Once you have connected the ground wire, move on to step 4. Make sure you turn off the power before connecting any wires.
Step 4: Connect Other Wires
Connect the other wires to the light switch terminals, making sure to connect them properly according to their designated colors or letters. Black wires typically go to the gold terminal, while white wires usually go to the silver terminals.
Again, make sure each wire is securely connected and not loose. It is also important to make sure that all the wires are free from damage and clean of debris. Once you have connected all the wires, move on to step 5.
Step 5: Secure the Switch Box
Securely mount the switch box to the junction box using screws. Make sure to not overtighten, as this may cause damage to the fixture’s components and wiring. But do make sure that the switch box is firmly secured in place.
It is important to make sure the switch box is secure in order to prevent any loose wiring or other safety hazards. It is also important to clean the switchbox of any debris or dust. Once the switch box is secured, move on to step 6.
Step 6: Test Your Work
Turn on the power to the switch at the circuit breaker, and make sure everything is working properly. Test out the switch and see if there are any issues with it. If all is good, then you’ve successfully grounded your light switch! You can now turn off the power and move on to step 7. But if there are any issues, make sure to turn off the power and double check your work.
Step 7: Secure Cover Plate
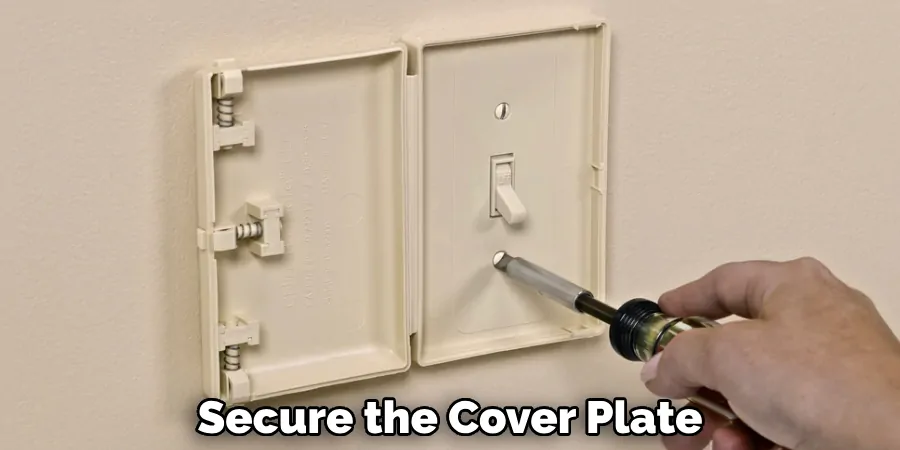
Secure the cover plate over the light switch using screws in order to protect it from damage or tampering. Make sure that the cover plate is securely attached, and that it is not loose. Otherwise, it could become a safety hazard. Once the cover plate is secured, you’re all done with your grounding project! It’s time to enjoy your newly grounded light switch. It’s safe and ready to use.
Step 8: Clean Up
Clean up any debris from your work area, such as wire cuttings or scraps of metal. Dispose of them in a safe manner in order to prevent accidents or injury. You should also store your tools properly so they are ready to use for the next time.
But most importantly, clean up your work area! It’s important to do this in order to maintain a safe and organized workspace. You don’t want any debris or tools laying around that could potentially cause harm.
Step 9: Double-Check Your Work
After cleaning up, double-check your work to make sure you haven’t missed anything. Make sure the switch is properly connected and grounded, as well as that all wires are in their designated positions. This will help to ensure the safety of your switch, as well as that it is properly functioning.
You don’t want to have to re-do your work because of a mistake! It’s also important to make sure that the cover plate is securely attached. Safety first!
Step 10: Put on the Cover Plate
Put the cover plate back onto the light switch, making sure it is securely attached. It should fit snugly, and there should be no gaps between the switch and the plate. It’s important to make sure that the cover plate is secured properly in order to keep any dust, dirt, or debris out of the switch box.
Step 11: Turn Power On
Turn on the power to the light switch at the circuit breaker, and test it out to make sure it is working properly. Again, if all is good then you have successfully grounded your light switch! Although it may seem intimidating, grounding a light switch is actually fairly simple and straightforward. It just requires a bit of patience and attention to detail. This is especially true if you are unfamiliar with electrical work.
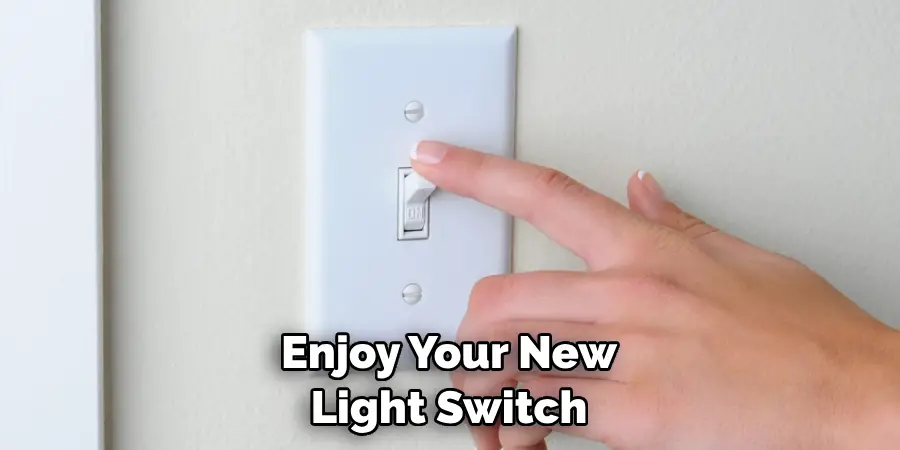
Step 12: Enjoy Your New Light Switch
Congrats! You did it. Now, you can turn on the lights and enjoy your new light switch with peace of mind knowing that it is grounded correctly. Always remember to keep safety in mind when dealing with any electrical work, and never attempt to do anything that you are not comfortable with. You can now proudly show off your new light switch to your friends and family, knowing that it is safe and secure.
Following these steps on how to ground a light switch will ensure that your light switch is grounded safely and correctly, preventing any potential electrical accidents. If you have any questions or need help with the process, feel free to contact an electrician for assistance.
Frequently Asked Questions
Q: What is Ground Wire?
A: Ground wire is a type of copper wiring that connects the circuit box to the earth. This ensures that if electricity escapes from the circuit, it will be safely discharged into the ground instead of in a person or an appliance.
Q: How Do I Know if My Light Switch is Properly Grounded?
A: To check if your light switch is properly grounded, you can use a voltage tester to measure the voltage on the ground wire. If there is any power present, then it means that your light switch may not be correctly grounded.
Q: What Kind of Safety Gear Should I Wear When Grounding a Light Switch?
A: When working with electricity, it is essential to take the necessary safety precautions. Be sure to wear safety glasses and gloves, as well as any other protective gear that may be necessary for the task. This will help to minimize the risk of injury while working with electricity.
Grounding a light switch may seem like a daunting task, but following the steps outlined in this blog post will make it much easier and safer. With the proper materials and tools in hand, you’ll have your light switch grounded like a pro in no time. Good luck!
Conclusion
In conclusion on how to ground a light switch, grounding a light switch is an important skill to have in order to keep your home’s electrical system safe. No matter if you’re replacing an old switch or installing one from scratch, it is essential to properly ground the circuit before turning on the power.
It takes patience and precision, but with some time and knowledge, anyone can drill out a hole and secure a ground connection correctly.
Plus, once that’s done, installation of the light switch itself is usually just plug-and-play – so if you take your time and get it right, you should be able to relax afterward knowing you’ve completed a difficult task successfully.
With danger averted and the amount of satisfaction that comes with tackling this fairly simple fix yourself, grounding a light switch could be a great first step in burgeoning electrical maintenance skills.

