Ah, the cherished prelit Christmas tree! It’s the savior of holiday decorating, sparing us from the classic tangle of lights that brings out the inner Grinch in all of us. These convenient trees have become popular due to their plug-and-play nature—just unfold, connect to a power source, and voilà! Yet, even the best of inventions have their hiccups.
Common gripes include those pesky sections that won’t light up or lights that flicker more than a squirrel hopped up on leftover Halloween candy. This article aims to tackle these frustrations head-on by providing a thorough guide on how to fix the lights on a prelit Christmas tree. Whether you’re a seasoned decorator or a first-time tree tender, our step-by-step instructions will help you troubleshoot and mend those defiant bulbs, ensuring that your sparkling centerpiece steals the spotlight this season.

Common Issues with Prelit Christmas Tree Lights
When it comes to prelit Christmas trees, they’re like the holiday version of a mischievous elf—sometimes, they’re full of surprises! One of the most common headaches is when the entire section decides it wants a day off. This may suggest there’s a rebel connection somewhere, either loose or completely disconnected, causing the section to opt out of the festivities.
Flickering lights are another Gremlin-inspired annoyance that often stems from faulty bulbs or iffy connections, casting more of a disco vibe than the intended cozy holiday glow. Then there’s the treat of intermittent lighting, where parts of your tree resemble a light show run on a sporadic timer—this might be down to a finicky bulb or an elusive wiring gremlin.
When you’ve got incandescent versus LED bulbs to consider, each type has its quirks. Incandescent bulbs are the old-school workhorses but can be temperamental, while LEDs are the newer, energy-efficient kids on the block, which might puzzle you with their modern troubleshooting needs. Understanding these issues helps in strategizing your approach to fixing them, ensuring your tree is the reigning diva at the holiday party!
Preparing to Fix the Lights
Before diving into the depths of the prelit Christmas tree’s lighting woes, it’s essential to arm yourself with the right toolkit and safety knowledge. First up, gather your light-fixing arsenal: replacement bulbs to swap out any dim divas, a trusty multimeter to test electric currents (as we’re not fans of rogue electricity), and a pair of scissors—useful for snipping away any pesky packaging or tags still lingering on your tree.
Now, let’s talk safety. Rule numero uno: unplug the tree! This is non-negotiable, folks. You don’t want a zap from holiday cheer, so always ensure the tree is unplugged before you embark on any detective work.
Next up, give your tree a once-over like a seasoned inspector. This is your time to shine as you examine the branches for any sneaky damage or connections that have been checked out for the season. Loose or broken connections are often the culprits behind those unlit sections.
By catching these issues early, you’re setting yourself up for a quicker and smoother troubleshooting session. With your tools in hand, safety precautions in check, and complete assessment, you’re now ready to face the challenge head-on and revive your tree’s twinkling glory!

How to Fix the Lights on A Prelit Christmas Tree: Troubleshooting Steps
Step 1: Identify the Problem Area
First things first, let’s channel our inner detective and narrow down the crime scene—erm, lighting issue! Systematically check each section of lights on your tree. Start from the base and work your way up. Look for sections that are completely dark, partially lit, or performing their own version of the Cha-Cha Slide. Take note of these areas because they’re your primary suspects!
Step 2: Check for Loose Connections
Next, dive into the spaghetti-like labyrinth of plugs and connections—where light strands meet, there’s often treachery afoot. You want to ensure they’re more secure than your grandma’s secret cookie recipe. Check each connection point where strands connect. Are they snug and perfectly aligned? Great! If not, give them a little love tap to make sure they’re secured properly.
Step 3: Inspect and Replace Faulty Bulbs
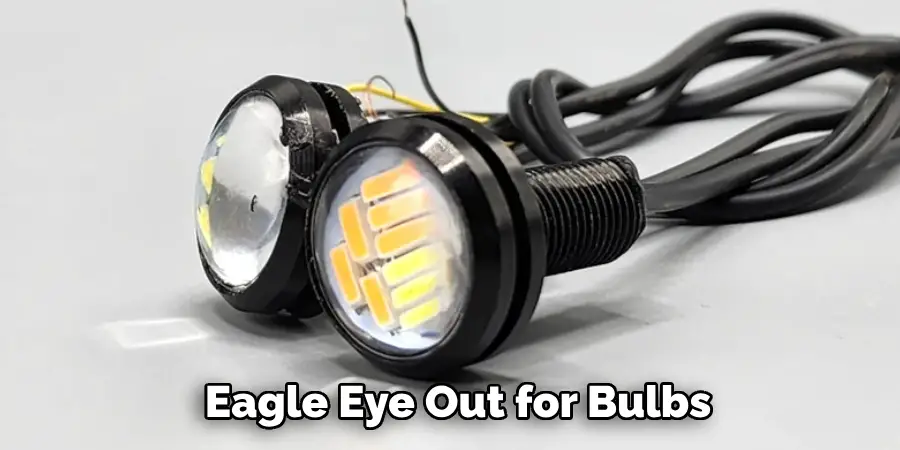
On to the lights themselves! Keep an eagle eye out for bulbs as dark as coal. Gently twist these little troublemakers out of their sockets and replace them with fresh recruits—replacement bulbs, that is. If you’re feeling particularly scientific, use a multimeter to test and confirm if a bulb is indeed the bad apple.

Step 4: Check Fuses
It’s time to channel your inner electrician—fuses deserve a glance, too! Most light strands have at least one or two fuses in the plug’s male end. These tiny components can often be the reason your lights go AWOL. Simply pop them out, inspect them for any signs of burnout, and replace them with fresh fuses if needed. This quick swap might be all you need to get those lights shining bright again!
Step 5: Verify Power Source
And finally, don’t overlook the obvious—your power source. Make sure the outlet is as reliable as your favorite holiday movie, and that any extension cords in use have no loose ends. Test the outlet with a device you know works to ensure it’s not the troublemaker. By verifying these power players in your setup, you ensure your tree has all the juice it needs to light up your festive days!
Repairing the Lights
Replacing Burnt-Out Bulbs
Alright, let’s get into the heart of the operation—replacing those stubborn, burnt-out bulbs! First, locate any bulbs that look toastier than a marshmallow on a campfire. Gently grip the bulb’s base and twist counterclockwise to remove it. If the bulb refuses to budge, don’t force it—just give it a wiggle instead. Now, slide the new bulb into the socket, ensuring it’s as snug as a bug in a rug. Twist it clockwise until it’s secured but not overly tight. Voila! You’re now officially a bulb-replacing connoisseur.
Securing Loose Connections
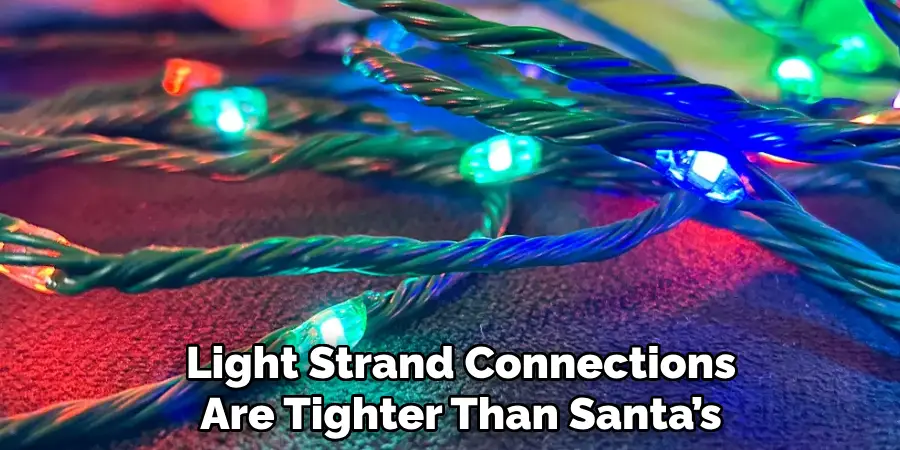
Next, let’s make sure those light strand connections are tighter than Santa’s schedule on Christmas Eve. Go through each plug connection and give it a little push to ensure they’re fully connected. If they’re loose and you want to double down on security, a cable tie or a generous wrap of electrical tape can be your best friend. This little reinforcement can keep the holiday cheer uninterrupted.

Fixing Broken Wires
Time to tackle the finicky broken wires like a pro! Begin by examining your light strands for any visible breaks or frays. Once you spot a damaged wire, cut out the faulty section using wire cutters. Strip away about a half-inch of insulation from both ends. Now, twist the exposed wires together and cover them with electrical tape or a wire connector to keep the connection safe and sound. With these repairs done right, your tree will be ready to dazzle quickly!
Preventative Measures for Future Issues
Proper Storage Techniques
When the festive season draws to a close, and it’s time to bid farewell to your twinkling masterpiece, ensure you store the prelit tree with the same care you’d give to Grandma’s heirloom ornaments.
Invest in a sturdy storage bag designed for artificial trees—those cardboard boxes are as unreliable as a snowman in a heatwave! Before packing it up, gently coil the light strands around the tree branches, ensuring they aren’t pinched or tangled. This mindful approach will help prevent any unnerving light surgeries next year.
Regular Inspections
Don’t be shy about giving those lights some pre-season TLC as the holidays approach. Conduct a practice run before you haul the tree from its hibernation spot. Systematically inspect each light strand for any lurking gremlins, like loose connections or suspicious-looking bulbs. Identifying issues early on not only saves time but also keeps your holiday spirit bright and unbothered.
Using Timers and Smart Plugs
Want to reduce the strain on your lights and elevate your festive game? Consider using timers or smart plugs. These gadgets ensure your lights aren’t pulling a Cinderella and going out at midnight, and they also prevent excessive wear by turning the lights on and off automatically at set times. It’s a convenient way to lengthen the lifespan of your lights while giving your fingers a well-deserved break from the switch!

When to Seek Professional Help
Signs That Repair Is Needed
Sometimes, despite your best DIY efforts, the twinkle in your tree might still be on the fritz, indicating it’s time to call in a professional. If you notice extensive wiring damage—like frayed cords resembling a mouse’s midnight snack—or if you’re facing puzzling electrical issues that unexpectedly transform your living room into a disco, it’s best to call in the experts. These are telltale signs that the situation is beyond a simple bulb replacement or connection adjustment.
Where to Find Assistance
So, where do you turn when technical troubles dim your festive spirit? Start by reaching out to the manufacturer for advice or warranty services. They often have dedicated support teams as helpful as a cup of hot cocoa on a snowy day. Alternatively, consider contacting local repair services specializing in Christmas decorations—they’re like the elves of the light repair world, ready to save the holiday cheer.
Conclusion
Addressing lighting issues on prelit Christmas trees is crucial for maintaining the cozy, joyful atmosphere we cherish during the holiday season. Whether it’s learning how to fix the lights on a prelit Christmas tree or mastering the art of proper storage, these steps ensure your tree shines bright every year. Embrace the decorating process enthusiastically, taking pride in crafting a well-lit masterpiece that fills your home with cheer. Remember, a little maintenance and care go a long way, preserving your lights and enhancing the festive spirit they bring. Enjoy the magic of the season!

