When decorating for the holidays or adding an ambiance of light to a space, string lights are a go-to solution. However, one common problem many people face is finding that half of the string is not working. This can be frustrating and time-consuming, especially when you’re unsure of the underlying issue. Fortunately, fixing a partially working string of lights is often simpler than it seems with the right approach.

This guide on how to fix string of lights half out will walk you through the steps to troubleshoot and repair your string of lights so you can get them shining bright in no time.
Why Do String Lights Go Half Out?
Before we jump into the steps to fix your string of lights, it’s important to understand why this issue occurs in the first place. There are a few common reasons for a string of lights going half out:
Bulb Issues:
The most likely culprit is a burnt-out or loose bulb. If one bulb goes out, the rest of the bulbs on that circuit can go out as well. In some cases, the bulb may appear to be working but is not making proper contact with the socket.
Faulty Wiring:
Wiring issues can also cause a string of lights to go half out. If there is a break or short in the wiring, it can disrupt the flow of electricity and cause half of the lights to stop working. This can happen if the wires are damaged or if they have been twisted too tightly.
Overloading:
Another reason for lights going half out could be overloading the circuit. If you have too many strings of lights connected or if other electrical devices are using the same circuit, it can cause an overload and result in half of your string of lights not working.
8 Steps on How to Fix String of Lights Half Out
Step 1: Check for Burnt-Out or Loose Bulbs
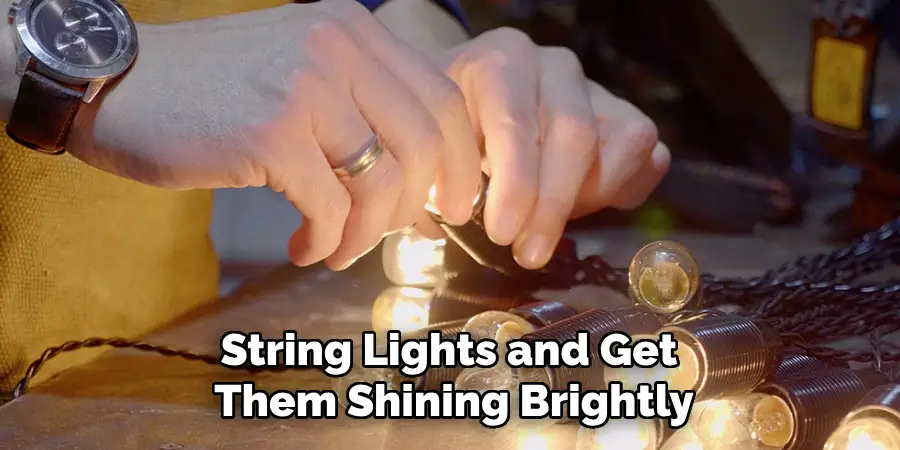
Begin by inspecting each bulb in the section of the string that is not working. Look for any bulbs that appear darkened, broken, or completely burnt out. A single faulty bulb can interrupt the circuit, preventing the other lights in that section from illuminating. Additionally, check for bulbs that may have loosened in their sockets, as improper contact can also cause an outage.
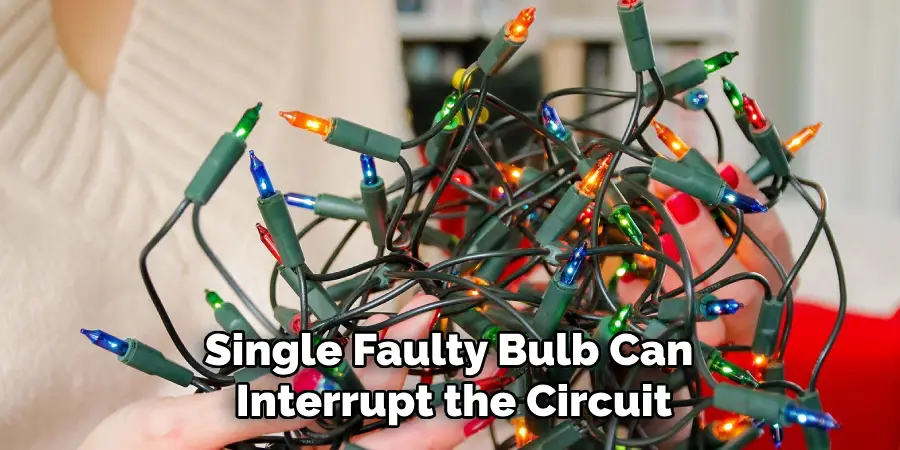
To fix the issue, gently press each bulb into its socket to ensure it is securely in place. If you identify a burnt-out bulb, replace it with a new one of the same type and wattage. Many light sets come with spare bulbs for this purpose. Once you’ve replaced the bulb or ensured all are tightly set, plug the string of lights back in to see if the issue is resolved.
Step 2: Examine the Wiring
If checking and replacing bulbs does not resolve the issue, the next step is to inspect the wiring for any visible damage. Carefully examine the length of the string of lights, paying close attention to areas where the wires may be frayed, twisted, or pinched. Damaged wiring can interrupt the flow of electricity, causing part of the string to stop working.
If you find a break or exposed wires, it may be possible to repair the damage by using electrical tape to cover the exposed sections and secure the connection. For more severe damage, it may be necessary to replace the string of lights entirely, as attempting to patch significant wiring issues can be unsafe. Once you’ve inspected and addressed any wiring problems, test the string of lights again to see if the problem is resolved.
Step 3: Check the Fuse
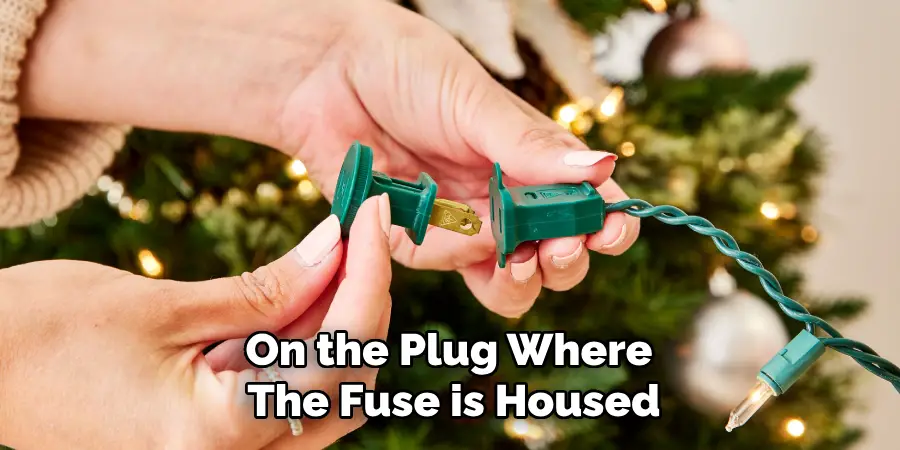
If the bulbs and wiring appear to be in good condition, the issue could lie with the fuse. Most string lights have a small fuse located in the plug, which acts as a safety mechanism to prevent electrical overloads. A blown fuse can cause part or all of the string to stop working.
To check the fuse, unplug the string of lights from the outlet and locate the small compartment on the plug where the fuse is housed. This is typically a sliding or pop-out panel. Open the compartment carefully and examine the fuse(s) inside. A blown fuse will often appear darkened or have a broken filament. If you identify a blown fuse, replace it with a new one of the same type and test the string of lights again.
Step 4: Use a Light Tester
If you’re still unable to pinpoint the issue, consider using a light tester to help narrow down the problem. These inexpensive tools can test individual bulbs and sockets for proper voltage and continuity.
Simply insert the prongs of the tester into each socket on the non-working section of the lights to see if there is an issue with that specific bulb or socket. This will help determine if any further troubleshooting or repairs are needed.
Step 5: Try Using Different Bulbs
If you are still having trouble fixing the issue, try swapping out the bulbs in the non-working section with some known working bulbs from another part of the string or from a spare set. Occasionally, the replacement bulbs used may not be compatible with the string or may themselves be defective. Replacing them with confirmed working bulbs can help identify whether the problem lies with the bulbs or elsewhere in the string.
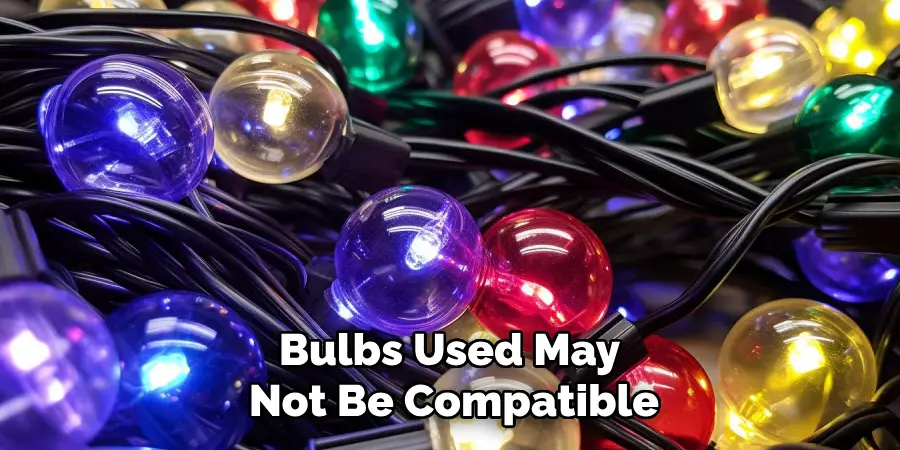
When doing this, ensure that the replacement bulbs are of the correct type and wattage for your light set, as mismatched bulbs can cause additional issues or fail to work altogether. After replacing a few bulbs, plug the string of lights back in to see if the problem is resolved. If changing the bulbs works, you may need to replace multiple faulty bulbs for the entire section to light up again.
Step 6: Check the Outlet
Another potential issue could be with the outlet itself. If the outlet is not providing enough power or if it is damaged, it can cause issues with your string of lights. Try plugging the lights into a different outlet to see if this solves the problem. If it does, then you may need to have an electrician inspect and repair your original outlet.
You may also want to check if any other electrical devices are using the same circuit as your string of lights. If there is an overload on that circuit, it can cause the lights to go half out. In this case, try unplugging some devices or moving them to a different outlet to reduce the load on the circuit.
Step 7: Consider Using an Extension Cord
If you have multiple strings of lights connected together and one string goes half out, try using an extension cord to connect that section directly to an outlet. This can help provide enough power for all the bulbs in that section to light up properly.
Additionally, using extension cords can help distribute the load across multiple circuits and prevent overloads. Just be sure to use heavy-duty extension cords rated for outdoor use and handle them carefully to avoid any damage.
Step 8: Contact the Manufacturer
If all else fails, it may be time to contact the manufacturer of your string lights. They may have additional troubleshooting tips or be able to provide a replacement product if yours is still under warranty. It’s always best to consult the manufacturer before attempting any major repairs or replacements on your own, as this can help avoid potential safety hazards.
Following these steps on how to fix string of lights half out should help you fix any issues with your string lights and get them shining brightly once again. Remember to always exercise caution when working with electrical equipment and never attempt any repairs if you are not comfortable or confident in doing so. Happy decorating!
Additional Tips for Maintaining Your String Lights
To avoid future issues with your string lights, here are a few additional tips to keep in mind:
- Only use outdoor-rated extension cords for outdoor string lights. Indoor extension cords are not designed to withstand the elements and can pose a fire hazard.
- Store your string lights carefully when not in use, wrapping them gently around a spool to prevent tangling or damage.
- When hanging your string lights, be careful not to stretch or pull them too tightly as this can cause stress on the wiring and increase the risk of damage or failure.
- Consider using LED bulbs for your string lights. They last longer and use less energy than traditional incandescent bulbs, which can save you money in the long run.
- If possible, choose string lights with replaceable bulbs so that if one does go out, you can easily swap it out for a new one rather than having to replace the entire set. Overall, with proper care and maintenance, your string lights can provide a beautiful and festive ambiance for many occasions to come. Happy decorating!
Frequently Asked Questions
Q1: Can I Use My Indoor String Lights Outdoors?
A1: It depends on the type of string lights and their rating. Always check the packaging or consult the manufacturer to ensure that your string lights are suitable for outdoor use before using them outside.
Q2: How Many Bulbs Can I Connect Together?
A2: The maximum number of bulbs that can be safely connected together varies depending on the wattage and rating of your string lights. Always check the packaging or consult the manufacturer to ensure that you are not overloading your string lights and causing potential safety hazards.
Q3: How Do I Dispose of Old String Lights?
A3: If your string lights are no longer working or have reached the end of their lifespan, do not throw them in the trash. Instead, look for recycling programs or facilities in your area that accept old electronics and dispose of them properly to minimize environmental impact.
Conclusion
With these tips and steps on how to fix string of lights half out, you should now be able to troubleshoot and resolve any issues with your string lights. Remember to always prioritize safety when working with electricity and consult a professional if you are unsure or uncomfortable with any repairs. Enjoy the beautiful glow of your string lights and happy decorating!

