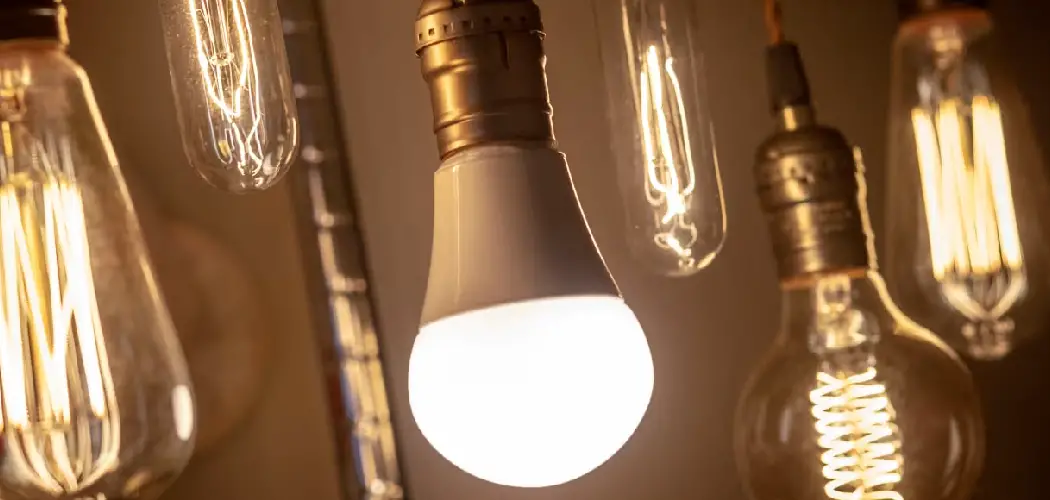
Overloaded LED lights can be a common issue in homes and workplaces, leading to flickering, reduced lifespan, or even complete failure of the lights. This problem often arises from exceeding the recommended load on circuits or using

incompatible components. Understanding the causes and solutions for overloaded LED lights is crucial to maintaining their efficiency and longevity. In this guide, we will explore practical steps of how to fix overloaded led lights effectively.
Common Causes of LED Overload
Several factors can contribute to the overload of LED lights, causing them to malfunction or fail prematurely. One of the primary causes is using a power supply that exceeds the recommended voltage or current for the LEDs, which can lead to overheating and damage.
Another common issue is connecting too many LED lights to a single circuit, exceeding the circuit’s load capacity. Additionally, using incompatible dimmer switches or drivers with LED lights can create an imbalance in power distribution, leading to flickering or performance issues. Incorrect wiring or poor quality components may also contribute to overloading, as they fail to regulate electrical flow properly. Identifying these causes is essential for addressing overload problems and ensuring optimal LED performance.
Identifying Signs of Overloaded LED Lights
Recognizing the signs of overloaded LED lights is essential for addressing the problem before it leads to severe damage. One of the most common indicators is frequent flickering or dimming of the lights, which can suggest an imbalance in the power supply. Overloaded LEDs may also emit an unusual buzzing or humming sound during operation.
Another warning sign is excessive heat generation, where the lights or their components feel unusually warm to the touch. Premature burnout or significantly reduced lifespan of LED bulbs can also point to an overload issue. Additionally, unpredictable behavior, such as lights turning off unexpectedly or failure to operate altogether, may indicate an underlying overload problem. Identifying these symptoms early allows for timely intervention to protect your LED lights and the connected circuits.
10 Methods How to Fix Overloaded Led Lights
1. Check the Power Supply Rating
The first step in addressing an overloaded LED light setup is to check the power supply rating. LED lights require a specific voltage and wattage, and the power supply must match these requirements. If you are using a power supply that cannot deliver enough wattage for the total number of lights connected, it can
lead to overloading. Always check the specifications on both the LED lights and the power supply to ensure they are compatible. For example, if your LED setup consumes 50W of power, the power supply should be rated for at least 10% more than that—around 55W or higher—to avoid overload.
2. Ensure Proper Wiring and Connection
Improper wiring can lead to overloading by creating resistance or short circuits that can overload the system. Check all wiring connections to ensure they are correct and secure. For strip lights, ensure that the wires are connected properly, with no exposed or frayed wires. Loose connections or poor-quality wires can cause inconsistent power flow, which leads to overloading. If necessary, replace old or worn wires with new ones that are rated to handle the load of your LED setup.
3. Use the Correct Gauge Wire
The gauge of the wire used in your LED setup plays a significant role in preventing overloading. Thinner wires (higher gauge numbers) have more resistance, which can cause the circuit to overheat, leading to an overload. Always use wires with a lower gauge number (thicker wires), as they are designed to handle higher current loads without overheating. Refer to the manufacturer’s specifications for the recommended wire gauge based on the wattage of your LED lights. This step ensures that the power is efficiently transmitted to the LEDs without unnecessary resistance.
4. Install an Appropriate Fuse
Installing an appropriate fuse in the LED circuit can prevent damage from overloading by interrupting the flow of electricity if the circuit exceeds a safe limit. Fuses are designed to “blow” when there is too much current flowing through the
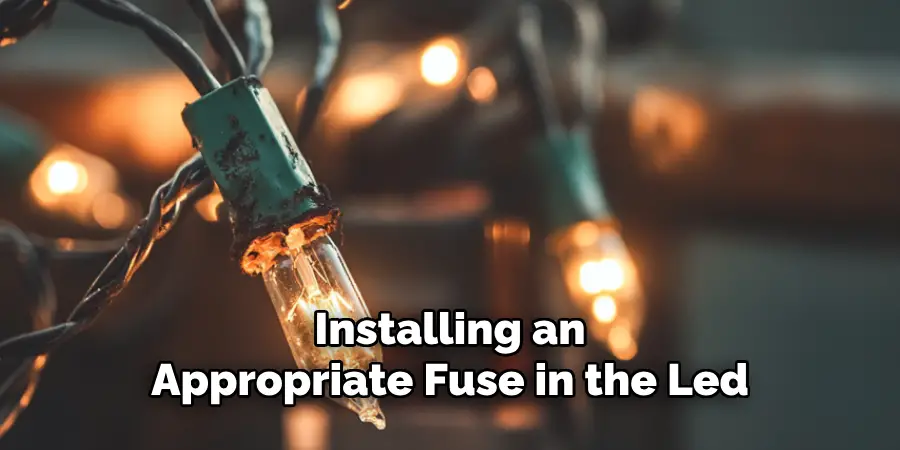
system, stopping the overload from causing further damage. Ensure that the fuse is rated correctly for your LED setup, based on the total wattage and current draw of the lights. You can either replace the fuse with a higher or lower rating depending on your system’s power consumption, ensuring that it prevents any dangerous overloading issues.
5. Reduce the Number of LEDs on a Single Circuit
If you’re running multiple LED strips or bulbs on a single circuit, it can easily lead to overloading. Each LED light has a certain wattage requirement, and when too many are connected in parallel or series, the total load can exceed the circuit’s maximum capacity. To fix this, you can reduce the number of lights on a single circuit by distributing the load across multiple circuits or power supplies. Check the specifications for your LED strips to calculate the total wattage and make sure it doesn’t exceed the safe limit for each circuit.
6. Upgrade to a Higher Wattage Power Supply
If your LED lights are frequently overloaded, consider upgrading your power supply to one that offers a higher wattage. While it’s important to match the power supply to your LED load, there’s no harm in choosing a power supply with a slightly higher wattage than necessary to provide a buffer against overloads. For instance, if your setup requires 60W, selecting a 100W power supply ensures that the lights are well within the power range, avoiding the risk of overloading. This extra capacity can accommodate any unforeseen power spikes or additions to the LED setup.
7. Use LED Controllers with Built-in Protection
Some LED controllers come with built-in overload protection features that prevent overloading by automatically shutting down the circuit if it detects an unsafe current. These controllers can help to fix or prevent overloads by regulating the voltage and current flowing through the LED lights. Installing a controller with built-
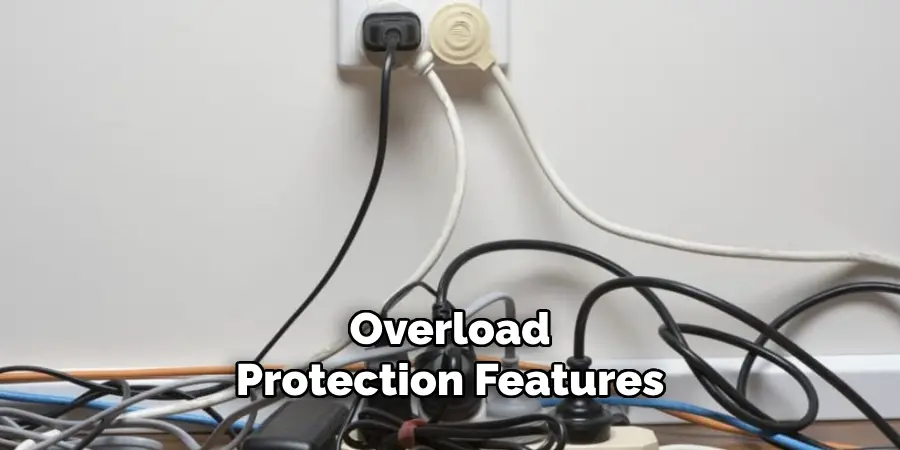
in overload protection adds an extra layer of safety, especially in larger lighting installations where many LEDs are connected. Ensure that the controller you choose is compatible with your lights and rated to handle the total wattage.
8. Test Voltage and Current With a Multimeter
A multimeter is a useful tool for diagnosing electrical problems in your LED setup. Use the multimeter to measure the voltage and current at different points along the circuit to check for any signs of overloading. If the voltage or current readings exceed the recommended levels for your lights or power supply, there is a clear indication of an overload. Testing with a multimeter will help you pinpoint any issues, whether it’s an underpowered power supply, faulty wiring, or excessive load on the circuit. This diagnostic step can be critical in resolving the overload problem effectively.
9. Implement a Circuit Breaker
In addition to fuses, circuit breakers can be used to protect your LED system from overloading. A circuit breaker is a switch that automatically opens (breaks the circuit) when the current exceeds a safe level, thus preventing the system from overheating or catching fire. You can install a circuit breaker between the LED lights and the power supply, especially if you’re running a large number of lights in a more complex setup. Circuit breakers can be reset after they trip, making them a practical solution to prevent repeated overloads.
10. Upgrade to Higher Efficiency LED Lights
If you’ve tried all of the previous methods and your LED lights are still prone to overloading, it may be time to consider upgrading to more efficient LED lights. Older or cheaper LED lights may consume more power than newer, more efficient models. Upgrading to energy-efficient LED lights will reduce the overall power demand on your system, lowering the risk of overloading. Modern LED lights often come with features like low power consumption and better heat dissipation, which ensures that they stay within safe operating limits even when used for extended periods.
Things to Consider When Preventing Overloads in LED Setups
When setting up an LED lighting system, it’s essential to address potential issues that can lead to overloads. Below are some key considerations:
Understand Your Power Requirements
Accurately calculate the total power consumption of your LED setup, including

every strip, bulb, or component. Ensure that your power supply can comfortably handle this load, with some extra capacity for safety.
Choose Quality Components
Investing in high-quality LED lights, power supplies, and controllers can significantly reduce the likelihood of overloads. Cheaper alternatives might save money upfront but often fail under heavy loads.
Plan Your Circuit Layout
Properly distributing your LEDs across multiple circuits can prevent overloads by avoiding excessive power demand on a single circuit. Thoughtful planning during installation can save time and prevent issues in the long run.
Keep Installations Well-Ventilated
Overheating can exacerbate overloading problems. Ensuring that all components, especially power supplies and controllers, are installed in a well-ventilated area helps with heat dissipation and efficient performance.
Conclusion
In conclusion, fixing overloaded LED lights requires a combination of diagnosing potential issues, using the right components, and ensuring proper setup and maintenance. Whether it’s checking the power supply, using thicker wires, installing a fuse or circuit breaker, or upgrading the lights themselves, these solutions will help restore balance to your LED setup and prevent further overloading in the future.

