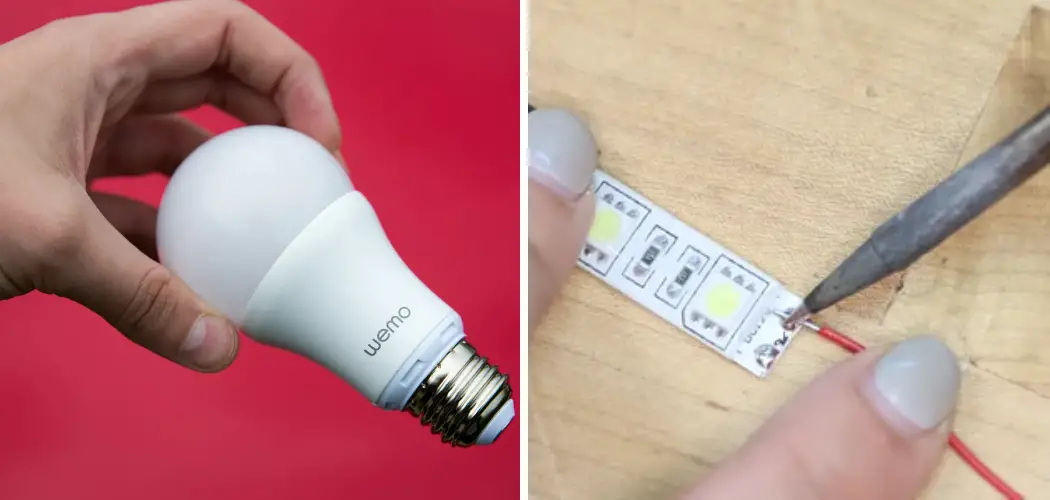
When the mesmerizing glow of your LED lights falters, encountering issues such as flickering, dimming, or complete malfunctions can be disheartening. LED lights, known for their energy efficiency and durability, have revolutionized the way we illuminate our spaces. However, like any electronic device, they are not immune to occasional glitches.
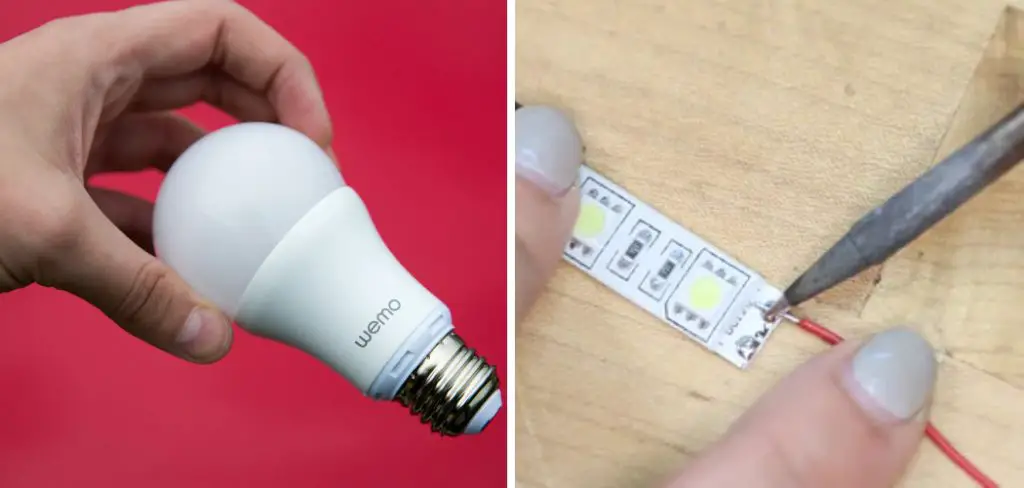
Fear not, for this guide is here to help you navigate the process of troubleshooting and fixing your LED lights like a pro. From identifying the problem and understanding the components to employing effective repair techniques, we’ll delve into how to fix my LED lights. Let’s unravel the mystery behind LED malfunctions and equip you with the knowledge and skills needed to restore your vibrant and dazzling light display.
What Causes LED Lights to Break?
LED lights can break for a variety of reasons. The most common causes are water damage, physical damage, and age deterioration. Water damage is caused by exposure to moisture or condensation on the LED bulbs, which can cause corrosion and reduce the lifespan of the bulb.
Physical damage can be caused when parts of the light are bent or twisted, such as when mounting or removing a light. Age deterioration is caused by the LED bulbs wearing out over time, which can be accelerated in environments with high temperatures or humidity.
If you suspect your LED lights have broken due to any of these causes, there are a few things you can do to help diagnose and fix the issue. First, inspect the light for signs of damage such as rust, corrosion, or physical damage. Additionally, check if the connections are secure and that all wiring is intact.
If any of these issues are found, then replacing the bulbs or other components may be required. Otherwise, it may be possible to reset the lights by completely disconnecting them from power and re-installing them after a few minutes. Once power is restored, the lights should be functional again.
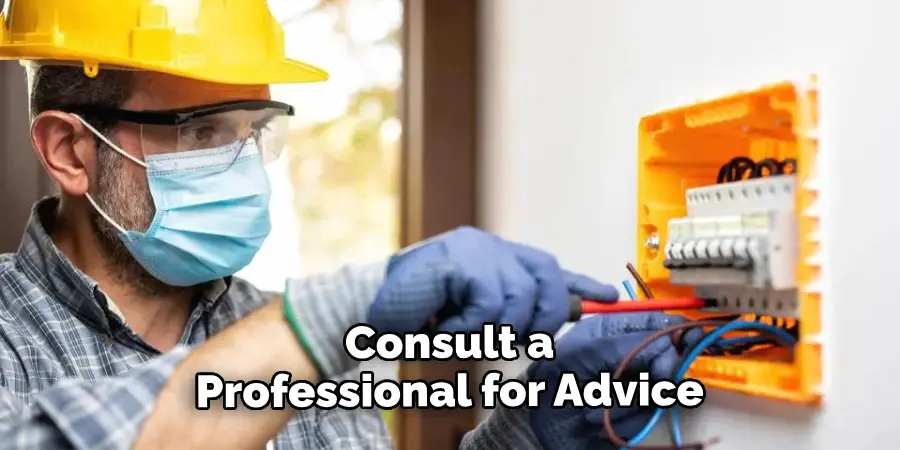
In some cases, it may also be necessary to upgrade the LED bulbs or fixtures. This can involve changing out the old bulbs for more energy-efficient models, or upgrading to a more modern fixture that can support higher wattage or brightness levels. If you’re unsure about what kind of bulb or fixture is best for your needs, consult a professional for advice.
10 Steps How to Fix My LED Lights
1. Check the Power Supply
The first step in fixing LED lights is to check the power supply. Make sure that the power supply is plugged into a working outlet and that it is properly connected to the LED lights. If there is no power, then you will need to replace the power supply or switch out the outlet.
2. Check for Loose Connections
If there is power but the lights are still not working, then you should check for any loose connections. Make sure that all of the wires are securely connected and that none of them have come loose or disconnected from their terminals.
3. Look for Corrosion
If there are any visible signs of corrosion on the LED light connections, then this could be causing an issue with your lights not working properly. You can use a cotton swab dipped in rubbing alcohol to clean off any corrosion and see if this resolves your issue.
4. Replace Damaged Components
If you find any damaged components, such as wires or connectors, then you should replace these components with new ones before continuing with other troubleshooting steps. This will ensure that all of your connections are secure and free from damage before attempting further repairs.
5. Check for Bad Bulbs
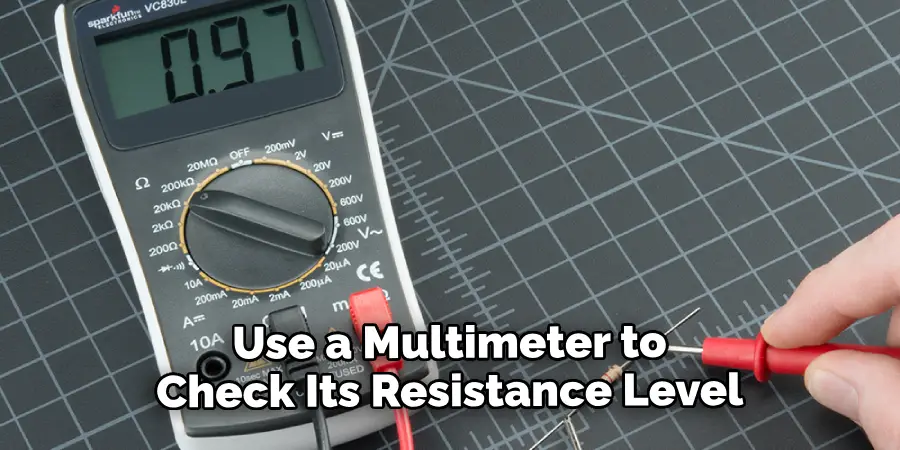
If your LED lights still aren’t working after checking all of the connections, then it’s possible that one or more of your bulbs may be bad and need to be replaced. To test each bulb individually, disconnect it from its connection and use a multimeter to check its resistance level. If it reads zero ohms, then it needs to be replaced with a new one before continuing with other repairs.
6. Clean Contacts
If your LED lights are still not working after replacing any damaged components or bad bulbs, then it’s possible that some dirt or debris may have built up on the contacts between two parts of your lighting system which could be causing an issue with connectivity between them and preventing them from working properly.
To clean these contacts, use a cotton swab dipped in rubbing alcohol and gently scrub away any dirt or debris until all contacts appear clean and free from residue before continuing with other troubleshooting steps.
7. Check Voltage Levels
Using a multimeter, check each individual component’s voltage levels to make sure they’re within range for proper operation of your LED lights system; if any component’s voltage levels are too low or too high, then this could be causing an issue with performance which needs to be addressed by adjusting its settings accordingly before continuing with other repairs.
8. Test Each Component Individually
To make sure each component is functioning correctly on its own without interference from another part of your lighting system, disconnect each one from its connection individually and test it using a multimeter; if any component fails this test, then it needs to be replaced before continuing with other troubleshooting steps.
9. Inspect Wiring Harness
Check all wiring harnesses for signs of wear or damage; if there are any frayed wires present which could cause an electrical short when connected together again later on down the line during normal operation of your lighting system, replace them immediately before reconnecting them back together again.
10. Reconnect Everything Together
Finally, once everything has been tested, inspected, cleaned, adjusted, repaired, and replaced (if necessary) , reconnect everything back together again following manufacturer instructions carefully so as not to cause further damage during installation.
Things to Consider When Fixing My LED Lights
When it comes to fixing LED lights, there are a few things to take into account. First, you’ll need to determine what type of lighting system you’re working with. Is it a surface mount, recessed can, or track lighting? Knowing this will help you identify the right parts and tools needed for the repair job.
Next, research the specific type of LED light you’re working with. What kind of bulbs are used? How many watts does it use? Knowing the specifications for your particular lighting system will help you determine the best way to fix it.
Finally, make sure to turn off all power sources before beginning repairs on an LED light. This includes shutting off any circuit breakers and disconnecting all wiring from the lighting system. Failure to do so could result in serious injury or even death. Taking these basic safety precautions is always a must when dealing with LED lights.
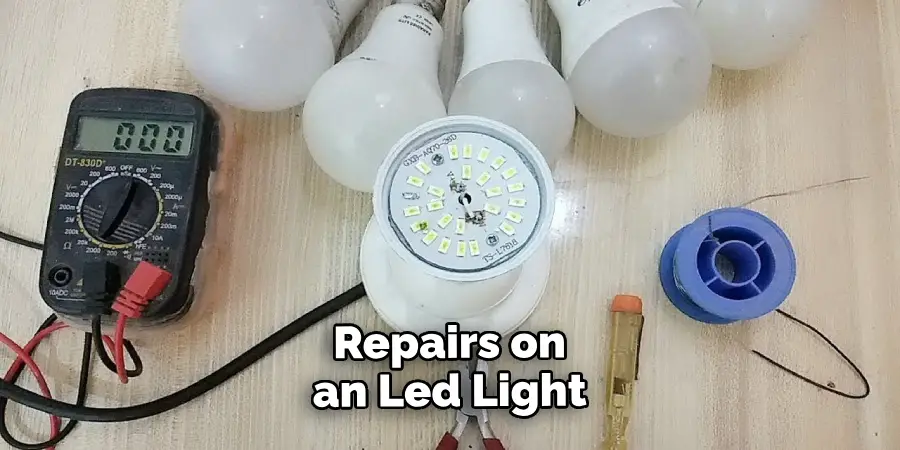
LED lights can be tricky to repair, but it doesn’t have to be overwhelming. With some patience and research you’ll be able to identify the issue and get your lighting system back up and running in no time. And if you’re ever unsure of how to proceed, consider consulting an experienced electrician for assistance. Good luck and stay safe!
Common Mistakes to Avoid
If you’re not familiar with how to repair LED lights, it’s important to avoid some common mistakes. First, make sure you have the right tools for the job. LED lights require specific screwdrivers and other tools that are not universal in nature. If your tools aren’t up to the task, you may damage your LED light fixtures.
Second, make sure you’re familiar with the wiring of your LED lights. Knowing how they are wired can help you troubleshoot any issues that may arise during repairs. It’s also important to consider the age and condition of the fixture when attempting to fix it. Older models may require additional steps or replacement parts that newer fixtures do not.
Finally, it’s important to be mindful of safety when dealing with any electrical work. Make sure you have turned off the power to the LED light at the circuit breaker before attempting any repairs or maintenance. Never attempt to repair an LED light while it’s still plugged in as this could lead to a serious accident. If you’re unsure of how to proceed, contact a qualified electrician for assistance.
Conclusion
In conclusion, while fixing your LED lights may seem daunting, it is actually not as hard as it sounds. Once you have identified the issue, you can take the appropriate steps to repair your lights. When troubleshooting any electronic devices, safety should always be top priority.
Be sure to follow the maintenance instructions that come with the item and take extreme caution when dealing with electricity. If all else fails, be sure to contact a technician who specializes in electronics maintenance for help.
You too can have fixed LED lights by following these steps, regardless of how complicated or challenging they may appear at first glance. Don’t forget about taking full advantage of any warranty policies that come with your product and you’re on your way to restoring those shining stars! Now that you’ve read our advice on how to fix my LED lights, we invite you to visit us again for more in-depth DIY tutorials soon!

