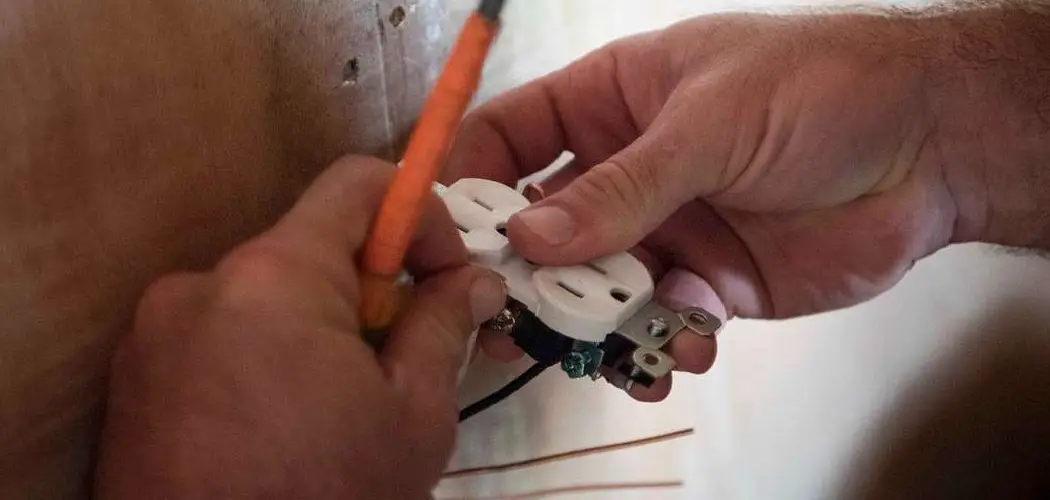
A functional light socket is an essential component in our daily lives, ensuring that our homes and workspaces remain well-lit and comfortable. It plays a crucial role in powering the light bulbs we depend on, whether for reading, cooking, or staying safe at night. However, like any electrical fixture, light sockets can encounter problems over time. Common issues include flickering lights, bulbs that fail to turn on, or sockets that become damaged or broken. These issues can lead to frustration, reduced productivity, and, in some cases, potential safety hazards if left unaddressed.
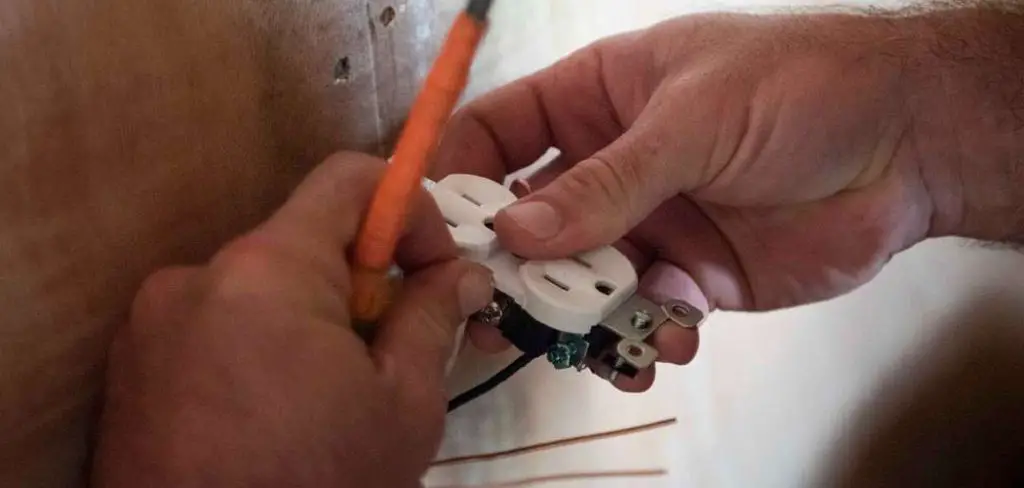
The purpose of this article is to provide a clear, step-by-step guide on how to fix light socket problems effectively and safely. Whether you’re dealing with faulty connections or replacing a damaged socket, this guide will help you troubleshoot and resolve the issue, ensuring your light fixtures function properly once again.
Identifying the Problem
When a light socket stops functioning correctly, identifying the root cause is the first step toward resolving the issue. By paying attention to common symptoms and understanding potential causes, you can determine whether a quick fix is possible or if professional assistance is required.
Common Symptoms of a Faulty Light Socket
- Flickering or Dim Lighting
If your light frequently flickers or emits dim light, this could point to an issue with the socket or its connection to the bulb.
- Lightbulb Not Turning On
A bulb that fails to illuminate even after replacing it with a new one often signals a problem with the socket or power supply.
- Burnt Smell or Visible Damage
Any burnt odor or scorch marks around the socket are clear signs of damage and should be addressed immediately to avoid potential safety risks.
Potential Causes of Socket Failure
- Loose Connections
Over time, wiring or connections inside the socket may loosen, disrupting the flow of electricity.
- Worn-Out Wiring or Corrosion
Old or corroded wiring can hinder electrical conductivity, leading to socket failure.
- Issues with the Light Bulb or Circuit
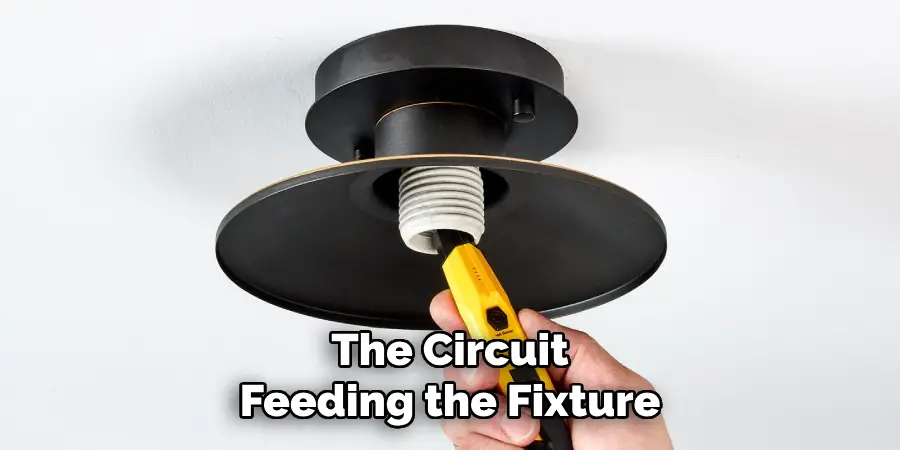
Sometimes, the problem lies not in the socket itself but in the bulb or the circuit feeding the fixture.
When to Call a Professional
While most individuals can handle minor issues such as replacing a socket or tightening connections, certain situations require the expertise of a licensed electrician. Electrical shorts, significant wiring damage, or recurring issues despite basic troubleshooting are indicators that professional intervention is necessary. Addressing these problems promptly ensures safety and prevents further complications.
Safety Precautions Before Starting
When working with electrical components, safety should always be the top priority. Taking proper precautions can prevent injuries and ensure the job is done correctly.
Turning Off the Power
Before starting any electrical work, it’s crucial to shut off the power at the breaker box. Simply turning off the switch controlling the fixture is not enough, as residual electricity may still pose a danger. Switching off the appropriate breaker ensures that no power flows to the socket or circuit you are working on, eliminating the risk of electric shock.
Using Safety Gear
Wearing the proper safety gear can add another layer of protection. Insulated gloves are essential for preventing direct contact with live wires, even if they are still active. Additionally, using a reliable non-contact voltage tester allows you to verify that no electricity is present in the wires or socket before handling them. This extra step ensures your workspace is entirely safe to proceed.
Avoiding Water and Moisture
Electricity and water are a hazardous combination. Before beginning, make sure the area around the socket or fixture is dry. Moisture can lead to electric shocks or short circuits, so checking the workspace thoroughly for leaks or dampness is critical to avoiding accidents.
Tools and Materials Needed
Basic Tools for the Job
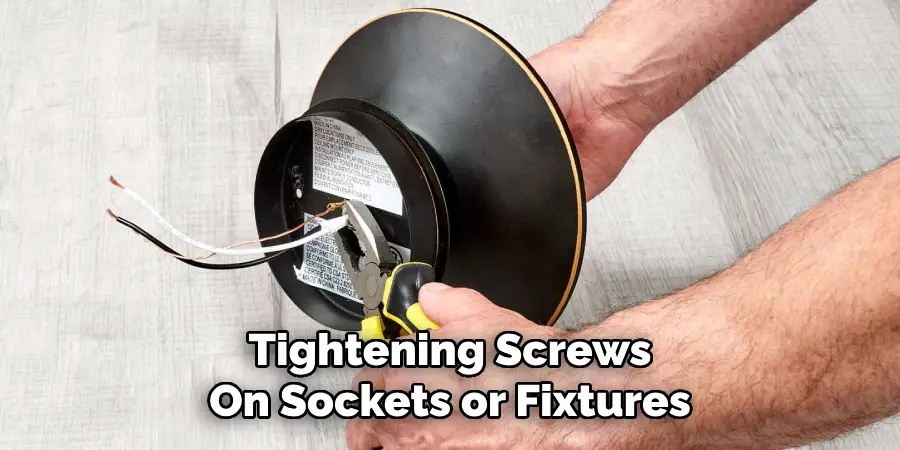
To safely and effectively work on electrical fixtures, you’ll need a few essential tools at your disposal. A flathead screwdriver and a Phillips screwdriver are vital for loosening and tightening screws on sockets or fixtures. Pliers come in handy for gripping and bending wires, while a voltage tester is indispensable for confirming the absence of electricity before working. Additionally, electrical tape is necessary for insulating connections, and wire cutters and a wire stripper are essential for trimming and preparing wires.
Replacement Parts
Choosing the correct replacement socket or parts for your fixture is crucial to ensuring compatibility and safety. Check the electrical ratings, such as voltage and amperage, of the replacement parts against the existing setup. Bring the old socket or a photo of it to the hardware store to find an exact match in terms of size and specifications.
Optional Items
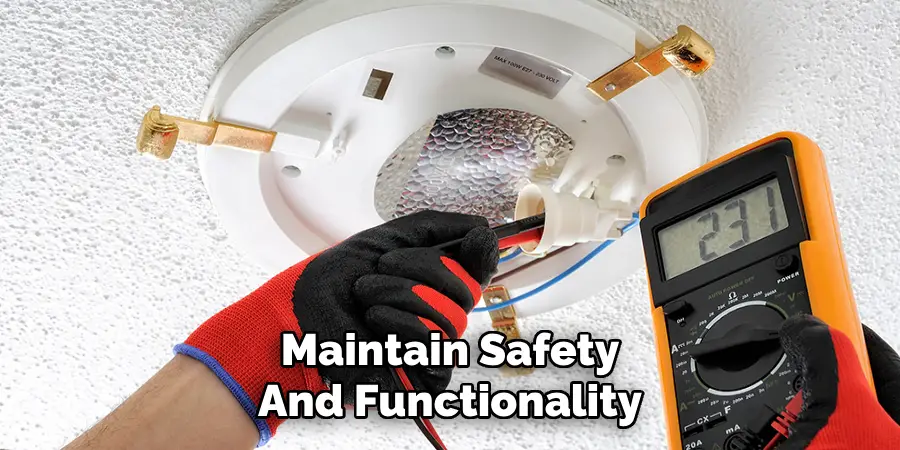
For more advanced troubleshooting or additional safety, a multimeter is a valuable optional tool. It allows you to test socket connections, confirm wiring continuity, and measure voltage levels with precision. While not mandatory, a multimeter can add an extra layer of assurance throughout your project.
How to Fix Light Socket: Step-by-Step Guide
Step 1: Turn Off the Power
Before starting any work, ensure the power is turned off. Locate the circuit breaker that controls the light fixture and switch it off. Double-check by trying to turn on the light at the switch to confirm that no power is flowing to the socket. Taking this precaution is essential for your safety.
Step 2: Remove the Lightbulb and Socket Cover
Once you’ve ensured the power is off, remove the lightbulb from the socket. Next, unscrew or detach any outer covers, rings, or decorative parts around the socket to expose it. This step will provide better access to the area you’re working on.
Step 3: Inspect the Socket for Visible Damage
With the socket exposed, closely inspect it for any signs of damage. Look for burned spots, broken components, corrosion, or loose connections. Identifying the problem area will guide you on whether a simple fix or a replacement is needed.
Step 4: Tighten the Wiring Connections
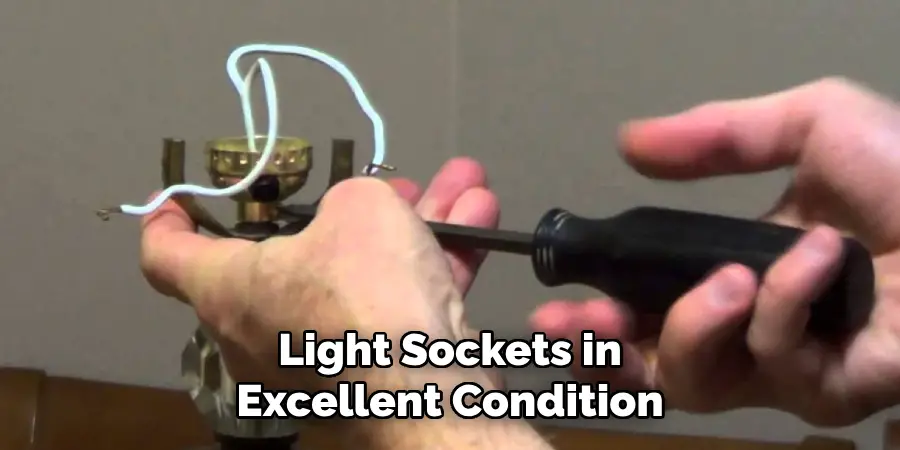
If you notice that the issue stems from loose wires, use a small screwdriver or pliers to tighten the connections carefully. Ensure all wires are securely fastened to their terminals. This step often resolves common light socket issues without replacing the part.
Step 5: Replacing the Socket (if needed)
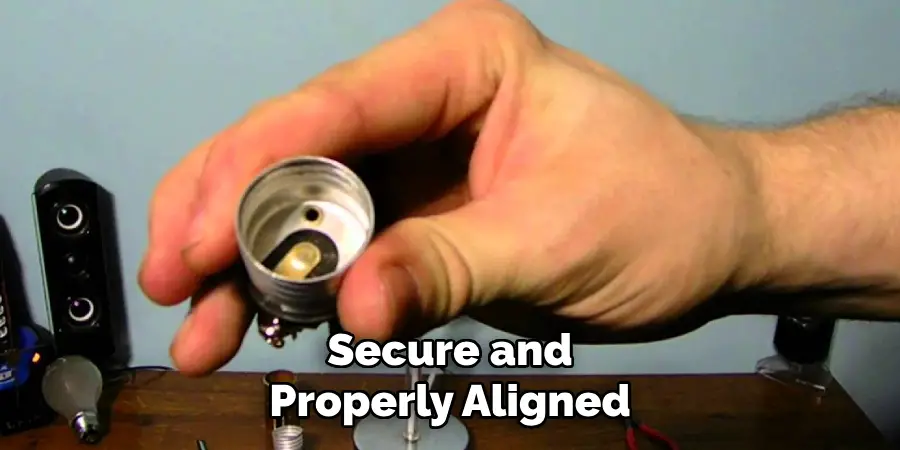
If the socket is severely damaged or malfunctioning, replace it. Detach the old socket by carefully disconnecting the wires connected to it. Take note of how the wires are attached to replicate the setup. Install the new socket by reconnecting the wires in the same arrangement, ensuring they are secure and properly aligned.
Step 6: Reassemble and Test
Reassemble the light fixture by putting all covers, rings, or decorative parts back in place and screwing in the lightbulb. Turn the circuit breaker back on and test the light to ensure it is functioning properly. If the light works as intended, your repair is complete!
Troubleshooting Additional Issues
Burnt or Discolored Sockets
Burnt or discolored sockets often indicate overheating caused by a loose connection, incompatible bulb wattage, or prolonged exposure to high heat. To address this, first turn off the power and inspect the socket. If it shows signs of charring or discoloration, it should be replaced immediately, as continued use can pose a fire hazard. Ensure you use light bulbs with the correct wattage for the fixture to prevent recurrence. Additionally, check that the wires are securely connected to minimize resistance that can cause excess heat.
Socket Still Not Working After Tightening
If tightening connections does not resolve the issue, it may indicate a deeper problem, such as damaged wiring or a faulty light switch. Inspect the wiring for frays, breaks, or corrosion and replace as necessary. Similarly, a malfunctioning light switch may fail to deliver power; in this case, consider replacing the switch. Before assuming the socket is faulty, test the lightbulb in another fixture to confirm it is not the source of the problem.
Breaker Trips When Turning on the Light
A circuit breaker that trips when you turn on the light may signify a short circuit caused by exposed wires or a faulty socket. Turn off the breaker and inspect the wiring in the fixture for broken insulation or loose connections. Repair or replace any damaged components. If the issue persists, consult an electrician, as the problem could lie within the circuit breaker itself or elsewhere in the system.
Maintaining Your Light Socket for Longevity
Proper maintenance of your light socket can extend its life and ensure safety within your home. Follow these key practices to keep your light sockets in excellent condition:
Regular Inspections
Conducting regular inspections, ideally every six months, can help identify issues early. Look for signs of wear and tear, such as discoloration, loose connections, or overheating. Address these problems promptly to avoid further damage or potential hazards.
Avoiding Overloading Circuits
Be mindful of the wattage rating of your light socket and ensure bulbs or fixtures do not exceed this limit. Overloading circuits with excessive wattage or plugging too many devices into the same outlet can strain the socket and lead to overheating or failure.
Using Quality Light Bulbs
Choose high-quality light bulbs that are compatible with your fixture. Poor-quality or incompatible bulbs not only reduce lighting efficiency but can also damage the socket over time, leading to costly repairs or replacements.
Common Mistakes to Avoid
Not Turning Off the Power
One of the most dangerous mistakes is forgetting to turn off the power before working on a light socket. Skipping this vital step increases the risk of electric shock, which could lead to injury or even be fatal. Always ensure that the power supply to the fixture is completely turned off at the circuit breaker and double-check with a voltage tester before proceeding.
Using the Wrong Replacement Socket
Using an incorrect replacement socket, whether in size, type, or compatibility, can cause significant problems. A poorly fitting socket might lead to loose connections, uneven lighting, or even electrical arcing, which poses a fire hazard. Make sure to check specifications before purchasing a replacement to ensure it matches your fixture and electrical requirements.
Improperly Handling Wires
Handling wires carelessly or using improper tools can lead to damaged or exposed wiring. Such issues weaken the electrical connection and can cause short circuits or overheating. Always use appropriate tools and techniques, and inspect wires for any damage before installation or repair to maintain safety and functionality.
Conclusion
Fixing a light socket may seem daunting, but by following key steps, it is a manageable task. Start by carefully inspecting the socket and associated wiring for any signs of damage. Proceed with fixing the issue using appropriate tools and techniques, ensuring all connections are secure and safe. Finally, thoroughly test the socket to confirm it’s functioning properly before using it regularly. With the right tools, safety precautions, and attention to detail, learning how to fix light socket issues can be a simple DIY project. However, when in doubt, never hesitate to call a professional to guarantee electrical safety.

