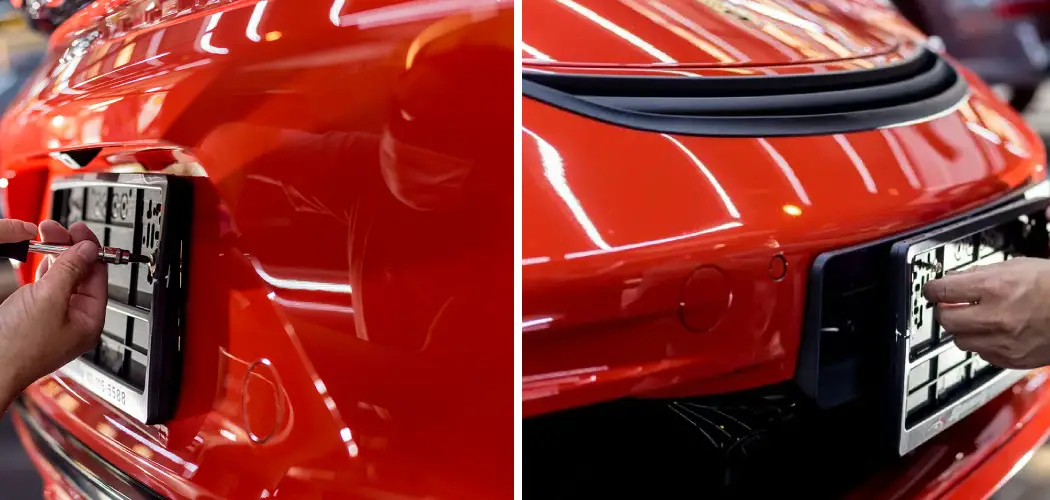
The license plate light on a vehicle serves a functional and legal purpose, illuminating the license plate for visibility during nighttime driving. However, when issues arise with the license plate light wiring, it can lead to a range of problems, including reduced visibility, potential legal concerns, and even safety hazards. In this article, we delve into a step-by-step guide on how to fix license plate light wiring problems.
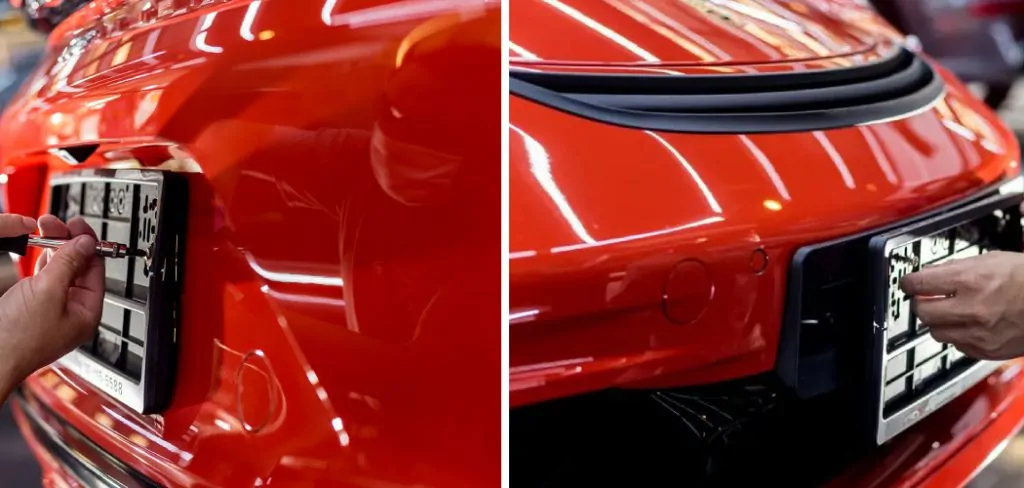
Whether you’re experiencing a complete light failure or intermittent flickering, understanding the intricacies of the wiring system is essential. From identifying faulty connections to addressing wiring breaks, this guide equips you with the knowledge and skills needed to restore proper function to your license plate light, ensuring your vehicle remains both compliant with regulations and safe for the road.
Importance of Functioning License Plate Lights for Safety and Legal Compliance
Having functioning license plate lights is essential for both safety and legal compliance. For one, it’s critical to make sure that your car is visible on the road at night so other drivers can easily recognize you.
Additionally, all countries require cars to have functioning license plate lights by law in order to ensure that other drivers can identify your vehicle when necessary. Ignoring this law could result in serious fines or other legal repercussions.
Fortunately, fixing the license plate lights is an easy and straightforward process that most drivers can do on their own without having to go to a mechanic. By following a few simple steps, you can make sure your license plate lights are working properly and help ensure everyone’s safety on the road.
Tools and Materials Required
- Screwdriver (Phillips or flathead)
- Wire stripper and cutter
- Multimeter for testing electrical continuity (optional)
- Replacement wiring, connectors, and bulbs
- Safety equipment: gloves, eye protection
11 Steps How to Fix License Plate Light Wiring
Step 1: Gather the Necessary Tools and Materials
Before embarking on the repair process, assemble the necessary tools and materials. A set of screwdrivers, wire strippers, electrical tape, a voltage tester, replacement bulbs, and a multimeter will be your trusty companions throughout this endeavor.

Step 2: Prioritize Safety with Battery Disconnection
Begin by ensuring your safety. Disconnect the vehicle’s battery to prevent any accidental shocks or electrical mishaps while working on the wiring.
Step 3: Access the License Plate Light Housing
Locate the license plate light housing on your vehicle’s rear end. Typically, this housing is covered by a protective casing held in place by screws. Gently remove the screws to access the light assembly and its associated wiring.
Step 4: Examine Wiring Connections
Thoroughly inspect the wiring connections within the license plate light housing. Look for signs of corrosion, loose connections, or frayed wires. These issues can impede the electrical flow, resulting in dim or non-functional lights.
Step 5: Test the Voltage Supply
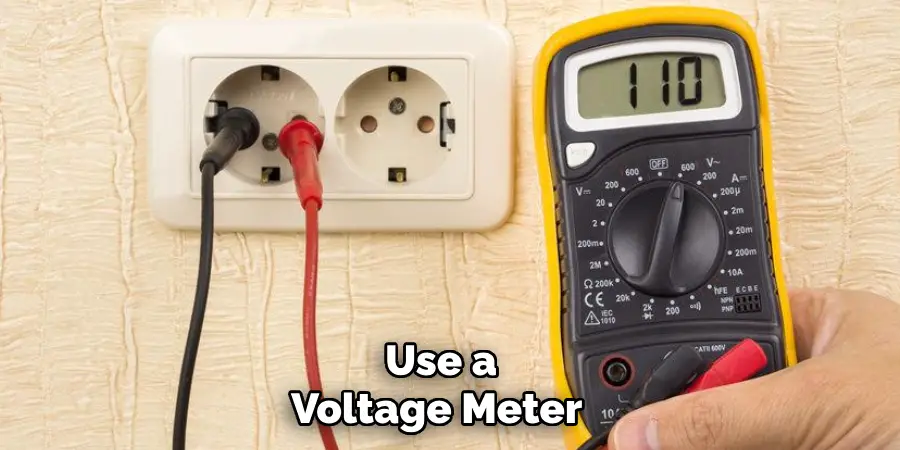
Using a voltage tester, check if power is reaching the light socket. Activate your vehicle’s headlights and engage the license plate light. Position the voltage tester’s probes on the wiring terminals.
A lack of voltage could indicate a problem in the wiring. If the voltage is normal but the light still does not work, then the issue lies with the bulb or socket. A final test involves substituting a known working bulb for the existing one to determine if that resolves your problem. If not, you may need a new light assembly and/or wiring harness.
Step 6: Scrutinize Wiring for Damage
Closely examine the wiring for any visible signs of damage, including cuts, abrasions, or exposed wires. Damaged wiring can lead to electrical disruptions and light malfunctions. If damaged sections are detected, proceed to repair or replace the affected wiring.
Step 7: Verify Ground Connection
Ensure the ground wire is securely connected and free from corrosion. The ground connection is essential for proper electrical conductivity. If needed, clean the connection to restore optimal grounding.
To verify the ground connection, use a voltage meter to test the readings. If readings show problems with the ground connection, replace or repair it before attempting to fix any other issues. If all else fails, contact an automotive specialist for assistance.
Step 8: Assess Continuity with a Multimeter
Utilize a multimeter to test the continuity of the wiring. Set the multimeter to continuity mode and touch its probes to the wiring terminals. A beep from the multimeter indicates continuity, confirming that the wiring is unbroken and functioning.
In some cases, a broken connection or wire short may be the cause of your license plate light not working. If you receive no beep from the multimeter, it is likely that one of the wires has been severed. Use an electrical tape to secure both ends of the wire and then try again with the multimeter.
Step 9: Replace Defective Bulbs
Should the wiring be in good condition but the light remains unresponsive, replace the bulb with a new, appropriate one. Choose a bulb that matches the specifications and wattage recommended for your vehicle. If the license plate light uses LED bulbs, confirm that they are wired to your vehicle’s electrical system properly. It is also important to ensure that you have secured the bulb firmly in place by reattaching it to the ballast.
Step 10: Reassemble and Conduct Initial Tests
Reassemble the license plate light housing, securing the cover with the previously removed screws. Reconnect the vehicle’s battery and activate the headlights to test the license plate light’s functionality. Observe whether the light illuminates consistently and brightly.
Step 11: Final Inspection and Functional Check
Conduct a final visual inspection to ensure all connections are secure, wiring is properly insulated, and components are correctly assembled. Verify that there are no signs of overheating, abnormal behavior, or flickering in the license plate light system.
Things to Consider When Fixing License Plate Light Wiring
Before starting to fix your license plate light wiring, it’s important to consider a few key points. Firstly, you’ll need to make sure that the bulbs are compatible with the car model and make; this will help ensure that they fit properly and don’t cause any damage.
Secondly, consider the power supply of your car – if there is too much current running through the contacts, it could cause short circuits and other electrical problems. Finally, make sure you understand the wiring diagram of your car before attempting any repairs or adjustments – this will help you identify any mismatches between the wiring and the bulbs. With these things in mind, you’ll be able to fix your license plate light wiring safely and correctly.
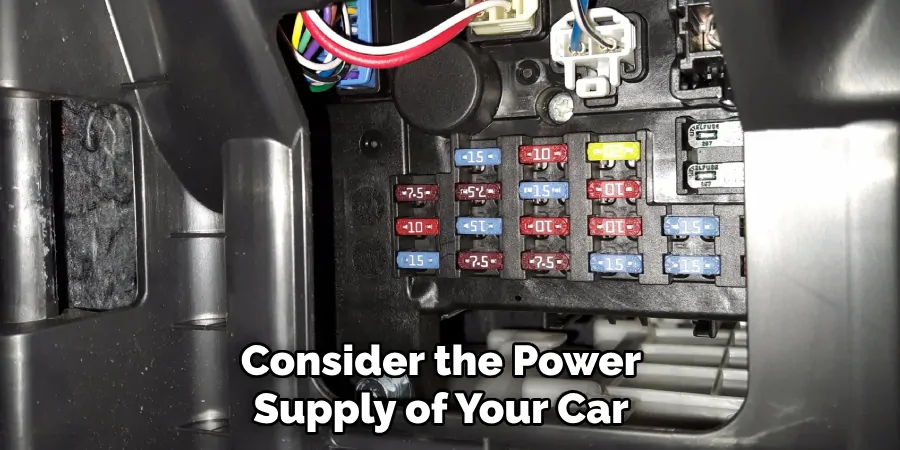
When fixing the license plate light wiring, it’s important to be careful and double-check all connections. Make sure all the wires are properly connected and that none of them have become loose or damaged due to wear and tear.
If you find any fraying or cracking in the wiring, replace it immediately before reconnecting – this will help prevent potential electrical problems down the line. Additionally, if you’re not sure how to connect the wires together, consult a trusted electrician or mechanic who can provide assistance.
Some Common Mistakes When Fixing License Plate Light Wiring
When attempting to fix license plate light wiring, there are a few common mistakes that you should be aware of.
First, make sure to check for any loose connections and ensure all wires are properly connected. If the connection is not secure, it can cause problems down the line which could lead to an electrical short or worse. Additionally, make sure you do not mix up the power and ground wires. If these are connected incorrectly, it could cause an electrical short in your license plate lights.
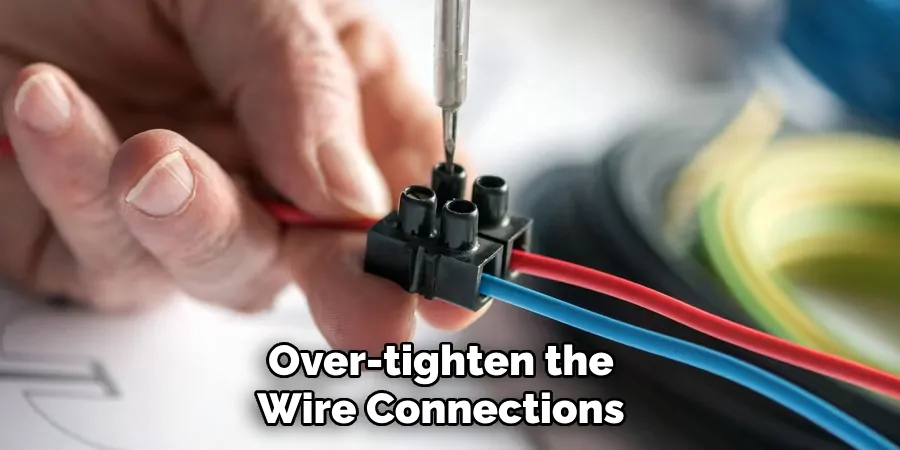
Next, ensure that you are using the right gauge of wire for your project. This is especially important when dealing with higher wattage bulbs as they require a thicker gauge of wire to operate safely and properly. Additionally, make sure not to over-tighten the wire connections, as this can cause damage to both the wire and the fixture.
Finally, it is important to be aware of any local laws or codes that may apply when wiring your license plate lights. In some areas, a professional electrician may need to make sure all wiring is up to code before you can proceed with installation.
Conclusion
In conclusion, fixing the license plate light wiring is not as hard as it may seem. With a few tools and some patience, you can quickly make sure that your car’s license plate light is functioning correctly.
The most important thing to remember is to remain safety-conscious while performing any task inside or outside of your car. Follow all instructions carefully and always consult a professional mechanic if you are uncertain about anything related to auto repairs.
We hope these tips have provided some insight on How to Fix License Plate Light Wiring for you. If you need help from an online repair guide or have any questions, don’t hesitate to reach out! Whatever warning lights your dash brings up next time, just remember that safety comes first – so play it safe and get servicing when needed.

