LED string lights are a popular choice for home decor, festive celebrations, and outdoor lighting due to their energy efficiency and long lifespan. However, like any electronic device, they may sometimes stop working or develop issues over time.
Whether it’s a section of the lights going out, a broken bulb, or a connection problem, troubleshooting and fixing LED string lights can often save you the cost of replacement. This guide will walk you through the steps of how to fix led string lights.
Importance of LED String Lights
LED string lights have become a staple for various lighting needs due to their versatility and efficiency. They consume significantly less energy compared to traditional incandescent lights, making them an environmentally friendly choice and reducing electricity costs. Additionally, their long lifespan means they require replacement far less often, adding to their cost-effectiveness. Beyond practicality, LED string lights provide a warm and inviting atmosphere, suitable for both indoor and outdoor spaces. Their ability to enhance aesthetic appeal while maintaining functionality makes them an essential addition to any decor or celebration.
Common Reasons Why LED String Lights Stop Working
LED string lights can fail for a variety of reasons, and identifying the root cause is the first step in addressing the issue. Some of the most common reasons include:
- Burned-Out Bulbs – Although LED bulbs have a long lifespan, individual bulbs may eventually burn out. A single failed bulb can sometimes affect the entire string if the lights are not wired to bypass the faulty bulb.
- Loose or Broken Connections – Over time, connections within the string or at the plug may loosen or break due to frequent handling, exposure to weather, or normal wear and tear. This can prevent the electrical current from properly flowing through the lights.
- Blown Fuses – Many LED string lights come with built-in fuses in the plug to protect the circuit. If a fuse blows, it will cut off power to the entire string, rendering the lights inoperative.
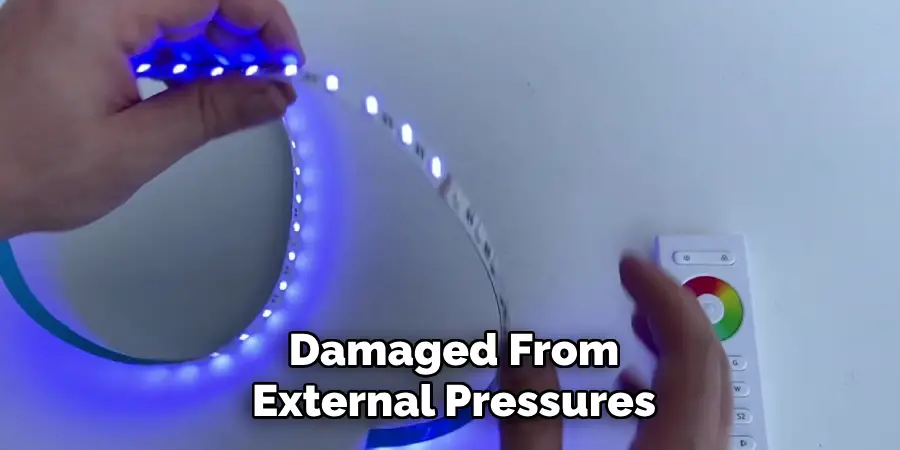
- Damage to Wires – Wires can become damaged from external pressures, such as pinching, bending, or exposure to harsh conditions like rain or sunlight. Frayed or broken wires can disrupt the electrical flow and prevent the lights from turning on.
- Power Supply Issues – If the power source, whether a wall outlet or an extension cord, isn’t functioning correctly or supplying adequate voltage, the lights will not operate. Testing the outlet can often pinpoint whether this is the problem.
- Environmental Factors – Outdoor lights are prone to damage from weather elements such as moisture, extreme temperatures, or UV exposure. Such conditions can corrode or degrade components over time.
10 Methods How to Fix Led String Lights
1. Checking and Replacing Burnt-Out LED Bulbs
If part of your LED string lights isn’t lighting up, start by identifying any burnt-out bulbs. Some LED strands are designed so that one faulty bulb can disrupt the entire section. Carefully inspect each bulb and replace any that appear blackened or non-functional. Use a bulb tester if necessary to find the faulty one. Ensure you replace bulbs with the correct voltage and type to avoid further damage.
2. Ensuring Proper Connection of the LED Bulbs
Loose bulbs or poor connections can cause sections of LED string lights to go out. Unplug the lights and gently push each bulb into its socket to ensure a secure fit. If the bulb is loose or not making proper contact, it can prevent the electrical circuit from completing. If a socket is damaged, consider replacing it or bypassing it with a direct wire connection.
3. Using a Light Tester for Quick Diagnosis
A light tester can be a helpful tool for diagnosing LED string light issues. These testers detect breaks in the electrical flow, helping to identify faulty bulbs or damaged wiring. Run the tester along the string while the lights are plugged in to pinpoint the exact section where the problem occurs. Once identified, replace or repair the affected area accordingly.
4. Checking and Replacing the Fuse
LED string lights usually contain a small fuse in the plug. If the entire strand is out, unplug the lights and inspect the fuse compartment, typically located in a small
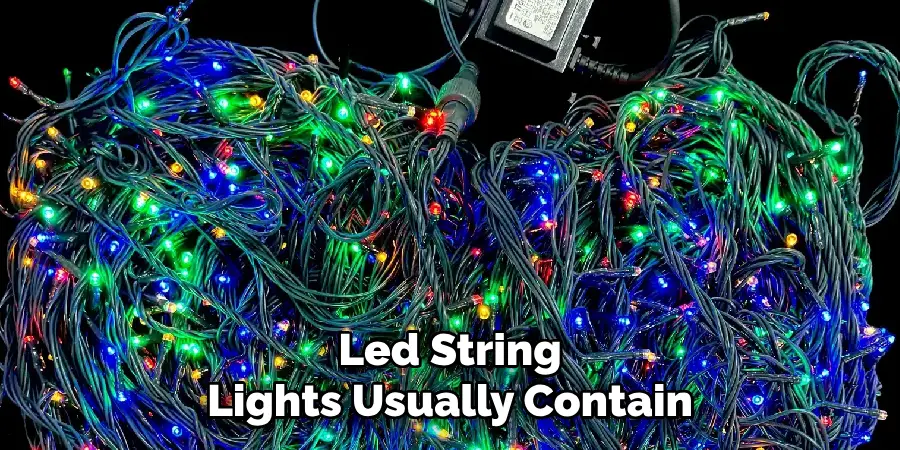
sliding section within the plug. Remove the fuse and check for signs of burning or breakage. If necessary, replace it with a fuse of the same amperage to restore function.
5. Repairing Frayed or Damaged Wiring
Over time, LED string light wiring may become frayed due to bending, twisting, or exposure to the elements. Inspect the entire strand for visible damage. If you find frayed or broken wires, use electrical tape to reinforce minor issues or splice in a replacement wire for major damage. Ensure all repairs are properly insulated to prevent electrical hazards.
6. Fixing a Section That Won’t Light Up
When an entire section of LED string lights is dark, first check for loose or faulty bulbs and fuses. If those components appear functional, test the electrical continuity with a multimeter. If there’s a break in the circuit, you may need to cut out the damaged section and reconnect the remaining lights using a soldering kit or wire connectors.
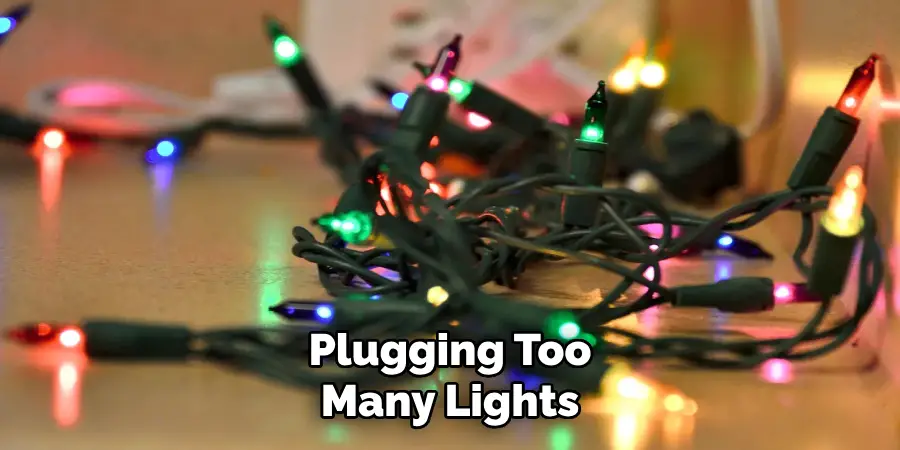
7. Preventing Overloading and Power Issues
Plugging too many LED string light strands into a single outlet can cause power issues and even trip circuit breakers. Check the manufacturer’s recommendations for the maximum number of strands that can be connected in series. If necessary, distribute the load across multiple outlets or use an extension cord with built-in surge protection to prevent electrical overload.
8. Resolving Flickering LED Lights
Flickering LED lights can be caused by poor connections, voltage fluctuations, or damaged wiring. Start by tightening any loose bulbs and ensuring the plugs are securely connected. If flickering persists, try plugging the lights into a different outlet or using a power stabilizer. Replacing damaged sockets or upgrading to a higher-quality LED string light set may also resolve persistent flickering issues.
9. Waterproofing Outdoor LED String Lights
Exposure to rain, snow, and wind can affect outdoor LED string lights. To protect them, use waterproof extension cords and seal connections with electrical tape or waterproof covers. Additionally, choose LED string lights specifically rated for outdoor use. Regularly inspect your lights for signs of water damage and store them properly when not in use.
10. Storing LED String Lights Properly to Extend Lifespan
Proper storage can prevent future issues with LED string lights. After use, carefully wrap them around a sturdy piece of cardboard or a storage reel to prevent
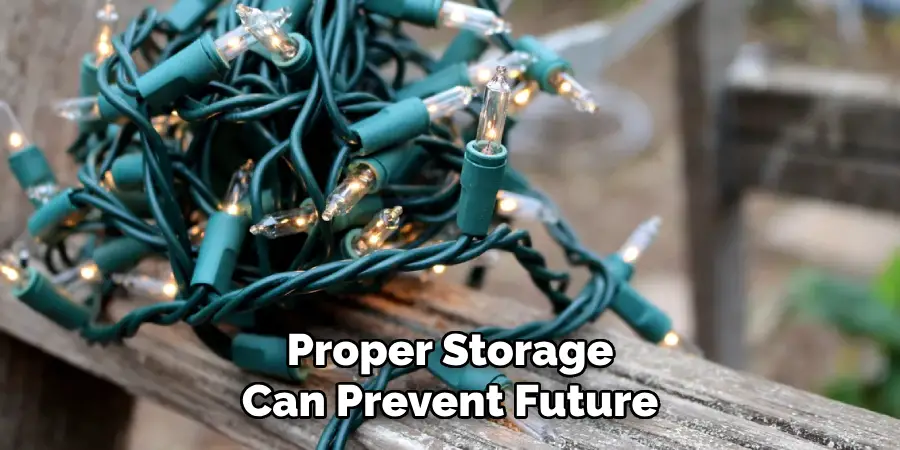
tangling. Store them in a dry, cool place away from extreme temperatures and humidity. Avoid bending the wires too tightly, as this can damage internal connections and shorten the lifespan of the lights.
Things to Consider When Troubleshooting LED String Lights
When troubleshooting LED string lights, there are several key factors to keep in mind to ensure a smooth and effective process:
- Safety First – Always unplug the lights before inspecting or handling them to avoid electrical shocks or short circuits. Use insulated tools when necessary and take precautions, especially when working outdoors or on damp surfaces.
- Compatibility of Components – Ensure that replacement bulbs, fuses, or connectors match the specifications of your LED string lights. Using incompatible parts can cause further damage or affect performance.
- Environment and Usage – Consider where and how the LED lights are being used. Outdoor lights should be rated for weather resistance, and indoor lights may not withstand exposure to moisture or extreme temperatures.
- Regular Maintenance – Periodically inspect your LED string lights for signs of wear, such as frayed wiring or loose connections. Addressing minor issues early can prevent larger, more costly repairs.
- Power Supply Consistency – Verify that the power source is stable and supplying the appropriate voltage. Fluctuations in power can lead to issues like flickering or dimming.
Safety Considerations
When working with LED string lights, safety should always be the top priority to prevent accidents and ensure proper operation. Here are some critical safety considerations to keep in mind:
- Unplug Before Handling – Always disconnect the lights from the power source before performing any inspections, repairs, or replacements. This reduces the risk of electrical shock and accidental short circuits.
- Use Insulated Tools – When working with electrical components, use tools with insulated handles to protect yourself from potential electrical hazards.
- Avoid Overloading Circuits – Plugging too many lights into a single outlet can overload the circuit, leading to overheating or tripped breakers. Follow the manufacturer’s recommendations for the maximum number of strands that can be safely connected.
- Inspect for Damage – Regularly check for frayed wiring, exposed wires, or damaged bulbs. Replace or repair any compromised components to avoid serious electrical issues.
- Keep Away from Flammables – Ensure the lights are not placed near flammable materials, especially during prolonged use, to reduce fire risk.
- Check Weather Ratings – For outdoor use, only install LED string lights rated for outdoor environments. These are designed to handle exposure to moisture, temperature changes, and other environmental factors.
Conclusion
Troubleshooting and repairing LED string lights can be straightforward with the right approach. By checking for burnt-out bulbs, securing connections, using a light tester, and ensuring proper power distribution, you can fix most common issues. Thanks for reading, and we hope this has given you some inspiration on how to fix led string lights!

