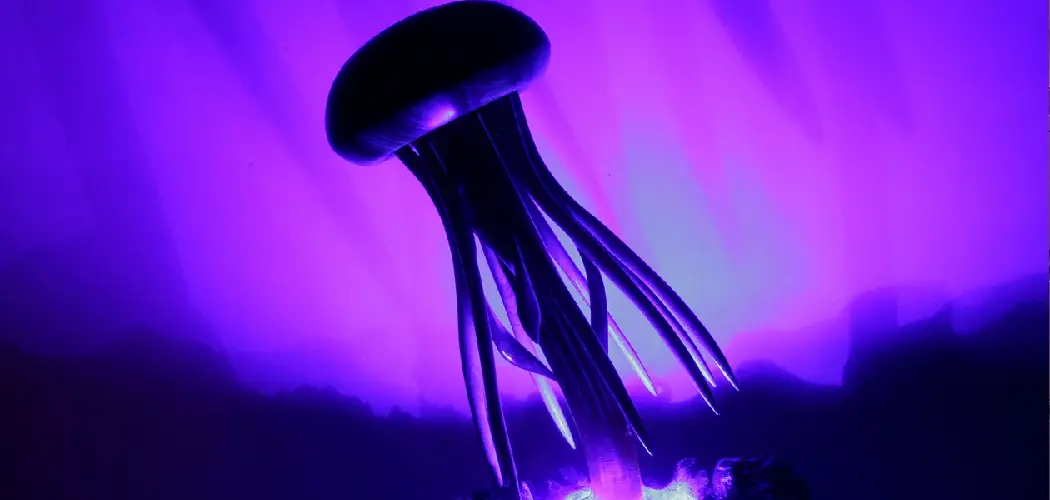
A jellyfish lamp can be a beautiful and calming addition to any space, but like any device, it may occasionally encounter issues. Whether the motor stops working, the jellyfish fails to move, or the light flickers, such problems can often be resolved with a few simple steps.
This guide on how to fix jellyfish lamp will walk you through common troubleshooting techniques to help you fix your jellyfish lamp and restore its tranquil glow.
Why Fix Your Jellyfish Lamp?
A jellyfish lamp provides more than just decorative value; it creates a serene and relaxing ambiance that can enhance your space. Fixing your jellyfish lamp ensures that you continue to enjoy the soothing motion of the jellyfish and the soft, calming light it emits.
Additionally, repairing your lamp is often more cost-effective and environmentally friendly than replacing it, reducing waste and saving money. By addressing any issues promptly, you can extend the life of your lamp and maintain the peaceful atmosphere it brings to your home or office.
Needed Materials
To fix your jellyfish lamp, you may need the following materials:
Replacement Light Bulb:
If your lamp is not turning on or the light is flickering, it may be time to replace the light bulb. Check the specifications of your lamp and purchase a replacement bulb that matches those requirements.
Electrical Tape:
If there are any exposed wires or loose connections, electrical tape can help secure them and prevent any potential hazards.
Screwdriver:
In order to access the inner components of your lamp, you may need a screwdriver to remove any screws holding the base or cover in place.
Needle-nose Pliers:
These small pliers are useful for manipulating small parts and wires within the lamp. They can also help with gripping tight spaces when trying to make repairs.
9 Step-by-step Guidelines on How to Fix Jellyfish Lamp
Step 1: Unplug the Lamp
Before beginning any repair work, ensure the jellyfish lamp is completely unplugged from the power source.
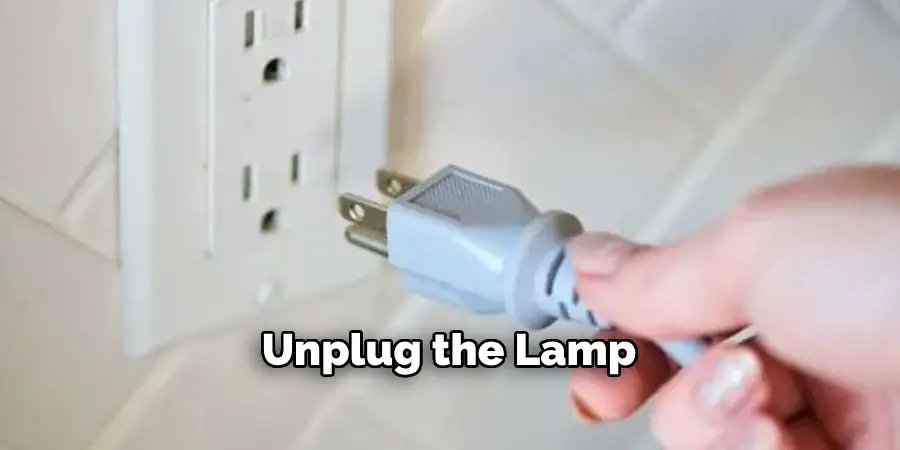
This step is crucial for your safety and will prevent any risk of electrical shock while handling the internal components of the lamp. Always double-check that the lamp is disconnected before proceeding.
Step 2: Remove the Base or Cover
Carefully detach the base or cover of the jellyfish lamp to access its internal components. Depending on the model, this may involve unscrewing a few screws or gently prying it open using a flathead screwdriver.
Take care not to force the parts, as this could cause damage to the lamp. Keep any screws or other small components in a safe place to ensure they are not lost, as you will need them to reassemble the lamp later.
Step 3: Check for Loose Connections
Once the base or cover has been removed, inspect the internal wiring and components for any loose or disconnected connections. Pay special attention to the power wires, LED connections, and motor wiring, as these are crucial for the lamp to function properly.
If you find any loose ends, carefully reconnect them by securing them in place or gently tightening any connectors. Be cautious not to damage the delicate components during this process. If any wires appear frayed or damaged, consider replacing them to ensure the lamp operates safely and efficiently.
Step 4: Replace Faulty Bulbs
If the lamp still does not function correctly after checking the wiring, the issue may be caused by faulty bulbs. First, ensure the lamp is powered off and unplugged before handling the bulbs to avoid any risk of electrical shock. Carefully remove the existing bulbs by unscrewing or detaching them, depending on the lamp’s design.
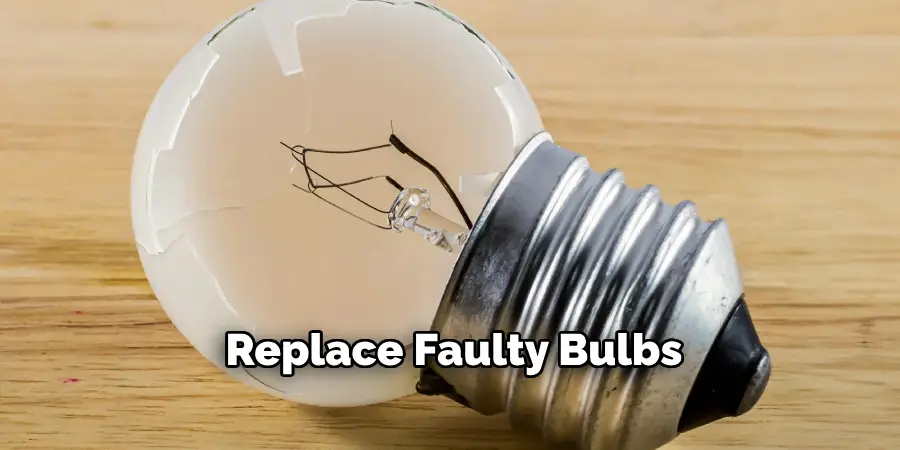
Inspect each bulb for signs of damage, such as broken filaments or visible discoloration. Replace any faulty bulbs with new ones that are compatible with the lamp’s specifications. Once the new bulbs are secured in place, plug the lamp back in and power it on to confirm proper functionality.
Step 5: Inspect the Power Cord
Examine the power cord carefully for any signs of wear, fraying, or damage. Look for exposed wires, cracks in the insulation, or loose connections at either end of the cord. If you notice any issues, refrain from using the lamp until repairs or replacements are made to ensure safety.
A damaged power cord can present electrical hazards, so it’s essential to address any problems promptly. Regular inspections can help prevent accidents and extend the life of your lamp.
Step 6: Check and Replace Switches
If your lamp has an on/off switch that is not functioning properly, it may need to be replaced. This can be done by purchasing a new switch and following the manufacturer’s instructions for installation.
In some cases, the issue may be with the lamp’s dimmer or touch control switches. If these are not working properly, it is best to consult a professional for repair or replacement.
Step 7: Clean and Dust
Regular cleaning and dusting of your lamp can improve its appearance and functionality. Use a soft, lint-free cloth to wipe down the lamp base, shade, and any other surfaces. For intricate designs or hard-to-reach areas, a small brush or vacuum attachment can help remove accumulated dust.
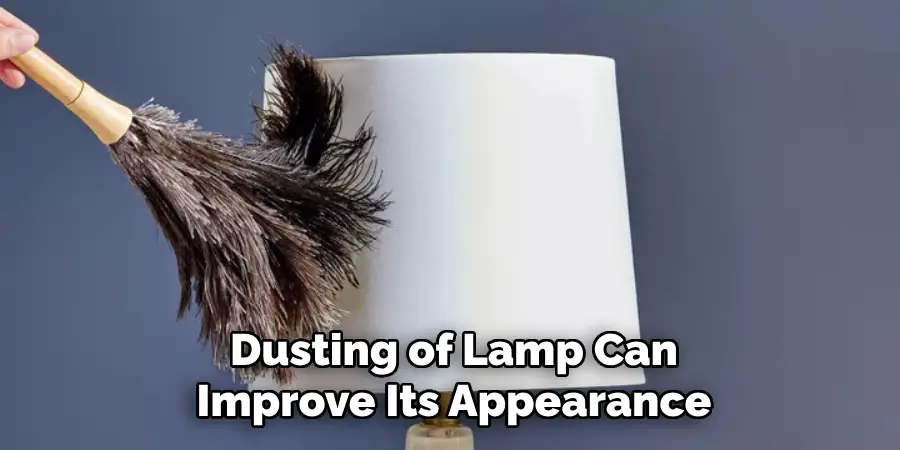
Avoid using harsh chemicals or abrasive cleaning tools, as these can damage the lamp’s finish. Proper cleaning ensures your lamp continues to shine brightly and maintains its aesthetic appeal.
Step 8: Consider Professional Help
If your lamp requires more extensive repairs or restoration, consider seeking professional help. This is especially important for antique or valuable lamps that may need specialized care to preserve their integrity and value. Professionals can address wiring issues, replace damaged parts, or restore intricate finishes with the appropriate tools and expertise. When choosing a repair service, research their qualifications and reviews to ensure they have experience with similar lamp styles. Investing in professional assistance can extend the life of your lamp and keep it functioning safely and beautifully for years to come.
Step 9: Upgrade to LED bulbs
Consider upgrading your traditional incandescent light bulb to an energy-efficient LED bulb. Not only do they last longer, but they also use less electricity, making them a more cost-effective option in the long run. Just make sure to check the wattage limits of your lamp before switching out the bulbs.
Following these tips on how to fix jellyfish lamp can help you maintain and prolong the life of your lamp, saving you time and money in the long run. Remember to always prioritize safety when dealing with electrical appliances and don’t hesitate to seek professional help if needed. With proper care, your lamp will continue to provide light and enhance the ambiance of your space for years to come. Happy lighting!
Tips
- Regularly check the wattage limits of your lamp before changing bulbs. This will ensure that you are using the correct type and bulb wattage for your lamp.
- When cleaning your lamp, use a soft, damp cloth to gently wipe down the surface. Avoid harsh chemicals or abrasive materials that can damage the delicate components of your lamp.
- If you notice any frayed wires or damaged parts on your lamp, immediately discontinue use and have it professionally repaired.
- Consider placing your jellyfish lamp in a location where it won’t be easily bumped or knocked over, as this can cause damage to both the lamp and its fragile components.
- For added protection, consider using surge protectors or power strips when plugging in your lamp to prevent any electrical damage.
- When not in use, it’s best to unplug your jellyfish lamp and store it in a cool, dry place to avoid any potential hazards or damage.
Frequently Asked Questions
Q1: How Often Should I Change the Bulbs in My Jellyfish Lamp?
A: It is recommended to change the bulbs in your jellyfish lamp every 6-12 months, depending on how frequently you use it. This will ensure that your lamp continues to provide optimal lighting and prevent any potential hazards.
Q2: How Do I Clean My Jellyfish Lamp?
A: To clean your jellyfish lamp, first unplug it and let it cool down. Then, use a soft cloth dampened with water or a mild cleaning solution to gently wipe the outer surface of the lamp. Be careful not to get any water inside the lamp as it can damage the motor. You can also use compressed air to remove dust and debris from hard-to-reach areas.

Q3: Can I Use Tap Water in My Jellyfish Lamp?
A: It is recommended to use distilled or purified water in your jellyfish lamp to prevent mineral buildup, which can affect its performance and lifespan. If you must use tap water, it is best to let it sit for a few hours before using it in your lamp. This allows the chlorine and other chemicals to evaporate, reducing the risk of damage to your lamp’s motor. Additionally, make sure to clean and change the water regularly to maintain its clarity and prevent bacterial growth.
Conclusion
By following these simple steps on how to fix jellyfish lamp, you can troubleshoot and fix most common issues with your lamp, ensuring it continues to function efficiently. Regular maintenance and timely upgrades, such as switching to LED bulbs, can greatly extend the lifespan of your lamp while saving energy and reducing costs.
If the problem persists despite your efforts, don’t hesitate to seek professional assistance to ensure safety and proper repairs. With a little care and attention, your lamp can remain a reliable and practical part of your home for years to come.

