Icicle lights are a popular choice for holiday decorations, adding charm and a festive glow to homes and events. However, like any string lights, they can encounter issues over time, such as broken bulbs, faulty wiring, or sections that fail to light up. Troubleshooting and fixing these problems may seem challenging, but with the right approach and tools, you can restore your icicle lights to their original brilliance. This guide will walk you through the steps of how to fix icicle lights.

Common Issues That Cause Lights to Malfunction
Understanding the common problems that cause icicle lights to malfunction is the first step in troubleshooting. Here are some of the most frequent issues:
- Broken or Burnt-Out Bulbs
A single broken or burnt-out bulb can affect an entire section of the string. Many icicle lights are wired in a series, meaning one faulty bulb may disrupt the flow of electricity to others.
- Loose Connections
Over time, the connections between the bulbs and the sockets can loosen. This may occur due to wear and tear, repeated handling, or exposure to weather elements.
- Faulty Wiring
Damaged or frayed wires can lead to malfunctioning lights. This can happen if the lights are improperly stored, stepped on, or chewed by pets or wildlife.
- Blown Fuses
Icicle lights typically have small fuses within their plugs to protect them from electrical overload. If the lights are overloaded, these fuses can blow and stop the lights from working.
- Corrosion of Sockets
Exposure to moisture or humidity can cause corrosion in the sockets, preventing a secure connection and hindering the electrical flow.
Gathering Necessary Tools and Supplies
Before you start troubleshooting or repairing your icicle lights, it’s important to gather the appropriate tools and supplies. Having these items ready will make the process more efficient and reduce frustration. Here’s what you’ll need:
- Replacement Bulbs
Ensure you have spare bulbs that match the type and voltage of your icicle lights. Check the packaging or manufacturer’s instructions for details.
- Fuses
If a blown fuse is suspected, having a few replacement fuses on hand can save time. These are often included with the lights when purchased.
- Screwdriver
A small flat-head or Phillips screwdriver may be required to access fuses or work with the light sockets.
- Wire Cutters and Strippers
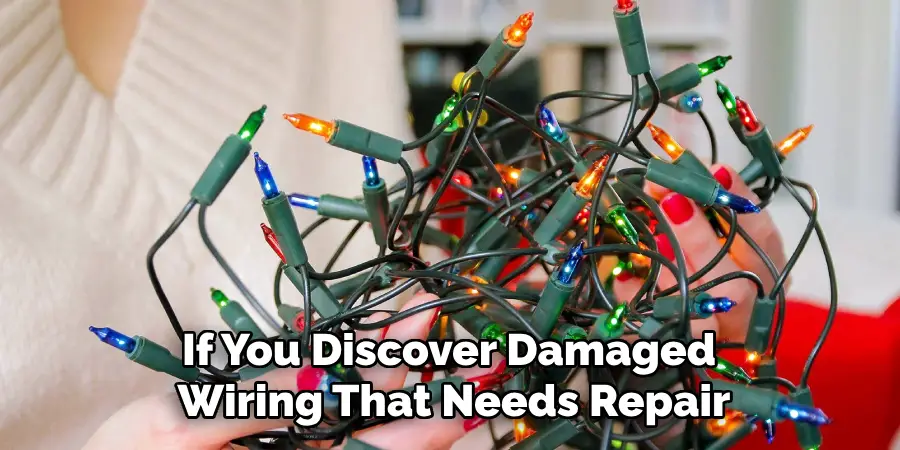
These tools are essential if you discover damaged wiring that needs repair or replacement.
- Electrical Tape
For small repairs, such as securing wires or insulating connections, electrical tape is a must-have.
- Multimeter
A multimeter can help you test for electrical continuity and identify faulty sections in the string.
- Gloves
To protect your hands while working with bulbs and wires, wear a pair of gloves, especially if you’re handling fragile or exposed components.
Gathering these tools and supplies ensures you’re prepared to tackle the most common issues that may arise with your icicle lights.
10 Methods How to Fix Icicle Lights
1. Checking and Replacing Burnt-Out Bulbs
One of the most common issues with icicle lights is a single burnt-out bulb disrupting the entire strand. Begin by plugging in the lights and carefully inspecting each bulb. If a bulb is darkened, broken, or missing, replace it with a new one of the same voltage. Some icicle lights are wired in series, meaning that if one bulb fails, it can cause an entire section to go out. Use a bulb tester or a known-working replacement bulb to identify and swap out any faulty ones.
2. Inspecting and Repairing Loose Connections
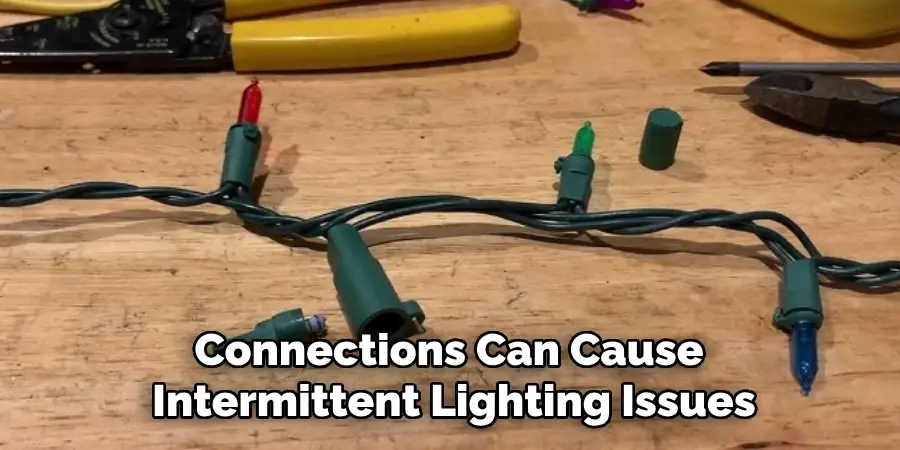
Loose connections can cause intermittent lighting issues. Check that each bulb is firmly seated in its socket. If a bulb is loose, push it in gently until it clicks into place. Additionally, examine the plugs and sockets for any signs of corrosion or dirt buildup. Cleaning the prongs with a small brush or sandpaper can help ensure a secure electrical connection.
3. Using a Light Tester for Quick Diagnosis
A light tester is an essential tool for quickly identifying faulty bulbs and wiring issues. These devices work by detecting breaks in the electrical circuit. To use a tester, plug in your icicle lights and run the tester along the wire, checking for voltage presence. If the tester stops detecting voltage at a certain point, the issue likely lies in that section, and you can focus on fixing the affected bulbs or wiring.
4. Checking and Replacing the Fuse
Many icicle lights contain small fuses located inside the plug. If your entire strand of lights fails to turn on, unplug the lights and open the fuse compartment, typically found in a small sliding section of the plug. Use tweezers to remove the fuse and inspect it. If the fuse appears blackened or broken, replace it with a new one of the same amperage. Some light sets come with spare fuses, but they can also be purchased separately.
5. Repairing Frayed or Damaged Wiring
Over time, icicle light wiring can become frayed or damaged due to weather exposure or improper storage. Carefully inspect the length of the wire for any visible cuts or fraying. If you find damage, unplug the lights and use electrical tape to securely cover minor cuts. For more severe damage, you may need to splice in a new section of wire using wire connectors and heat shrink tubing to ensure a safe repair.
6. Resolving a Section That Won’t Light Up
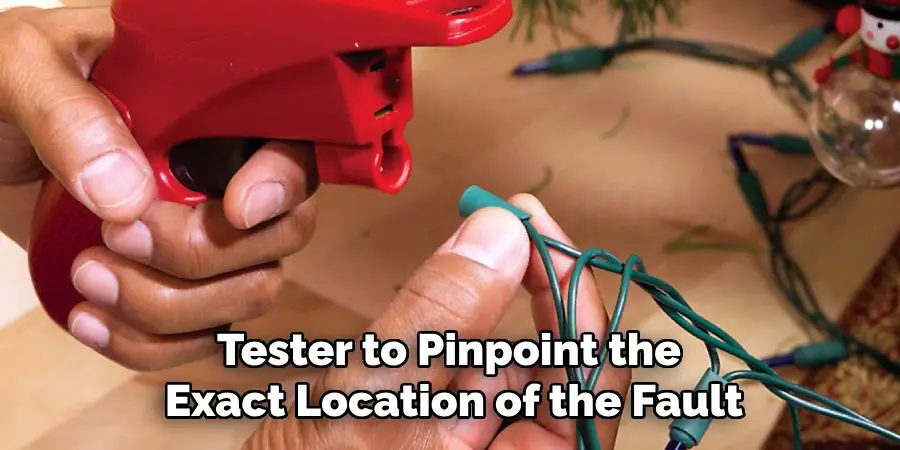
If an entire section of icicle lights isn’t working, start by checking for loose bulbs and fuses. If that doesn’t resolve the issue, inspect the wiring for any visible damage. Use a light tester to pinpoint the exact location of the fault. If necessary, you can replace an entire section by carefully cutting out the non-working portion and connecting a replacement segment using appropriate connectors.
7. Preventing Overloading and Circuit Breaker Trips
Icicle lights require careful power management to prevent overloading circuits. If your lights keep tripping the breaker, check how many strands are connected in a series. Most manufacturers recommend connecting no more than three to five strands per outlet. Use an extension cord with a built-in circuit breaker or plug additional strands into different outlets to distribute the power load more evenly.
8. Addressing Flickering Lights
Flickering icicle lights can be caused by loose bulbs, faulty sockets, or voltage fluctuations. First, ensure all bulbs are securely in place. If the flickering persists, try replacing the affected bulbs or sockets. Plugging the lights into a surge protector can also help stabilize voltage and prevent flickering due to power surges.
9. Waterproofing Outdoor Icicle Lights
Exposure to rain, snow, and wind can cause icicle lights to malfunction. To protect outdoor lights, use waterproof extension cords and ensure all connections are tightly sealed. Wrapping electrical tape around the plug connections can help prevent moisture from seeping in. Additionally, using outdoor-rated icicle lights with weather-resistant coatings will help prolong their lifespan.
10. Storing Icicle Lights Properly to Prevent Future Issues
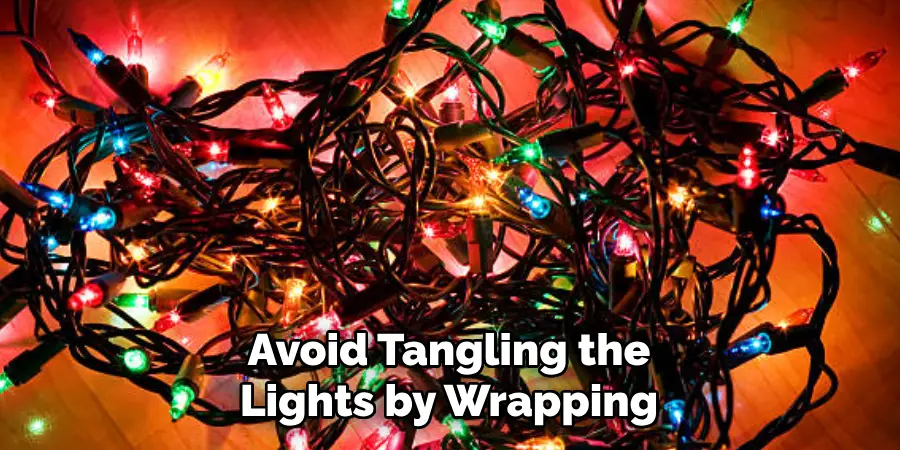
Proper storage is key to preventing damage and ensuring your icicle lights work year after year. When the holiday season is over, avoid tangling the lights by wrapping them around a sturdy piece of cardboard or using a specialized storage reel. Store them in a cool, dry place away from moisture and extreme temperatures. Keeping lights untangled and protected from dust and debris will minimize wear and make future setups much easier.
Maintenance and Upkeep
Proper maintenance and regular upkeep of your icicle lights can significantly extend their lifespan and ensure they remain in excellent working condition. Begin by routinely inspecting the lights before each use, checking for signs of damage such as frayed wires, burnt-out bulbs, or loose connections. Addressing issues promptly prevents further damage and ensures safe operation.
Clean the lights periodically, especially if they are used outdoors, as dirt and debris can accumulate and interfere with performance. Use a soft, damp cloth to clean the bulbs and wires while ensuring the lights are unplugged to avoid electrical hazards. Additionally, avoid using harsh cleaning chemicals that could damage the protective coatings on the wires.
Inspect the lights for corrosion, particularly around the plugs and sockets. Corroded areas can disrupt the electrical connection and lead to malfunctioning lights. Clean minor corrosion with fine sandpaper or a contact cleaner, and consider applying dielectric grease to protect the contacts from moisture and oxidation.
Finally, periodically check the fuses and replace them as needed. Keeping spare bulbs and fuses handy is always recommended for quick repairs. By committing to simple maintenance practices and careful handling, you can enjoy the beautiful glow of your icicle lights season after season.
Conclusion
Fixing icicle lights doesn’t have to be a frustrating experience. By systematically checking bulbs, connections, fuses, and wiring, you can identify and resolve most issues quickly. Whether you need to replace a bulb, repair frayed wiring, or take preventative measures like waterproofing and proper storage, these ten methods will help you keep your icicle lights shining brightly for many seasons to come. Thanks for reading, and we hope this has given you some inspiration on how to fix icicle lights!

