Fluorescent lights are a common and energy-efficient choice for both residential and commercial spaces. However, like any electrical fixture, they can occasionally malfunction, leaving you in the dark—literally. Whether your fluorescent light is flickering, humming, or has completely stopped working, there’s no need to panic. With a few troubleshooting tips and some basic tools, most issues can be resolved without the need for professional intervention.
In this guide on how to fix fluorescent light, we’ll walk you through the common problems associated with fluorescent lights and provide practical solutions to get your lighting back in optimal condition.

What is a Fluorescent Light?
A fluorescent light is a type of lighting fixture that uses electricity to excite mercury vapor within a glass tube. This process generates ultraviolet light, which then reacts with a phosphor coating on the inside of the tube to produce visible light. Fluorescent lights are known for their energy efficiency and longer lifespan compared to traditional incandescent bulbs. They are available in a variety of shapes and sizes, making them suitable for a range of applications, from overhead lighting in offices to compact designs for residential use.
The technology behind fluorescent lights not only aids in reducing electricity consumption but also offers a broad spectrum of light output options, catering to different lighting needs. However, like any electrical fixture, fluorescent lights can experience problems that may require troubleshooting and repairs. Let’s take a look at some common issues and how to fix them.
Common Problems
Flickering Lights
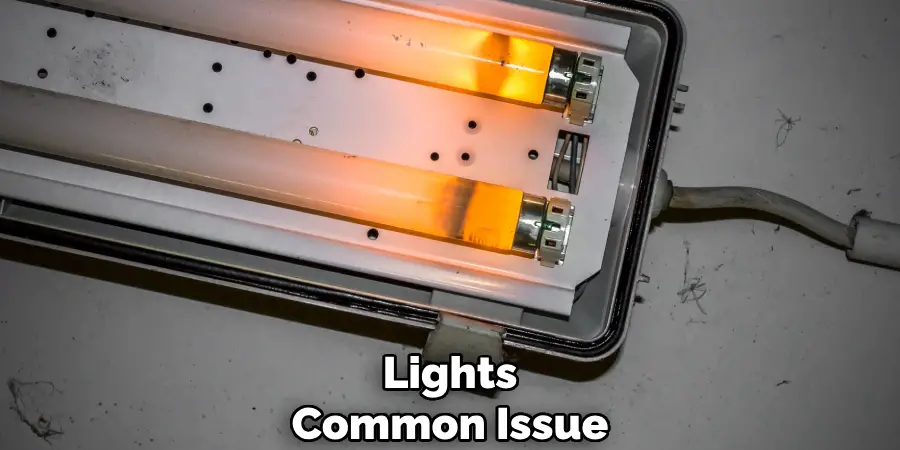
Flickering lights are a common issue with fluorescent lights and can be caused by a variety of reasons. The most common culprits include loose connections, aging bulbs, or defective starters in the fixture. To fix this issue, you can start by checking all the connections on the fixture to ensure they are secure. If that doesn’t solve the problem, try replacing the bulbs or starter (if applicable). If none of these solutions work, there may be an issue with the ballast—a component that regulates power to the fluorescent light.

Humming Sounds
Another common complaint about fluorescent lights is a buzzing or humming noise when turned on. This sound can be quite annoying and is usually caused by a loose bulb or an issue with the ballast. Check to make sure all the bulbs are tightly screwed in, and if the humming persists, you may need to replace the ballast.
Dead Bulbs
If your fluorescent light isn’t turning on at all, it could be due to a faulty bulb. Before replacing the entire fixture, try switching out the old bulbs with new ones. If that doesn’t work, there may be an issue with the starter or ballast that will require further troubleshooting or professional repair.
Tools You’ll Need
Replacement Bulbs (If Needed):
When attempting to fix a fluorescent light, having replacement bulbs on hand can be quite beneficial, especially if you’re dealing with a dead bulb issue. When selecting replacement bulbs, ensure they match the specifications of your existing fluorescent fixture in terms of length, diameter, and wattage. T8 and T12 are the most common sizes, so check your fixture or the old bulb to determine the correct size.
It’s also helpful to choose a bulb with a similar color temperature to maintain the desired lighting ambiance. Always handle replacement bulbs with care, as they can be fragile and are prone to breakage if dropped or mishandled.
Screwdriver:
A screwdriver is an essential tool for most household repairs, including fixing fluorescent lights. Most fixtures have screws that hold the cover or frame in place, and a screwdriver will be needed to remove these screws for access to the internal components.
Wire Cutters:
If you need to replace the ballast, wire cutters will come in handy for cutting and stripping wires without damaging them. They can also be used to trim any excess wire length before connecting new components.

8 Step-by-step Guidelines on How to Fix Fluorescent Light
Step 1: Turn off the Power
Before you begin any work on your fluorescent light fixture, safety must be your top priority. Start by turning off the power to the light fixture. Locate your circuit breaker panel and switch off the breaker that controls the electrical circuit to the area where you’re working. Alternatively, if you’re unsure of which breaker to use or if it’s more convenient, you can turn off the main power supply to the house. Ensure that the light switch for the fixture is also in the ‘off’ position.
Double-check that the power is off by attempting to turn the light on; if it doesn’t illuminate, you can be more confident that the power is completely shut off and it’s safe to proceed. The last thing you want is to get shocked while working on your light fixture.
Step 2: Remove the Cover or Frame:
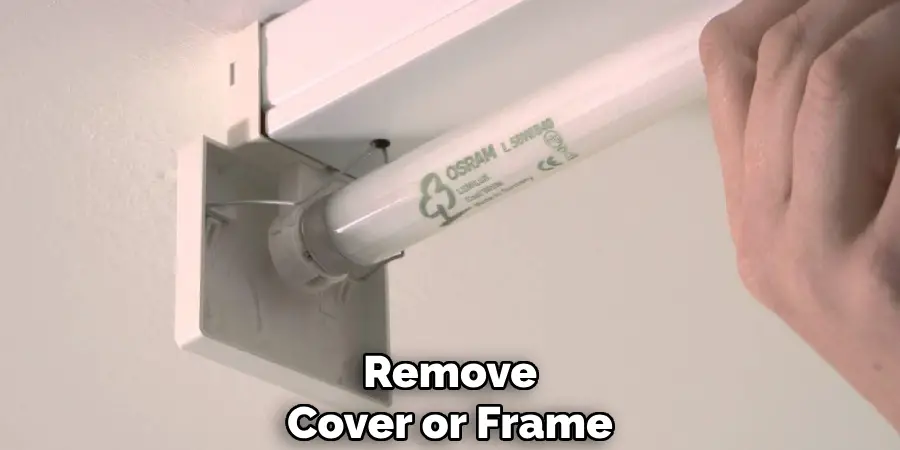
With the power off, you can now safely remove the cover or frame of your fluorescent light fixture. Use a screwdriver to loosen and remove any screws holding the cover in place. Once removed, set it aside carefully to prevent any damage.
It’s worth noting that some fluorescent lights have a plastic cover instead of a frame, which you can gently twist and remove.

Step 3: Check for Loose Connections:
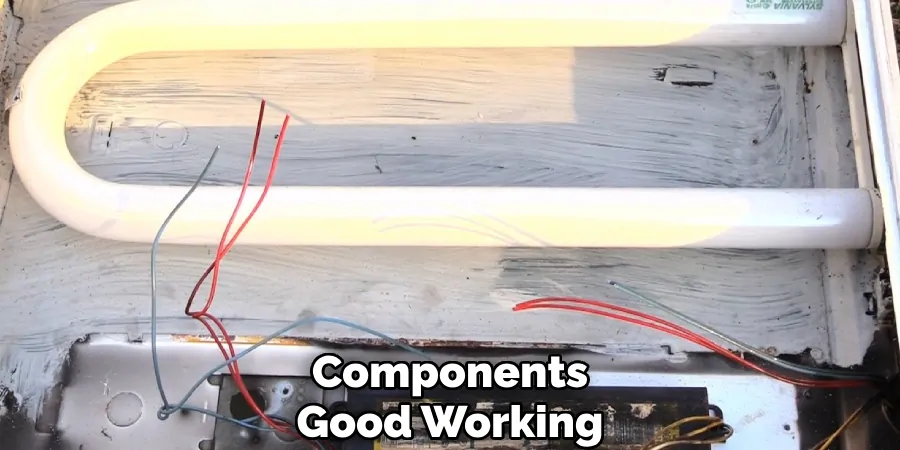
Once you have removed the cover or frame, the next step is to inspect the wiring and internal components for any loose connections. Carefully examine the wires connected to the ballast, as well as those leading to the sockets where the fluorescent tubes are situated. Using your hand, gently wiggle each wire connector to ensure they are tightly fastened and have not come loose over time. If any connections are found to be loose, use your screwdriver to tighten them, ensuring a secure fit.
This step is crucial because loose connections can lead to flickering lights or cause the fixture to not work at all. After confirming all connections are secure, proceed to check the next components for other possible issues if the problem persists.
Step 4: Check the Starter:
If your fluorescent light has a starter, you can check it for any signs of damage or defects. A starter is usually located near one end of a fluorescent tube and is responsible for sending an electrical current to the bulb. If the starter is found to be faulty, you can easily replace it with a new one.
To do this, gently twist and remove the old starter from its socket using your hand. Then, insert the new one in its place and make sure it’s tightly secured.
Step 5: Replace Old Bulbs:
If your fluorescent light is still flickering or not turning on after checking all connections and replacing the starter (if applicable), it could be due to a faulty bulb. Replace the old bulbs with new ones and make sure they are tightly screwed in.
The bulbs should also be the correct size and wattage for your fixture. If you’re unsure, check the specifications of the old ones or consult a professional.
Step 6: Check the Ballast:
If none of the previous steps have resolved the issue, there may be an issue with the ballast. The ballast is responsible for regulating power to the tubes, and if it’s not functioning correctly, your fluorescent light will not work properly.
To check the ballast, you can use a multimeter to test its functionality. If you don’t have a multimeter, you can also visually inspect the ballast for any signs of damage or discoloration. If it appears to be damaged, it will need to be replaced.
Step 7: Reassemble and Turn on the Power:
After ensuring all components are in good working order, reattach the cover or frame of your fluorescent light fixture. Use your screwdriver to secure any screws and ensure a snug fit.
Once everything is back in place, turn the power back on at the circuit breaker or main supply. Flip the light switch for the fixture, and if all goes well, your fluorescent light should now be working correctly!

Step 8: Troubleshooting Further Issues:
If your fluorescent light still doesn’t work or has other issues such as flickering or buzzing, it may require further troubleshooting or professional repair. In this case, it’s best to consult an electrician who can diagnose and fix any underlying problems with your fixture.
Following these step-by-step guidelines on how to fix fluorescent light, you should now have a good understanding of how to fix your fluorescent light. Remember always to prioritize safety and caution when working with electricity and consult a professional if needed for more complicated repairs or issues. With proper maintenance and care, your fluorescent light can continue to provide efficient lighting for years to come.
Conclusion
Fixing a fluorescent light can seem daunting at first, but with the right tools and a bit of knowledge, most issues can be resolved quickly and easily. By understanding common problems such as flickering, humming, or dead bulbs, you can effectively troubleshoot and repair your fluorescent fixtures.
Always remember to prioritize safety by turning off the power before starting any repairs, and consult a professional electrician if you’re uncertain about any steps or if the problem persists. With a little patience and attention to detail, you can ensure that your fluorescent lights continue to operate efficiently and provide quality illumination for your home or workspace. Thanks for reading this article on how to fix fluorescent light.

