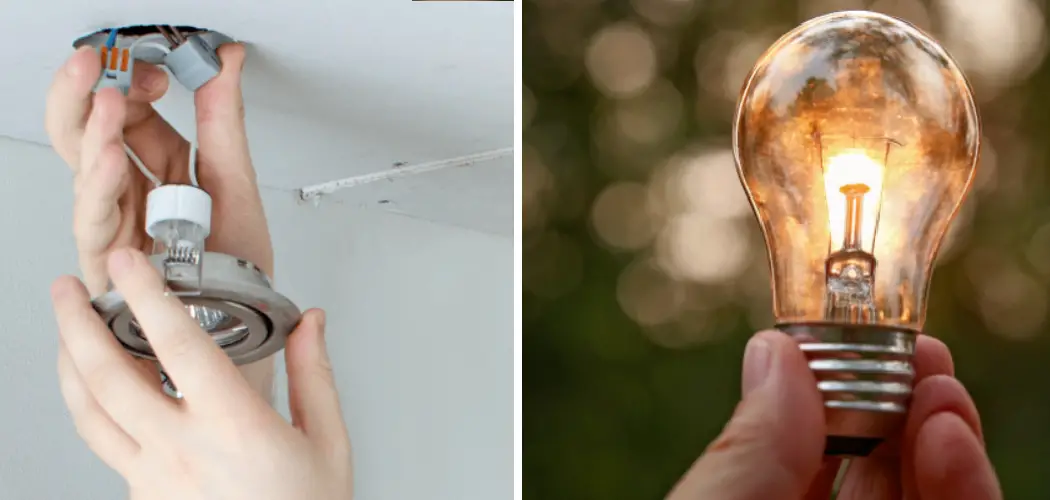
Emergency lights are critical for safety, providing illumination when the primary power supply fails. A flickering emergency light can compromise safety and signal underlying electrical issues.
In this guide on how to fix flickering emergency light, we will explore the common causes of flickering in emergency lights and provide step-by-step instructions to troubleshoot and resolve this issue, ensuring your emergency lighting is reliable and functional when it matters most.
What is an Emergency Light?
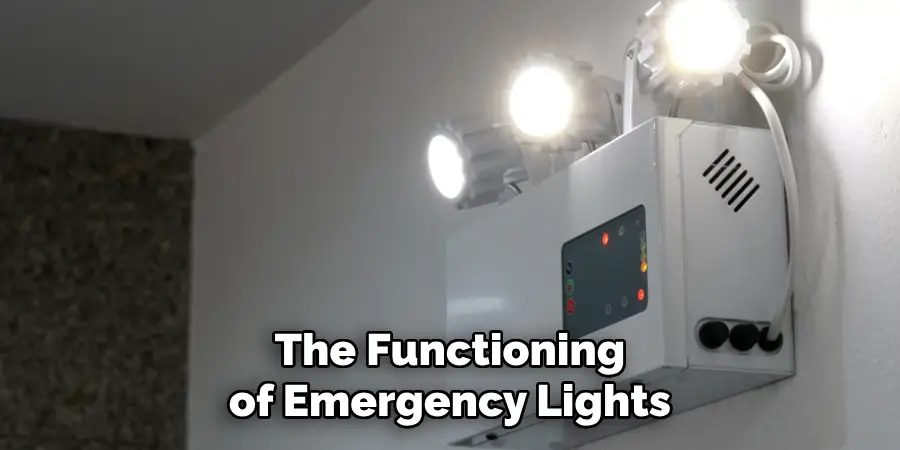
An emergency light is a battery-operated lighting device that turns on automatically when there is a power outage or interruption. It is designed to provide sufficient lighting for occupants to safely evacuate a building in the event of an emergency, such as a fire or earthquake.
Emergency lights are usually installed in commercial and public buildings, including offices, schools, hospitals, and shopping centers, to comply with safety codes and regulations.
Causes of Flickering in Emergency Lights
Flickering in emergency lights can be caused by various factors, including:
Loose Connections:
Loose connections between the battery and the light fixture can cause flickering. This could be due to worn-out or corroded wiring or faulty terminal screws.
Battery Issues:
The battery is the powerhouse of an emergency light, and if it is faulty or worn out, it can cause flickering. Over time, batteries lose their ability to hold a charge, leading to inconsistent lighting.
Voltage Fluctuations:
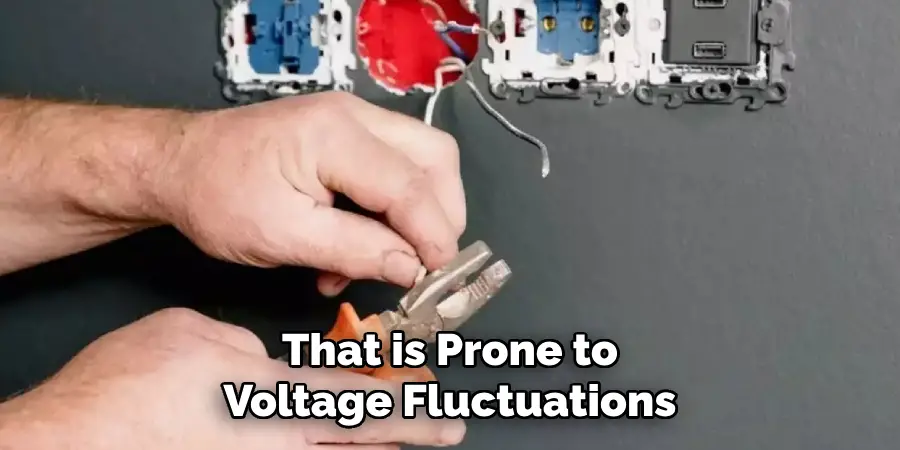
If the emergency light is connected to a circuit that is prone to voltage fluctuations, it can cause flickering. This could be due to overloading, faulty wiring, or power surges.
Bulb Problems:
If the emergency light uses incandescent bulbs, they can flicker due to loose filaments. LED lights, on the other hand, can flicker due to incompatible dimmer switches or driver issues.
Environmental Factors:
Extreme temperatures, humidity, and vibrations can also cause flickering in emergency lights.
Needed Materials
To fix a flickering emergency light, you will need the following materials:
Screwdriver:
A screwdriver will be needed to open the light fixture and check for loose connections.
Replacement Battery:
If the battery is the issue, a replacement battery will be necessary. Make sure to purchase a compatible battery with the same voltage and capacity as the original one.
Voltage Tester:
To test for voltage fluctuations, you will need a voltage tester. You can either purchase one or use a multimeter if you have one available.
Replacement Bulbs:
If the bulbs are the issue, replacement bulbs of the same type and wattage will be needed.
10 Simple Step-by-step Guidelines on How to Fix Flickering Emergency Light
Step 1: Turn off the Power
Before starting any repairs on an emergency light, make sure to turn off the power supply at the circuit breaker or main electrical panel. This will prevent any risk of electrocution. The emergency light should not be connected to the main power supply, but it is always better to be safe than sorry.
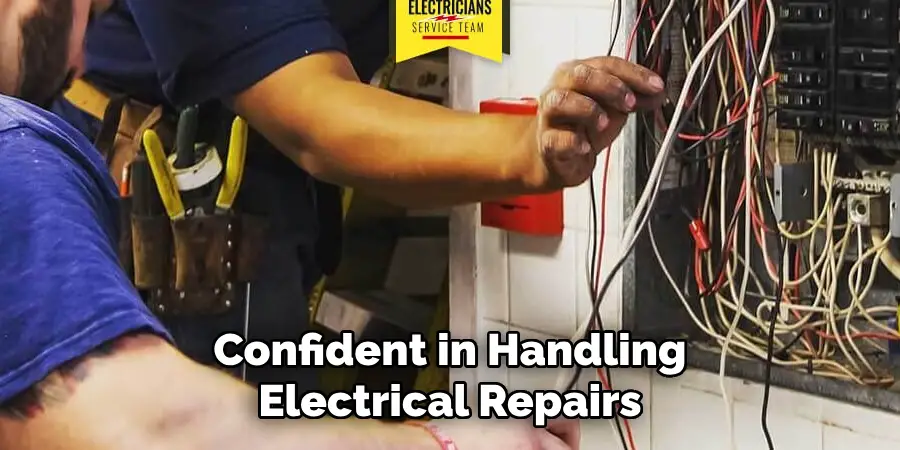
But if you are not confident in handling electrical repairs, it is best to call a professional. The safety of yourself and others should always be a top priority. The manufacturer’s instructions may also have specific safety measures, so be sure to read them before proceeding.
Step 2: Open the Light Fixture
Remove any screws holding the light fixture cover in place and gently remove it. Set aside any small parts or screws in a safe place. If the fixture is sealed, use a knife to cut along the seams and gently pry open the cover. You may need to remove the battery pack to access the internal components.
The battery pack is usually held in place with screws or clips. It should be easy to remove, but if it is stuck, carefully pry it open with a screwdriver. Be sure to save the screws and small parts. It is also a good idea to take photos of the wiring connections before disconnecting them so you know how to put them back together.
Step 3: Check for Loose Connections
Inspect the internal components for any loose or corroded connections. If there are any, tighten or replace them as necessary. Use a wire stripper to trim and reattach frayed wires. If there are any corroded connections, clean them with a wire brush or sandpaper.
Although uncommon, corrosion can occur due to battery leakage or exposure to environmental factors. You can also use electrical tape to secure the connections and prevent future corrosion. The battery should also be securely connected to the light fixture. If it is loose, tighten any screws or clips holding it in place.
Step 4: Check the Battery
If the light fixture still flickers after checking and tightening all connections, it is likely that the battery is faulty. Replace it with a new one of the same voltage and capacity. This information can usually be found on the battery pack or in the manufacturer’s instructions.
Carefully remove the old battery and replace it with the new one, making sure to connect all wires properly. It is a good idea to test the light at this point by turning it on. The flickering should be resolved, and the light should work properly. If not, proceed to the next step.
Step 5: Check for Voltage Fluctuations
If the battery is not the issue, check for voltage fluctuations in the circuit. You can use a multimeter to measure the voltage at the connection point of the emergency light. If there are any irregularities, it could mean that the circuit is overloaded or has faulty wiring.
In this case, you may need to call a licensed electrician to fix the issue. However, if the voltage is within normal range, proceed to the next step. It is also important to check the voltage periodically, as fluctuations can occur over time. The recommended voltage for emergency lights is usually between 6-12 volts.
Step 6: Check the Bulbs
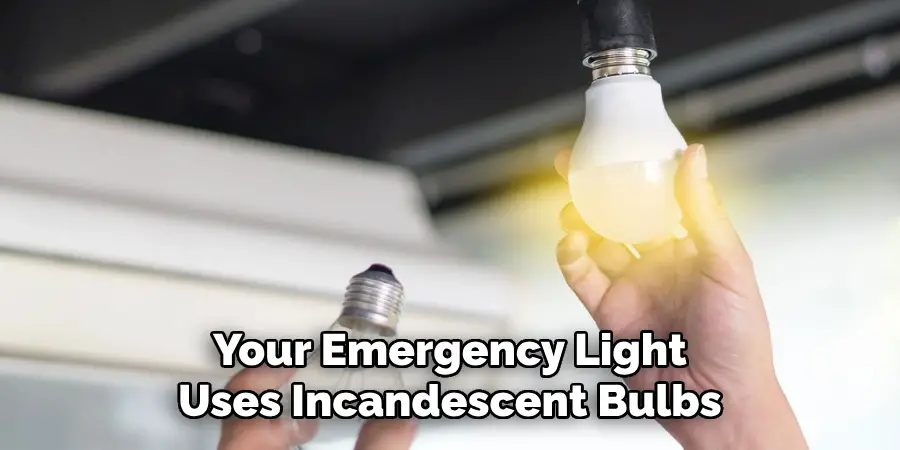
If your emergency light uses incandescent bulbs, they may flicker due to loose filaments. Gently twist the bulb to tighten it in the socket. If this does not work, replace it with a new one.
For LED lights, check for any driver issues or incompatible dimmer switches. Replace the driver or switch if necessary. If the light still flickers, proceed to the next step. The bulbs may also need to be replaced if they are old or worn out. You can usually find the replacement bulbs at hardware stores or contact the manufacturer for replacements.
Step 7: Clean the Internal Components
Dust and debris can build up on the internal components of an emergency light over time, causing flickering. Use a dry cloth or compressed air to clean any dust and dirt from inside the fixture. You can also use a soft brush to clean the bulbs and other components gently.
Be sure to handle the internal parts carefully, as they can be fragile. It is also a good idea to clean the battery terminals if they are dirty or corroded. But be careful not to use water or any liquid cleaners as they can damage the electrical components.
Step 8: Check for Environmental Factors
Excessive heat, cold, humidity, and vibrations can also cause flickering in emergency lights. If the light is installed in an area with extreme temperatures or humidity, consider moving it to a more suitable location. If there are vibrations in the area, try securing the light fixture with screws or mounting it on a stable surface.
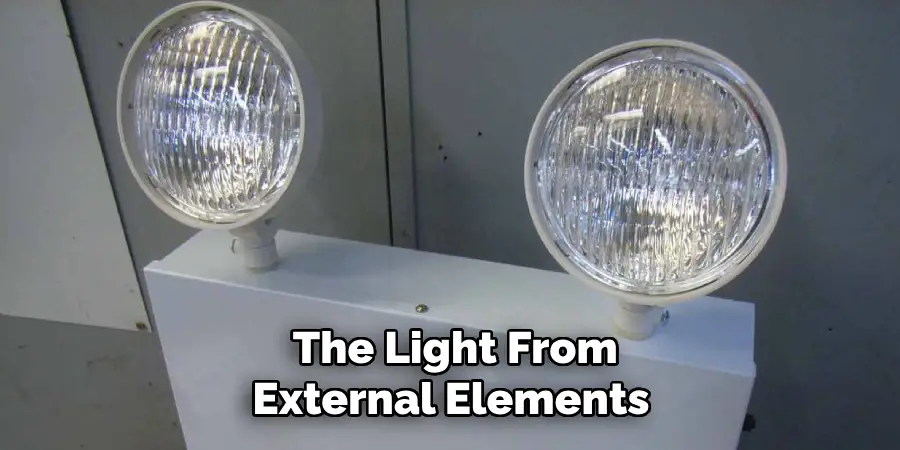
You can also use stabilizing gel pads to reduce vibration and movement. You may also need to replace the light with a more durable and suitable model for the environment. It is important to also protect the light from external elements, such as water or direct sunlight.
Step 9: Reassemble the Light Fixture
Once you have completed all necessary repairs, reattach any parts that were removed and secure them in place. Double-check all connections and make sure they are tight. If there are any damaged wires or components, replace them before reattaching the cover.
Once everything is secure, turn on the light to test it again. The flickering should be resolved, and the light should be working properly. If not, double-check all previous steps and make sure everything is properly connected. If the issue persists, it may be best to contact a professional for further assistance.
Step 10: Maintenance and Prevention
To prevent future flickering and ensure the emergency light works properly, it is important to regularly perform maintenance checks. This includes cleaning the internal components, checking for loose connections, and testing the voltage periodically.
It is also important to replace batteries as needed and update any outdated or malfunctioning parts. If the light is in an area with frequent power outages, consider installing a surge protector to protect the circuit and prevent flickering. With proper maintenance, your emergency light should continue to function properly and provide reliable lighting in times of need.
Following these steps on how to fix flickering emergency light can help troubleshoot and resolve flickering emergency lights. However, if the issue persists or becomes more complex, it may be best to seek professional help.
It is important to always prioritize safety when dealing with electrical components and to follow manufacturer instructions for proper maintenance and repairs. Regularly checking and maintaining emergency lights can save time money and potentially prevent dangerous situations in the event of a power outage or emergency.
Troubleshooting Battery and Power Supply Problems
In addition to flickering, there may be other issues related to battery and power supply that can affect the performance of an emergency light. Some common problems include a dim or weak light, inconsistent or short battery life, and failure to turn on during a power outage. If you encounter any of these issues, here are some troubleshooting steps you can take:
- Check the Voltage of the Battery Using a Multimeter. If It is Below the Recommended Range, Replace the Battery.
- Check for Any Loose Connections or Damaged Wires in the Power Supply Circuit. Tighten or Replace as Necessary.
- Make Sure the Emergency Light is Receiving Adequate Charging Time According to Manufacturer Instructions. The Recommended Charging Time for Most Models is 24 Hours.
- If Using a Rechargeable Battery, Make Sure It is Properly Connected to the Power Supply and Charging Correctly. If Not, Replace the Battery.
- Check for Any Debris or Corrosion on the Battery Terminals and Clean them as Necessary.
- If the Light Fails to Turn on During a Power Outage, Check if There is a Switch That Needs to Be Turned on or if There is an Issue With the Circuit Breaker.
- If the Light is Powered by a Generator, Make Sure It is Functioning Properly and Providing Enough Power to the Light. You May Need to Adjust or Replace the Generator as Necessary.
Regular maintenance and proper troubleshooting can help keep your emergency light functioning effectively in case of an emergency. It is important to regularly check the light and address any issues immediately to ensure it is always ready for use when needed.
Preventive Maintenance and Regular Inspections
To ensure the reliability and functionality of an emergency light, it is important to perform regular preventive maintenance and inspections. This can help identify any potential issues before they become major problems and avoid unexpected failures during emergencies. Here are some recommended tasks for preventive maintenance:
- Regularly Clean the Light and Internal Components to Remove Dust and Debris.
- Check for Any Loose or Damaged Wires and Connections.
- Test the Voltage and Battery Life to Ensure They are Within Recommended Ranges.
- Inspect for Any Signs of Wear or Damage in the Power Supply Circuit.
- Check for Proper Installation and Make Sure the Light is Securely Mounted.
- Test the Light During a Scheduled Power Outage to Ensure It is Functioning Properly.
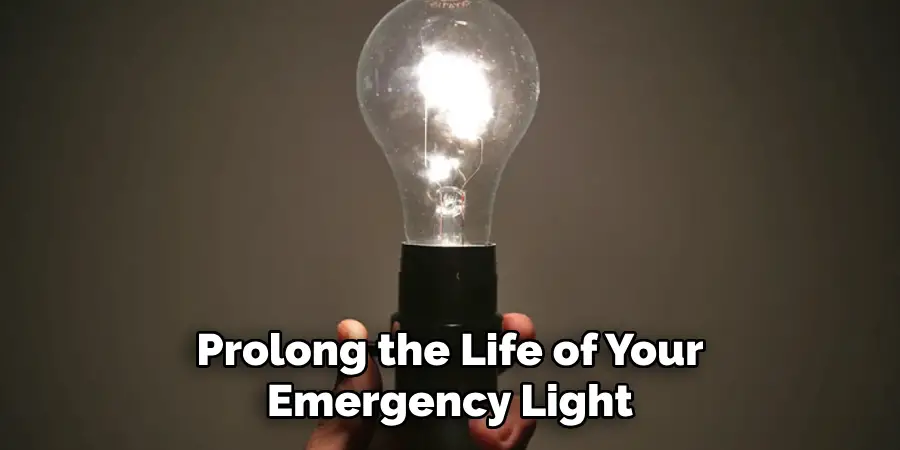
By regularly performing these maintenance tasks, you can prolong the life of your emergency light and minimize the chances of failure during an actual emergency. It is also important to keep a record of all inspections and any repairs or replacements made for future reference. This will help track the performance of the light over time and allow for timely maintenance when needed.
Seeking Professional Assistance:
If you encounter any issues with your emergency light that you are unable to resolve or feel uncomfortable handling on your own, it is best to seek professional assistance.
This can help avoid further damage and ensure the safety of yourself and others. It is important to choose a qualified and experienced electrician who specializes in emergency lights for proper diagnosis and repairs.
They can also provide valuable advice on preventive maintenance and proper usage of the light. Additionally, if the emergency light is still under warranty, it may be best to contact the manufacturer for assistance or repairs. Remember to always prioritize safety when dealing with electrical components and do not hesitate to seek professional help when needed.
Frequently Asked Questions
Q: Is It Safe to Troubleshoot and Fix Flickering in Emergency Lights on My Own?
A: It is generally safe to perform simple troubleshooting steps, such as checking connections and replacing batteries. However, if the issue persists or becomes more complex, it is best to seek professional help. This will ensure proper repairs and prevent any safety hazards.
Q: Can I Use Different Types of Bulbs for My Emergency Light?
A: It is important to use the recommended bulbs for your specific emergency light model. Using incompatible bulbs can cause flickering and potentially damage the light’s components. Refer to the manufacturer’s instructions for the correct type of bulbs to use.
Q: How Often Should I Replace the Batteries in My Emergency Light?
A: It is recommended to replace batteries every 2-3 years or as soon as they show signs of wear or malfunctioning. Regularly checking and replacing batteries can help prevent flickering and ensure proper functionality in times of need.
Q: Can Environmental Factors Really Cause Flickering in Emergency Lights?
A: Yes, environmental factors such as extreme temperatures, humidity, and vibrations can affect the functioning of emergency lights. It is important to install and maintain the light properly in a suitable environment to prevent flickering and ensure reliability.
Q: Are There Any Special Requirements for Emergency Lights in Commercial Buildings?
A: Yes, commercial buildings typically have specific regulations and codes for emergency lighting. It is important to consult with a professional and check the local codes to ensure proper installation, maintenance, and compliance. You may also need to schedule regular inspections by a certified electrician.
Conclusion
In conclusion, maintaining the functionality of your emergency lights is vital for safety during power outages. By following the troubleshooting methods outlined in this guide, you can often diagnose and rectify the issue of flickering emergency lights.
Regular maintenance and prompt repair are key to ensuring that emergency lights remain in good working order, providing peace of mind and protection for occupants in any situation where they may be needed.
If you’ve tried these steps and the flickering persists, it’s advisable to seek assistance from a professional electrician to ensure the integrity of your emergency lighting system. Thanks for reading this article on how to fix flickering emergency light.

