Fairy lights are a popular decorative item that can add warmth and charm to any space, but they can sometimes stop working due to various issues. Whether it’s a burnt-out bulb, a broken wire, or a faulty connection, troubleshooting and repairing fairy lights can often bring them back to life.
This guide on how to fix fairy lights will walk you through the common problems and simple fixes to restore your fairy lights, ensuring they shine brightly again.
Why Are My Fairy Lights Not Working?
There are a few reasons why your fairy lights might not be working, such as:
Burnt-out Bulbs:
The most common cause of fairy light failure is a burnt-out bulb. If one bulb goes out, it can cause the entire string to stop working. It’s important to check each bulb individually and replace any that are burnt out.
Broken Wires:
Fairy lights are delicate and can easily get damaged, especially if they are not handled with care. Broken wires can occur from tangles, pulling on the lights too hard, or even pets chewing on them. These broken wires can interrupt the flow of electricity and cause your fairy lights to malfunction.
Faulty Connection:
Sometimes, a loose or faulty connection between two strings of fairy lights can cause them to stop working. This is usually seen in longer strands of fairy lights where multiple strings need to be connected together.
Now that you know some of the reasons why your fairy lights may not be working, let’s explore how to fix them.
Needed Materials
Before diving into the fixing process, it’s essential to have some materials on hand. These may include:
Replacement Bulbs:
If your fairy lights have burnt-out bulbs, make sure to have replacement ones on hand. These can usually be found at hardware stores or online.
Wire Cutters and Strippers:
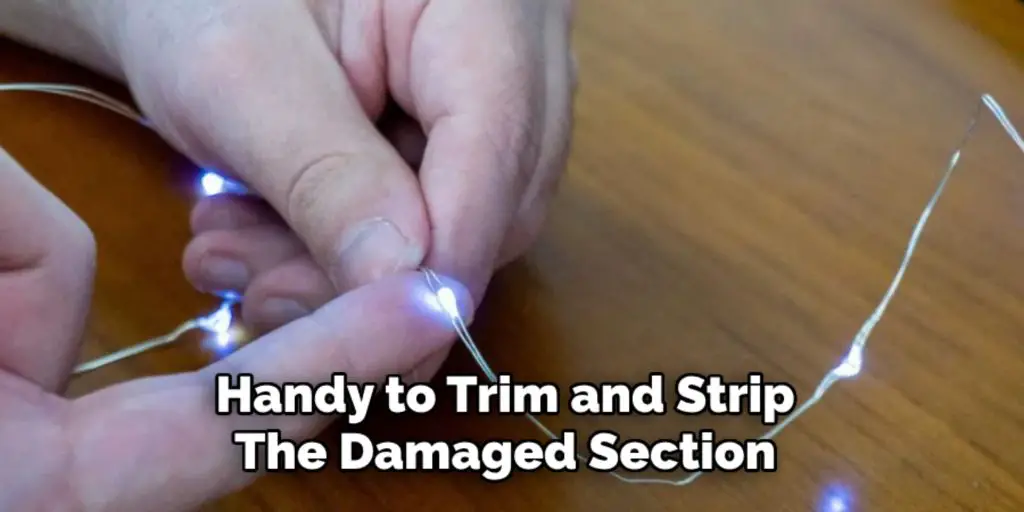
In case of broken wires, wire cutters and strippers will come in handy to trim and strip the damaged section.
Electrical Tape:
Electrical tape is useful for repairing any broken wires or securing loose connections between strings of fairy lights.
8 Simple Steps on How to Fix Fairy Lights
Step 1: Identify the Problem
The first step in fixing your fairy lights is to identify the exact problem. Start by carefully inspecting the entire strand of lights for visible issues.
Look for broken or missing bulbs, exposed or frayed wires, and loose connections between the strings. Next, plug in the fairy lights to see if some sections light up while others remain off or if the entire strand is non-functional.
Pay attention to any flickering bulbs, as they could indicate a faulty bulb or connection. By pinpointing the problem, you can determine the best course of action to repair your lights effectively.
Step 2: Replace Burnt-out Bulbs
Once you’ve identified any burnt-out bulbs, the next step is to replace them. Start by unplugging the fairy lights to ensure safety while handling the bulbs. Gently remove the faulty bulb by gripping it near the base and pulling it straight out of the socket. Be careful not to twist the bulb, as this can damage the socket or the bulb itself.
Take the replacement bulb and insert it into the empty socket, ensuring it fits securely. Once all burnt-out bulbs have been replaced, plug the lights back in to check if the strand works properly. This simple fix often restores full functionality to your fairy lights, allowing them to shine as brightly as before.
Step 3: Repair Broken Wires
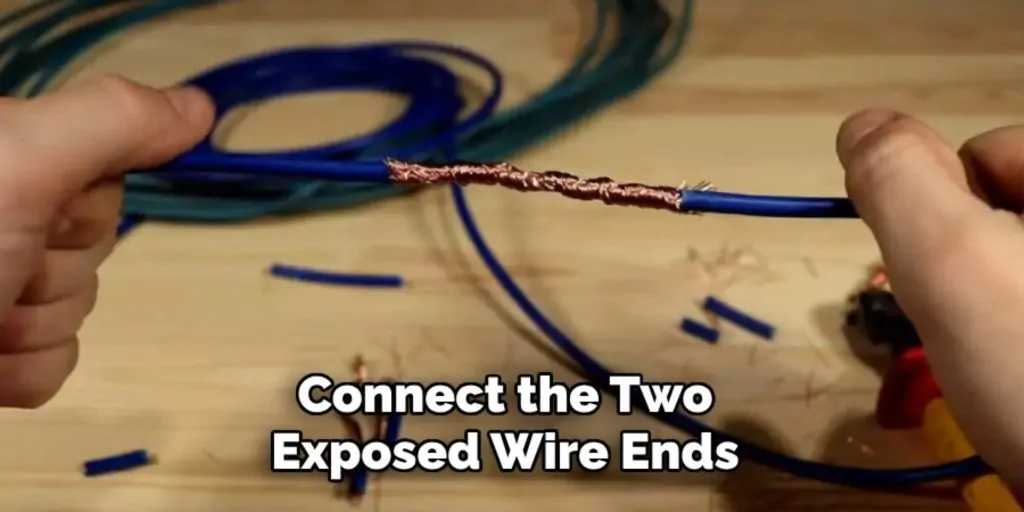
In case of broken wires, use the wire cutters to trim away the damaged section. Then, use the strippers to remove a small section of the plastic coating from both ends of the wire. Twist and connect the two exposed wire ends together, making sure they are tightly secured. Finally, wrap electrical tape around the repaired area for extra protection.
If the breakage occurs in a challenging or hard-to-reach area, you can also use connectors specifically designed for fairy lights to join the wires back together.
Step 4: Secure Loose Connections
If you have longer strands of fairy lights with multiple strings connected together, check for any loose connections between them. Gently push the plugs into each other until they fit snugly, and make sure to secure them with electrical tape or twist ties. This will ensure a continuous flow of electricity and prevent any flickering or non-functional lights.
It’s also essential to check the connection between the plug and the power outlet. If it’s loose, try plugging it into a different outlet or use an adapter to secure it in place.
Step 5: Check for Water Damage
Fairy lights are not meant to be used outdoors or in wet environments unless they are waterproof. However, if your fairy lights have been exposed to water, there may be some damage that needs fixing.
In this case, unplug the lights immediately and let them dry completely before attempting any repairs. Once dry, carefully inspect the wire and bulbs for any corrosion or damage caused by water exposure. Replace any damaged parts before plugging in your fairy lights again.
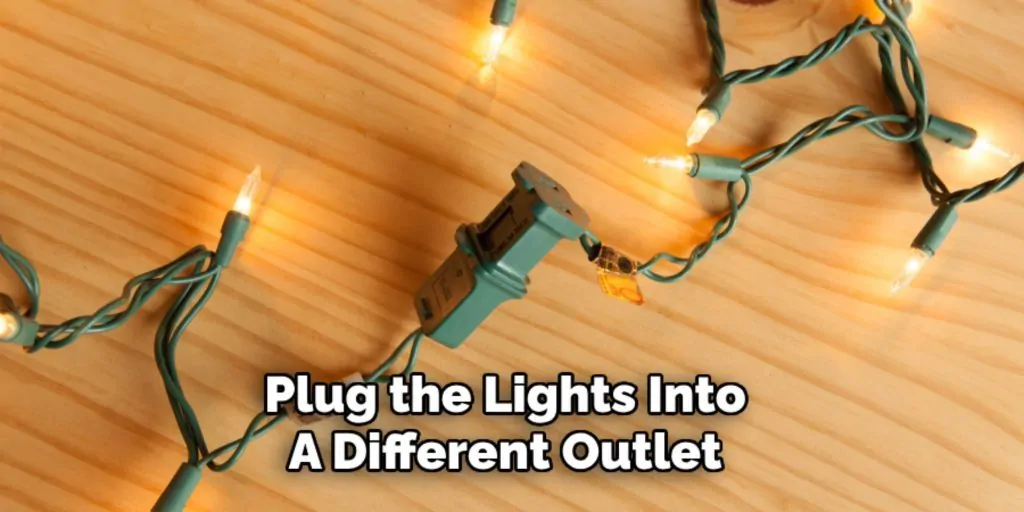
Step 6: Try a Different Power Source
If your fairy lights are still not working after trying the previous steps, it’s time to check the power source. Plug the lights into a different outlet or use an adapter to see if that solves the problem. Sometimes, faulty outlets or adapters can prevent your fairy lights from functioning correctly.
You can also try using a different set of batteries if your fairy lights use them as a power source.
Step 7: Use a Light Tester
If your fairy lights are still not functioning properly, using a light tester can help pinpoint the issue. A light tester is a handy tool that identifies faulty bulbs or issues within the strand’s circuit. To use it, start by unplugging your fairy lights to ensure safety. Then, carefully attach the tester to each socket or bulb in the strand and follow the manufacturer’s instructions.
The tester will indicate whether a specific bulb is defective or if there is an issue with the wiring. Replace any problematic bulbs or address wiring issues as needed. This method can save you a lot of time and effort, as it narrows down the source of the problem effectively. Once repairs have been made, plug the lights back in to ensure they are working correctly.
Step 8: Consider Professional Repair
If all else fails, and your fairy lights are still not working despite following these steps, it may be time to consider professional repair.
Some issues may require more technical expertise or specialized tools, making it challenging to fix on your own. In this case, reach out to a professional electrician or take your lights to a store that specializes in holiday lighting repairs.
Repair costs may vary depending on the issue and the complexity of the repair, so make sure to get an estimate before proceeding with any repairs.
Following these simple steps on how to fix fairy lights can help you fix your fairy lights and bring back the festive glow to your home. Remember to always prioritize safety when handling any electrical repairs, and if in doubt, seek professional assistance. With a little bit of effort, you can enjoy the magic of twinkling fairy lights all year round!
Do You Need to Use Professionals?
Deciding whether to call in professionals to repair your fairy lights depends on the complexity of the issue and your comfort level with electrical repairs. Minor problems, such as replacing burnt-out bulbs or securing loose connections, can often be handled at home with minimal tools and effort.
However, if your fairy lights involve intricate wiring systems or the damage is extensive—such as heavily corroded wires, large sections of non-functional lights, or power source issues—it may be wise to seek professional assistance.
Professionals have the expertise and equipment to address technical and potentially hazardous issues that may not be easily fixed at home. Additionally, many holiday lighting professionals or electricians offer diagnostic services to determine whether repairs are cost-effective or if replacing the entire strand is a better option.
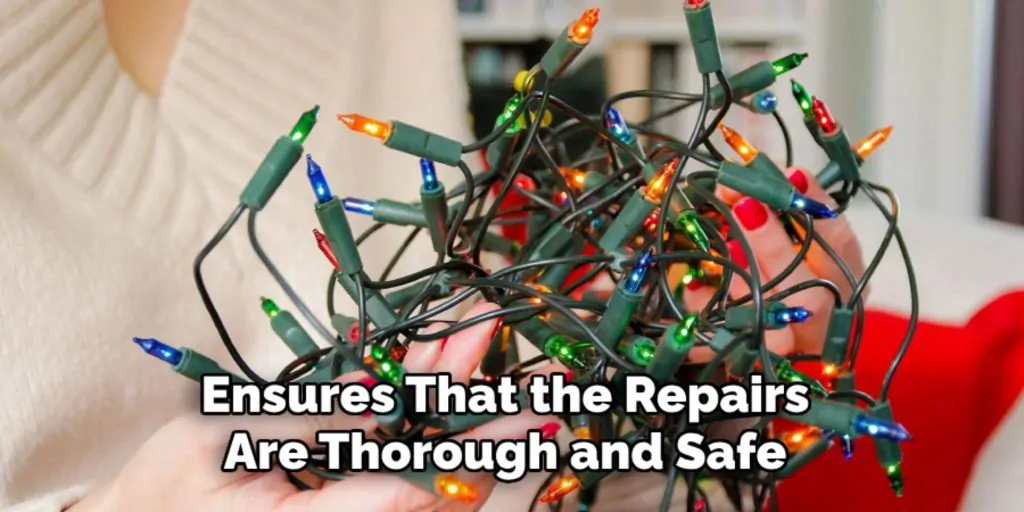
Ultimately, consulting a professional ensures that the repairs are thorough and safe and restores your fairy lights to optimal working condition.
Conclusion
Fairy lights add a touch of magic and warmth to any space they adorn. However, like any other electrical device, they can encounter issues that require repair. By following these steps on how to fix fairy lights, you can easily troubleshoot and fix common problems with fairy lights, saving you the time and cost of purchasing new ones.
With a little patience and effort, you can keep your lights shining bright for many more festive seasons to come! So next time your fairy lights stop working, don’t despair – follow these simple steps to bring them back to life. Happy decorating!

