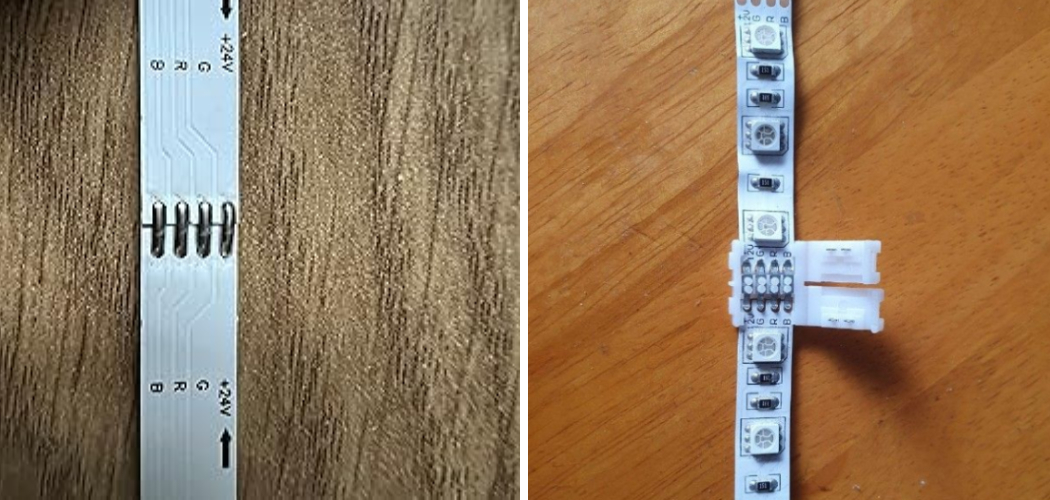
Encountering a mishap like a cut or damaged LED light strip can be frustrating, especially when you’re aiming for a seamless and vibrant lighting display.
LED lights have become increasingly popular for their energy efficiency and versatility, making them a go-to choice for various applications, from home decor to commercial displays. When faced with the challenge of fixing cut LED lights, knowing the right techniques and tools is essential to ensure a quick and effective repair how to fix cut led lights
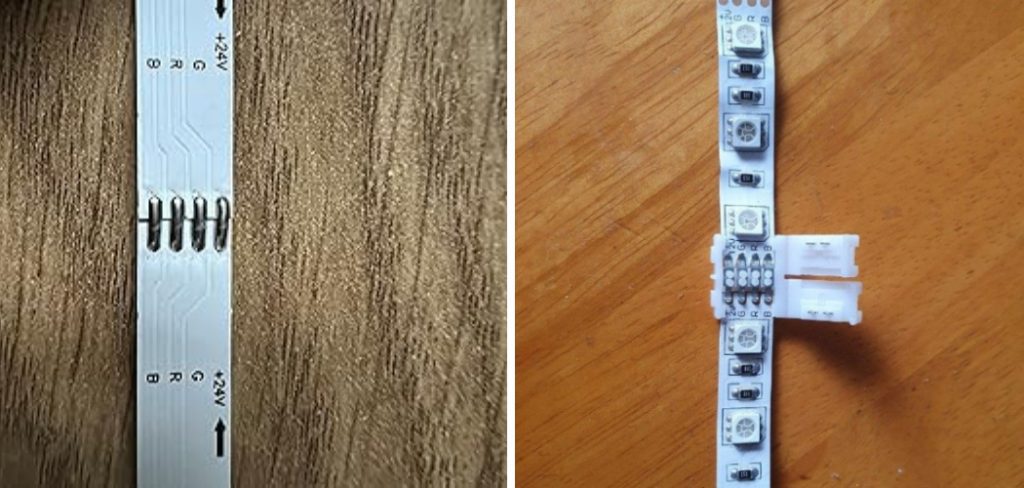
In this guide, we’ll delve into how to fix cut LED lights, allowing you to salvage your investment and bask in the captivating glow of a fully functional and visually appealing LED setup. Learn how to troubleshoot, repair, and restore your LED lights, so you can illuminate your spaces once again with brilliance and confidence.
Common Reasons for Led Light Cuts
If your LED lights are cutting out, there could be a few underlying reasons. Here are some of the most common ones:
- Power Supply Issue: Your power supply may not able to provide adequate amperage for all of your LEDs. You’ll want to verify that the voltage complies with your LED requirements and ensure the wire gauge you used is suitable for the amount of current that will be running through it.
- Low-quality Components: If you’re using cheap or low-quality LEDs, chances are they may not last long. Quality LED components should be able to handle higher currents than those found in low-end products.
- Heat: Heat can cause LED lights to cut out. Make sure your LEDs are in a well-ventilated area and that the ambient temperature does not exceed the manufacturer’s recommended range.
It is important to know what is causing your LED lights to cut out before attempting any repairs, as addressing the wrong issue can potentially make matters worse. If you’re having trouble figuring out why your lights are cutting out, you may want to consult a professional electrician for assistance.
10 Steps How to Fix Cut LED Lights
1. Gather the Necessary Tools
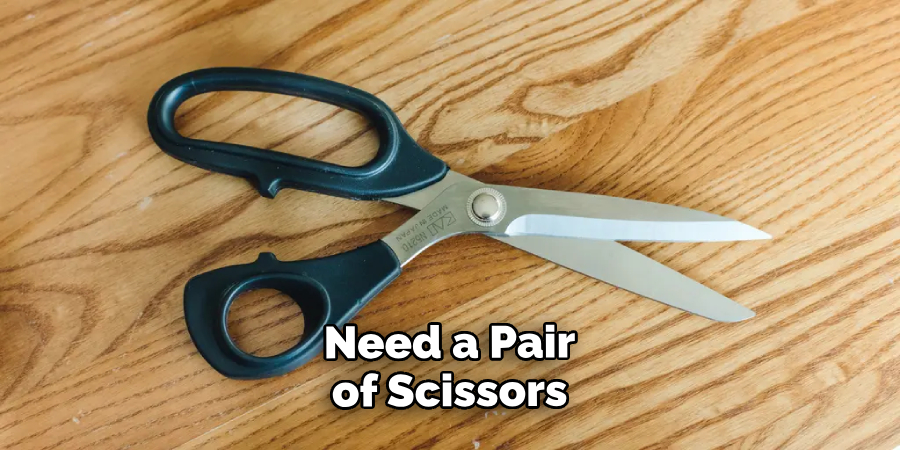
Before you begin to fix your cut LED lights, it is important to gather all of the necessary tools and materials. You will need a pair of scissors, electrical tape, a soldering iron, solder, and heat shrink tubing. Additionally, you may want to have a pair of needle nose pliers on hand for any additional work that needs to be done.
2. Cut off the Damaged Section
Once you have gathered all of the necessary tools and materials, you can begin to repair your cut LED lights. The first step is to cut off the damaged section of wire with the scissors. Make sure that you leave enough wire on either side so that you can splice it back together later.
3. Strip Both Ends of the Wire
Once the damaged section has been removed, use the scissors or needle nose pliers to strip both ends of the wire so that they are exposed. This will allow you to make a connection between them when you splice them back together later on in the process.
4. Connect Both Wires Together
Now it’s time to connect both wires back together again using either an electrical tape or solder method. To do this, twist both ends of wire together and then wrap them with electrical tape or solder them together depending on what method you decide to use. Make sure that there are no gaps in between where air could get through as this could cause an electrical short circuit and damage your LED lights further.
5. Cover Connection with Heat Shrink Tubing
After connecting both wires together again, it is important to cover the connection with heat shrink tubing in order to protect it from any moisture or debris that could cause an electrical short circuit or corrosion over time.
To do this simply slide one end of heat shrink tubing over each end of the wire before connecting them together and then slide it down over the connection once they have been joined together securely. Use a heat gun or lighter flame to shrink down the tubing until it fits snugly around the connection point before moving on to the next step in repairing your LED lights.
6. Test Connection for Continuity
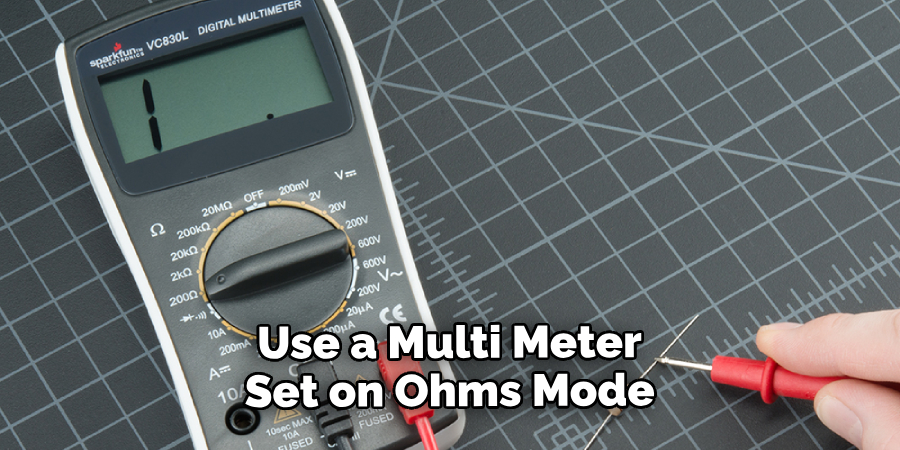
Now that your LED lights have been re-connected again using either an electrical tape or solder method it is important to test for continuity before powering up your LED light string again. To do this use a multi-meter set on ohms mode and touch one lead from each end of the wire connection point. If there is continuity then your LED lights should power up without any issues, however, if there isn’t then go back and check all connection points before trying again.
7. Insulate Connection Points With Electrical Tape
Once testing has been completed successfully, go ahead and insulate all connection points with electrical tape. This will help protect against any potential shorts occurring while also helping keep out dirt and debris that could interfere with performance.
Additionally, using electrical tape on exposed wires is a great way to reduce the potential for short circuit fires or shocks. It’s also possible to find specialized LED connection tape that will help ensure proper connections between wires and LEDs. This type of tape offers additional protection against weather and other environmental conditions that could damage wiring and lead to failure.
8. Reattach Lights To Power Source
With all connections now secure, reattach your LED lights back onto their power source ensuring everything is connected correctly as per manufacturer instructions. Once complete, turn on the power source and test the LEDs for proper operation. If you notice anything out of the ordinary with your LEDs, such as flickering or dimming, you may need to adjust the voltage accordingly.
9. Check All Connections For Security
It is always important after completing any repairs like these, especially when dealing with electricity, to double-check all connections for security before leaving them unattended. Look for signs such as loose wires, frayed insulation etc which could potentially cause problems down the line. If it is at all possible, use shrink-wrap to make sure the connections stay secure.
10. Clean Up Work Area and dispose Of Any Waste Responsibly
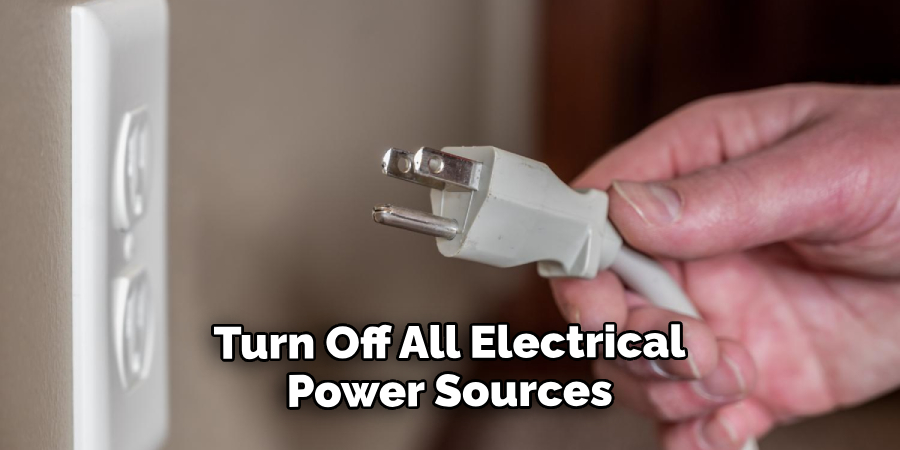
Finally, once repairs are complete ensure the work area is cleaned up properly by disposing of any waste responsibly such as used electrical tape etc. in accordance with local regulations. Be sure to turn off all electrical power sources that were used in the repair process, such as lights and other power cables. It is also advisable to test the repaired LED light after installation to ensure it is working correctly before putting it back into use.
Things to Consider When Fixing Cut LED Lights
When fixing cut LED lights, there are a few things to consider to ensure you get the best outcome.
First, make sure that you have the proper tools and safety equipment for the job. Depending on the type of repair required, it is important to use the correct tools and protective gear to protect yourself from any danger associated with the repair.
Second, identify the cause of the cut LED lights before attempting to fix them. This can help ensure that you are able to address the root of the problem and prevent any further damage from occurring.
Third, if there is an issue with a damaged wire or connection, it is important to use appropriate heat shrink tubing or electrical tape as these can be used to securely connect the wire and prevent any short-circuiting.
Fourth, if you need to replace a bulb or LED light strip, make sure that you purchase the correct size and type of product for your application. This can be critical, as an incorrect replacement could cause further damage or lead to safety issues.
Safety Precautions for Fixing Cut LED Lights
In addition to using the proper tools and safety equipment when fixing cut LED lights, it is important to take additional precautions. Before making any adjustments or repairs, make sure that you turn off the power source and unplug any connected cords. This prevents any unexpected shocks or electric surges from occurring. Additionally, be sure to secure any loose wires with electrical tape to avoid short circuits.
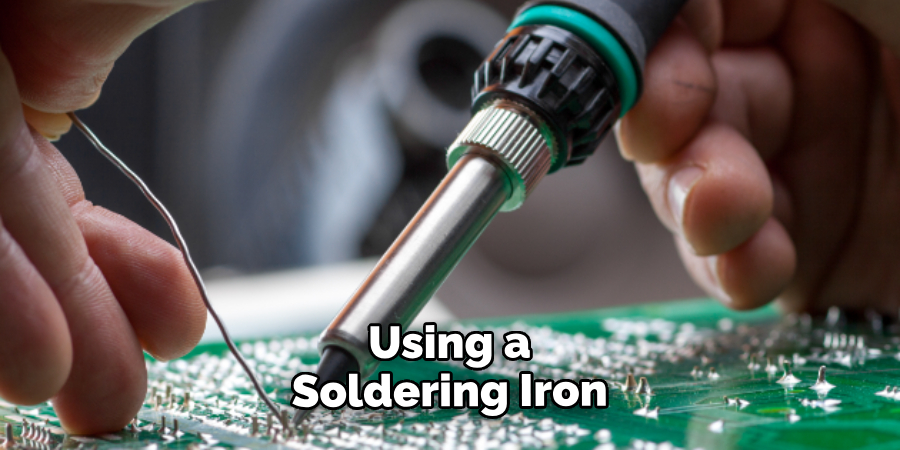
When using a soldering iron, be sure to wear the appropriate safety gear and keep the tip of the iron clean and protected from moisture. Additionally, use caution when handling any liquids used for cleaning or lubricating components as they may contain hazardous chemicals.
Finally, if you are not comfortable with making repairs yourself, contact an experienced electrician who is trained in LED lighting repairs. These professionals will be able to safely and correctly diagnose and repair any issues with your lights.
Once the repairs are complete, it is important to properly test the LED light for functionality before turning the power back on. This can be done by using a multimeter to measure voltage or amperage levels. If everything is operating as expected, the LED light should last for years to come. With proper maintenance and regular inspections, you can ensure that your LED lights stay in good condition and provide reliable illumination.
Conclusion
All in all, there is plenty to think about when it comes to fixing cut LED lights. Having a few simple DIY supplies on hand will make the job much easier and more cost-effective. Understanding how lightning works and having an understanding of basic electronics can also help make the job easier.
When in doubt, don’t be afraid to consult with a professional for help. With these tips and tricks, you should be able to fix cut LED lights like a pro. Just remember, safety always comes first – use insulated gloves and goggles at all times! So get out your tools today and take on the task of repairs – we know you can do it! Good luck getting started – now go show off how to fix cut led lights!

