A crooked lampshade can disrupt the overall aesthetic of a room and diminish the functionality of a lamp. Whether the issue is subtle or glaring, a misaligned shade instantly draws attention for all the wrong reasons. Common causes behind a crooked lamp shade include loose fittings, bent harps, or uneven surfaces where the lamp is placed.
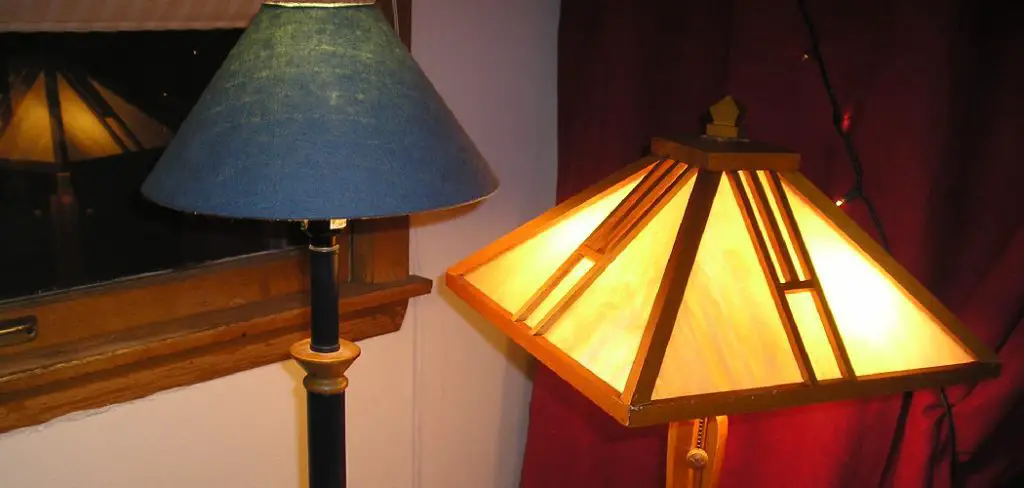
Over time, wear and tear or improper handling can exacerbate these problems, making the lamp appear unsteady or poorly maintained. The purpose of this article is to provide a straightforward guide on how to fix crooked lamp shade issues, offering fast and easy methods to straighten your lamp shade and restore both balance and elegance to your space. You can ensure that your lamp looks perfectly aligned and functions effectively with a few simple adjustments.
Identifying the Cause of the Crooked Shade
A crooked lamp shade can stem from several common issues; identifying the root cause is the first step to correcting the problem.
Loose Finial or Harp
If your lamp shade leans to one side or spins loosely, a loose finial or harp may be to blame. The finial is the decorative piece at the top that secures the shade in place, while the harp holds the shade frame. Inspect the finial and harp to ensure they are tightly secured.
Bent or Misaligned Harp Arms
Another culprit could be bent or misaligned harp arms, the curved metal parts that hold the shade upright. To check for this, remove the shade and visually inspect the harp for any damage or misalignment. Straightening the harp arms, if necessary, can resolve the issue.
Improperly Seated Shade or Base
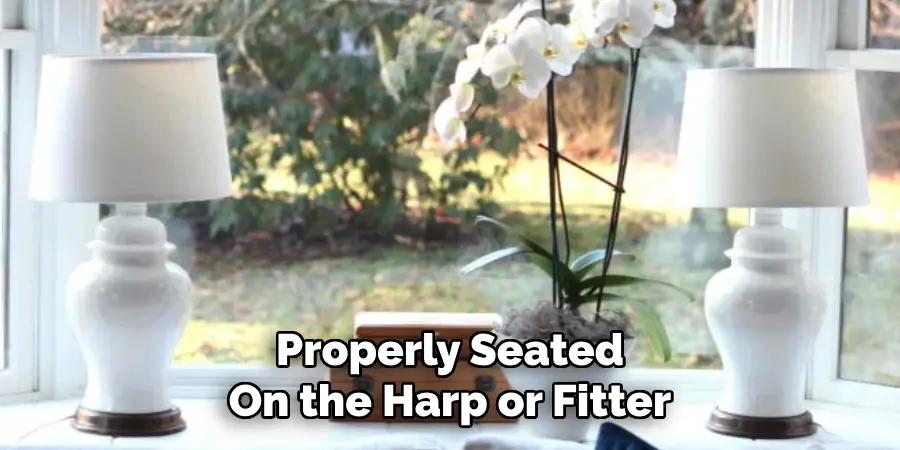
An uneven lamp base can cause the shade to tilt. Verify that the lamp base is level and resting securely on the surface. Additionally, ensure that the shade is properly seated on the harp or fitter.
Shade Fitter Type
The type of shade fitter can also affect stability. Spider fitters sit atop the harp and are secured with a finial, while clip-on fitters attach directly to the bulb. UNO fitters screw onto the socket, and screw-on fitters secure at the bottom. Understanding your shade’s fitter type can clarify potential stability concerns related to its design.
Tools and Materials You May Need
When addressing lamp stability or installing a new shade, having the right tools and materials on hand can make the process smoother and more efficient.
Basic Tools
- Pliers – Useful for tightening screws or adjusting small components.
- Screwdriver – Essential for loosening or securing screws on the lamp base or socket.
- Bubble level – Helps ensure the lamp and shade are evenly aligned.
Optional Accessories
- Rubber washers – These can provide extra grip and stability between components.
- Felt pads – Ideal for preventing scratches on the table or surface where the lamp rests.
- Replacement harp or finial – This is Useful if the existing components are damaged or incompatible.
Work Area Tips
- Ensure you work on a flat and even surface to avoid unintentional tilting.
- Choose a well-lit space to make adjustments visible and precise.
How to Fix Crooked Lamp Shade: Adjusting the Finial and Harp
Tightening the Finial
To ensure your lamp is securely assembled, properly tightening the finial is essential. Begin by placing the lampshade over the harp, making sure it is even and centered. Thread the finial onto the top of the harp, turning it clockwise by hand until it feels snug. Avoid over-tightening, as this could damage the finial or strip the threads. A firm but gentle grip should keep everything in place without compromising the components.
Checking and Straightening the Harp
If the harp arms appear misaligned, inspecting and correcting them is straightforward. First, remove the lampshade and finial. Gently lift the harp out of the saddle to isolate it. Examine both arms for any bends or irregularities. Using your hands, carefully bend the arms back into proper alignment, ensuring they are symmetrical and evenly spaced. Reinsert the harp into the saddle and verify that it holds the lampshade evenly. Repeat these steps if slight adjustments are still needed.
Securing the Harp Base
The harp base must rest firmly within the saddle beneath the socket to ensure stability. Remove the harp and inspect the saddle for any obstructions or damage. Slide the base of the harp into the saddle’s grooves, pressing it down until it clicks securely into place. A properly seated harp base will prevent wobbles and help your lampshade maintain its position.
Replacing Worn Harps
Over time, harps may become weak or unstable. If the harp no longer supports the lampshade adequately or shows signs of wear, consider replacing it. Measure the harp’s height to ensure compatibility with your existing lampshade and finial. Purchase a replacement harp of the same size and style. Install it by following the steps outlined for securing the harp base and attaching the lampshade and finial. A new harp will restore stability and aesthetic appeal to your lamp assembly.
Fixing Clip-On and UNO Fit Shades
Clip-On Shades
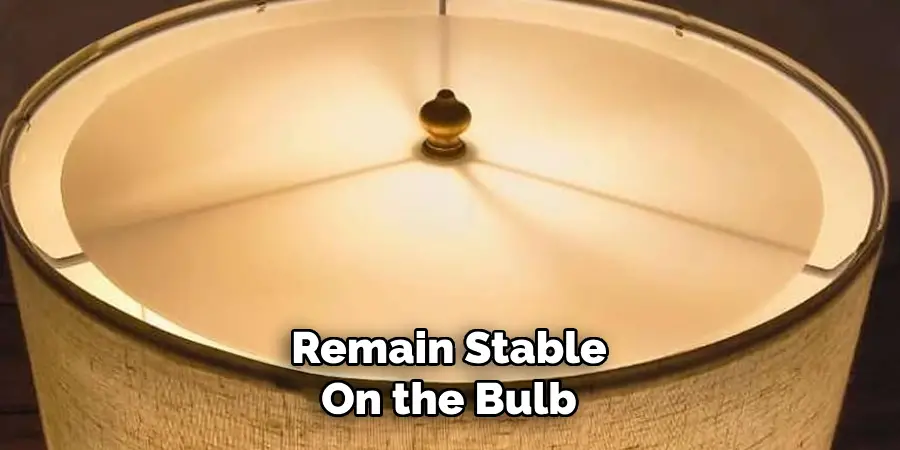
Clip-on shades attach directly to the bulb and can sometimes slip or sit unevenly. To fix this, ensure the clips are properly adjusted to grip the bulb firmly. If the clips have worn down over time or still do not grip securely, consider adding small pieces of rubber tubing to the clips. This provides extra friction, helping the shade stay in place and remain stable on the bulb.
UNO Fit Shades
UNO fit shades rely on an inner ring that attaches to the lamp socket, either by screwing down or locking into place. To ensure a secure fit, check that the ring is fully tightened. If it feels loose or unstable, carefully adjust it until it is snug against the socket. Use caution to avoid over-tightening, which could damage the fitting.
Stabilizing the Shade
For both clip-on and UNO fit shades, stabilizing the overall fit can enhance their functionality. Simple fixes like using small washers or felt pads can help level the shade and prevent it from wobbling. Place these under the shade’s contact points to create a uniform and secure base. These adjustments can make your lampshade look and function like new.
Leveling the Lamp Base and Surface
Inspecting the Lamp Base
A wobbly lamp can often be traced back to an uneven base. Begin by closely inspecting the lamp base for any signs of warping or imbalance. Check for uneven legs or pads that may cause the lamp to tilt. A quick manual assessment can help identify areas of concern where one edge or corner does not sit flush with the surface. Replace worn pads or adjust base components as necessary to restore balance.
Using a Bubble Level
Even if your lamp base is solid, the surface it rests on could be contributing to instability. Use a bubble level to verify that the table or surface is completely even. Place the level on different sections of the surface to identify any inclines or dips. Addressing surface imbalances is critical to ensuring your lamp sits evenly.
Correcting Wobble
Additional support might be necessary if issues persist after examining the base and surface. Add felt pads or shims under the lamp base to counteract any remaining unevenness. These tiny adjustments can be inserted with care and precision to stabilize the lamp. Correcting wobble not only prevents annoying shifts but also ensures the safety and longevity of your lamp.
Replacing or Reinforcing Hardware
When your lamp remains unstable despite adjustments, inspecting and replacing key components such as the finial, harp, or saddle may be time. Signs that your hardware is beyond adjustment include visible wear, bent parts, or the inability to hold the lampshade securely. Replacing these components can restore the lamp’s stability and functionality if these issues arise.
Using reinforcements like rubber grommets or stabilizing discs is another effective solution for correcting a tilt. These small, affordable accessories can be inserted at connection points to provide additional grip and balance, ensuring your lamp remains upright and steady.
Replacement parts for lamps can often be found at hardware stores, lamp repair shops, or online retailers that offer a wide range of sizes and styles to suit your needs. Opt for high-quality materials to ensure durability and long-lasting performance.
Preventing Future Crooked Shades
Routine Checks
Periodically inspecting your lamp’s components is crucial for maintaining stability. Check for any looseness in screws, harps, or connection points, and tighten them as needed. Regular maintenance ensures the lamp stays in good working condition and reduces the chances of a crooked shade.
Choosing Quality Parts
Investing in high-quality, appropriately sized shades and harps is essential for preventing instability. Sturdy materials are less likely to warp or bend over time, keeping the shade securely aligned. Consider opting for shades with reinforced edges and durable harps made of materials like brass or stainless steel.
Proper Handling
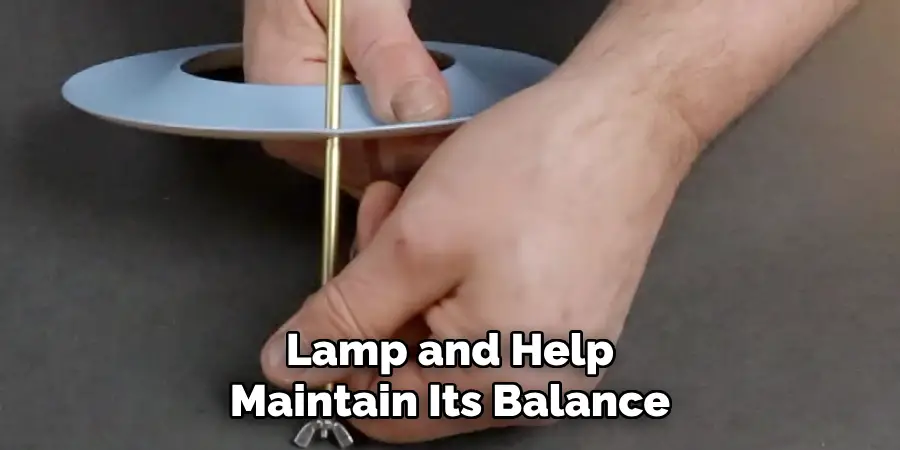
Always handle your lamp with care to avoid unnecessary misalignment. When moving it, lift from the base instead of the shade, as this prevents undue stress on the connecting parts. Proper handling will extend the life of your lamp and help maintain its balance.
Conclusion
Loose hardware, warped materials, or improper handling often cause crooked lampshades. Fortunately, understanding how to fix crooked lamp shade issues is simple with just a few adjustments. Tightening screws, ensuring the harp and finial are secure, and using durable materials can resolve most problems. Small, regular maintenance steps, such as checking the hardware and handling the lamp with care, can significantly improve both its appearance and functionality. With a little effort, you can keep your lamp in perfect alignment, enhancing its aesthetic appeal and ensuring its longevity in your home.

