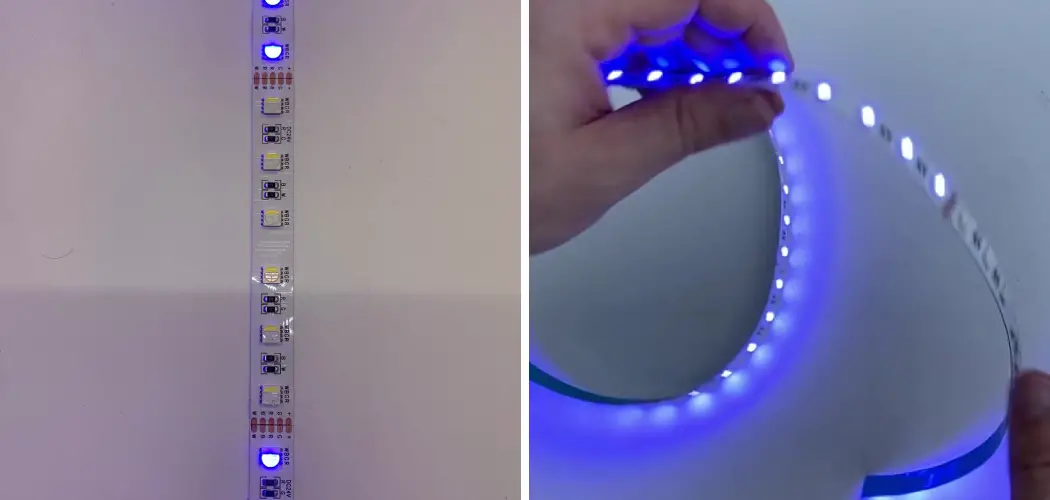
Are you tired of replacing your broken LED lights every time they flicker or stop working? Fixing them is an easy and cost-effective solution that can save you money and frustration. In this guide, we will walk you through the steps on how to fix broken LED light.
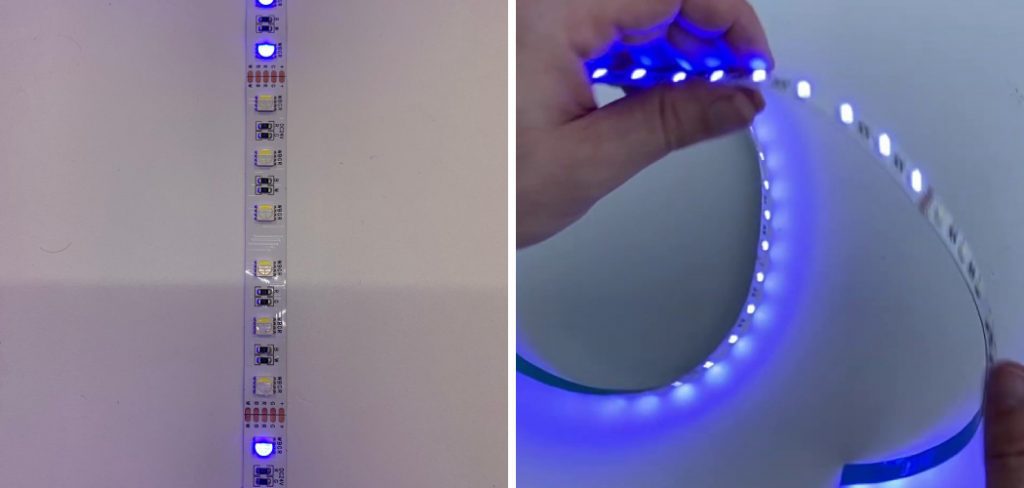
Dealing with a broken LED light can be a frustrating experience, especially when you need clarification on the cause or the steps needed for repair. Fortunately, fixing a malfunctioning LED light is often more straightforward than it seems. Understanding the basics can save you time and money, whether it’s an issue with the power supply, the LED strip itself, or the connectors.
This guide aims to demystify the process, providing you with a step-by-step approach to diagnosing and repairing your LED light. With a little patience and the right information, restoring your LED light to its full luminosity is well within reach.
What are the Causes of a Broken LED Light?
Before diving into the repair process, it’s essential to understand what may be causing your LED light to malfunction. Knowing the cause can help you determine the best action to fix it.
- Power Supply Issues
The power supply is one of the most common causes of broken LED lights. It’s responsible for converting AC power into DC power, which is necessary for the LEDs to function. If there are any issues with the power supply, such as a damaged cord or an overload of power, it can cause your LED light to stop working.
- LED Strip Issues
The LED strip itself may also be the culprit behind your broken LED light. Over time, LEDs can burn out or become dislodged from their designated positions. If you notice a specific portion of your LED light is dimmer or not working at all, it could be due to a damaged LED strip.
- Connector Issues
Finally, the connectors that connect the power supply and the LED strips may be causing your broken LED light. Loose or faulty connections can disrupt the flow of electricity and cause your LEDs to flicker or stop working altogether.
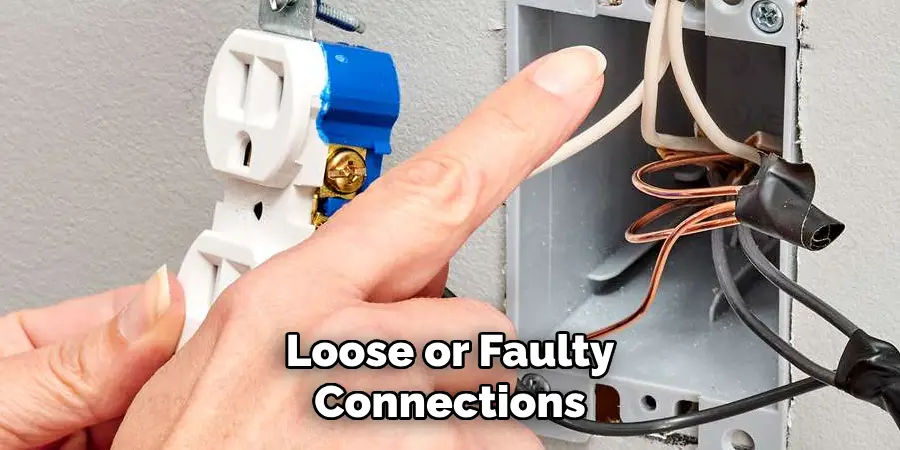
These are just some of the common reasons behind a broken LED light, but there may also be other causes. Understanding these potential issues can help you narrow down the problem and work towards fixing it.
What Will You Need?
Before starting the repair process, it’s important to have all the necessary tools and materials at hand. Here are some of the things you may need to fix your broken LED light:
- Screwdriver: Depending on the type of casing your LED light has, you may need a Phillips or flathead screwdriver.
- Multimeter: This tool measures voltage, current, and resistance and can help you determine if there are any issues with your LED light’s power supply.
- Soldering Iron: If your LED strip has a damaged connection, you may need to solder it back together.
- Replacement Parts: If any components of your LED light need to be replaced, such as the power supply or the LED strip, make sure to have the appropriate replacements on hand.
- Safety Gear: It’s always important to prioritize safety when working with electricity. Make sure to wear protective gear such as gloves and goggles.
You can begin the repair process once you have all the necessary tools and materials.
10 Easy Steps on How to Fix Broken Led Light
Step 1. Turn Off the Power:
Before proceeding with any repairs, it’s crucial to ensure your safety and the safety of those around you by completely turning off the power supply to the LED light. This can be done by switching off the circuit breaker that powers the area where the LED light is installed or by unplugging the LED light if it’s connected to a power outlet directly.
It’s an important step that prevents electrical shock and other potential accidents during the repair process. Once the power has been safely turned off, you can move on to diagnosing the issue with your LED light without risk.
Step 2. Diagnose the Problem:
Begin by visually inspecting the LED light for any obvious signs of damage, such as cuts or burns on the LED strip, frayed or exposed wires, and loose or damaged connectors. Use a multimeter to check the power supply for proper voltage output.
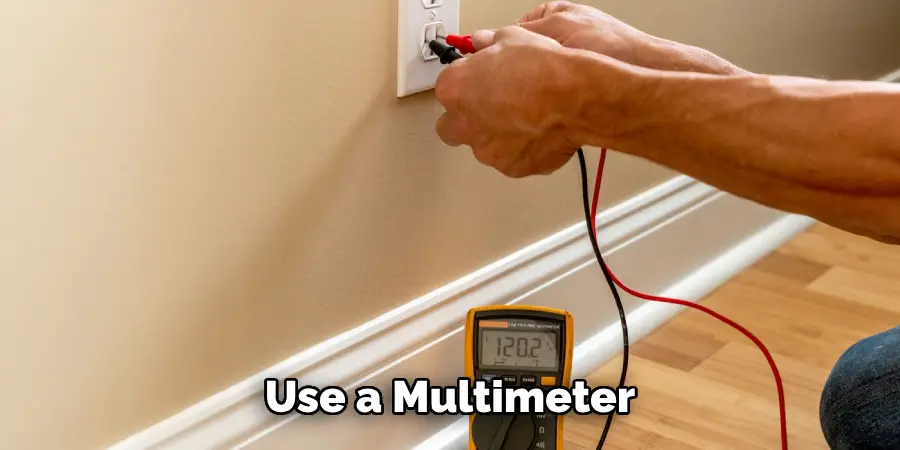
If the voltage reads correctly, move on to test each segment of the LED strip by checking for continuity with the multimeter. This step is crucial as it helps pinpoint the exact cause of the problem, whether it’s related to the power supply, LED strip, or connectors, allowing for more targeted repairs.
Step 3. Check and Tighten All Connections:
Once you have identified the problem area, ensuring that all connections between the power supply, LED strips, and connectors are secure is vital. Loose connections are a common issue and can be the culprit behind flickering or non-functioning LED lights.
Carefully check each connection point and tighten any that seem loose. If any connectors appear damaged, they should be replaced. This step can often resolve the issue without the need to replace any major components, making it a crucial part of the repair process.
Step 4. Replace Damaged Components:
If, after tightening the connections, your LED light still isn’t functioning correctly, it might be necessary to replace certain components. Begin by examining the LED strip; if you notice any damaged LEDs, consider replacing the entire strip or soldering new LEDs in place if you’re experienced with such tasks.
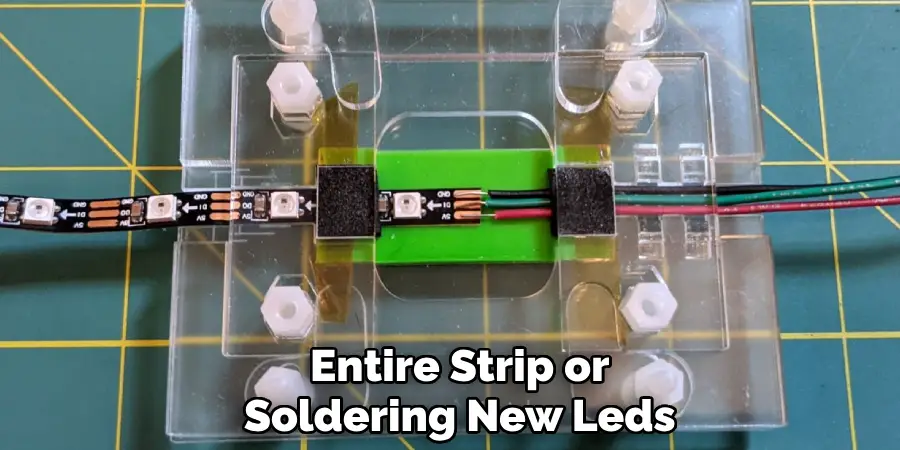
For issues with the power supply, try using a spare one to see if that resolves the issue. Remember to match the voltage and amperage specifications of the new components with those of the original setup to ensure compatibility and avoid further damage.
Step 5. Test the LED Light:
After tightening connections and replacing any damaged components, it’s time to test the LED light before fully reassembling it. Carefully reconnect the power supply and turn on the power to the LED light, taking the necessary safety precautions.
Observe if the LED light functions correctly across its entire length and pay attention to any sections that may still be dim or not lighting up. This step is essential to ensure that all issues have been resolved before finalizing the repair. If the LED light is still not working as expected, you may need to revisit the previous steps for a more thorough examination and possible additional repairs.
Step 6. Secure the LED Strip and Components:
Once the LED light is confirmed to be working properly, the next step is to ensure that all components are securely fixed to prevent future issues. This may involve reattaching the LED strip to its mount with appropriate adhesive, ensuring that any replaced components are firmly connected, and securing any loose wiring with electrical tape or cable ties.
This step not only helps in maintaining the integrity of the repair but also prolongs the lifespan of the LED light by preventing damage from physical disturbances or vibrations.
Step 7. Reassemble the Casing:
After ensuring that all components of the LED light are securely fixed and functioning correctly, it’s time to reassemble the casing or cover if your LED light has one. Carefully place the cover back over the device, ensuring that it does not pinch or damage any wires or components in the process.
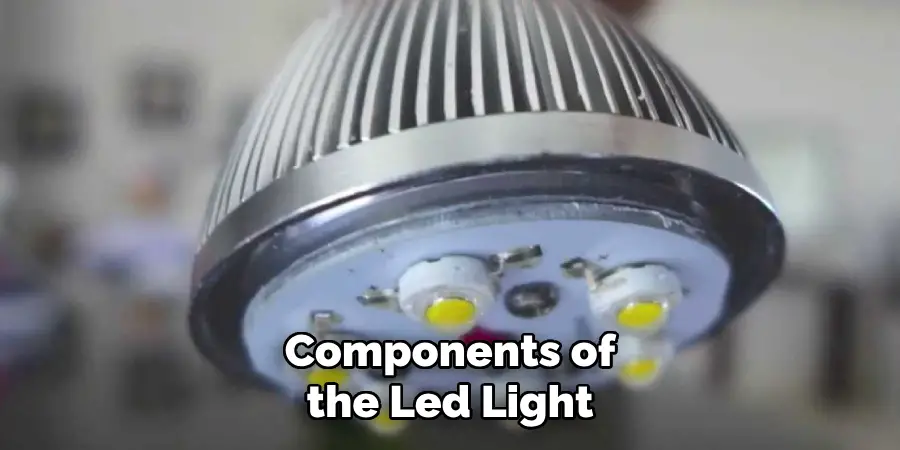
Use the screwdriver to tighten any screws and secure the casing into place. This protects the internal components from dust and physical damage and restores the LED light’s aesthetic appearance, making it ready for use once again.
Step 8. Conduct a Final Function Test:
Now that your LED light is fully reassembled, it’s crucial to conduct a final function test to ensure everything is in perfect working order. Turn on the power supply and observe the LED light for a few minutes. Pay close attention to its brightness consistency and look out for any flickering or sections not lighting up as expected.
This final test verifies the success of your repair efforts, giving you peace of mind that the LED light is now reliable and ready for regular use. If no problems are detected, you can conclude the repair process as a success.
Step 9. Document the Repair Process:
It’s beneficial to document the steps you took to repair the LED light, noting any replaced components and any challenges encountered during the repair. This record will be invaluable for future reference, especially if similar issues arise again or if the repair needs to be reassessed.
Documentation can be as simple as a handwritten note or a digital file on your computer. Include details such as the date of repair, specifics of the problem identified and fixed, and any warranty information for replaced parts. Keeping a repair log can save time and effort in diagnosing future issues and is a good practice for managing the maintenance of all your electronic equipment.
Step 10. Regular Maintenance and Inspection:
It’s crucial to incorporate regular maintenance and inspection into your routine to ensure the longevity of your LED light. Periodically check the LED strip and components for any signs of wear and tear, such as discoloration, dimming, or flickering.
Clean the LED strip gently with a dry cloth to remove dust and debris that may accumulate over time, potentially obstructing the light output. Also, inspect the power supply and connections to ensure they remain secure and undamaged.
By taking these proactive steps, you can prevent many common issues from occurring, reducing the need for future repairs and maintaining the optimal performance of your LED lighting.
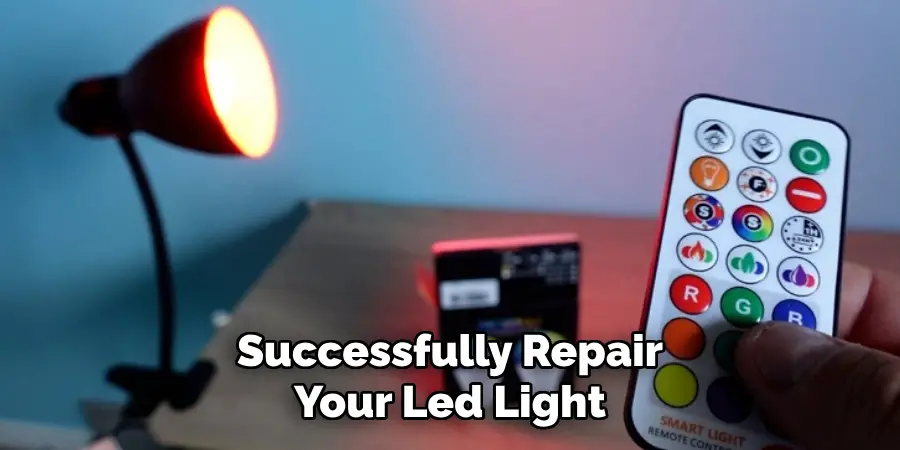
By following these ten steps, you can successfully repair your LED light and avoid the need to replace it entirely.
5 Additional Tips and Tricks
- Use a Multimeter to Diagnose Issues: Before starting any repair, using a multimeter to test the LED strip and power supply can save time and effort. Check for continuity and proper voltage output, which can help pinpoint the exact source of the problem quickly.
- Improve Soldering Skills for Better Repairs: Many LED issues can be resolved by re-soldering loose connections. Practicing your soldering skills can greatly improve the quality of your repairs, ensuring connections are secure and durable.
- Consider LED Strip Waterproofing: If your LED lights are used in moisture-prone areas, consider adding waterproof coating after repairs. This extra step can prevent future damage caused by water or humidity, prolonging the life of your LED lights.
- Use Heat Shrink Tubing for Insulation: After making repairs or soldering new components, covering the connections with heat shrink tubing can provide excellent insulation and protection against physical damage or short circuits.
- Learn to Recognize Quality LED Components: Investing in high-quality LED replacements can prevent frequent failures. Researching and selecting reputable brands for LED strips and components can ensure longevity and reliability, saving time and money on future repairs.
With these additional tips and tricks, you can become an expert at fixing broken LED lights and even extend the lifespan of your lighting solutions.
5 Things You Should Avoid
While venturing to repair your broken LED light, steering clear of certain practices can save you from further damage or complications. Here are five critical things to avoid:
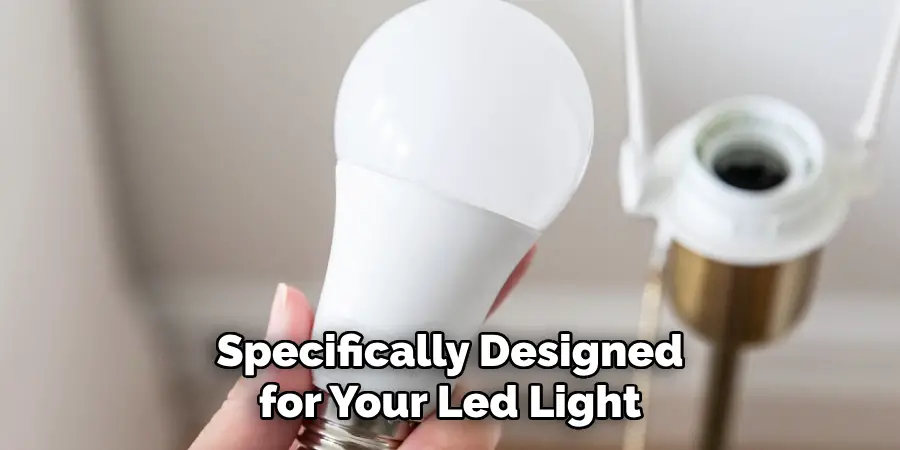
- Avoid Using Incompatible Parts: Employing components not specifically designed for your LED light can lead to premature failure or even pose a fire hazard. Always use the recommended parts for replacements to ensure compatibility and reliability.
- Don’t Ignore Safety Precautions: Working with electronics necessitates caution. Always disconnect power before beginning any repairs to avoid electric shock. Also, wearing protective eyewear and gloves can protect against accidental burns from soldering or sharp edges.
- Refrain From Over-Soldering: Applying too much solder can create bridges between circuit paths, leading to short circuits. Use the minimum amount necessary to create a secure connection, ensuring the circuit’s integrity is not compromised.
- Avoid Rushing the Repair Process: Haste can lead to mistakes or oversights that might exacerbate the problem. Take your time to properly diagnose the issue, execute repairs meticulously, and conduct thorough testing to confirm the fix.
- Refrain from Neglect Testing After Each Step: Performing a quick functionality test after each repair step can help isolate issues more effectively. Skipping this can lead to frustration and potentially missing the actual cause of the problem, making troubleshooting more challenging.
By avoiding these common pitfalls, you can enhance your chances of a successful LED light repair while safeguarding against further damage and possible safety risks.
What Are the Disadvantages of LED Lights?
While LED lights have become a popular choice for their energy efficiency and durability, there are some disadvantages to consider:
- Initial Cost: The upfront cost of LED lights can be higher than that of traditional bulbs. However, the long-term savings in energy and maintenance costs outweigh this initial investment.
- Color Temperature: Some people may find the color temperature of LED lights to be too harsh or cool compared to the warmer tone of incandescent bulbs. However, newer LED lights offer a range of color temperatures to choose from.
- Dimming Compatibility: Not all LED lights are compatible with dimmer switches, and using a non-compatible LED bulb can cause flickering or buzzing.
- Heat Sensitivity: LED lights are sensitive to heat and can have reduced performance or a shortened lifespan if not adequately cooled. This is why it’s essential to ensure proper ventilation and cooling for LED lights.
By properly maintaining and repairing your LED lights, you can enjoy their long-lasting and energy-saving benefits while minimizing any potential disadvantages.
Do LEDs Save Electricity?
Yes, LED lights are highly energy-efficient and can save a significant amount of electricity compared to traditional bulbs. They consume about 75-80% less energy than incandescent bulbs and 30-40% less energy than CFL bulbs. This means that not only do LED lights help reduce your electricity bill, but they also have a lower impact on the environment by reducing energy consumption.
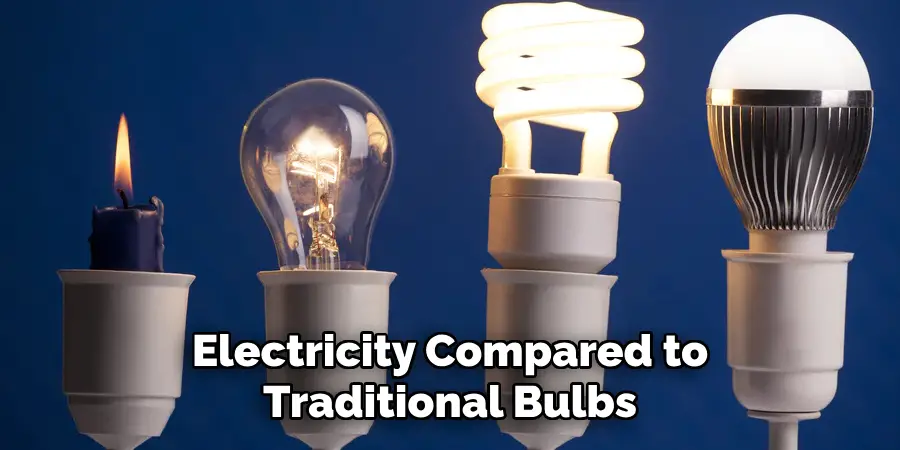
Additionally, LED lights have a longer lifespan, which means they require less frequent replacements and contribute to further energy savings. Overall, investing in LED lights is a proactive and eco-friendly step towards reducing electricity usage and promoting sustainable living.
Conclusion
In conclusion, fixing a broken LED light involves a mix of technical knowledge, patience, and the right practices. By employing the tips shared for diagnosing and repairing LED issues and carefully avoiding common pitfalls, anyone can enhance their ability to remedy LED lighting problems.
Remembering to prioritize safety, choose the right components, and approach repairs methodically will lead to more successful fixes. Furthermore, understanding the advantages and limitations of LED technology will empower users to make informed decisions about their lighting solutions.
Whether you’re a seasoned technician or a DIY enthusiast, the guide provided aims to equip you with valuable insights for extending the lifespan of your LED lights, maximizing their energy efficiency, and ensuring their optimal performance.
Hopefully, this guide has been helpful in providing you with a better understanding of how to fix broken LED light and maintain their functionality for years to come. Let’s continue to explore the world of LED technology and find innovative ways to make it even more reliable, efficient, and sustainable. Happy repairing!

