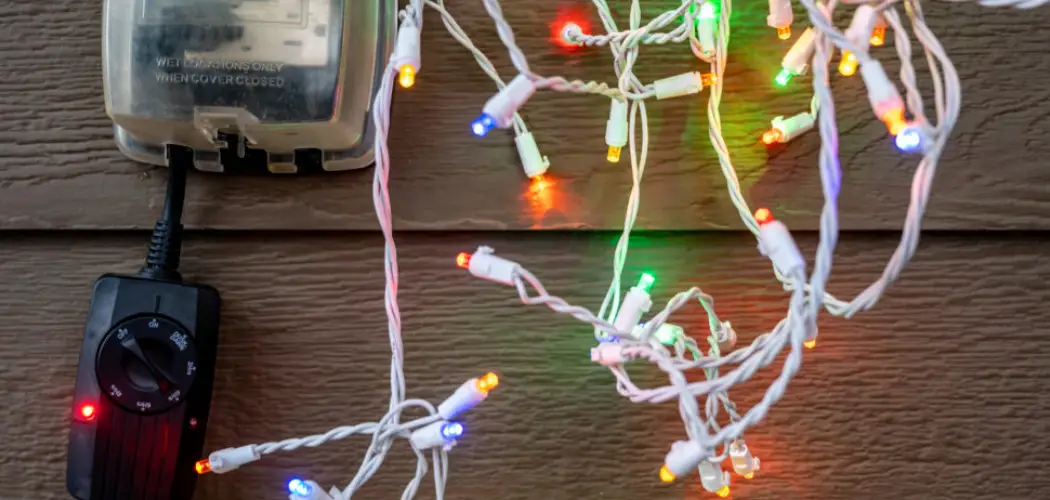
Fairy lights are a delightful way to add a touch of warmth and charm to any space, but dealing with a broken wire can be frustrating. Whether it’s a single bulb not lighting up or a section of the lights failing, identifying and fixing the issue doesn’t have to be overly complicated. With a little patience and some basic tools, you can restore your fairy lights to their glowing best in no time.
This guide on how to fix broken fairy light wire will walk you through the essential steps to troubleshoot and repair a broken fairy light wire safely and effectively.
What is Fairy Light Wire?
Fairy light wire is the delicate yet durable wiring that connects the tiny light bulbs or LEDs in a string of fairy lights. It is typically made of thin copper or aluminum material, chosen for its flexibility and conductivity, allowing the lights to be bent or shaped into various decorative patterns. The wire is often coated with a protective layer, such as plastic insulation, to prevent electrical hazards and enhance durability.
This lightweight wire is an essential component of fairy lights, enabling their functionality while maintaining an unobtrusive and aesthetically pleasing appearance.
Needed Materials
- A Set of Fairy Lights With a Broken Wire
- Wire Cutters or Scissors
- Electrical Tape or Heat Shrink Tubes
- Wire Strippers (Optional)
- Replacement Bulbs (if Necessary)
8 Steps on How to Fix Broken Fairy Light Wire
Step 1: Identify the Broken Wire
Carefully inspect the entire length of the fairy light wire to locate the damaged section. Look for visible signs of wear, such as frayed or exposed wires, cuts, or bends in the wire. Pay close attention to areas near the bulbs, as these are common points of failure due to frequent handling or strain.
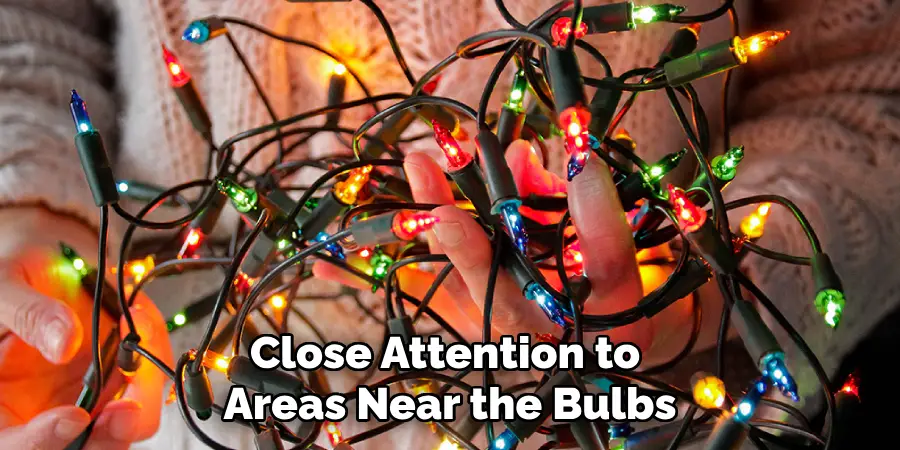
If the issue isn’t immediately visible, plug in the lights to pinpoint the non-working section, but ensure you unplug them before proceeding with any repairs. Identifying the exact location of the break is crucial to ensure a precise and effective fix.
Step 2: Cut Out the Damaged Section
Once you have identified the broken or damaged section of the wire, use wire cutters or scissors to carefully cut it out. Ensure that you make clean cuts on either side of the damaged area to provide a fresh, even edge for reconnection.
Be mindful not to remove more wire than necessary, as preserving the length of the fairy lights is important for their functionality and appearance. After cutting, double-check to make sure you have completely removed the problem area and that no frayed or broken strands remain.
Step 3: Prepare the Ends of the Wire
After cutting out the damaged section, carefully strip about half an inch of insulation from the ends of the wire using wire strippers or scissors. This will expose the inner copper or aluminum conductors, which are necessary for reconnecting the wire. Be gentle to avoid damaging the delicate wire strands underneath the insulation.
If the wires are frayed or uneven, twist the exposed strands together to create a neat and secure connection. Properly preparing the ends of the wire ensures a strong and reliable bond when reattaching the sections, reducing the risk of future issues.
Step 4: Reconnect the Wire
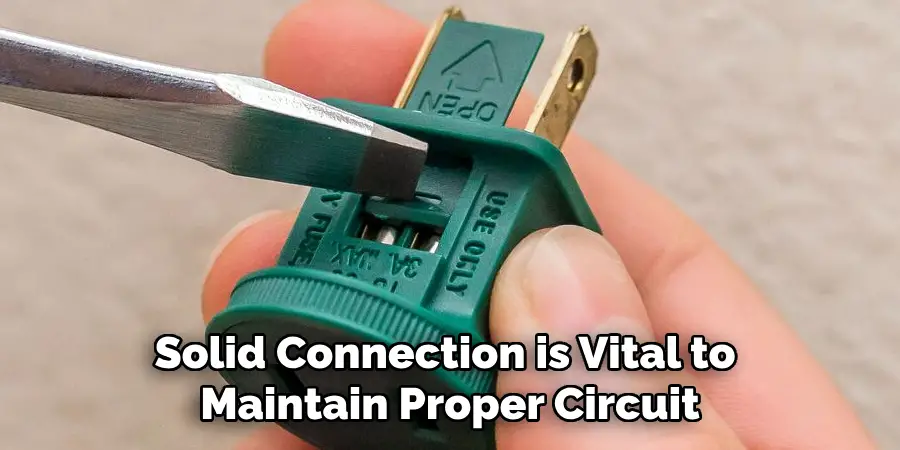
Take the two prepared ends of the wire and twist them together tightly, ensuring all exposed strands are securely connected. This can be done by hand or with pliers for a stronger grip. A solid connection is vital to maintain proper circuit flow and prevent any future breaks in the wire.
If necessary, you can also use a soldering iron to melt and fuse the wires together, creating an even stronger bond. However, this step is optional and may not be suitable for those without prior experience using a soldering iron.
Step 5: Insulate the Connection
To protect the reconnected wire from electrical hazards and potential damage, cover it with electrical tape or heat shrink tubes. Wrap the tape or tube around the exposed wire and gently heat it to seal and secure the connection. Be cautious not to overheat, as this can melt the wire insulation and cause further damage.
Alternatively, if you have a replacement bulb for the broken section, carefully insert it into place and secure it with its accompanying cover or clip. This method is suitable for those who prefer a more permanent fix and have spare bulbs on hand.
Step 6: Test the Lights
After completing all necessary repairs, plug in your fairy lights to test them out. If done correctly, all bulbs should now be lit up without any flickering or dimming. Congratulations, you have successfully fixed your broken fairy light wire!
However, if the lights still don’t work, double-check the connections and repeat the process. If the issue persists, it could be due to a faulty bulb or a more significant problem with the wiring that may require professional attention.
Step 7: Secure Any Loose Wires
After ensuring the lights are working properly, take a moment to secure any loose wires along the string. Use small pieces of electrical tape or zip ties to carefully bind the wires to the main strand, keeping them neat and preventing any future strain or accidental damage.
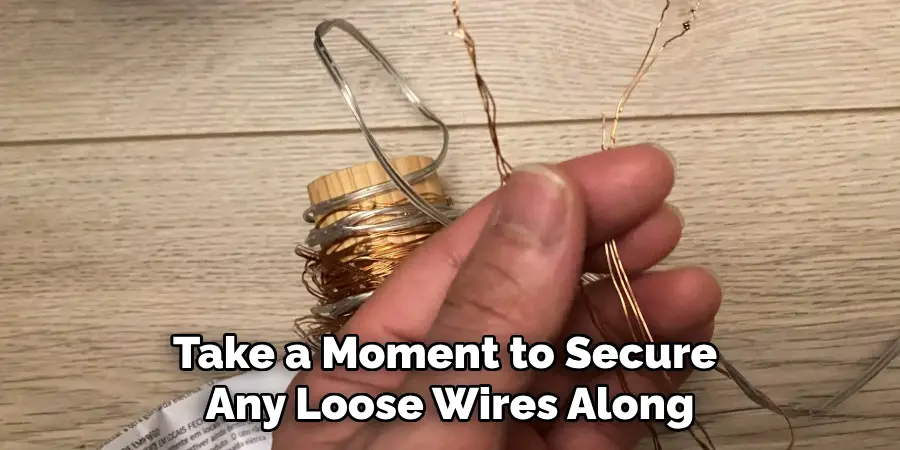
Ensure that the wires are not tightly bound, as this could cause unnecessary tension and potentially weaken the connections. Properly securing loose wires helps maintain the longevity of your fairy lights and keeps them safe for continued use in your space.
Step 8: Store Your Lights Properly
After using and repairing your fairy lights, it is essential to store them correctly to avoid any potential damage in the off-season. Keep them in a cool, dry place and avoid bending or twisting the wires excessively when packing them away.
Consider using a storage container specifically designed for string lights to keep them organized and protected from dust, moisture, and other potential hazards.
Following these steps on how to fix broken fairy light wire can help you fix broken fairy light wires and extend the lifespan of your beloved decorative lights. With proper maintenance and care, your fairy lights will continue to bring warmth, charm, and magic to any space they are used in. Happy repairing!
Preventive Maintenance Tips
To keep your fairy lights in excellent condition and minimize the likelihood of future issues, follow these simple preventive maintenance tips:
Handle With Care:
Avoid pulling, twisting, or rough handling of the wires when setting up or taking down the lights. Instead, gently untangle and arrange them to prevent strain or damage.
Avoid Exposure to Moisture:
Excessive moisture can corrode the wire and lead to shorts or breaks. When using outdoors, ensure that the lights are protected from rain, snow, or any other sources of water.
Store in a Safe Place:
When not in use, store your fairy lights away from areas with high humidity or extreme temperature changes. This will help prevent any potential damage to the wires and prolong their lifespan.
Inspect Before Use:
Before plugging in your lights, always do a quick visual inspection for any visible damage or wear on the wires. If you notice any issues, follow the repair steps mentioned above before using them.
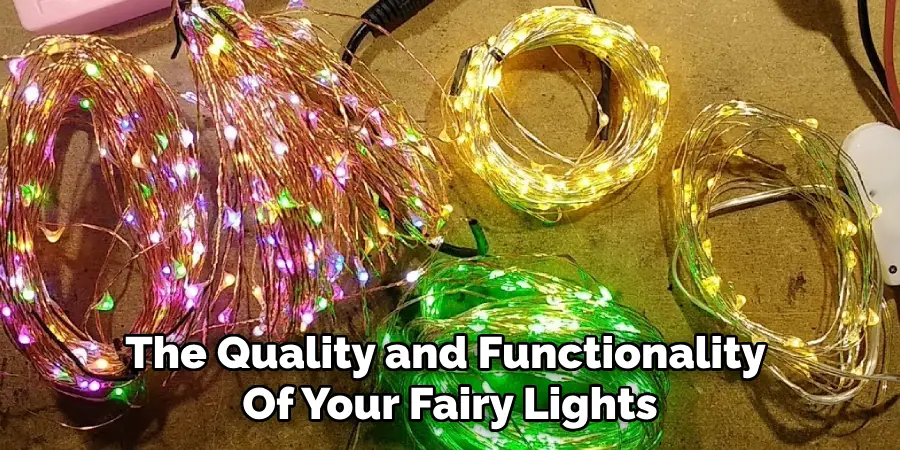
By following these simple tips, you can help maintain the quality and functionality of your fairy lights for years to come. Happy decorating!
Additional Tips
- If your fairy lights have multiple broken wires or sections, repeat the process for each damaged area.
- For added safety, use a voltage tester to ensure there is no electrical current flowing through the wire before handling or repairing it.
- Consider using LED fairy lights as they are more energy-efficient and have longer lifespans compared to traditional incandescent bulbs.
- Regularly check your fairy lights for any signs of wear and tear, and replace them if necessary to prevent potential hazards.
- Properly dispose of broken or damaged fairy lights to avoid any potential environmental impacts. Some municipalities offer recycling programs specifically for old string lights.
- Get creative with your repaired fairy lights by adding unique touches such as wrapping them around plants, mirrors, or picture frames for a personalized touch in your space.
- Use outdoor-rated fairy lights, as they are designed to withstand harsh weather conditions and last longer.
Frequently Asked Questions
Q1: Can I Use Tape or Soldering as a Permanent Fix for a Broken Fairy Light Wire?
A1: While tape and soldering can provide a temporary solution, they are not the most durable or long-lasting fix for broken fairy light wires. It is best to follow the steps outlined above for a more secure and reliable repair.
Q2: Can I Repair Outdoor Fairy Lights the Same Way?
A2: Yes, you can use the same steps to repair outdoor fairy lights. However, make sure to use outdoor-rated lights and properly waterproof any exposed connections to avoid potential hazards.
Q3: What if My Fairy Lights Are Battery-Operated?
A3: If your fairy lights are battery-operated, it may be challenging to fix them as they often have sealed wires or components that cannot be easily accessed. In this case, it may be best to replace the entire string of lights with a new one.
Conclusion
Fairy light wire may seem delicate, but with proper care and maintenance, you can easily troubleshoot and repair any breaks or damages to ensure they continue to illuminate your space beautifully. By following these steps on how to fix broken fairy light wire safely and effectively, you can save money on replacements and enjoy the magical ambiance they bring for years to come. Happy decorating!

