Stained glass lamp shades are beautiful decorative pieces that require proper care to maintain their vibrant appearance over time. However, they may accumulate dirt, grime, or even minor damage with regular use.

Restoring a stained glass lamp shade to its original beauty involves a careful and methodical approach to ensure no harm comes to the delicate glass and intricate design. This guide will walk you through the steps of how to fix a stained glass lamp shade effectively.
Common Causes of Damage
Stained glass lamp shades can be delicate, and understanding the common causes of damage can help prevent issues and extend their lifespan. One frequent cause is accidental impacts or falls, which can result in cracks or broken pieces of glass. Improper handling during cleaning or moving the lamp shade can also lead to scratches or loosened solder joints. Furthermore, exposure to excessive heat from high-wattage bulbs may weaken the solder seams or cause discoloration in the glass. Environmental factors, such as humidity or prolonged exposure to direct sunlight, can deteriorate the metal frame or fade the colors of the glass over time.
Assessing the Damage
To effectively address any issues with your stained glass lamp shade, it is important to first assess the extent of the damage. Begin by carefully inspecting the glass panels for cracks, chips, or discoloration. Pay close attention to the soldered joints, checking for any signs of separation, weakness, or corrosion. Examine the metal framework for bends, warping, or signs of rust that could compromise the structure. If the lamp shade has been exposed to heat, inspect for areas where the glass may have expanded or the colors have faded.

Tools and Materials Required
To effectively assess and repair a stained glass lamp shade, you will need the following tools and materials:
- Soft Cloths: For gently cleaning the glass and removing dust or debris without causing scratches.
- Mild Glass Cleaner: A non-abrasive cleaner specifically designed for stained glass.
- Soldering Iron: Essential for repairing damaged soldered joints or reinforcing weak areas.
- Solder: Lead-free solder is recommended for safety and durability.
- Flux: Used to prepare the joints for soldering and ensure a secure bond.
- Small Brush: For applying flux precisely to the desired areas.
- Copper Foil Tape: Necessary for reinforcing the edges of fractured glass pieces.
- Glass Cutter: For trimming replacement glass if pieces are too damaged to repair.
- Replacement Glass Pieces: Matching glass sections suited to the lamp’s original design and colors.
- Gloves: To protect your hands during cleaning and handling sharp materials.
- Masking Tape: Helpful for holding cracked pieces in place during repairs.
- Work Surface Protection: Such as a mat or board to safeguard your work area and fragile glass from damage.
10 Methods How to Fix a Stained Glass Lamp Shade
1. Assess the Damage Carefully Before Beginning Repairs
Before taking any action, begin by thoroughly examining your stained glass lamp shade to determine the extent of the damage. Look for cracked, chipped, or missing glass pieces as well as compromised solder lines or bent metal framework. It’s important to understand whether the damage is purely cosmetic or if it compromises the structural stability of the shade. Make notes, take photos, and gently rotate the shade under a good light source to check for weak points that might not be immediately visible.
2. Set Up a Safe, Clean, and Stable Workspace
Stained glass repair involves sharp tools, delicate pieces, and potentially hot soldering equipment, so creating a safe, stable work area is essential. Lay a thick towel or padded cloth on a sturdy table to prevent the lamp shade from rolling or slipping.
Make sure the surface is free from clutter, and have all your tools within reach—such as safety glasses, gloves, pliers, a soldering iron, copper foil, flux, and replacement glass. Good ventilation is also crucial, especially when soldering, as fumes can build up quickly in enclosed spaces. A calm, prepared workspace ensures precision and safety during delicate repair work.
3. Remove the Lamp Shade from Its Base and Clean It Thoroughly
Carefully detach the stained glass shade from the lamp base and any metal supports. Use a soft cloth to gently wipe away dust, soot, or grease, paying special attention to the solder joints and damaged areas. For sticky grime or waxy buildup, a mix of mild dish soap and warm water will help, but avoid soaking the shade or using harsh chemicals that could damage the patina or loosen old solder. Cleaning the shade provides better visibility for your repair work and ensures that new solder or adhesive bonds properly to the clean surfaces.
4. Identify and Replace Broken or Missing Glass Pieces
If any stained glass pieces are cracked beyond repair or missing entirely, they’ll need to be replaced with matching or complementary glass. Start by carefully removing the broken glass with needle-nose pliers, taking care not to damage adjacent pieces. Trace the shape of the missing piece onto paper or cardstock, then transfer it to your replacement glass. Use a glass cutter to score and snap the new piece to size. Smooth the edges with a glass grinder or sharpening stone to ensure a safe and precise fit before continuing to the next steps.
5. Wrap the New Glass in Copper Foil for Soldering
Once your replacement glass is cut and shaped, wrap the edges in adhesive copper foil. This foil will allow solder to bond with the glass and join it to the rest of the lamp shade. Press the foil firmly and evenly around the edge, smoothing out any air bubbles or creases with a burnishing tool or your fingernail. Make sure the foil overlaps slightly at the seam for a secure connection. The width of the foil you use should match the thickness of the original solder lines to keep the design visually consistent.
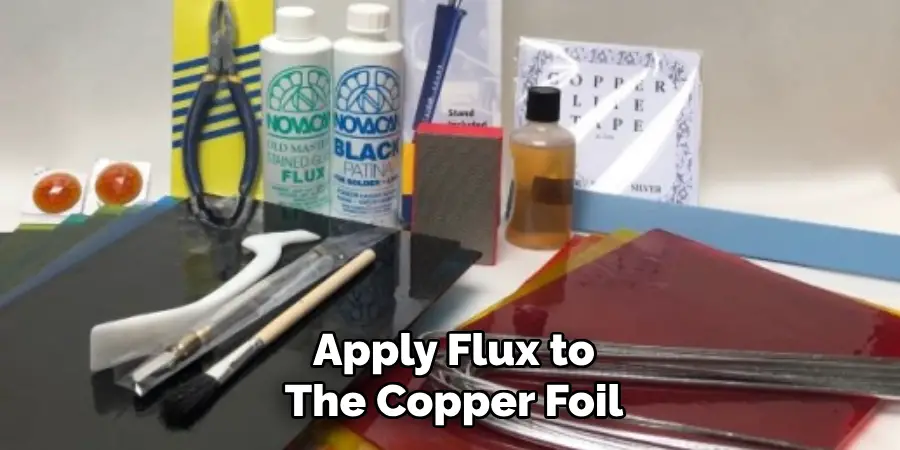
6. Apply Flux to the Copper Foil and Prepare for Soldering
After the foil is in place, apply a small amount of flux to the copper-wrapped edges using a brush or cotton swab. Flux helps the solder flow evenly and ensures a strong bond. Place the new glass piece into position within the lamp shade and verify the alignment. Heat your soldering iron, then carefully apply solder along the copper foil seam, working slowly and steadily.
Allow the solder to flow over the joint but avoid overloading it, which could result in an uneven or bulky finish. Let the solder cool naturally for a strong, seamless result.
7. Re-Solder Loose or Cracked Joints Throughout the Shade
In older stained glass lamp shades, you may find multiple areas where the solder joints have cracked, thinned, or separated entirely. Go around the shade and inspect each joint, especially near stress points like the top ring or bottom rim. Reapply flux to any weakened solder lines, then re-solder using fresh solder to reinforce and reconnect the joints. This not only restores structural integrity but also prevents future breakage. Smooth the solder lines with a steady hand to maintain the lamp’s original aesthetics.
8. Restore or Replace the Support Frame if Bent or Loose
The metal framework that supports the stained glass—usually made of copper, brass, or zinc—can sometimes bend or loosen over time. If sections of the frame are misaligned, gently bend them back into shape using padded pliers. For severely damaged frames, you may need to solder new reinforcing strips in place or consult a metalsmith for replacement parts. Ensuring the frame is stable is crucial to support the weight of the glass, especially if the lamp is frequently moved or adjusted.
9. Touch Up Patina and Polish for a Finished Look
Once repairs are complete and all solder has cooled, you may notice that the new solder lines are brighter than the rest of the lamp. To match the old with the new, apply a patina solution using a soft cloth or brush. Black or copper patina is most common for stained glass lamps and will blend the new solder lines seamlessly into the original design. After the patina sets, polish the entire shade with a soft cloth and a non-abrasive stained glass wax or cleaner to enhance its shine and protect the finish.
10. Reassemble the Lamp and Test Its Stability and Glow
With repairs completed and the shade polished, reattach it to the lamp base. Make sure the shade sits securely and doesn’t wobble or shift. Insert a bulb with the appropriate wattage—too high and it could overheat the glass; too low and it may not show off the glass’s beauty. Turn on the lamp and admire your work, noting how the light plays through the freshly repaired stained glass. A properly restored lamp not only recaptures its original charm but also stands as a testament to your patience and craftsmanship.
Conclusion
Restoring a stained glass lamp is a rewarding process that combines careful attention to detail with artistic expression. Hopefully, this article gave you some helpful tips about how to fix a stained glass lamp shade successfully, so now that you have the proper knowledge on how to get the job done, why not give it a try today?

