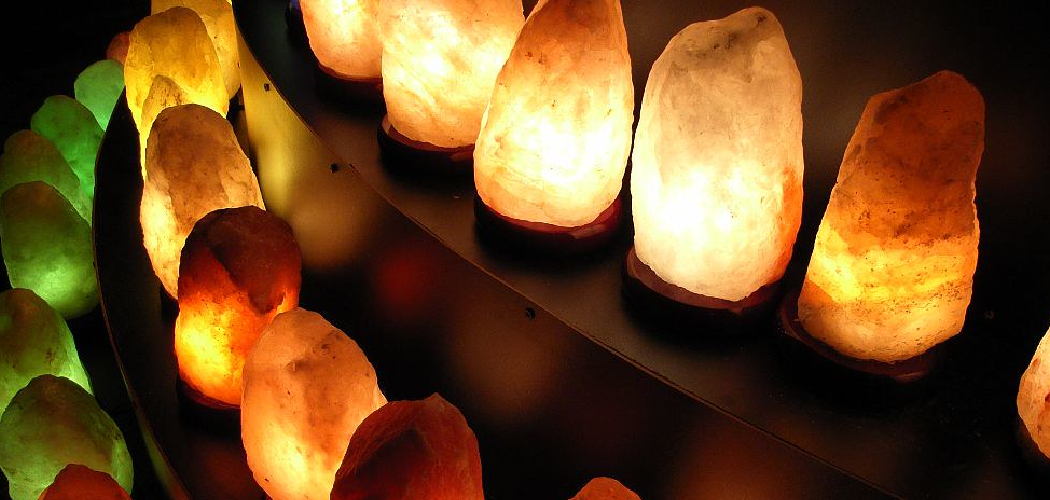
Salt lamps are a popular item these days, touted for their healing and purifying benefits. However, these lamps can sometimes experience issues that can affect their function or appearance. If you’re experiencing problems with your salt lamp, don’t fret! Salt lamps have become increasingly popular in recent years due to their aesthetic appeal and reported health benefits.
These lamps are made from natural Himalayan salt crystals and are believed to purify the air, reduce allergens, and provide a calming ambiance. However, like any other household item, salt lamps may encounter some issues over time that require fixing. In this guide, we will discuss the steps on how to fix a salt lamp.
Necessary Items
Before we dive into the steps, you’ll need to gather some essential items to fix your salt lamp. These may include:
- A clean cloth or sponge
- Distilled water
- A lightbulb that fits your salt lamp’s socket
- A small screwdriver (if needed)
- Replacement parts (if necessary)
What is a Salt Lamp?
First, let’s start with a quick overview of what a salt lamp actually is. As mentioned earlier, salt lamps are made from natural Himalayan salt crystals that are hand-carved into different shapes and sizes. The lamp has a hollowed-out portion in the center where you can place a lightbulb to provide warmth and emit a soft glow.
The heat from the lightbulb is said to activate the salt lamp’s purifying properties by releasing negative ions into the air. These negative ions are believed to neutralize harmful particles, such as allergens and pollutants.
8 Things to Know Before You Start
1. Check the Power Source
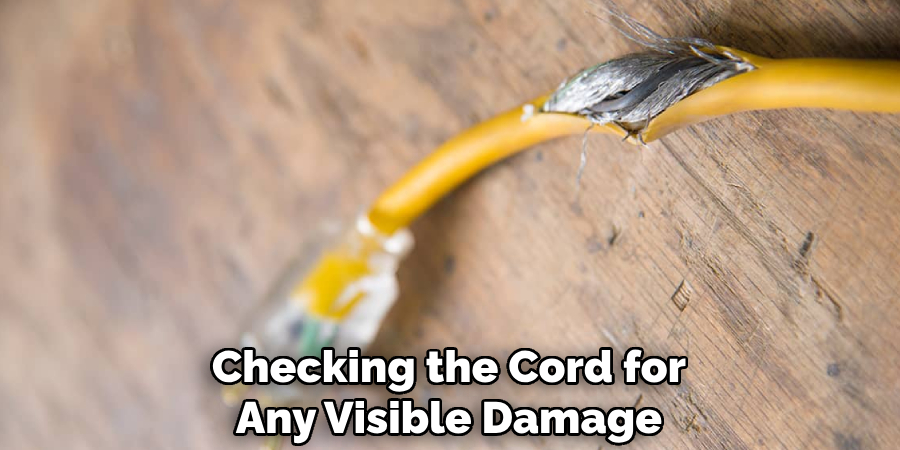
Before fixing your salt lamp, make sure that it’s not just a problem with the outlet or cord. Try plugging it into a different outlet or checking the cord for any visible damage. If your salt lamp still doesn’t turn on, then proceed with the following steps.
2. Understand the Different Types of Salt Lamps
There are three main types of salt lamps: natural, shaped, and basket. Natural salt lamps are made from large chunks of Himalayan salt crystals, while shaped salt lamps are carved into specific shapes like spheres or pyramids. Basket salt lamps contain smaller chunks of salt crystals and are placed in a wire basket. Knowing which type you have will help you better understand how to fix it.
3. Identify the Issue
Before attempting any fixes, identify the specific issue with your salt lamp. Is the light bulb burned out? Is there visible damage to the cord or socket? Has the salt crystal become dislodged or cracked? Knowing the issue will help you determine what steps to take.
4. Be Gentle with Your Salt Lamp
Salt lamps are delicate and should be handled with care. Avoid dropping or hitting your salt lamp, as this can damage the crystal or cause it to crack. Handle the lamp gently when moving it from one location to another.
5. Regularly Clean Your Salt Lamp
We recommend regularly cleaning your salt lamp with a clean cloth or sponge and distilled water. This will help remove any dust or debris that may have accumulated on the salt crystal, which can affect its appearance and function.
6. Check for Moisture Build-Up
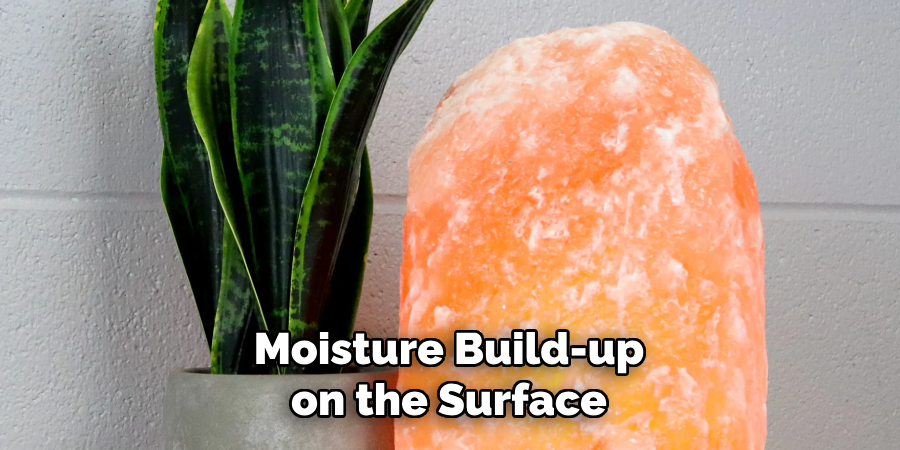
Salt lamps are made from hygroscopic materials, meaning they absorb moisture from the air. This can sometimes cause moisture build-up on the surface of the salt crystal, which can lead to discoloration or damage over time. If you notice any moisture, pat it dry with a clean cloth and place your lamp in a well-ventilated area.
7. Use Appropriate Light Bulbs
Salt lamps typically use low-wattage bulbs, usually between 7-15 watts. Using a higher-wattage bulb can cause the salt crystal to become too hot and may damage it. Always check the recommended bulb wattage for your specific salt lamp.
8. Know When to Replace Your Salt Lamp
Unfortunately, salt lamps do not last forever. Over time, the salt crystal will gradually shrink and may eventually need to be replaced. If your salt lamp has reached the end of its lifespan, it’s best to replace it with a new one.
Fixing a salt lamp may seem intimidating, but with the right knowledge of how to fix a salt lamp and tools, it can be a straightforward process. Remember to handle your salt lamp carefully, regularly clean it, and use appropriate light bulbs to ensure its longevity. With these tips in mind, you can continue to enjoy the benefits of your salt lamp for years to come. So don’t give up on your salt lamp just yet – try these steps to fix it and reap its health benefits for a little while longer.
10 Steps on How to Fix a Salt Lamp
Step 1: Replace the Light Bulb
If your salt lamp isn’t turning on, the first step is to check the light bulb. Turn off and unplug the lamp, then remove the old bulb and replace it with a new one of the appropriate wattage. Make sure that it’s screwed in tightly.
Step 2: Inspect the Cord
Next, inspect the cord for any visible damage, such as cracks or frayed wires. If you find any, it’s best to replace the cord entirely to avoid any potential hazards. You can purchase a new cord from most hardware stores or online.
Step 3: Check the Socket
If there are no issues with the bulb or cord, then check the socket itself. Sometimes, dirt or debris may get stuck in the socket, preventing the bulb from making proper contact. Use a clean cloth or compressed air to remove any obstructions.
Step 4: Tighten Loose Parts
If you have a shaped or basket salt lamp, check for any loose parts that may be affecting its stability. Using a small screwdriver if needed, tighten any screws or bolts that may have come loose over time.

Step 5: Reattach Dislodged Salt Crystals
If your salt lamp has any dislodged crystals, you can carefully reattach them using clear-drying glue. Be gentle and take your time to ensure a secure attachment. When the glue is dry, you can turn the lamp back on.
Step 6: Fix Cracked Salt Crystals
In some cases, your salt crystal may have cracked or broken. If this happens, you can fill in any cracks with clear-drying glue and sprinkle some extra salt crystals over it to disguise the repair. But keep in mind that this may not be a permanent fix, and your salt lamp may need to be replaced eventually.
Step 7: Replace Damaged Parts
If any parts of your salt lamp, such as the base or wire basket, are damaged beyond repair, you can purchase replacement parts from most hardware stores or online. Just make sure they are compatible with your specific type of salt lamp.
Step 8: Check for Loose Wires
If your lamp has a dimmer switch or other added features, check for any loose wires that may be affecting its function. Make sure all connections are secure and in good condition. And as always, handle with care.
Step 9: Consider Professional Repair
If you’re not comfortable fixing your salt lamp yourself or if the issue seems more complex, consider taking it to a professional for repair. They will have the necessary knowledge and tools to fix any problems and ensure their safety.
Step 10: Know When It’s Time to Say Goodbye
Despite your best efforts, sometimes a salt lamp may be beyond repair. If you’ve exhausted all options and it still doesn’t work or is no longer aesthetically pleasing, it may be time to replace it with a new one. Remember to properly dispose of the old lamp by recycling or donating it if possible.
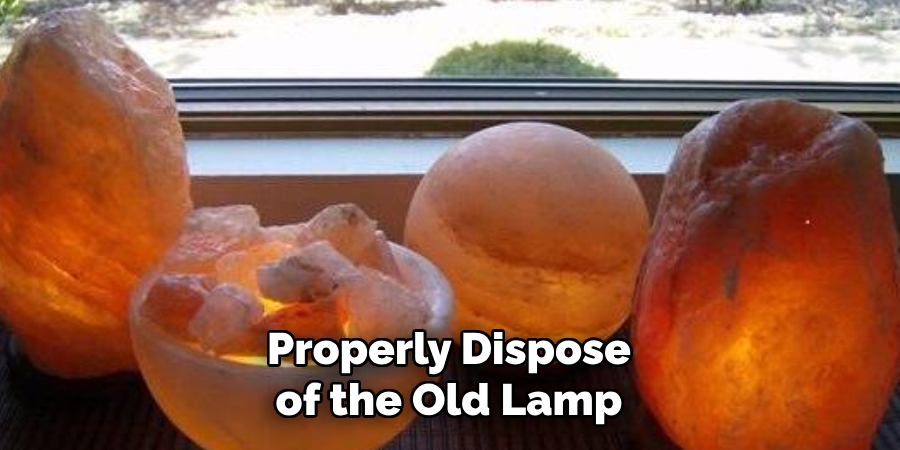
Salt lamps are not only beautiful decorative pieces but also offer various health benefits. With proper care and maintenance, they can last for a long time. But if your salt lamp does run into any issues, don’t fret. By following these steps on how to fix a salt lamp, you can try to fix it before considering a replacement. Remember to always handle your salt lamp with care and enjoy its soothing glow in your home or workspace.
8 Things to Avoid When Using a Salt Lamp
1. Placing it in High Humidity Areas
As mentioned earlier, salt lamps are made from hygroscopic materials and can absorb moisture from the air. Placing them in high-humidity areas like bathrooms or kitchens may cause damage or discoloration over time.
2. Exposing it to Water or Liquids
Salt lamps should not be exposed to water or other liquids as they may dissolve the salt crystal and damage the lamp. If any moisture does come into contact with your salt lamp, pat it dry immediately. While salt lamps are known for their air-purifying properties, they should not be used as a source of hydration.
3. Placing it on Unstable Surfaces
Salt lamps can be heavy and may cause damage if placed on unstable surfaces or near the edge of a table or shelf. Make sure to place your lamp on a stable and sturdy surface to avoid accidents.
4. Ignoring Regular Cleaning
It’s important to regularly clean your salt lamp to remove any dust or debris that may accumulate on its surface. This will not only keep it looking its best but also ensure its effectiveness in purifying the air.
5. Using High Wattage Bulbs
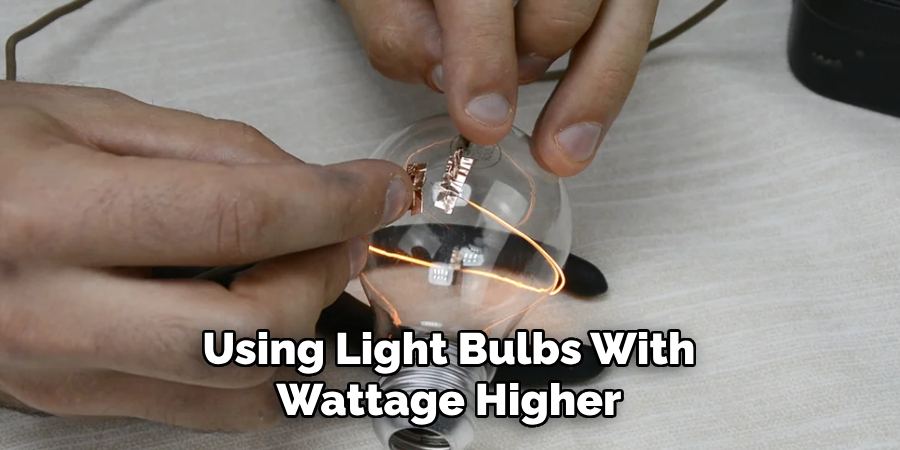
Using light bulbs with wattage higher than recommended can cause the salt crystal to heat up and melt, potentially damaging the lamp. Always use the appropriate wattage for your specific salt lamp. If you prefer a brighter light, consider purchasing a larger salt lamp instead.
6. Not Replacing the Light Bulb
As mentioned earlier, if your salt lamp is not turning on, one of the first things to check is the light bulb. Regularly replacing burnt-out bulbs will ensure that your salt lamp continues to function properly.
7. Placing it in Direct Sunlight
Direct sunlight can cause the salt crystal to fade and lose its color over time. It’s best to place your salt lamp in indirect or diffused light for optimal results. When not in use, store your salt lamp in a cool and dry place.
8. Disregarding Safety Precautions
Salt lamps are generally safe to use, but it’s important to follow safety precautions, like keeping them away from flammable materials and not using them as a heat source. Additionally, always unplug the lamp before handling or cleaning it. By following these precautions on how to fix a salt lamp, you can enjoy the benefits of your salt lamp without any safety concerns.
That’s it for our guide on how to fix common issues with salt lamps and what to avoid when using them. With proper care and maintenance, your salt lamp will not only provide a warm and soothing ambiance but also help purify the air in your home or workspace.
8 Additional Tips for Caring for Your Salt Lamp
1. Rotate the Bulb and Crystal
To ensure even wear on both sides of your salt lamp, rotate the bulb and crystal every few weeks. This will prevent one side from getting too hot or worn out. Never handle the bulb or crystal when they are hot.
2. Use a Soft, Damp Cloth for Cleaning
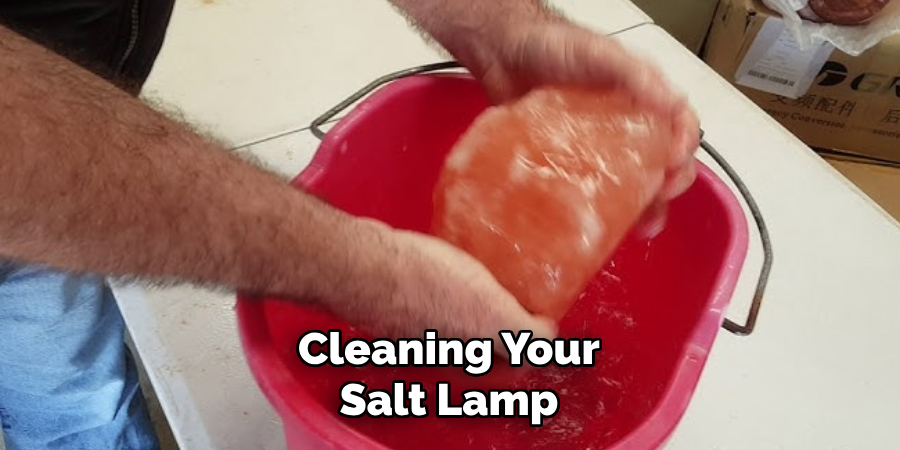
When cleaning your salt lamp, use a soft, damp cloth to gently wipe away any dust or debris. Avoid using harsh chemicals or abrasive materials as they may damage the surface of the salt crystal. Soaking the lamp in water is also not recommended.
3. Keep it Away from Children and Pets
Salt lamps are fragile and may pose a choking hazard if broken. Make sure to keep them out of reach of children and pets who may accidentally knock them over or try to play with them. And remember to always handle your salt lamp with care.
4. Consider Using a Timer
If you like to keep your salt lamp on for extended periods of time, consider using a timer to avoid overheating or potential fire hazards. You can also use a dimmer switch to adjust the brightness and intensity of the lamp as needed.
5. Display it in Multiple Rooms
While most people keep their salt lamps in one room, you can also display them in multiple rooms throughout your home to enjoy their benefits. Just make sure to care for and maintain each lamp properly.
6. Avoid Placing it Near Electronics
Salt lamps emit small amounts of negative ions, which may interfere with electronic devices like computers or televisions if placed too close. Keep a safe distance between your salt lamp and any electronic equipment.
7. Use a Cover or Tray Underneath
Some salt lamps may have a tendency to leave behind small particles or moisture on the surfaces they are placed on. To protect your furniture, consider using a tray or cover underneath the lamp. While this may not be necessary for all lamps, it’s better to be safe than sorry.
8. Trust Your Instincts and Replace if Needed
If you notice any major issues with your salt lamp or feel like it is no longer functioning properly, trust your instincts and consider replacing it. A new salt lamp will provide the same benefits and may even last longer than a damaged or worn-out one.
Remember, proper care and maintenance are key to enjoying the full benefits of your salt lamp. By following these tips and avoiding common mistakes, you can continue to enjoy the calming ambiance and air-purifying qualities of your salt lamp for years to come.
FAQs – Frequently Asked Questions
Can I Use My Salt Lamp as a Night Light?
Yes, salt lamps emit a soft and warm glow that can be used as a gentle night light. Just make sure to use an appropriate wattage light bulb and follow safety precautions.

Will My Salt Lamp Melt?
Salt lamps are made from a natural material that can withstand heat, but excessive heat exposure can cause it to melt or crack. It’s important to use the correct wattage light bulb and avoid placing your lamp in direct sunlight or on unstable surfaces.
How Often Should I Clean My Salt Lamp?
It’s recommended to clean your salt lamp once a week to remove any dust or debris. This will help maintain its appearance and effectiveness in purifying the air.
Can I Use a Salt Lamp in Every Room of My Home?
Yes, you can use a salt lamp in every room of your home as long as you properly care for and maintain each lamp. Just make sure to avoid placing them too close to electronic devices and keep them out of reach of children and pets. Conclusion
Congratulations, you are now equipped with the knowledge to care for your salt lamp properly! By avoiding common mistakes and following our tips, you can enjoy the soothing ambiance and air-purifying benefits of your salt lamp for a long time.
Remember to regularly check and replace the light bulb, keep your lamp out of direct sunlight, and handle it with care. If you have any other questions or concerns, consult our FAQs section or contact the manufacturer for more information.
Conclusion
Salt lamps are not only popular for their aesthetic appeal, but also for their potential health benefits. With proper care and maintenance, you can enhance these benefits and enjoy the soothing ambiance and air-purifying qualities of your salt lamp.
Remember to avoid placing it in direct sunlight, regularly clean it with a soft cloth, and handle it with care. By following our additional tips on how to fix a salt lamp and frequently asked questions, you can ensure your salt lamp lasts for years to come.

