Pull cord lights are a convenient lighting solution commonly found in closets, garages, basements, and bathrooms. These lights provide an easy and accessible way to illuminate spaces where installing a traditional switch may not be feasible. However, despite their convenience, pull cord lights can occasionally malfunction due to various reasons. Common issues include wear and tear over time, resulting in frayed or broken cords or a faulty switch mechanism that prevents the light from turning on or off effectively.
The good news is that learning how to fix a pull cord light is a straightforward task that most people can handle without professional help. It is crucial to emphasize the importance of safety during this process, which starts by ensuring the power to the light fixture is turned off before beginning any repair work. Fixing a pull cord light with a few simple tools and steps can be a quick and uncomplicated process.
Tools and Materials Needed
To effectively repair a pull cord light, gather the following tools and materials before starting the task:
- Replacement Pull Cord (if broken): Ensure to purchase a suitable replacement pull cord, available at most hardware stores, to replace any frayed or snapped cords.
- Screwdriver: A screwdriver is essential for opening the light fixture and gaining access to the internal components. Selecting the right type, either Phillips or flathead, depends on the screws used in the fixture.
- Wire Strippers: These are necessary if you find that you need to address any wiring issues by stripping the insulation to make fresh connections.
- Electrical Tape: Use electrical tape to secure any new or existing electrical connections, providing safety and preventing exposure to live wires.
- Replacement Light Switch (if necessary): Have a compatible replacement switch on hand if the fault lies with the switch mechanism.
- Voltage Tester: It is crucial to employ a voltage tester to ensure that there is no electrical current present before beginning work, ensuring a safe repair process.
Diagnosing the Problem
Step 1: Check the Cord
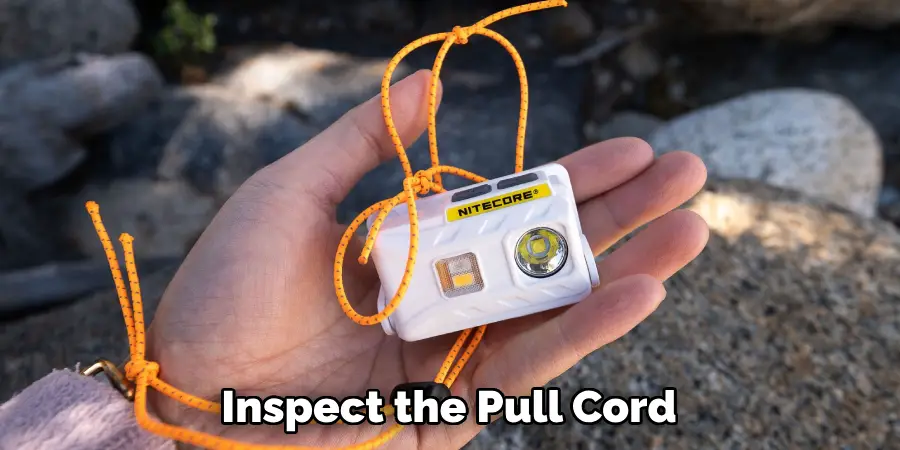
Inspect the pull cord to see if it’s visibly frayed, snapped, or stuck inside the switch mechanism. A broken cord is a common cause of malfunction, and it may need replacing. Pay attention to how the cord moves—if it’s sticking or not retracting correctly, the internal mechanism might be jammed.
Step 2: Test the Light Bulb
Before proceeding with any internal repairs, check if the light bulb is working by replacing it with a known functioning bulb. Sometimes the issue is as simple as a burned-out bulb. It’s a quick step that can save time if the problem is as basic as requiring bulb replacement.
Step 3: Test the Electrical Circuit
Use a voltage tester to ensure power is reaching the light fixture. If the circuit is dead, the issue could be with the wiring or breaker and may require an electrician’s help. Ensuring there is no live current before continuing is crucial for safety.
Step 4: Check the Switch
If the cord isn’t the issue, the pull switch mechanism inside the light fixture might be faulty. Ensure the switch clicks properly and doesn’t feel loose or jammed. If the switch mechanism feels off, it may need a replacement to restore proper functionality to your pull cord light.
How to Fix a Pull Cord Light: Fixing a Broken Pull Cord
Step 1: Turn Off the Power
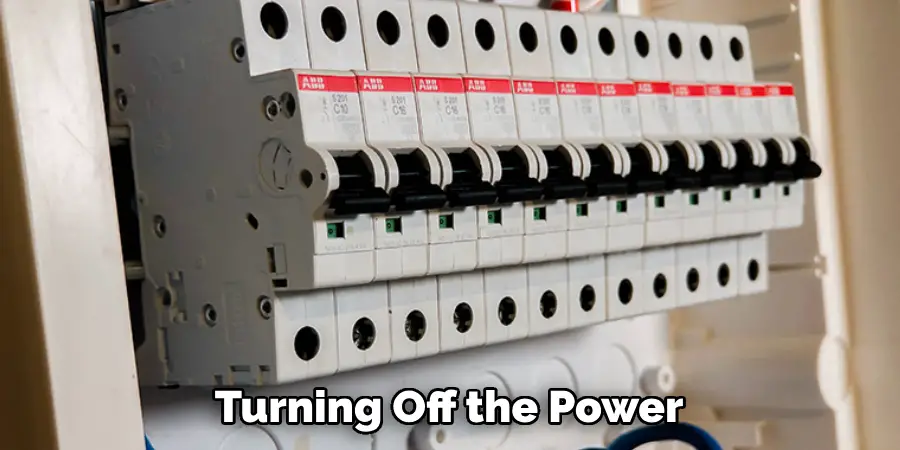
Switch off the power at the circuit breaker to avoid electrical shock. Use a voltage tester to confirm that the power is off. Ensure no electrical current is present before proceeding with the repair.
Step 2: Remove the Light Fixture Cover
Use a screwdriver to remove the light cover or dome, exposing the pull cord mechanism and internal wiring. Carefully set aside the cover and screws in a safe place to avoid misplacing them.
Step 3: Replace the Pull Cord
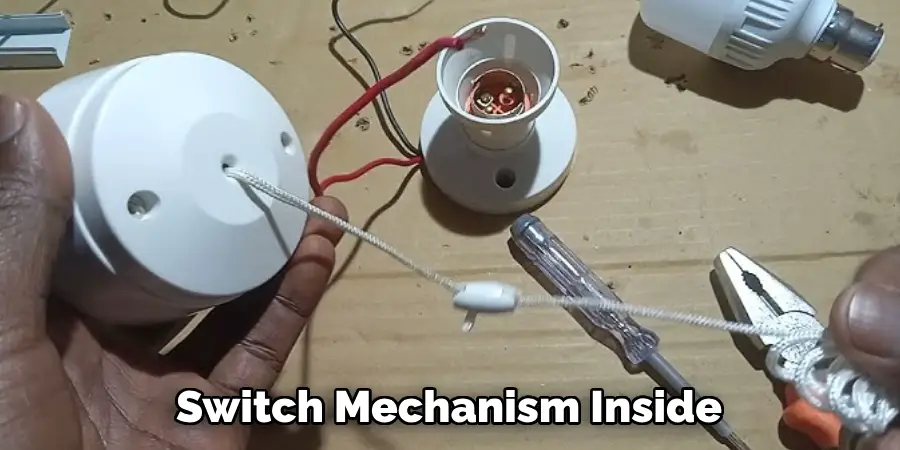
If the pull cord is frayed or broken, you can simply replace it. Remove the old cord by detaching it from the switch mechanism. Thread the new pull cord through the hole in the light fixture. Tie a knot at the end to secure it in place, ensuring that the knot is large enough to prevent the cord from slipping through. Double-check that the cord is the appropriate length and that it moves smoothly when pulled, without any snags or resistance.
Step 4: Test the Cord
Once the new cord is in place, test it by pulling it several times. It should click and operate the light without any resistance. The replacement is successful if the cord feels smooth and the light responds correctly. Reattach the fixture cover once the cord is working properly, ensuring all screws are tightened securely. This ensures the newly fixed pull cord light is both functional and safe to use.
How to Fix a Pull Cord Light: Replacing the Pull Cord Switch
If you’ve determined that the pull cord switch itself is the source of the problem, you’ll need to replace it. Follow these steps to safely and effectively install a new pull switch:
Step 1: Turn Off the Power
As with all electrical work, start by turning off the power to the circuit to prevent the risk of electric shock. Use a voltage tester to verify that no current is flowing to the fixture. This step is essential to ensure your safety while performing the repair.
Step 2: Remove the Light Fixture
Carefully unscrew the light fixture from the ceiling or wall. As you remove the fixture, gently pull it down to access the wiring inside. Be cautious not to damage any wires while handling the fixture.
Step 3: Disconnect the Wires
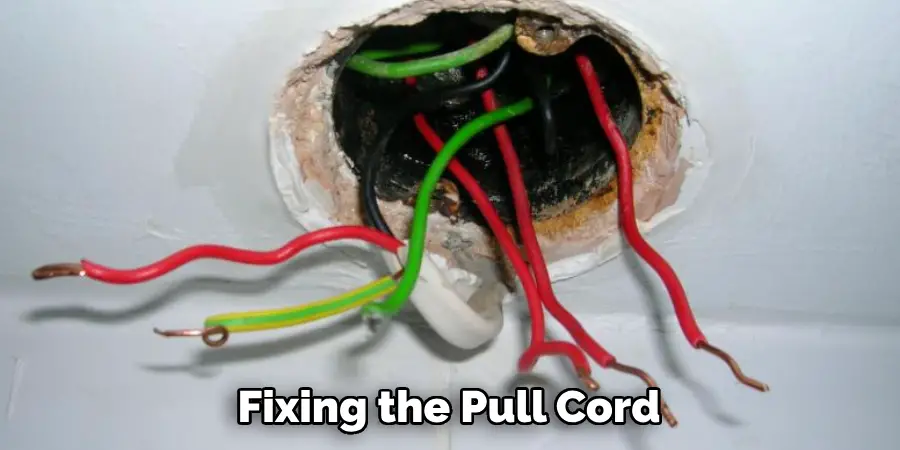
Locate the two wires connected to the pull cord switch. One wire is typically linked to the power supply, while the other connects the switch to the light bulb. If necessary, use wire strippers to expose the ends of the wires, and then disconnect them by loosening the screws on the switch or removing any wire nuts that may be securing the connections.
Step 4: Install the New Pull Switch
Attach the wires to the new pull switch following the same configuration as the old switch. Typically, this requires connecting the live wire (black) to one terminal and the neutral wire (white) to the other terminal. Secure the connections by tightening the screws on the new switch or employing wire nuts to hold the wires in place. Ensure that no wires are exposed to eliminate any potential safety hazards.
Step 5: Mount the Fixture
With the new switch installed, carefully push the wires back into the ceiling or wall and re-mount the light fixture. Check that the pull cord is hanging correctly and moves freely when pulled. It should operate smoothly without any obstructions.
Step 6: Test the New Switch
Finally, turn the power back on at the circuit breaker. Test the new switch by pulling the cord to ensure it is functioning correctly. The light should toggle on and off seamlessly. If there are no issues, the replacement is successful, and you can safely enjoy your newly repaired pull cord light.
Troubleshooting Additional Issues
Issue 1: Flickering Light
If the light flickers after the pull cord is fixed, it could indicate a problem with the wiring or the bulb socket. Begin by ensuring that all wire connections are tight and secure, as loose connections can cause intermittent faults in the electrical circuit. Additionally, replace the light bulb with a new one to rule out the possibility of a faulty bulb being the cause of flickering. If the issue persists, inspect the socket for any signs of corrosion or damage that may require further attention.
Issue 2: Light Won’t Turn On
If your light refuses to turn on after fixing the pull cord, double-check that the switch is correctly connected and securely in place. Also, verify that the fixture’s power supply is active using a voltage tester. Should the light remain unresponsive, it might indicate a larger issue with the electrical circuit, such as a tripped breaker or faulty wiring, and it would be wise to consult a professional electrician for diagnosis and repair.
Issue 3: Stiff Pull Cord
Obstructions within the fixture or switch mechanism might hinder a new pull cord that is difficult to use. Inspect the internal components for any foreign objects or misaligned parts that could impede movement. Applying a small amount of soap to the cord can act as a lubricant, facilitating smoother operation. Should the problem continue, a closer examination of the fixture assembly may be necessary to ensure proper alignment and clearance.
Conclusion
Fixing a pull cord light is a straightforward task that can often be completed with basic tools and a little patience. From replacing a broken cord to installing a new switch, the steps are clear and manageable, allowing homeowners to address common issues efficiently. However, it’s crucial to prioritize safety when working with electrical fixtures. Always disconnect the power supply and use a voltage tester to ensure no current is flowing before starting the repair.
Carefully check all connections and test the light to confirm everything is functioning correctly before declaring the job complete. If any issues persist or appear more complicated, understanding “how to fix a pull cord light” should include knowing when to seek professional assistance. A licensed electrician can provide the needed expertise to ensure your home remains safe and functional.

