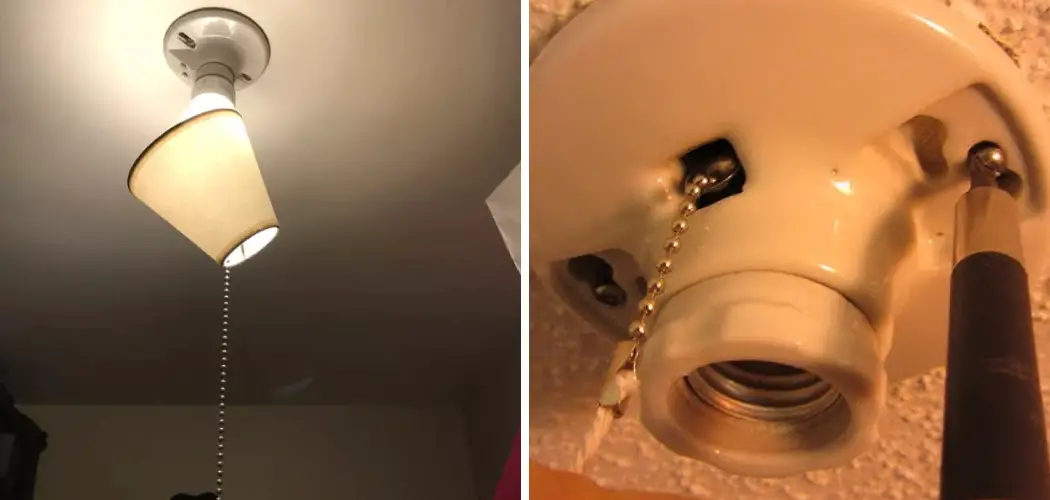
Pull chain light fixtures are a popular and practical choice, commonly found in ceiling lights and ceiling fans. These fixtures are valued for their simplicity and convenience, allowing users to control lighting with a simple chain tug.
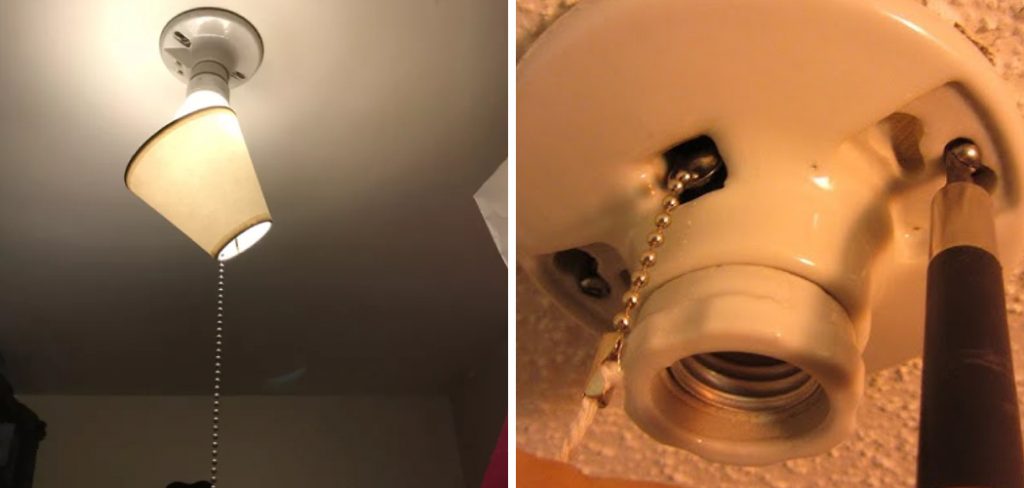
However, due to frequent use, natural wear and tear, or issues within the internal mechanism, pull chains can eventually malfunction or break. When this occurs, it can render the light fixture unusable and create frustration. This article is designed to provide a clear and comprehensive step-by-step guide on how to fix a pull chain on a light fixture.
By following these instructions, you can diagnose the issue accurately and repair it safely and effectively. Whether the problem lies in a worn-out chain, a broken switch, or another common issue, this guide will help you address the issue and restore functionality to your pull chain light fixture.
Understanding How a Pull Chain Mechanism Works
Basic Function
A pull chain mechanism utilizes a simple yet effective interaction between the chain and the switch inside the light fixture. When pulled, the chain triggers a mechanical switch, opening or closing the circuit to turn the light on or off. This straightforward design makes pull chain fixtures reliable and convenient for many applications, especially in areas without wall switches.
Common Components
The pull chain mechanism comprises several key components that work together seamlessly. These include the chain, the internal switch, the bulb socket, and the electrical wiring.
The chain connects to the switch externally, while the socket and wiring ensure the electrical current flows correctly to the bulb. Each component plays a crucial role in maintaining the light’s functionality.
Typical Issues
Over time, pull chain fixtures may encounter various issues. Common problems include a broken chain, a stuck switch mechanism, or a faulty internal switch. Failure symptoms may include the chain failing to produce a clicking sound, the chain pulling out of the fixture without control, or the light not responding to the pull action.
Identifying these symptoms can help you troubleshoot the problem effectively.
Safety First: Preparing to Work on the Fixture
Safety should always be your top priority when working on a pull chain light fixture. Electrical repairs can be dangerous if proper precautions are not taken, so following these steps will help ensure a safe and efficient process.
Turn Off Power
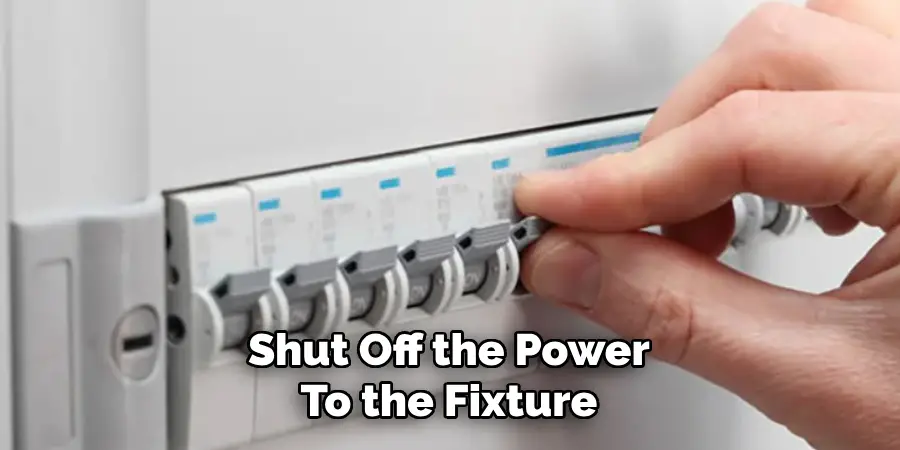
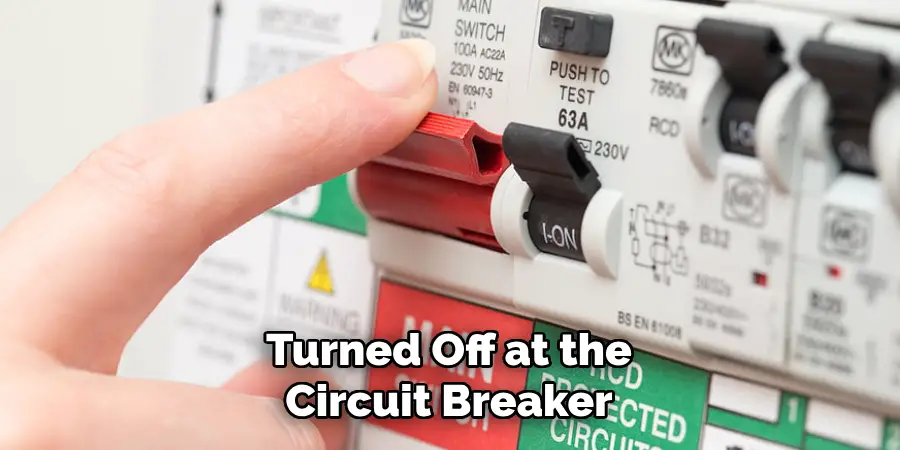
Before starting, it is crucial to shut off the power to the fixture at the circuit breaker, not just the wall switch. Wall switches may not completely cut electrical flow, leaving the fixture live and hazardous. Confirm the correct breaker has been turned off to avoid any accidents.
Testing for Live Wires
After turning off the breaker, you should test the fixture for live wires using a non-contact voltage tester. This step ensures no residual or unexpected electrical current remains, which could pose a serious risk during the repair.
Gathering Tools and Materials
Prepare all necessary tools and materials before beginning the repair. Standard items include screwdrivers, a replacement switch or chain, needle-nose pliers, and electrical tape. Having everything ready beforehand will make the process smoother and more efficient.
Using a Stable Work Area
Choose a stable work area to prevent accidents. Use a secure ladder to reach the fixture safely, ensure the area is well-lit, and clear any obstacles beneath the fixture to create a clutter-free environment. Taking these precautions will reduce potential risks and streamline your repair process.
How to Fix a Pull Chain on a Light Fixture: Accessing the Switch
Taking Off the Fixture Cover
Begin by ensuring the power to the light fixture is turned off at the circuit breaker to prevent any accidents. Carefully inspect the fixture to identify how the cover is attached; common types include screw-in domes, snap-on covers, or fixtures held by threaded knobs. Use a screwdriver, if required, to gently loosen screws or hardware securing the cover.
If the cover is a twist-off type, hold it firmly and rotate counterclockwise until it detaches. Place the cover in a safe spot to avoid damage or misplacement during repair.
Detaching the Fixture (If Needed)
If accessing the switch requires further disassembly, you may need to unscrew the fixture base from the ceiling or wall. Scrutinize the fixture for visible mounting screws or brackets, and use the appropriate screwdriver to remove them.
Support the fixture with your other hand while unscrewing to ensure it does not fall. Once detached, gently lower the fixture to expose the wiring and the internal components.
Identifying the Pull Chain Switch
Locate the pull chain switch within the exposed interior of the light fixture. This component is typically connected directly to the chain you pull; wires extend outward to the rest of the electrical system. The switch is usually small and cylindrical, positioned near the base where the chain exits the fixture.
Documenting the Wiring Layout
Before disconnecting any wires, take a moment to document the existing wiring configuration. Use your phone to clearly describe the wiring layout or label each wire with tape to indicate its current connection. This step ensures an easy and accurate reassembly later on, reducing the chance of errors when reattaching the components.
Replacing or Repairing the Pull Chain Switch
Inspecting the Damage
The first step in repairing or replacing a pull chain switch is scrutinizing the damage. Determine if the issue stems from the chain being stuck or disconnected, or if the switch itself is broken.
A stuck chain may simply require lubrication or gentle adjustment, while a disconnected chain might need reattachment. If the switch is unresponsive or visibly damaged, it must likely be replaced to restore proper function.
Replacing the Switch
If the switch requires replacement, turn off the fixture’s power supply to ensure safety. Next, remove the screws or fasteners holding the faulty switch in place. Carefully disconnect the wires connected to the old switch, noting their configuration. Use the picture or labeling from earlier documentation as a guide to match the wire configuration for the new switch.
Attach the wires from the new switch to the fixture’s wiring, ensuring secure and proper connections. Once the wiring is complete, secure the new switch back into place using the original screws or fasteners.
Fixing or Reattaching a Chain
If the chain has simply detached from the mechanism, fixing it without replacing the switch may be possible. Open the switch housing and locate where the chain needs to be reattached. Carefully reinsert or connect the chain, ensuring it operates smoothly once in place. If the existing chain is damaged, consider replacing it with one of a similar size and design.
Testing the Mechanism Before Reassembly
Before fully reassembling the fixture, temporarily restore power to test the new or repaired pull chain switch. Pull the chain gently to confirm the mechanism operates correctly and the light fixture responds as expected.
Once tested, turn the power back off, finalize the reassembly, and secure all components. Testing the mechanism beforehand ensures functionality and prevents the need for additional disassembly later.
Reassembling the Fixture and Testing
Reconnecting the Fixture
Begin by carefully reconnecting the wires, ensuring each connection is secure and properly insulated. Double-check that the wire nuts are tightly screwed on and no copper wires are exposed to prevent any electrical hazards. Once the wiring is complete, gently place the connected wires back into the fixture housing, ensuring no wires are pinched or crimped.
Replacing Covers or Domes
Next, reinstall the fixture’s covers or domes, aligning them properly with its base. Use the screws or clips provided to secure the covers tightly, but avoid over-tightening, as this could damage the components. Ensure the glass or plastic cover is positioned correctly for an even and neat appearance.
Restoring Power and Final Test
After reassembly, restore power to the fixture by switching the circuit breaker back on. Test the pull chain by gently pulling it multiple times, verifying the light operates consistently and cycles correctly through its on and off positions.
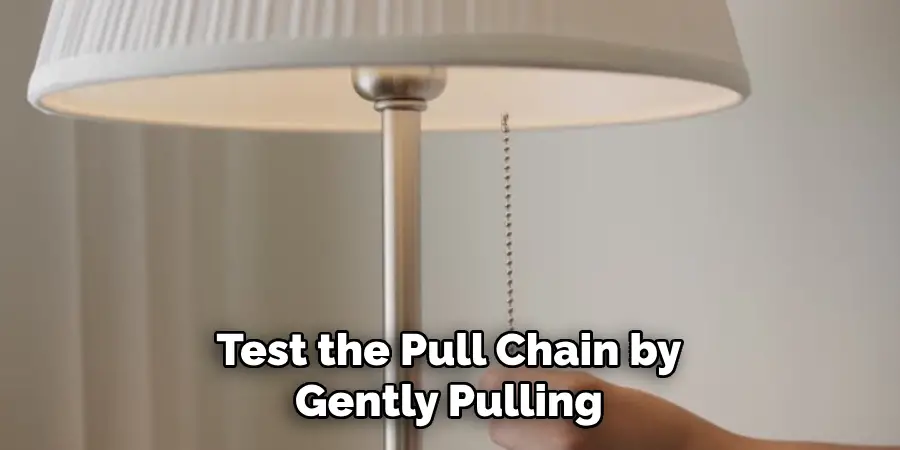
Check for any irregularities, such as flickering or looseness in the chain, and address them as needed. A final, careful inspection will ensure everything functions properly and safely before concluding the project.
Alternative Solutions if Repair Fails
If repairing the pull chain mechanism does not resolve the issue, consider the following alternative approaches:
Installing a New Light Kit
Sometimes, replacing the entire light kit is a more practical solution, especially if the fixture is outdated or malfunctioning beyond repair. New light kits are widely available and offer modern features and improved energy efficiency. Ensure compatibility with your ceiling fan or fixture before purchasing.
Switching to a Wall or Remote Control
If frequent issues with pull chains are a concern, upgrading to a wall switch or remote control system can provide a convenient and durable alternative. These options eliminate manual operation and allow you to control the fixture remotely or through a dedicated wall switch, upgrading both convenience and functionality.
Calling a Professional
It is best to contact a licensed electrician for complex wiring issues or unsure about handling electrical systems. They have the expertise to diagnose and fix problems safely, ensuring long-term reliability.
Maintenance Tips to Prevent Future Problems
Proper maintenance can significantly extend the life of your pull chain fixture and prevent common issues from arising. Here are some essential tips to keep it functioning smoothly:
Gentle Pulling Technique
Avoid aggressive yanking or pulling on the chain, which can wear down the internal mechanism and lead to premature failure. Always use a gentle, steady motion when operating the chain.
Routine Inspections
Periodically inspect the fixture and the chain’s movement to identify any signs of wear, damage, or improper alignment. Addressing minor issues early can prevent more significant problems later.
Lubrication and Cleaning
Ensure the fixture and chain are clean by regularly removing dust and debris. A light application of lubrication to the chain and internal components can also help maintain smooth operation and reduce friction. These simple steps can enhance durability and ensure lasting performance.
Conclusion
Understanding how to fix a pull chain on a light fixture is essential for maintaining safe and efficient operation. Proper preparation, such as gathering the right tools and diagnosing the problem accurately, forms the foundation of a successful repair. Replacing faulty parts correctly and ensuring proper reassembly are key steps to restoring functionality.
Regular maintenance, including cleaning and lubrication, can prevent repeated issues and extend the lifespan of the light fixture. By addressing pull chain issues promptly and maintaining fixtures regularly, you can save time and avoid the inconvenience of more complex problems in the future.

