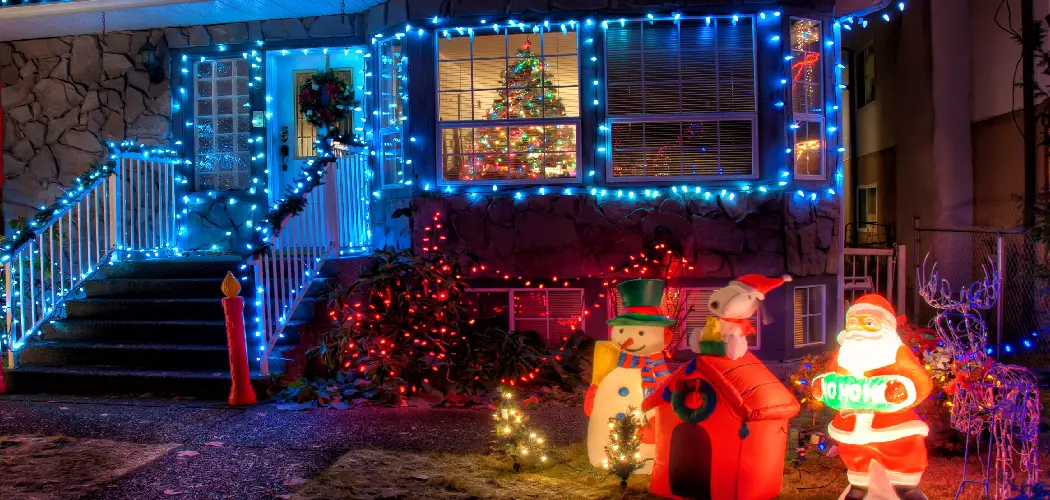
LED Christmas lights have become a staple in holiday decorations due to their energy efficiency, durability, and ability to create a festive ambiance. They consume significantly less electricity than traditional incandescent lights and have a much longer lifespan, making them an eco-friendly and cost-effective choice for households worldwide. However, like any electronic item, LED lights can encounter problems.
Common issues include entire strands not lighting up, individual LEDs failing, or persistent flickering that disrupts their charm. This article aims to provide you with a practical step-by-step guide on how to fix a led christmas lights safely and efficiently. By following these instructions, you can troubleshoot and resolve these common problems, ensuring your holiday decorations shine brightly and flawlessly throughout the season.
Understanding How LED Christmas Lights Work
Basic Components of LED Lights
LED Christmas lights are composed of several main components that work together to produce their vibrant glow. At the heart of each strand are LED bulbs, which are energy-efficient and long-lasting.
Each bulb is connected to resistors that regulate the flow of electricity, preventing the lights from overheating or burning out. The wiring within the strand ensures a steady supply of electricity between the components, and the arrangement of these wires is critical to the lights’ functionality.
One key feature in LED light strands is the use of polarized wiring, which maintains the proper flow of current and enhances safety.
Series vs. Parallel Circuits
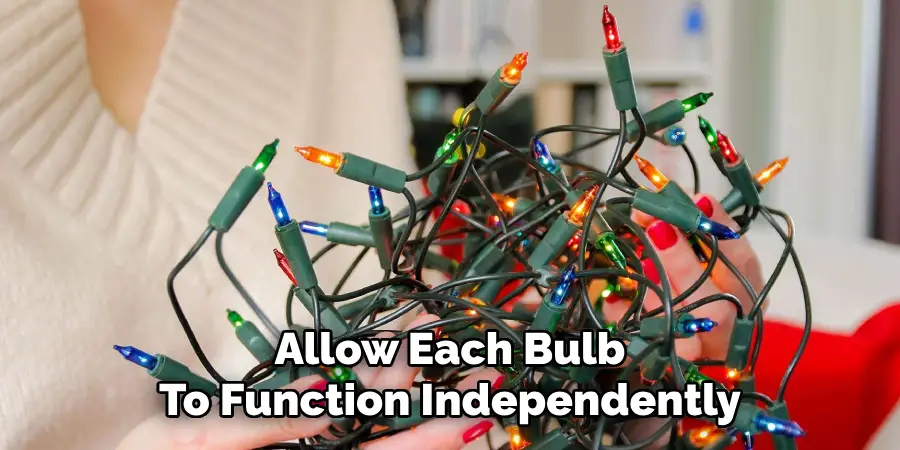
The wiring arrangement in LED Christmas lights can follow either a series or parallel circuit design. Series circuits are more common in older light strands, where the failure of one bulb can disrupt the entire set, as the current is interrupted. On the other hand, parallel circuits allow each bulb to function independently. This means that even if one bulb fails, the rest will continue to shine, making parallel circuits more reliable and user-friendly.
Common Causes of Failure
The most common issues with LED Christmas lights are caused by physical damage or component failure. Broken wires are often the result of wear and tear or mishandling, while burnt-out bulbs can occur over time despite the longevity of LEDs. Damaged sockets and faulty fuses also contribute to malfunctions, emphasizing the importance of regular inspection and maintenance to keep your lights in optimal condition.
Safety Precautions Before You Begin
Before inspecting or repairing your LED Christmas lights, it’s essential to follow proper safety measures to prevent injury or further damage. Always unplug the lights from the power source before starting any maintenance work.
This minimizes the risk of electricity-related accidents. Avoid handling lights with exposed or frayed wires, as these can pose a significant electrical hazard. If damaged wires are present, replace or repair them immediately. When working with wiring, ensure you use insulated tools to protect yourself from accidental electrical shocks. Additionally, conduct your work in a well-lit area so you can identify problem areas clearly.
A flat, stable surface is also important to prevent unnecessary strain on the lights or physical damage during the repair process. Taking these precautions will help ensure your safety and prolong the lifespan of your decorations.
Tools and Supplies Needed
Having the right tools and supplies is essential when working with LED decorations to ensure safety and efficiency. Below is a list of items you may need:
- LED light tester or voltage detector – These tools help identify faulty bulbs or wiring quickly and easily.
- Replacement LED bulbs – Make sure to use bulbs that match the same voltage and shape as the original ones in your decorations.
- Electrical tape and wire strippers – Electrical tape is vital for securing connections, while wire strippers allow for precise removal of insulation without damaging the wires.
- Multimeter (optional) – A multimeter can be used to check the continuity of electrical circuits, providing additional diagnostic capabilities.
- Small screwdriver and needle-nose pliers – These tools help access tight spaces and manipulate small components.
By gathering these supplies before starting, you will be well-prepared to address any necessary repairs efficiently.
How to Fix a LED Christmas Lights: Step-by-Step
Step 1: Visual Inspection
Begin by carefully examining the entire light strand for visible signs of damage. Look for broken or missing bulbs, cracked sockets, or frayed wires. Pay close attention to any discoloration or burn marks, as these can indicate problematic areas. Addressing these issues early can often resolve simple problems without requiring more in-depth testing.
Step 2: Fuse Check
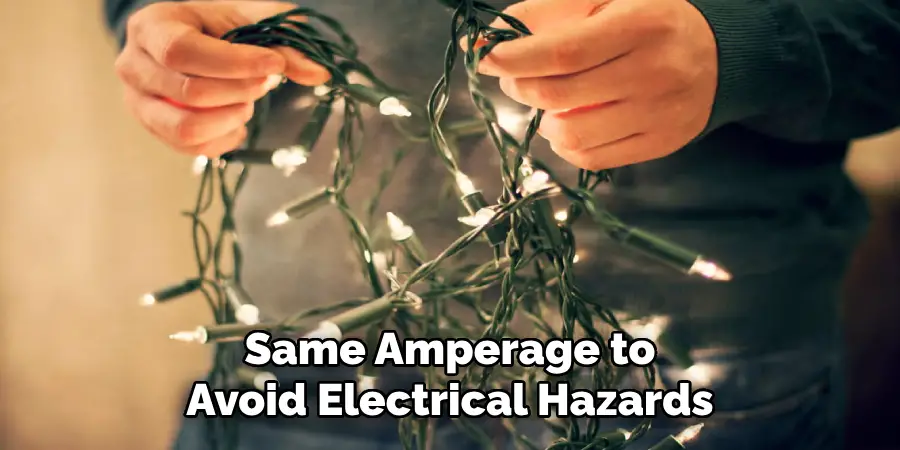
Open the plug of the light strand and locate the fuse, which is usually housed inside the plug. Inspect the fuse to see if it has blown, indicated by a broken filament or a charred appearance. If necessary, replace the blown fuse with another of the same amperage to avoid electrical hazards. This step is crucial for ensuring the strand functions safely.
Step 3: Bulb-by-Bulb Testing
Using a dedicated light tester or a similar tool, go through each bulb in the strand to identify which ones are no longer working. Faulty bulbs can often disrupt the flow of electricity, causing parts of the strand to stop lighting. Mark defective bulbs with a piece of tape or another indicator for easy identification and replacement.
Step 4: Voltage Testing (if needed)
If the problem persists, take a multimeter and test for continuity across different wire segments in the strand. This will help you locate areas with electrical breaks or other issues. Carefully isolate any problematic segments of the wire and take note of them for repairs or replacement.
How to Replace Faulty LED Bulbs or Sockets
Step 1: Remove the Damaged Bulb
Start by gently pulling the non-working LED bulb out of its socket. Avoid using excessive force, as this may damage the socket or surrounding components. Once removed, inspect the socket for signs of corrosion, debris, or physical damage. If corrosion is detected, clean the socket using a soft cloth or an appropriate cleaning solution to restore proper conductivity.
Step 2: Install a Replacement Bulb
Choose a replacement LED bulb that matches both the voltage and type of the original. Refer to the manufacturer’s specifications if needed to ensure compatibility. Firmly insert the new bulb into the socket, making sure it is seated correctly and has good contact with the socket’s terminals. Test the strand for proper operation before proceeding to ensure the issue has been resolved.
Step 3: Socket Repair (if applicable)
If the socket itself is damaged or beyond cleaning, you may need to replace it. Obtain a replacement socket kit that is compatible with your strand of lights. Using wire cutters, carefully cut out the damaged socket from the strand, leaving enough wire length on both sides of the cut to work with. Connect the new socket to the wires using wire connectors, crimping tools, or by soldering, depending on your skill level and the tools available. Once the repair is complete, secure the new connections with electrical tape or heat shrink tubing for insulation and longevity. Test the repaired strand to ensure it operates correctly.
Fixing Broken Wires or Connections
Step 1: Identify Wire Breaks
Use a multimeter or continuity tester to detect breaks in the line. These tools help pinpoint where the electrical current is interrupted. Carefully inspect the wire for visible cuts, fraying, or damage that may indicate the location of the problem. Ensuring the strand is unplugged during this step is essential for safety.
Step 2: Repair the Wire
Once you’ve located the issue, carefully strip the insulation from both ends of the damaged wire using wire strippers, exposing a small portion of copper wire on each side. Twist the exposed wire ends together tightly for a secure connection, then secure the splice with wire nuts for added stability. Alternatively, solder the wires together if you have experience with soldering tools. After securing the connection, wrap it thoroughly with electrical tape or use heat-shrink tubing to insulate and protect the repair from environmental factors, ensuring both durability and safety.
Step 3: Test the Strand
Plug the strand into a power source and carefully check that all lights function properly. If the strand works as expected, the repair is complete. If not, recheck your connections for any loose or faulty repairs and repeat the process as necessary.
When to Replace vs. Repair
Cost-Effective Assessment
When deciding whether to replace or repair a light strand, it’s essential to weigh the costs. Consider the age of the strand and the price of replacement parts. If the total cost of repair approaches that of a new one, replacement might be the better option. Additionally, factor in the time required to make repairs and the likelihood of future issues.
Signs You Should Replace
There are clear indications that a light strand should be replaced rather than repaired. Multiple broken sockets, melted or frayed wires, or outdated models that no longer meet safety standards are signs that it’s time for a replacement. Using damaged or unsafe strands increases the risk of electrical hazards, making replacement the wisest choice.
When Repair Makes Sense
Repairing is a practical choice for smaller issues, such as one or two faulty bulbs or a minor wiring problem. These repairs are typically simple, cost-effective, and can extend the lifespan of the strand without significant investment in time or resources.
Conclusion
Learning how to fix a led christmas lights involves identifying the issue, such as faulty bulbs, blown fuses, or damaged wires. Start by testing the fuses and bulbs to locate the source of the problem. Once identified, fix any wiring issues or replace defective components with proper replacements to ensure safe operation. Prioritize safety throughout the process to avoid potential hazards, and always use compatible parts. Finally, to prevent future problems, store your LED Christmas lights properly in a dry, organized space after the holidays. These steps can save time and money while keeping your lights shining brightly year after year.

