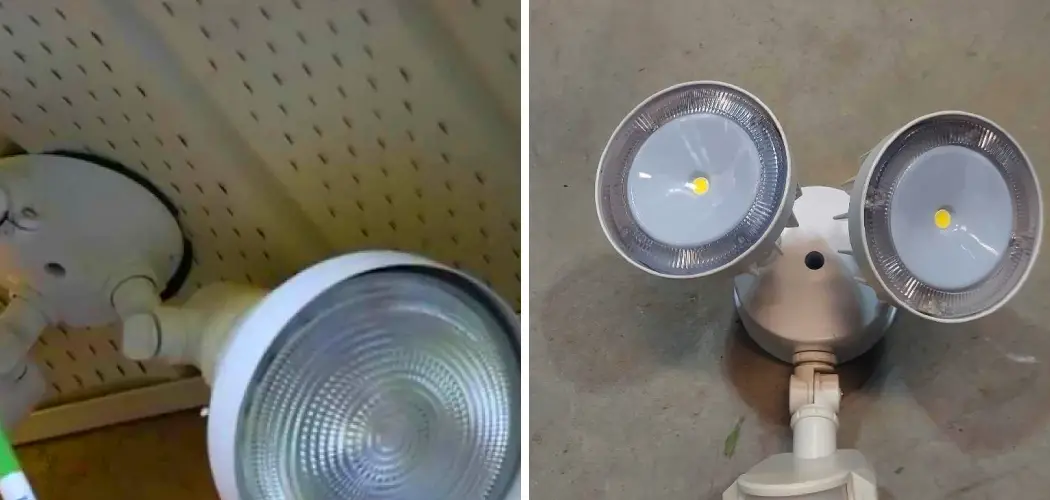
A flood light timer is an essential tool for controlling outdoor lighting, whether for security, convenience, or energy efficiency. Over time, these timers may need adjustments or repairs due to power outages, incorrect settings, or wear and tear. Understanding how to fix a flood light timer can save you time and money while ensuring your lights operate as intended. This guide will walk you through the common issues and solutions to get your flood light timer functioning properly again.
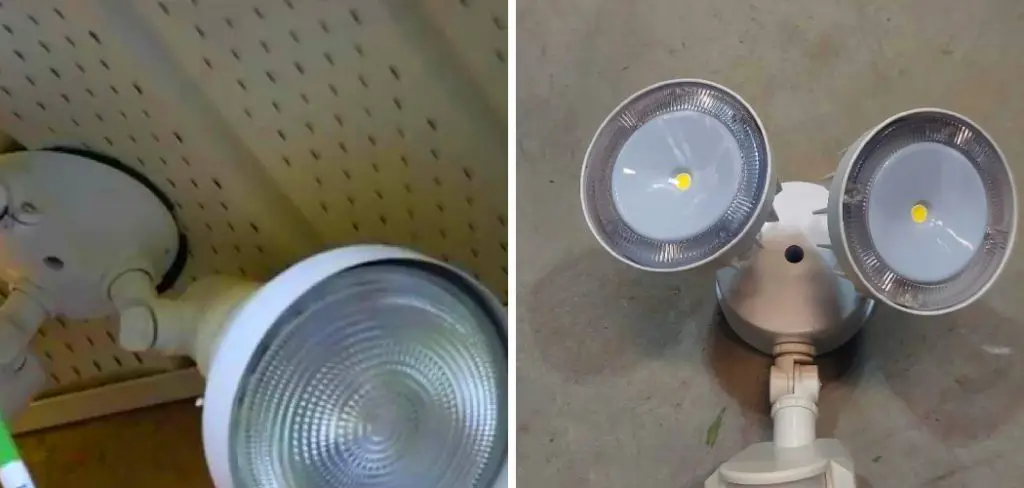
Why Fixing the Timer Is Important
Fixing a malfunctioning flood light timer is crucial for maintaining both functionality and security. A properly working timer ensures that your outdoor areas are illuminated at the right times, deterring potential intruders and enhancing safety around your property. Additionally, a functional timer helps conserve energy by automatically turning lights on and off, preventing unnecessary electricity usage. Neglecting to fix the timer could lead to higher utility bills, reduced convenience, and compromised security. Addressing the issue promptly allows you to maintain efficiency and peace of mind.
Types of Timers
Flood light timers come in various types, each designed to cater to different needs and preferences. The most common types include manual timers, digital timers, and smart timers.
- Manual Timers: These are the simplest type and require you to set the on and off times manually using a dial or switch. They are reliable and easy to use but offer limited flexibility compared to other types.
- Digital Timers: Digital timers provide more advanced features, such as programmable settings for specific days and times. They usually include an LCD screen for easy configuration and allow for greater precision in controlling your flood lights.
- Smart Timers: Smart timers integrate with home automation systems and can be controlled remotely through a smartphone app or voice commands. They often include advanced scheduling, weather-based adjustments, and the ability to sync with other smart home devices for improved functionality.
Understanding the differences between these types can help you choose the right timer for your needs and simplify the troubleshooting process if repairs or adjustments are required.
10 Methods How to Fix a Flood Light Timer
1. Verify the Power Supply
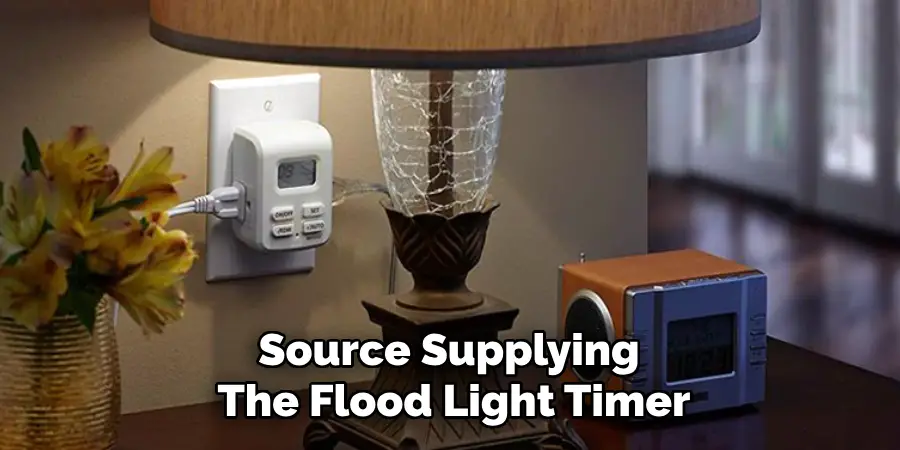
A faulty power connection is often the root cause of timer malfunctions. Begin by checking the power source supplying the flood light timer. Ensure the circuit breaker hasn’t tripped and the outlet is functioning. If the timer is hardwired, inspect the wiring for loose or damaged connections. Use a voltage tester to confirm that power is reaching the timer. In cases of power interruption, restoring the connection can often resolve the issue and bring the timer back to proper operation.
2. Reset the Timer
Sometimes, flood light timers become stuck or confused due to power surges or software glitches. Performing a reset is a simple way to address this. For mechanical timers, turn the dial to the “off” position, wait for a minute, and then set it back to the desired time. For digital timers, locate the reset button (usually a small recessed button) and press it with a pin or paperclip. After resetting, reprogram the timer according to the manufacturer’s instructions to ensure proper functionality.
3. Inspect and Replace the Battery
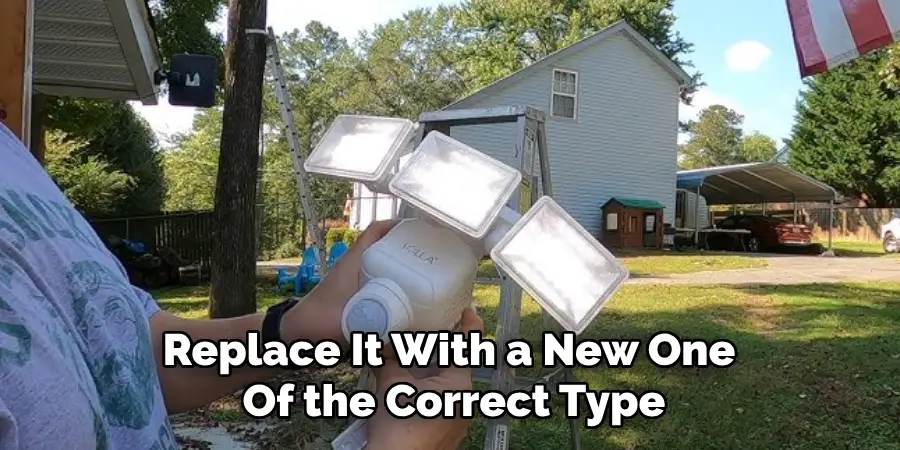
Many digital and smart flood light timers rely on an internal battery to maintain settings during power outages. If the battery is depleted, the timer may lose its programming or fail to operate. Open the timer’s compartment, remove the old battery, and replace it with a new one of the correct type. Ensure the battery is seated securely. After replacing the battery, reprogram the timer as needed to restore its scheduling features.
4. Reprogram the Timer
Programming errors are a common cause of flood light timer issues. If your light turns on or off at unexpected times, review the timer’s settings. For mechanical timers, ensure the pins or trippers are correctly positioned to match your desired schedule. For digital timers, navigate through the programming menu and verify that the current time, on/off schedule, and other settings are accurate. Consult the user manual for guidance on proper programming procedures.
5. Clean and Maintain the Timer
Over time, dirt, dust, and debris can accumulate inside the timer, especially in outdoor environments. For mechanical timers, clean the dial, trippers, and gears using a soft brush or compressed air. Ensure that moving parts are free from obstructions. For digital timers, clean the exterior and ensure buttons are not sticky or jammed. Regular maintenance prevents mechanical wear and ensures the timer operates smoothly.
6. Check the Timer’s Compatibility with the Flood Light
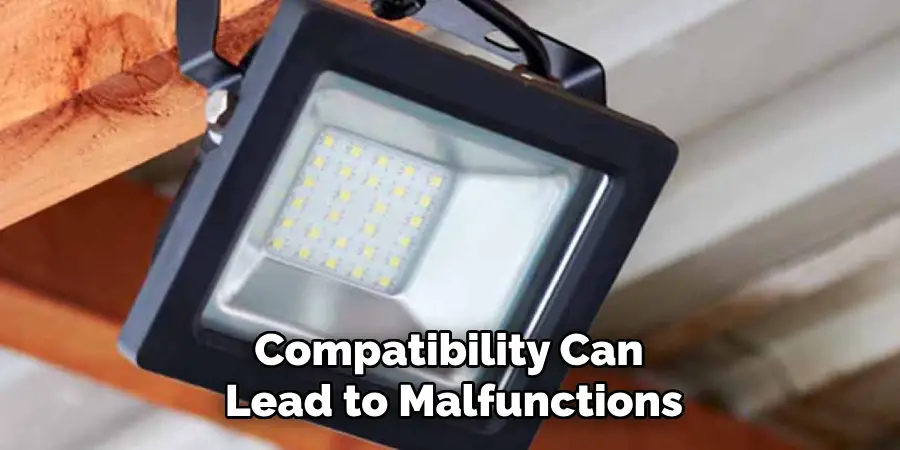
Timers are designed to handle specific electrical loads, and mismatched compatibility can lead to malfunctions. Verify that your timer can handle the wattage and type of flood light connected to it. LED flood lights, for instance, may require a timer designed for low-wattage or LED-compatible devices. Replace the timer with a compatible model if necessary to ensure reliable operation without overloading the timer’s capacity.
7. Inspect and Replace Damaged Wiring
Faulty or damaged wiring can disrupt the operation of your flood light timer. Inspect the wires connecting the timer to the power source and the flood light itself. Look for signs of wear, such as frayed insulation, loose connections, or corrosion. If any damage is detected, turn off the power at the circuit breaker before repairing or replacing the wires. Properly insulated and securely connected wiring is crucial for the timer’s functionality and safety.
8. Update the Timer’s Firmware (For Smart Timers)
For smart flood light timers, outdated firmware can lead to erratic behavior or connectivity issues. Check the manufacturer’s app or website for firmware updates. Connect the timer to your home Wi-Fi network and follow the instructions to download and install the latest firmware. Updating the firmware often resolves software bugs and improves the timer’s performance and reliability.
9. Test the Timer’s Photocell (If Equipped)
Some flood light timers include a built-in photocell that adjusts lighting based on ambient light levels. If the photocell is dirty, damaged, or malfunctioning, it may cause the timer to behave unpredictably. Clean the photocell with a soft, damp cloth to remove dirt or residue. If cleaning doesn’t resolve the issue, test the photocell by covering it completely to see if the flood light activates. Replace the photocell if it no longer functions correctly.
10. Replace the Timer
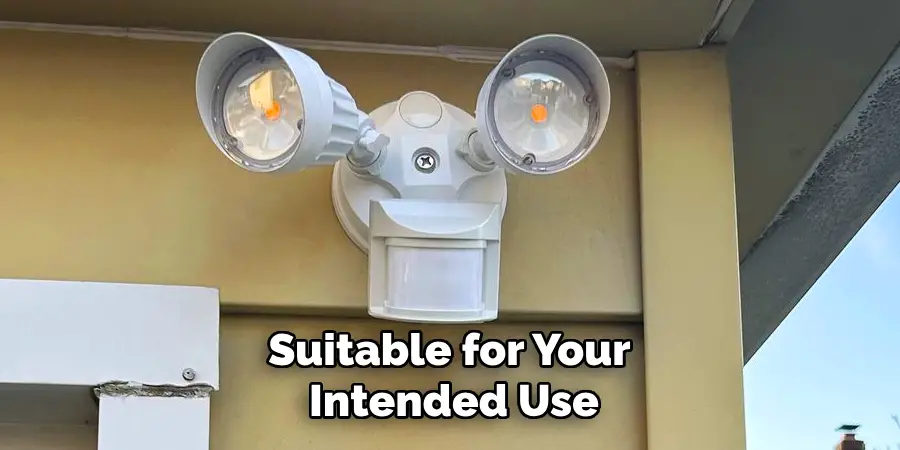
If all troubleshooting steps fail, the timer itself may be defective or nearing the end of its lifespan. Purchase a replacement timer that matches the specifications of your flood light and is suitable for your intended use. When installing the new timer, follow the manufacturer’s instructions carefully and ensure all connections are secure. Upgrading to a higher-quality or more advanced timer can enhance reliability and provide additional features, such as app-based control or energy-saving settings.
Things to Consider When Choosing a Flood Light Timer
Selecting the right flood light timer is essential to ensure functionality and compatibility with your lighting system. Here are some key factors to keep in mind:
1. Type of Timer
Decide between mechanical, digital, or smart timers depending on your preferences and needs. Mechanical timers are simple and reliable, while digital timers offer more precise scheduling options. Smart timers provide advanced features like remote control and integration with home automation systems.
2. Electrical Load Capacity
Ensure the timer is rated to handle the wattage of your flood light. Using an undersized timer can lead to malfunctions or even safety hazards. For LED lights, check that the timer is compatible with low-wattage or LED-specific requirements.
3. Environmental Factors
If the timer will be installed outdoors, choose one designed for weather resistance. Look for a timer with a durable, waterproof casing to protect it from rain, dust, and extreme temperatures.
4. Ease of Installation and Programming
Consider a model that is easy to install and straightforward to program. Timers with clear instructions and user-friendly interfaces can save time and reduce the chance of errors during setup.
5. Energy-Saving Features
Some timers include features like motion detection, dusk-to-dawn settings, or customizable schedules to conserve energy. These options can help reduce electricity costs while maintaining effective lighting.
6. Budget and Quality
Evaluate your budget and prioritize quality when choosing a flood light timer. Investing in a reliable and well-reviewed model can prevent future inconveniences and costly replacements.
By considering these factors, you can select a flood light timer that meets your technical requirements and enhances the performance of your lighting system.
Conclusion
Properly selecting, installing, and maintaining a flood light timer can significantly improve the efficiency, safety, and convenience of your lighting system. By following the troubleshooting steps outlined in this guide and considering key factors when choosing a timer, you can ensure reliable operation and extend the lifespan of your equipment. Whether you opt for a mechanical, digital, or smart timer, investing in a high-quality model tailored to your needs will provide peace of mind and optimal performance. Thanks for reading our blog post on How to fix a flood light timer! We hope you found it helpful and informative.

