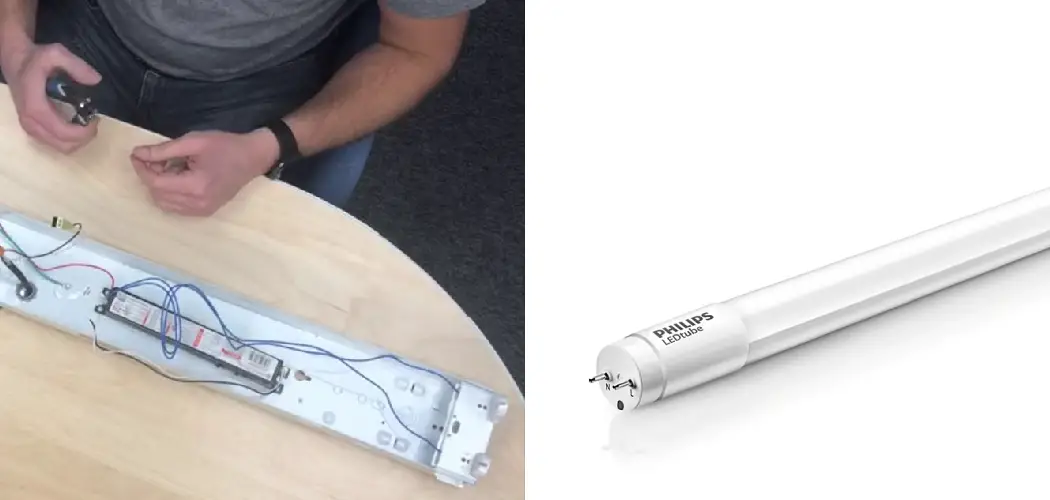
Are you looking to save energy and money while upgrading your lighting? Direct wiring LED tubes are an easy, cost-effective way of doing just that.
Whether you’re looking to switch out your fluorescent lights for more energy-efficient LEDs or use LED tubes as a stylish way of decorating and revamping the space in your home, direct wiring LED tubes can be an easy and hassle-free option. With this guide, you’ll learn what it takes to wire up LED tubes for indoor and outdoor lighting successfully.
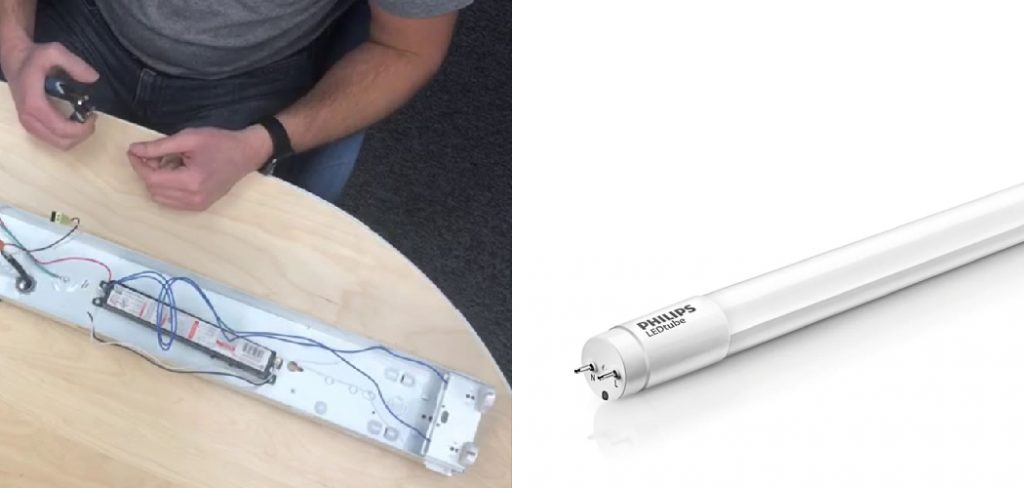
From learning how to select the materials needed for installation, choosing from a variety of connection types that work with different kinds of fixtures, and understanding the importance of considering other factors, such as waterproofing when installing outside – this guide will provide all the information needed to know how to direct wire led tubes!
What Will You Need?
Before you start wiring up your LED tubes, the most important thing to do is make sure that you have all the materials and tools necessary for installation.
The basic materials needed for direct wiring LED tubes include:
- LED tube lights
- Wire connectors
- Safety eye goggles
- An appropriate cutting tool like a wire stripper/cutter or hacksaw
- Correctly rated junction box (for outdoor use)
For proper insulation, it’s also recommended to use electrical tape when connecting wires together. With these items in hand, you can then move on to selecting the type of connection used to attach LED tubes and fixtures.
10 Easy Steps on How to Direct Wire Led Tubes
Step 1. Turn Off the Main Power Switch:
The very first step in wiring LED tubes is to shut off the main power source. This is an important safety measure, as it prevents any electrical shock while working with wires and connections. You can do this by turning off the switch located in the circuit breaker panel or fuse box.
Step 2. Determine Connection Type:
Next, you will need to determine the type of connection that works best for your setup. Depending on the fixtures and LED tubes used, this could be a snap-in or direct wire connection. Be careful to select the right type of connection, as using an incompatible one could lead to damage or even fire.
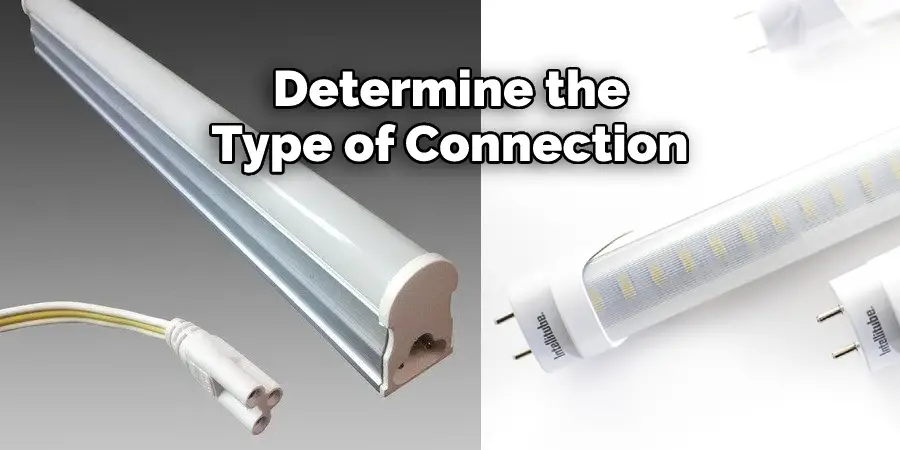
Step 3. Select Correct Wire Connectors:
With the connection type determined, select the appropriate connectors and tools needed for wiring based on the kind of fixture being used and what type of installation is required (indoor or outdoor). If you’re unsure, be sure to consult with a professional electrician. They can help you ensure that all wires and connectors are properly rated for the job.
Step 4. Prepare Wires for Connection:
Using the right tool (wire stripper/cutter or hacksaw), cut and strip the ends of the wires to be used for LED tube connections. Don’t forget to wear safety eye goggles while doing this step. As you prepare the wires, be sure to avoid exposing any of the copper conductor,s and remember that there should always be enough slack for easy connections.
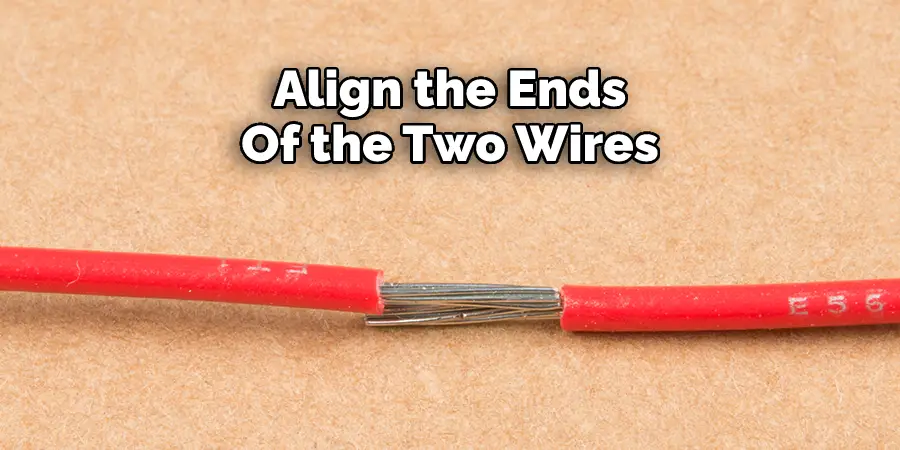
Step 5. Connect Wires Together:
Align the ends of the two wires that are required to be connected, then wrap them together securely with electrical tape. Make sure to twist and turn in opposite directions when wrapping up the connection. Additionally, make sure to leave enough space between the wires so that it can easily be accessed for testing later.
Step 6. Connect Wires to Fixtures:
Now it’s time to connect each wire end to its corresponding fixture – either by a snap-in or direct wiring connection, depending on what type was selected earlier on. If you are using a snap-in connection, make sure to insert the wires into the proper slots before tightening it to complete the connection.
Step 7. Connect LEDs:
Next, carefully attach the LED tubes to the fixture, making sure that all connections are properly sealed and secure. Before proceeding, check that all the wires are connected to their respective ports or terminals.
Step 8. Check for Connections:
Once everything is connected, double-check each connection to ensure they’re secure before moving on to the next step. It will save you time in the long run and help prevent any costly mistakes.
Step 9. Test LEDs:
To ensure that your wiring setup works correctly and you get the desired lighting output from your LED tubes, testing them out before switching on the main power source is important. You should check for any flickering or dimming to ensure the LEDs are working properly.
Step 10. Switch On the Power Supply:
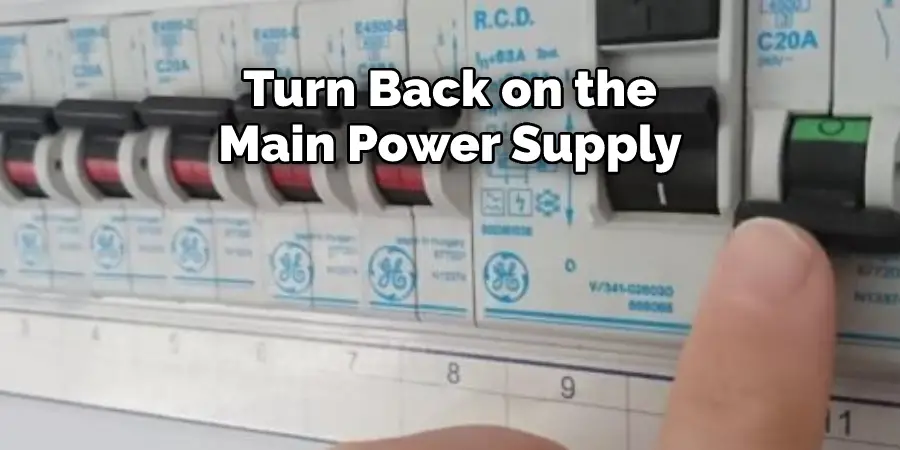
Finally, turn back on the main power supply and watch as your brand-new LED tubes light up! Now you can enjoy up to 80% energy savings compared to traditional lighting options. Remember to keep all your tools and wires safely stored away for future use.
With this guide, you now have all the information on how to direct wire LED tubes for indoor and outdoor use. It’s an easy process that helps you save money on energy costs and makes wiring up your own fixtures a breeze. So get out there and make those projects come to life!
5 Additional Tips and Tricks
1. Make sure to use the correct type of junction box, depending on whether you’re doing indoor or outdoor installations. This will ensure that your LED tubes are properly protected from any weather conditions.
2. Wear safety goggles while working with wires and connections to protect your eyes from any potential debris or sparks.
3. Always double-check connections to make sure that everything is secure before switching on the power supply.
4. When cutting wires, always use a wire stripper/cutter or hacksaw instead of scissors, as this will provide a neater and cleaner cut with less risk of electrical shocks.
5. Finally, it’s important to keep in mind that each setup may require different materials or additional steps, so be sure to read up on the specific manufacturer instructions for detailed information.
By following these easy steps and tips, you can easily learn how to do it and enjoy energy savings of up to 80% compared with traditional lighting options. So get started and start making those projects come to life!
5 Things You Should Avoid
1. Don’t try to connect LED tubes to a power source without the appropriate connectors and tools.
2. Never attempt to connect more than one LED tube to the same power source.
3. Avoid using any wires that are damaged or frayed in any way, as this can lead to electrical shocks and fires.
4. Stay away from using scissors to cut wires, as this may result in a messy cut and possible safety risks.
5. Never attempt to direct wire LED tubes without double-checking all connections for security before switching on the main power supply. Doing so could cause serious damage to your fixtures and wiring setup.
With the right tools and knowledge, direct wiring LED tubes can be a relatively simple process. However, taking certain precautions is essential for safety purposes and for getting the best results out of your lighting setup.
How Do You Wire an Led Without a Ballast?
Direct wiring LED tubes are the process of bypassing the ballast and connecting the LED directly to a power source. It’s an easy, cost-effective way to upgrade your lighting system without having to replace all of your fixtures. However, it’s important to note that you must use the appropriate connectors and tools when direct wiring LED tubes in order for them to function safely and properly.
First, ensure you have the necessary tools and supplies: wire cutters/strippers, electrical tape, butt connectors, grounding screws or clamps, junction boxes, and receptacles. Once you have everything ready, follow these steps:
1. First, turn off all power sources before beginning your wiring.
2. Cut the wires from the ballast and connect them to the LED tube using butt connectors.
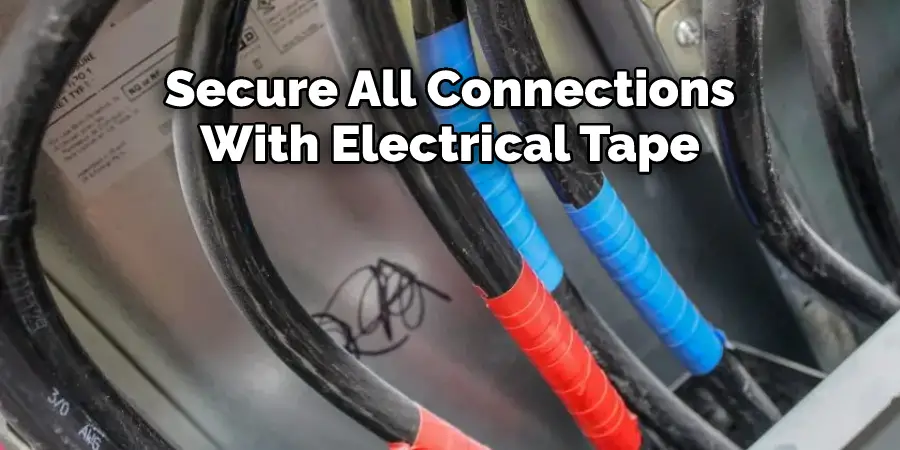
3. Secure all connections with electrical tape or grounding screws/clamps for extra protection against shorts or overloads.
4. Install junction boxes or receptacles in order to provide additional safety measures and make it easier to remove the LED tubes if needed.
5. Finally, turn on the main power supply and check all your connections before turning on the LED tubes.
By following these steps, you can safely direct wire your LED tubes without having to use a ballast. Once complete, you’ll be able to enjoy your new lighting setup with peace of mind.
Conclusion
Now that you are armed with the knowledge of how to direct wire led tubes, you can enjoy the many benefits this new technology brings. Not only is it more energy efficient, but it is also much brighter than traditional lighting. You will be able to save money on your electricity bills while creating a beautiful lighting environment in your home or business.
With its easy installation and zero maintenance, direct wiring these tubes will prove to be an attractive option for any project. Feel confident knowing that you can utilize the latest advancement in lighting technology and benefit from its cost-saving advantages.
As we move into the future of energy efficiency, adapting to modern changes such as this could make all the difference for our wallets and environment alike.

