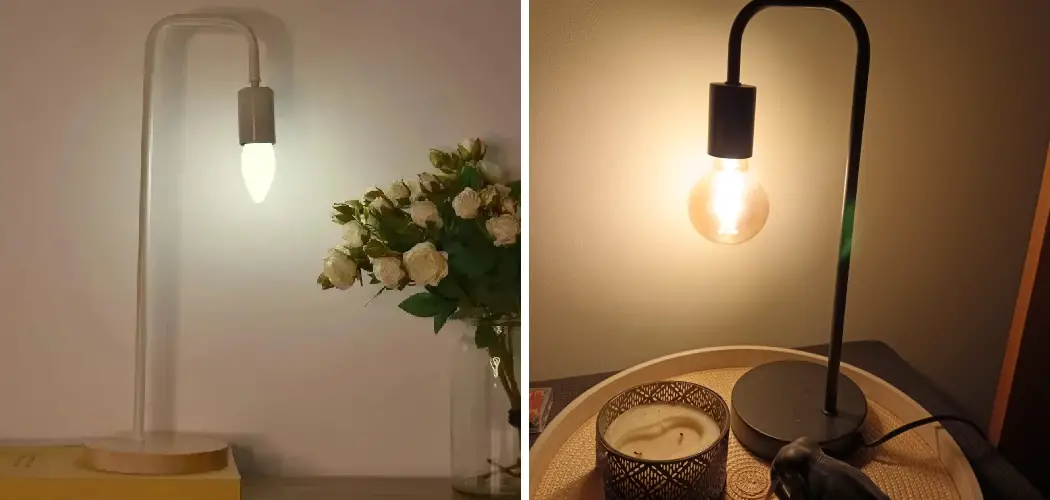
Creating the perfect ambiance in your home often comes down to lighting control, and learning how to dim light bulbs is one of the most effective ways to transform any space. Whether you want soft, romantic lighting for dinner or bright illumination for reading, dimming capabilities give you complete control over your environment. Modern dimming technology has evolved significantly, making it easier than ever to adjust light intensity to match your mood and activities.
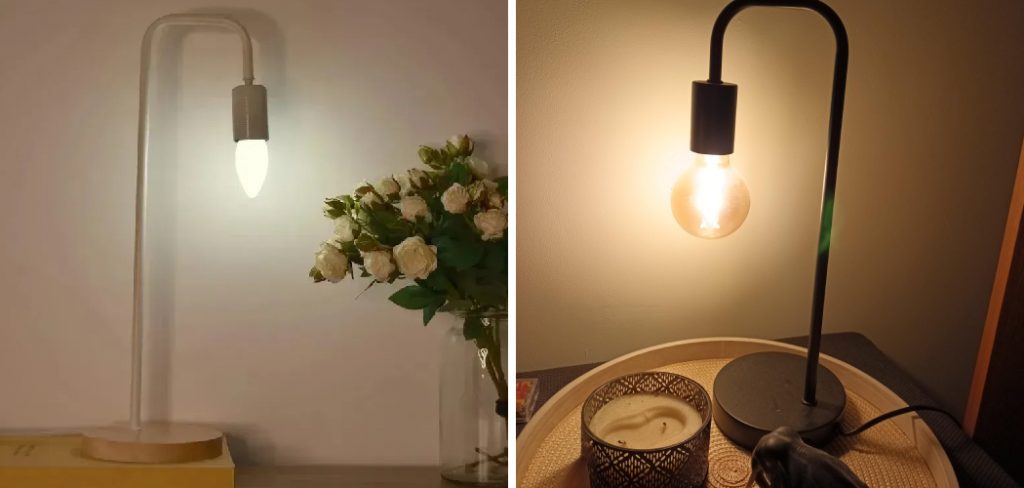
Many homeowners assume that dimming lights requires complex electrical work or expensive smart home systems. The truth is, with the right knowledge and basic tools, you can add dimming functionality to most fixtures in your home. This comprehensive guide will walk you through everything you need to know, from selecting compatible bulbs to installing dimmer switches and troubleshooting common issues.
Why Dimming Light Bulbs Is Essential for Modern Homes
Dimming lights offers numerous benefits beyond simple mood setting. Energy efficiency stands as one of the primary advantages, as dimmed lights consume less electricity than those running at full brightness. This reduction in energy usage translates directly to lower utility bills and a smaller environmental footprint.
Health and wellness represent another crucial aspect of light dimming. Research shows that adjustable lighting helps regulate circadian rhythms, improving sleep quality and overall well-being. Bright lights in the evening can disrupt natural sleep patterns, while dimmed lighting signals to your body that it’s time to wind down.
From a practical standpoint, dimming extends bulb lifespan significantly. Operating bulbs at reduced intensity generates less heat and stress, often doubling or tripling their useful life. This longevity means fewer replacements and reduced maintenance costs over time. Additionally, dimming capabilities increase property value and appeal to potential buyers who appreciate modern convenience features.
Step-by-Step Guide: How to Dim Light Bulbs
Step 1: Choose the Right Dimmer Switch
Selecting an appropriate dimmer switch forms the foundation of successful light dimming. Modern dimmer switches come in various types, including rotary, slide, and smart models with programmable features. Consider the specific bulb types you’ll be controlling, as LED, incandescent, and CFL bulbs each require different dimmer technologies.
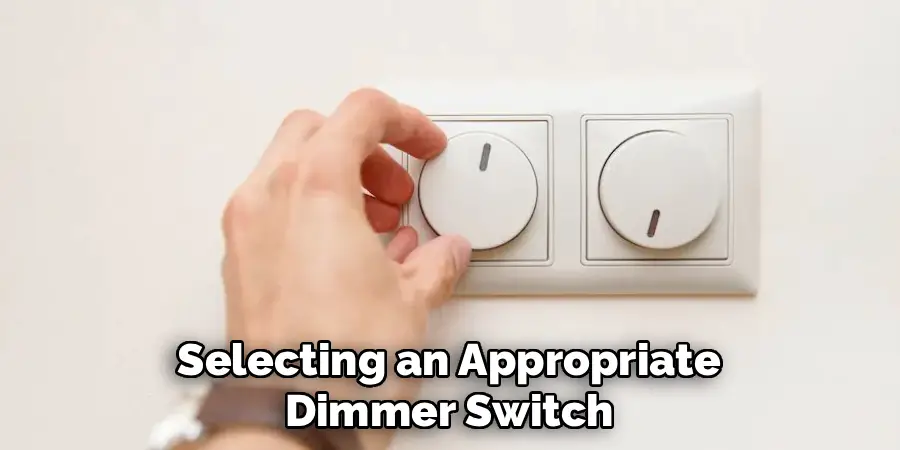
Check the wattage rating on your chosen dimmer to ensure it can handle your lighting load. Most residential dimmers support 600-1000 watts, but calculate your total bulb wattage to avoid overloading. Smart dimmers offer additional features like remote control and scheduling but require compatible home automation systems.
Step 2: Verify Bulb Compatibility
Not all light bulbs work effectively with dimmer switches, making compatibility verification essential before installation. Traditional incandescent bulbs dim smoothly across their entire range, while LED bulbs require specific “dimmable” labeling to function properly. Non-dimmable LEDs may flicker, buzz, or fail prematurely when used with dimmer switches.
Examine each bulb’s packaging for dimmer compatibility information. Dimmable LED bulbs cost slightly more than standard versions but offer superior performance and longevity. CFL bulbs generally provide poor dimming performance and are best avoided in dimming applications.
Step 3: Turn Off Power at the Circuit Breaker
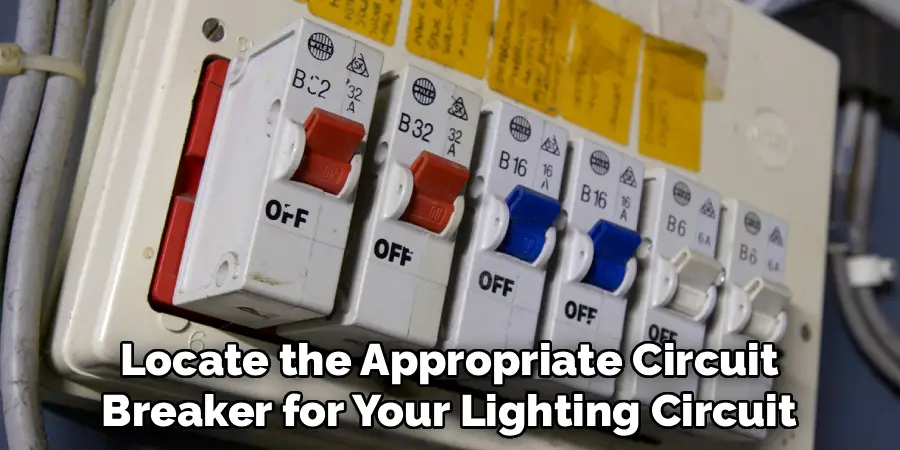
Safety must be your top priority when working with electrical wiring. Locate the appropriate circuit breaker for your lighting circuit and switch it to the “off” position. Use a voltage tester to confirm that power is completely disconnected before proceeding with any electrical work.
Never rely solely on wall switches to disconnect power, as they may be wired incorrectly or malfunction. Keep your voltage tester handy throughout the installation process to verify that circuits remain de-energized. Post a note on the breaker panel to prevent others from accidentally restoring power while you work.
Step 4: Remove the Existing Light Switch
Carefully remove the faceplate and unscrew the existing switch from the electrical box. Most switches are held in place with two screws that thread into mounting tabs. Pull the switch straight out to access the wire connections behind it.
Take a photograph of the existing wiring configuration before disconnecting anything. This visual reference will prove invaluable during dimmer installation and troubleshooting. Note which wires connect to which terminals, paying special attention to ground wire placement.
Step 5: Install the New Dimmer Switch for Light Bulbs
Connect the dimmer switch according to manufacturer instructions and local electrical codes. Most dimmers have three wire connections: hot (black), switched hot (typically black or red), and ground (green or bare copper). Some dimmers include a neutral wire connection for advanced features.
Twist wire connections together using appropriate wire nuts, ensuring secure mechanical and electrical contact. Tuck all connections neatly into the electrical box, leaving enough room for the dimmer switch body. Mount the dimmer securely to the box using the provided screws.
Step 6: Test the Dimming Functionality
Restore power at the circuit breaker and test your dimmer installation thoroughly. Start with the dimmer at its lowest setting and gradually increase brightness while observing bulb performance. Properly functioning dimmable bulbs should transition smoothly without flickering or buzzing.
Pay attention to the dimming range and minimum brightness level. Quality dimmers and compatible bulbs should dim to very low levels without cutting out completely. If you notice flickering or buzzing, the issue may be bulb compatibility or dimmer adjustment settings.
Step 7: Adjust Dimmer Settings and Calibration
Many modern dimmers include adjustment features that optimize performance for specific bulb types. Look for small trim controls on the dimmer that adjust minimum and maximum light levels. These adjustments help eliminate flickering and ensure smooth operation across the entire dimming range.
Some smart dimmers allow software-based calibration through mobile apps. Follow the manufacturer’s calibration procedure to optimize performance for your specific bulb combination. Proper calibration ensures consistent dimming performance and extends both dimmer and bulb lifespan.
Step 8: Program Smart Features (If Applicable)
If you’ve installed a smart dimmer, take time to configure advanced features like scheduling, scenes, and remote access. Most smart dimmers connect to your home Wi-Fi network and integrate with popular voice assistants and home automation platforms.
Create lighting scenes for different activities like reading, watching TV, or entertaining guests. Schedule automatic dimming in the evening to support healthy sleep patterns. These features maximize the benefits of your dimmer installation and enhance daily convenience.

Step 9: Monitor Performance and Troubleshoot Issues
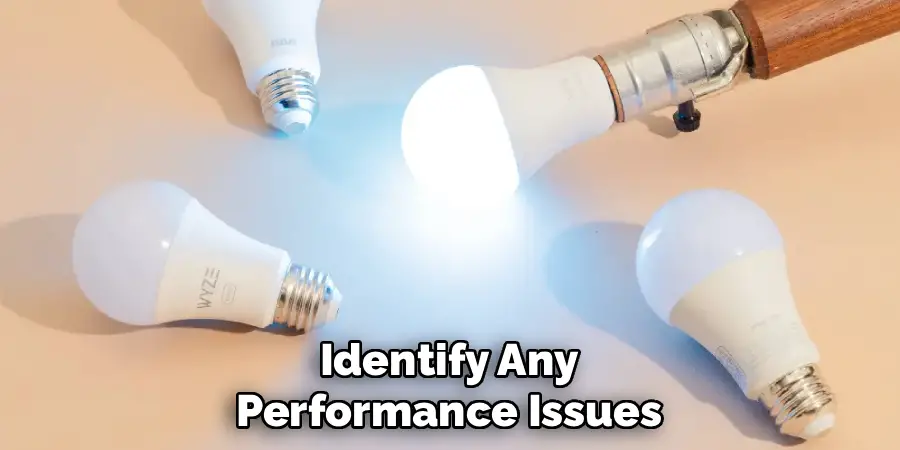
Observe your dimmed lights over several days to identify any performance issues. Common problems include flickering at low levels, buzzing sounds, or premature bulb failure. Most issues stem from incompatible bulbs rather than dimmer problems.
Keep a log of bulb performance to identify patterns or recurring issues. Replace any bulbs that don’t dim smoothly with high-quality dimmable alternatives. Consider upgrading to premium dimmers if you experience persistent problems with multiple bulb types.
Key Benefits of Addressing Dimmer and Bulb Issues
Improved Lighting Performance: Ensures smooth dimming without flickering or buzzing noises, creating a more pleasant ambiance.
Extended Bulb Lifespan: Reduces premature failures by using compatible, high-quality dimmable bulbs.
Energy Efficiency: Optimized dimming can lower energy consumption and reduce electricity bills.
Enhanced User Experience: Upgrading to premium dimmers offers better compatibility and reliability with a variety of bulb types.
Tips for Choosing a Dimmer
When selecting a dimmer, it is essential to consider the following factors to ensure optimal performance and compatibility:
Bulb Type Compatibility: Different bulbs have varying levels of dimming capabilities. It is crucial to choose a dimmer that is compatible with the type of bulb you intend to use.
Wattage Rating: Each dimmer has a specified wattage rating, indicating the maximum amount of power it can handle. Make sure to select one that can accommodate your lighting needs.
Dimming Range: Some dimmers have a limited range of light levels they can adjust. If you prefer more precise control over your lighting, choose a dimmer with a wider dimming range.
Compatibility with Existing Wiring: It is important to check if the existing wiring in your home is compatible with the dimmer you plan to install. If not, you may need to hire an electrician to make any necessary adjustments.
Controllability: Some dimmers come with remote controls or can be integrated into smart home systems. Consider these additional features if you want more convenient and customizable control over your lighting.
Frequently Asked Questions
Can all light bulbs be dimmed?
No, not all bulbs are dimmable. Incandescent bulbs naturally dim well, but LED and CFL bulbs must be specifically labeled as “dimmable” to work properly with dimmer switches. Using non-dimmable bulbs with dimmers can cause flickering, buzzing, premature failure, or even fire hazards.
Why do my dimmable LED bulbs flicker?
LED flickering typically indicates compatibility issues between the bulb and dimmer. Try different dimmable LED brands, as some work better with specific dimmer types. Ensure your dimmer is rated for LED loads, not just incandescent. Minimum load requirements may also cause flickering with too few bulbs on the circuit.
What’s the difference between leading-edge and trailing-edge dimmers?
Leading-edge dimmers work best with incandescent and halogen bulbs, while trailing-edge dimmers are designed for LED and electronic loads. Trailing-edge dimmers typically provide smoother dimming with less noise and better compatibility with modern bulb technologies.
Can I install a dimmer switch myself?
Basic dimmer installation is within most homeowners’ capabilities if they follow safety procedures. However, if you’re uncomfortable with electrical work, lack proper tools, or encounter complex wiring situations, hire a qualified electrician. Always check local codes, as some areas require professional installation.
How much energy do dimmed lights save?
Energy savings depend on bulb type and dimming level. Incandescent bulbs save energy proportional to dimming (50% brightness = roughly 50% energy use). LED bulbs may not save as much when dimmed due to driver inefficiencies, but still offer substantial savings compared to full brightness operation.
Conclusion
Learning how to dim light bulbs opens up a world of lighting possibilities in your home while providing practical benefits like energy savings and extended bulb life. The process involves careful planning, proper equipment selection, and attention to safety, but the results are well worth the effort.
With the right approach and quality components, you’ll enjoy customizable lighting that enhances every aspect of your daily routine. Start with a single room to gain confidence, then expand your dimming capabilities throughout your home as you experience the benefits firsthand.

