LED diffusion involves softening the harsh, focused light output of an LED to create a more uniform, pleasant glow that enhances both functionality and aesthetics. This process is particularly valuable as it reduces glare and provides a softer, more ambient lighting effect. Whether you’re working on display projects, home lighting solutions, or DIY electronics, understanding how to diffuse an LED can significantly elevate the visual quality and usability of your designs. Diffusing LEDs not only makes them easier on the eyes but also ensures a more professional and polished appearance.

The purpose of this guide is to explore various techniques and materials you can use to achieve effective LED diffusion. From budget-friendly DIY methods to advanced solutions, we’ll help you decide the best approach for your specific needs. By the end, you’ll be equipped with practical tips to refine your lighting projects and achieve the perfect balance of diffusion and brightness.
Understanding LED Light and Diffusion
How LEDs Emit Light
LEDs are highly efficient light sources designed to emit an intense, focused beam of light. Unlike traditional incandescent or fluorescent lights, LEDs are inherently directional, which means they concentrate their output in a single direction rather than dispersing it evenly. While this property makes LEDs ideal for spotlights and task lighting, it can also result in harsh lighting or sharp shadows, which may not be suitable for all applications.
What is Diffusion?
Diffusion is the process of scattering light rays to create a more uniform and softened illumination. This is achieved by passing the light through a translucent material or reflecting it off a surface that redistributes the rays. The goal of diffusion is to spread the light more evenly, reducing glare and eliminating harsh contrasts caused by the LED’s natural intensity.
Benefits of Diffusing LEDs
Diffusing LED light offers several advantages. It improves visibility and comfort by reducing direct glare and harshness, making it easier on the eyes. Diffused lighting also enhances the appearance of enclosures and fixtures, giving them a more professional and aesthetically pleasing finish. Additionally, it becomes particularly useful in applications such as photography, displays, or interior décor, where even and soft lighting is critical for achieving the desired ambiance.
Materials You Can Use to Diffuse an LED
Commercial Diffusers
Pre-made LED diffusing covers or caps are available in various sizes and shapes, designed for easy use. These ready-to-use options are perfect for those who want a professional finish without needing extensive customization.
DIY Options
If you prefer a hands-on approach, there are several DIY methods to diffuse LED light effectively. Here are some creative ideas:
- Hot Glue: Apply a small amount of hot glue over the LED tip. This creates a simple diffusing layer that softens the light.
- Sanded or Frosted Clear Plastic or Acrylic Sheets: Sanding clear plastic or using frosted acrylic sheets scatters the light beautifully, making it an excellent option for custom fixtures.
- White Plastic Containers or Ping Pong Balls: By cutting and repurposing white plastic containers or ping pong balls, you can create diffusers that are both functional and innovative.
- Translucent Tape or Parchment Paper: Wrapping the LED with translucent tape or parchment paper offers an easy and inexpensive way to diffuse the light.
Choosing the Right Material
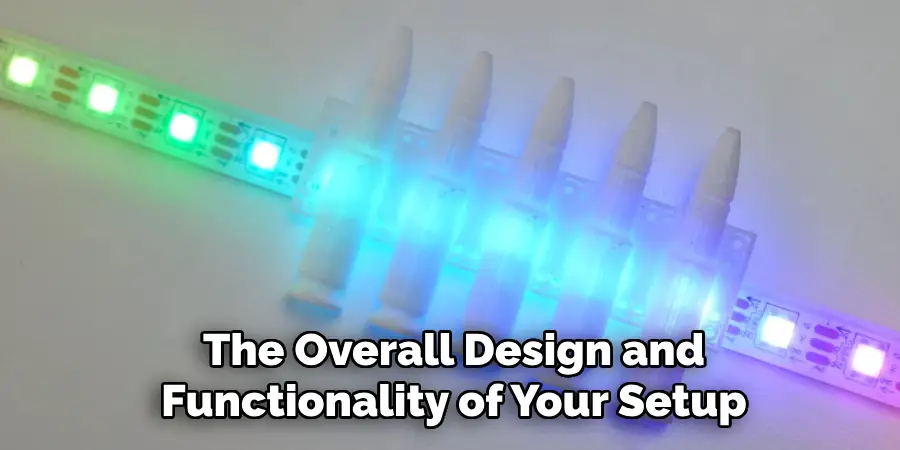
When selecting a material to diffuse an LED, consider the size of the LED, the desired softness or intensity of the light, and the aesthetic needs of your project, the right diffuser not only softens the light but also enhances the overall design and functionality of your setup.

How to Diffuse an LED: Sanding or Frosting the LED Lens
Why It Works
Sanding or frosting the LED lens is an effective way to diffuse light as it scatters the light through the micro-abrasions created on the surface. These tiny irregularities disrupt the direct beam of light, producing a softer, more evenly spread illumination. This method effectively transforms a clear LED into one that delivers a glowing, diffused output.
How to Do It
To achieve this effect, you will need fine-grit sandpaper or an emery board. Begin by holding the LED securely to avoid damaging its leads or connections. Use the sandpaper to gently sand the clear dome of the LED in a circular or consistent motion. Ensure that you evenly cover the entire surface to create a uniform frosted appearance. Avoid excessive sanding, as this can compromise the LED’s structure. Take your time to inspect for a smooth, consistent finish that provides optimal diffusion.
Best Use Cases
This method works exceptionally well for through-hole LEDs used in DIY electronics or creative craft projects. It is beneficial when you need a compact solution without adding extra materials, as the LED maintains its original form factor while offering enhanced light diffusion.
Using a Diffuser Cap or Dome
What Are Diffuser Caps?
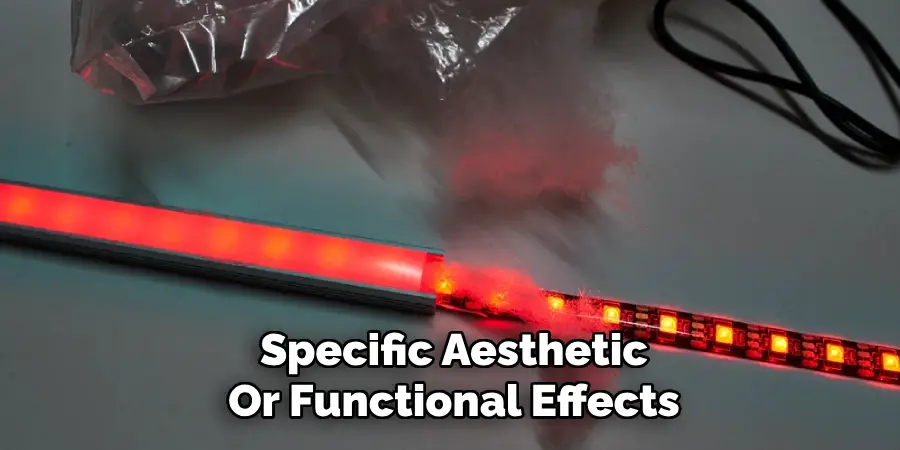
Diffuser caps are small plastic coverings designed to fit over an LED to scatter its light more evenly. These caps are available in a variety of shapes, colors, and sizes, offering flexibility in achieving specific aesthetic or functional effects. They are a convenient, modular solution for softening the harsh glare of direct LED light.

Installation
Installing a diffuser cap is a straightforward process. Simply press-fit the cap over the LED. For a more secure and permanent attachment, you can use a small amount of adhesive, such as epoxy or hot glue. Always ensure the adhesive is safe for the materials used, and that it does not block or interfere with the LED’s light output.
Advantages
One of the main benefits of using diffuser caps is the clean, professional appearance they provide. They blend seamlessly with various design projects, offering a polished finish. Additionally, the wide variety of shapes and sizes available allows for creative customization, making them suitable for different effects and lighting needs.
Best For
Diffuser caps are ideal for decorative lighting, product design, and retail display projects. They allow designers to achieve a visually pleasing, uniform light distribution without modifying the LED directly, making them an excellent choice for modern, professional installations.
Covering the LED with a Diffusing Material
Using diffusing materials is another effective way to soften the harsh light of LEDs and achieve an even light spread. This method allows for a variety of creative, budget-friendly solutions that can be tailored to specific needs or projects.
DIY Diffusion Techniques
- Translucent Tape: Place a strip of frosted tape, such as Scotch tape, directly over the LED to diffuse its light.
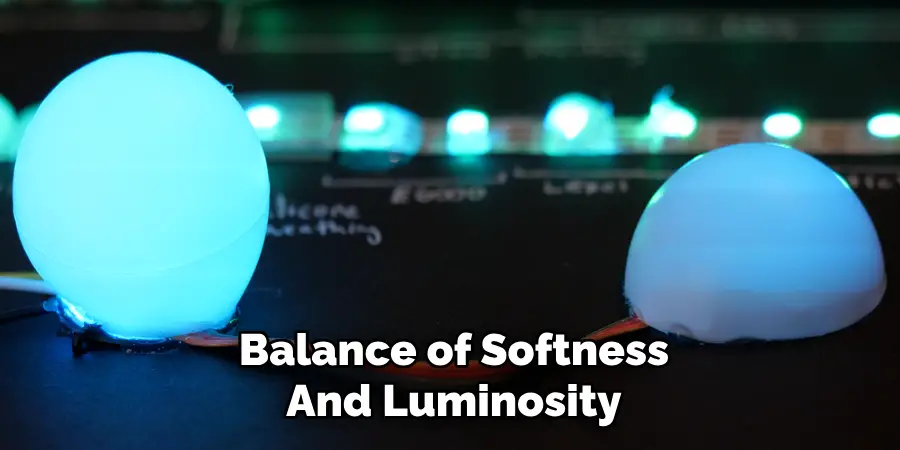
- Ping Pong Ball or White Plastic Lid: Cut a ping pong ball in half or use a white plastic lid to cover the LED. These materials evenly spread the light for a broader area of illumination.
- Hot Glue Dome: Carefully drip hot glue onto the tip of the LED, letting it harden into a small dome shape. This creates a custom diffuser that sits directly on the LED.
Effectiveness
These techniques are simple and low-cost options that deliver satisfactory results for small projects or DIY lighting setups. Translucent tape and glue are straightforward to apply, while ping pong ball halves provide a clean, globe-style diffusion.

Cautions
When using these methods, it is essential to ensure proper heat dissipation. Overheating can damage the LED, so avoid overly tight enclosures or thick glue layers that trap heat.
Advanced Diffusion Techniques
3D Printing a Custom Diffuser
A more advanced approach to LED diffusion is designing and 3D printing custom translucent caps or housings tailored to your specific project. By using white or frosted filament, you can achieve uniform light dispersion while maintaining a sleek and professional appearance. This method allows for precise customization, fitting any size or shape of LEDs, ensuring optimal performance and aesthetic consistency.
Using Optical Diffusion Films
Optical diffusion films are specialty materials often employed in commercial lighting applications to control light dispersion effectively. These films are typically thin and flexible, making them easy to apply directly to LED surfaces or within enclosures. They evenly scatter light across wide angles without significant loss of brightness, providing a high-quality result for refined projects.
Embedding LEDs in Resin or Silicone
For projects requiring waterproof and diffused lighting, embedding LEDs within clear or frosted resin or silicone is an ideal solution. This method provides excellent durability and protection against external elements. The casting process yields smooth, evenly dispersed light output, making it ideal for decorative lighting or outdoor applications.
Layering Multiple Diffusing Materials
Combining multiple diffusion materials can significantly enhance light uniformity. For instance, layering frosted plastic over translucent tape creates a blend that maximizes diffusion while maintaining sufficient brightness. This technique is especially effective for projects requiring a balance of softness and luminosity.

Conclusion
Understanding how to diffuse an LED effectively requires exploring various techniques such as sanding the surface, using diffusing caps, applying DIY coverings, or investing in advanced materials. Each method offers unique benefits, allowing you to customize the light quality to your specific needs.
Choosing the right approach depends on your budget, available tools, and desired visual outcome. For the best results, experiment with different diffusion styles to determine which achieves the perfect balance of brightness and softness, essential for creating custom lighting setups or enhancing visual displays. By refining your technique, you can achieve professional and aesthetically pleasing results.

