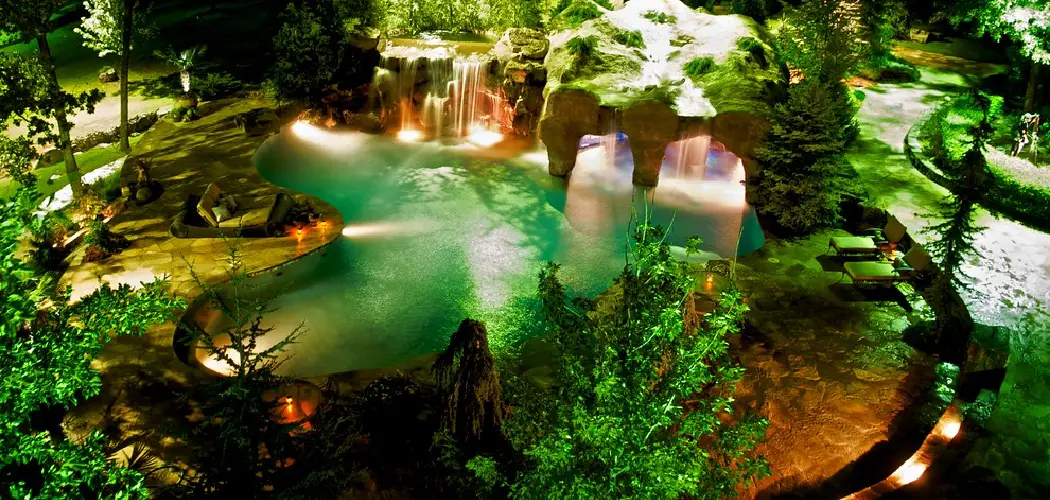
Are you bored of looking at your garden during the night, however, you are not sure how to design landscape lighting? Don’t worry. We have got you covered! Design landscape lighting is both an art and a science, transforming gardens and outdoor spaces into enchanting nocturnal wonderlands. It’s not only about illuminating your space but also about enhancing beauty, increasing functionality, and ensuring the safety of your outdoor area when the sun goes down.
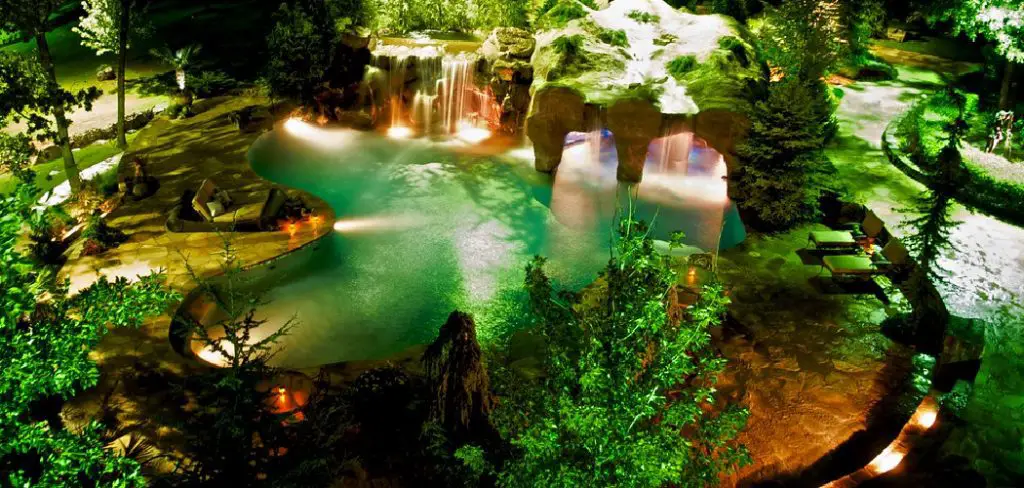
With the right approach, landscape lighting can highlight architectural features, showcase plantings, and create a welcoming ambiance for entertaining or relaxation. This introduction will guide you through the essential considerations in designing landscape lighting, from assessing your space and choosing the right fixtures to understanding the principles of lighting design.
Whether you’re a DIY enthusiast or planning to collaborate with a professional, these insights will help you illuminate your landscape thoughtfully and beautifully.
What are the Benefits of Landscape Lighting?
Landscape lighting offers numerous benefits to your outdoor space. Here are some of the main advantages that come with well-designed landscape lighting:
- Improved Aesthetic Appeal:
One of the most obvious benefits of landscape lighting is its ability to enhance the visual appeal of your outdoor area. Landscape lighting can create a stunning and inviting atmosphere in your garden by highlighting key features such as trees, plants, and architectural elements.
- Extended Outdoor Living Space:
With the right lighting, you can extend your outdoor living space beyond daylight hours. This means that you can enjoy your garden for longer periods of time, whether it’s for an evening BBQ or a quiet nightcap under the stars.
- Increased Safety and Security:
Landscape lighting can also serve as a safety and security feature for your home. By illuminating pathways, stairs, and potential hazards, you can reduce the risk of accidents and deter intruders during the night.
- Added Value to Your Property:
A well-designed landscape lighting system not only adds beauty but also value to your property. It’s an investment that can increase the appeal and overall worth of your home.
These are just some of the benefits that make landscape lighting a worthwhile endeavor. Now, let’s delve into the process of designing your own lighting system.
What Will You Need?
Before starting your landscape lighting project, it’s important to have all the necessary tools and equipment on hand. Here are some of the essential items you will need:
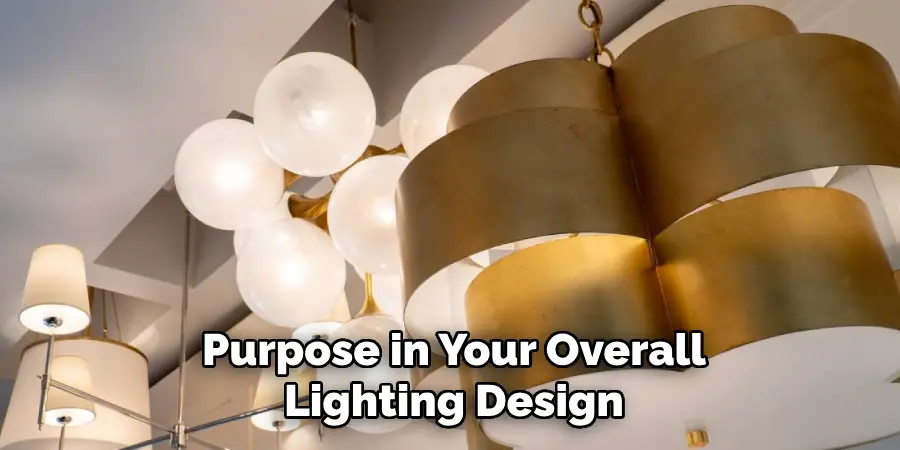
- Landscape Lighting Fixtures: These include spotlights, floodlights, path lights, and accent lights. Each type serves a specific purpose in your overall lighting design.
- Low-Voltage Wiring: This type of wiring is safe and easy to install, making it ideal for landscape lighting.
- Transformer: The transformer converts high-voltage electricity from your home into low-voltage power that can be used for landscape lighting.
- Timer or Photocell: These devices control when your lights turn on and off, providing convenience and energy efficiency.
- Wire Connectors: These are used to connect wires and ensure a secure electrical connection.
- GFCI Outlet: This outdoor outlet is required to plug in the transformer.
Once you have all these materials, it’s time to start designing your landscape lighting system!
10 Easy Steps on How to Design Landscape Lighting
Step 1. Assess Your Outdoor Space:
Begin by taking a walk around your garden or outdoor area during the evening to identify potential focal points such as unique architectural features, specimen plants, or water elements. Consider areas that require safety lighting, like walkways and steps. Understanding the layout and features of your space is crucial to determining your lighting needs.
Step 2. Determine Your Objectives:
Think about what you want to achieve with your landscape lighting. Are you looking to enhance the aesthetic appeal of your garden, increase safety and security, or perhaps extend your outdoor living space?
Defining your objectives early on will help guide your lighting design and ensure that your system meets your needs and desires. Consider making a list of your key objectives to serve as a roadmap as you continue with the design process.
Step 3. Choose the Right Fixtures:
Selecting the appropriate fixtures for your landscape lighting project is critical for achieving your desired outcomes. Each type of lighting fixture serves a different purpose and creates a unique effect. For example, spotlights can be used to highlight architectural features or garden sculptures, while path lights are perfect for illuminating walkways and steps for safety.

Floodlights can cover large areas for general lighting, and accent lights can add drama to specific landscape or architectural elements. Take into consideration the style of your outdoor space and the intensity of lighting required when choosing your fixtures.
Step 4. Plan Your Fixture Layout:
Once you’ve selected the right fixtures, it’s time to plan where they will be placed throughout your landscape. Sketch a layout of your outdoor area and mark the locations where each fixture will go.
Aim to balance the light throughout the space, avoiding overly bright spots or dark areas. Consider using a combination of different fixture types to achieve a harmonious and well-lit outdoor environment. Remember, the goal is to enhance and complement your space, not overpower it.
Step 5. Calculate Lighting Power Needs:
After deciding on the placement and types of fixtures, the next step is to calculate the total power requirement for your landscape lighting project. Add up the wattage of all the fixtures you plan to use to determine the total wattage needed.
This will help you choose the right size of transformer for your system. It’s essential to select a transformer that can handle about 10-15% more wattage than your total calculation to ensure it operates efficiently without being overloaded.
Step 6. Install Your Transformer:
Choose a location close to your GFCI outlet for the transformer. It should be mounted on a wall or a sturdy post and positioned at least a foot above the ground to avoid water damage.
Ensure the transformer’s power capacity aligns with the total wattage of your lighting system, plus an additional 10-15% wiggle room, as previously mentioned. Follow the manufacturer’s instructions for connecting the transformer to your home’s electrical system, prioritizing safety and compliance with local electrical codes.
Step 7. Lay Out Your Wiring:
Before digging, lay out your low-voltage wiring on the ground, tracing a path from the transformer to each of the light fixtures according to your plan. This approach allows you to measure the exact length of wiring needed and make adjustments to fixture placement as necessary.
Remember to leave some extra wire at each fixture location to ensure you have enough slack for making connections and adjustments. It’s essential to use the correct gauge of wire based on the total length of your wiring and the power requirements to maintain the efficiency of your lighting system.
Step 8. Connect Your Fixtures:
After laying out your wiring, the next step is to connect each of your light fixtures. Using the wire connectors provided or recommended by your fixtures manufacturer, carefully attach the wires from each fixture to the main low-voltage wire running from your transformer.
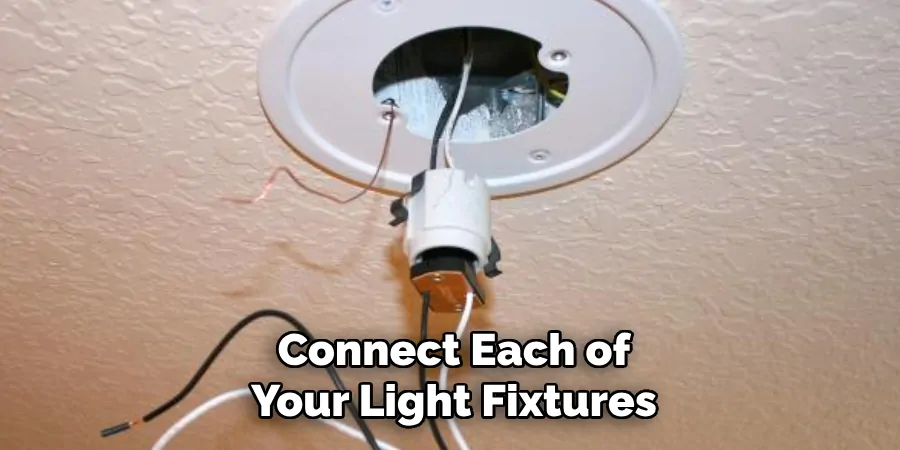
Make sure that each connection is secure and waterproof to prevent any electrical failures. It’s crucial at this stage to follow the manufacturer’s instructions closely to ensure proper installation and functionality.
Once all fixtures are connected, you can gently bury the wires underground, taking care not to damage them. Keep the wires at a shallow depth, as deep burying is unnecessary for low-voltage systems and can make future maintenance more difficult.
Step 9. Test Your System:
Before burying your wires and finalizing your landscape lighting installation, it’s crucial to test your system to ensure everything is functioning correctly. Connect your transformer to the power source, then turn on the system to check each light fixture. This step allows you to identify any issues, such as non-functioning lights or poorly connected wires before they are buried.
It’s much easier to troubleshoot and make necessary adjustments at this stage. Testing your system also gives you the opportunity to see how your chosen lighting fixtures illuminate your outdoor space, providing a preview of your landscape lighting design in action.
Step 10. Final Adjustments and Landscaping:
Once you’ve tested your system and ensured all fixtures are working correctly, you can proceed to bury your wires and make final adjustments to the placement and angle of your light fixtures. Be mindful of plant growth and other landscaping elements that could affect your lighting over time.
Adjust the positioning of fixtures as necessary to accommodate future changes in your garden’s layout and to avoid obscured lighting. Additionally, consider the ongoing maintenance of your lighting system, such as cleaning fixtures and replacing burnt-out bulbs, to maintain the beauty and functionality of your landscape lighting for years to come.

By following these steps, you can successfully plan and install your landscape lighting project. Remember to prioritize safety and compliance with local electrical codes at all times.
5 Additional Tips and Tricks
- Utilize LED Lights for Efficiency and Longevity: LED lights are known for their energy efficiency and durability, which makes them a perfect choice for landscape lighting. They consume less power and have a longer lifespan compared to traditional lighting options, ensuring your outdoor spaces are beautifully illuminated for years to come.
- Incorporate Layered Lighting for Depth: To create a visually appealing outdoor space, consider using a layered lighting approach. This involves combining various types of lighting, such as ambient, task, and accent lighting to add depth and dimension to your landscape.
- Experiment with Color Temperature: The color temperature of your lighting can greatly affect the ambiance of your outdoor space. Warm lights create a cozy and inviting atmosphere, while cool lights can highlight the architectural features of your home or the natural beauty of your garden.
- Use Timers and Smart Controls: Automating your landscape lighting with timers and smart controls not only adds convenience but also helps in energy conservation. You can set your lights to turn on and off at specific times or control them remotely, ensuring your outdoor space is lit only when needed.
- Focus on Safety and Security: While aesthetics are important, don’t forget to prioritize safety and security in your lighting design. Ensure walkways, steps, and entry points are well-lit to prevent accidents and consider installing motion sensor lights in secluded areas to enhance security.
With these additional tips and tricks, you can take your landscape lighting design to the next level. Remember to always consider energy efficiency, aesthetics, and functionality when choosing and designing your outdoor lighting.
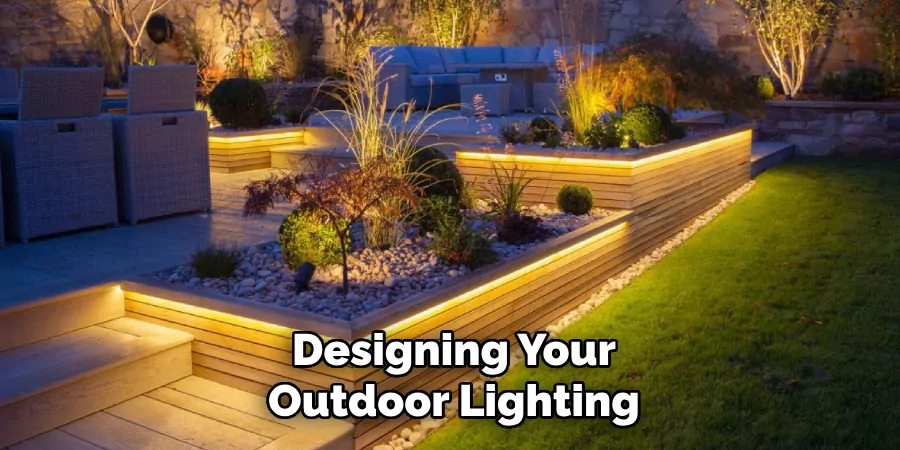
5 Things You Should Avoid When Designing Landscape Lighting
- Overlighting Your Space: Avoid the common mistake of using too many lights in your landscape design. Excessive lighting can create unwanted glare and diminish the overall ambiance of your outdoor space. Strive for a balanced look that highlights features without overwhelming them.
- Ignoring Light Pollution: Be mindful of light pollution and its impact on your surroundings. Directing lights upwards or using overly bright lights can contribute to skyglow, disrupting local wildlife and affecting the night sky visibility for you and your neighbors. Opt for fixtures that minimize upward illumination and consider the overall brightness of your landscape lighting.
- Neglecting the Power of Shadows: Lighting isn’t just about illuminating; it’s also about creating contrast and interest with shadows. Avoid placing lights too close together or in positions that eliminate intriguing shadows, as this can flatten the appearance of your landscape and reduce its visual appeal.
- Choosing the Wrong Fixtures: Not all lighting fixtures are suited for outdoor use or specific landscape features. Using indoor lighting fixtures outdoors can lead to quick deterioration and safety hazards. Similarly, selecting fixtures that do not complement the architectural style of your home can result in a disjointed aesthetic. Ensure you choose durable, outdoor-rated fixtures that match the style and needs of your space.
- Forgetting about Maintenance: Landscape lighting, like any outdoor feature, requires regular maintenance to function properly and look its best. Only install lights in hard-to-reach places where they cannot be easily cleaned or serviced. Periodic cleaning of the fixtures, replacing burnt-out bulbs, and checking for exposed wiring are crucial steps to keep your landscape lighting in top condition.
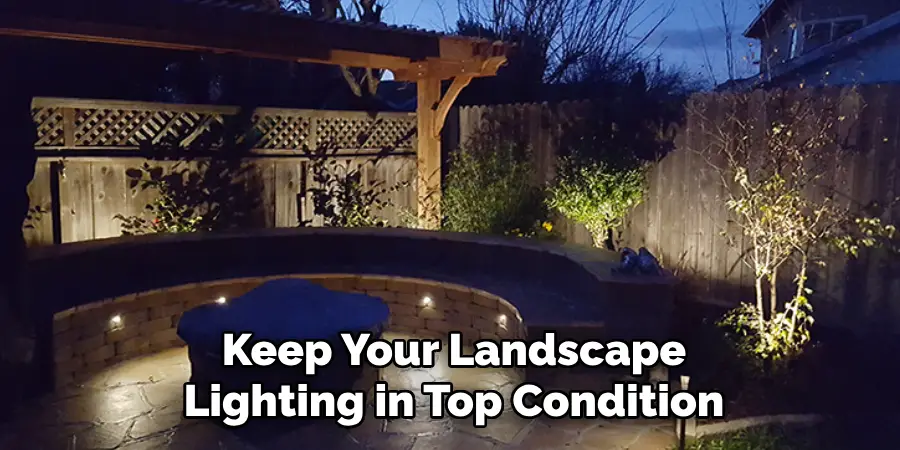
By avoiding these common mistakes, you can ensure a functional, aesthetically pleasing, and safe landscape lighting design that enhances the beauty of your outdoor space.
What is the Most Common Type of Landscape Lighting?
The most common type of landscape lighting is low-voltage lighting. This type of lighting typically uses 12 volts of electricity and is safer and more energy-efficient than high-voltage lighting. Low-voltage landscape lights are also easier to install and allow for more versatility in design options. They can be used for various purposes, such as path lights, spotlights, and accent lights, making them a popular choice among homeowners.
Additionally, low-voltage lighting is less expensive than high-voltage options, making it more accessible for those on a budget.
Overall, low-voltage landscape lighting offers the perfect balance of functionality, aesthetics, and energy efficiency.
Which is Better Lux or Lumens?
Lux and lumens are both units of measurement used to quantify light, but they measure different aspects of light. Lux measures the amount of light that falls on a surface, while lumens measure the total amount of visible light emitted by a source.
So which one is better? It ultimately depends on the purpose and application. If you want to illuminate a specific area or object, lux would be a more relevant measurement. For example, if you want to ensure a certain amount of light falls on your reading nook for comfortable reading, measuring in lux would help determine the appropriate lighting levels.
On the other hand, lumens are more useful when considering overall brightness and energy efficiency. If you want to compare the brightness of two different light sources or determine the total lighting needed for a room, lumens would be the appropriate unit of measurement.

In conclusion, both lux and lumens have their own uses and importance in lighting design. It’s important to consider both factors when choosing and designing your landscape lighting to ensure optimal functionality and aesthetics.
Conclusion
Designing landscape lighting effectively melds art with functionality, transforming ordinary outdoor spaces into enchanting areas that enhance the aesthetic appeal and safety of your home. By considering factors such as strategic placement, energy efficiency, and the interplay of light and shadow, you can create a landscape that not only appeals to the eye but also serves practical purposes.
Avoiding common pitfalls such as overlighting, neglecting maintenance, and choosing inappropriate fixtures will ensure that your landscape lighting design remains beautiful and sustainable over time. Remember, landscape lighting is not just about illumination—it’s about creating an ambiance that reflects the character of your home and garden, making your outdoor spaces inviting and enjoyable at all hours.
Hopefully, this guide has provided you with valuable insights and tips on how to design landscape lighting. With the right mindset and considerations, you can turn your outdoor space into a stunning haven that brings joy to you and those who visit it. Happy designing!

